I dove off the deep end into pressure canning about 14 years ago when we moved off grid and didn’t have the luxury of abundant electricity to run a large freezer all the time. We do raise our own beef, poultry and pork to eat, but pressure can to preserve most of the meat. But you don’t have to live out in the country or off grid to be motivated to pressure can. You can live in the middle of New York City, in the suburbs, or out in the middle of nowhere (insert town here) and pressure can like a boss on your own terms! And if I can do it, anyone “can”!
Why pressure can?
Here are a few great reasons to consider pressure canning:
- Save Money!You’d be surprised how much food you can preserve very cheaply by simply keeping your eyes open for grocery store sales! Bacon, potatoes, Thanksgiving turkey, ham, butter, hamburger (see my quick tutorial below), venison, etc. Also sales on fruit, and veggies. You can cut up fruit, shove it in a jar with water and can it! You don’t have to know the fru-fru stuff. Have it with whipped cream later on to sweeten it up.
- Peace of mind during electric outages.Just a week ago, our local town had power outages due to a snow storm. Some people had to hurriedly obtain generators so their freezers could continue to run, fending off potential food catstrophes. You don’t have to pressure can all of your meat; you can keep some fresh meat in a freezer and can some, so you have peace of mind and more options if you run into an emergency.
- Save time!If you invest the time up front to pressure can much of your food, it will reap huge time benefits later when all you have to do is dump the already pre-cooked food from your jar into your pot or pan and heat it up. At one point, I had beef, carrots and potatoes all canned and ready to go and all I had to do was add a can of corn, a can of green beans and water/broth for a very quick beef stew for dinner. That’s just one example of so many. You can also easily pressure can your own complete soups and stews. Just put all of your ingredients in a jar and can it! With canned meat (ground, cubed, etc) you just need to heat it up and season it before adding it to your meal plan (tacos, pasta dishes, casseroles, meat pies, etc.) The possibilities are endless.
Sadly, the times in which we are living are much less stable than in ages past. If any link in the food supply chain fails, it doesn’t take long before people start panicking and hoarding basic goods. Toilet paper during the COVID crisis is a prime example. You can find alternatives for TP, but if you are not prepared with food, you are in a much more critical situation. This alone is an excellent reason to consider pressure canning so you can have a pantry or cellar full of preserved foods for you and your family, and to share.
- Don’t be afraid of canning!It is pretty hard to mess up, and there are safeguards in place. There is a pressure overflow plug that is designed to pop out if too much pressure builds up and releases excess steam. But if you follow instructions and don’t leave your canner for long periods of time, everything should work out very well. There is usually a “sweet spot” you find during a canning session where the pressure stays consistent so you don’t have to monitor it as much.
If you would prefer grass-fed meat options, you might consider calling your local meat processor and ask if they know of anyone who wants to split the cost of processing a cow, pig or deer, etc. Or put a feeler out on your local classifieds. It is generally cheaper and healthier per pound than store-bought meat.
If you are hesitatant to make the initial investment to try pressure canning, you might ask around to see if you can borrow or purchase someone’s canner if they are not using it. And there may be some great canning books at the local library or online you can check out if you want to research it for yourself. The canning ideas are endless if you plug into the right books and online forums/websites.
To give you an example of how long canned food can last, I canned 50 quarts of borsch in 2009 when we had a bumper crop of cabbage – and I still find a jar here and there, dump it out along with a jar of canned meat, heat it up and serve it with sour cream and toasted bread and it’s still hearty, healthy and delicious! When you go to use any jar of canned food, you’ll want to make sure the seal on the jar is still strong and doesn’t come off when you pull on it. This indicates the vacuum seal is still intact. Then you pry off the lid with the side of a knife or other preferred utensil and you’ll hear that little “whoosh” of air when you break the seal.
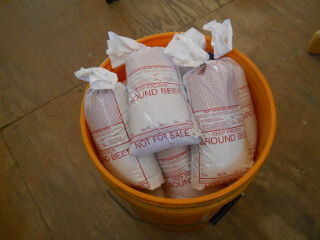
Okay, now I’ll quickly take you through a very basic process of canning hamburger meat. This was from the most recent bull we took to the processor.
The very basic tools you need to get started canning are: A pressure canner, canning jars, lids and screw tops, a funnel, jar lifter and lid magnet (and water, of course 🙂 If you enter “pressure canning starter kit” into a web search query or online retailer, lots of options will pop up for your consideration.
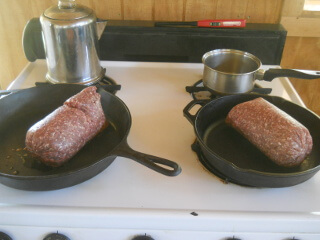
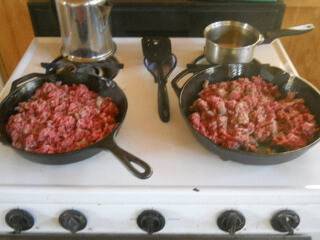
With ground meat, you need to lightly cook it before canning it. It takes approx. 14 lbs. of meat to fill seven quart jars (a quart jar can hold approx. 2 lbs of meat). So I cook it in multiple pans to get that phase done quickly:
In my case, I have two large canners that can process seven quarts each so I brown approx. 28 lbs. of meat in one session. It really doesn’t take that long depending on how much meat you are browning at one time. These are 2-pound packs, so I can brown 4 lbs at a time:
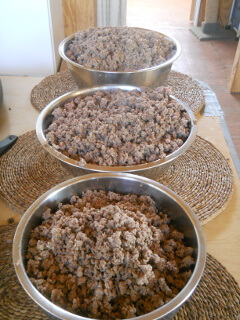
Here is all the meat from one session:
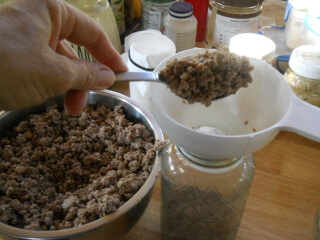
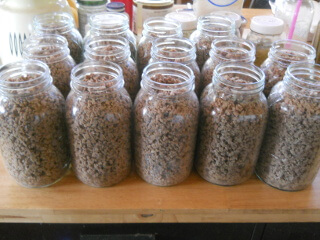
Okay, disclaimer: I highly recommend you follow the instructions in your canning book. This is how I *personally* can ground meat but you do what you believe is best. At this point, I spoon the meat into pint or quart jars. I do not heat up the jars in the oven but leave them at room temperature:
At this point, I take a wet paper towel and wipe the rims of the jars with warm/hot water to remove any grease or small bits of meat:
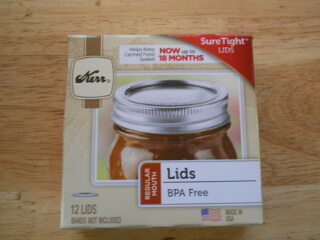
I use regular size tops and screw-on lids. You can purchase “wide-mouth” jars and lids if you like the openings of the jars to be bigger:
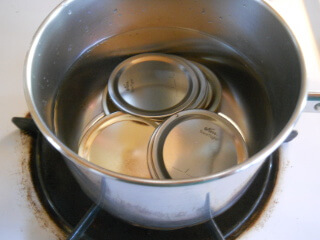
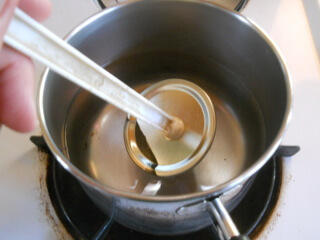
I put 14 lids in water and heat it up to “not-quite” boiling:
When the lids are ready, I use my handy-dandy magnetic lid wand to pull the lids out of the water:
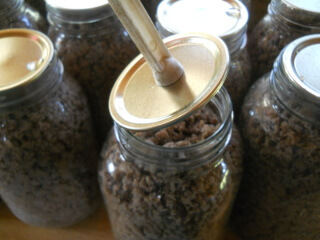
Then I place each lid on top of each jar:
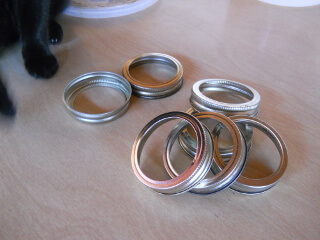
Then I use a screw top (canning jar band) on each jar to secure the lids. I had this little stack of screw tops just right and then Laila, our cat, started playing with them (sigh 🙂 ). I screw the lids to “hand tight”, but not too tight:
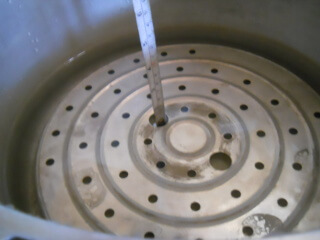
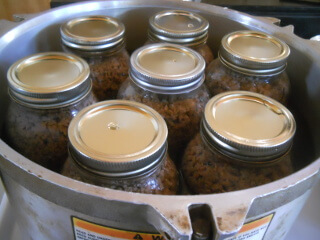
Depending on which canner you use, you pour water into the canner to the depth that the instructions indicate. It only takes less than two inches of water at the bottom of the canner. When I first started I thought it would take a lot more water, but when you place the jars in, the water level raises up almost to the top of the jars:
Then you load the jars into the canner with the water already in it. Tip! You’ll want your canner already on your stove before you load the jars because it’s pretty heavy to lift if you are using a larger load canner (speaking from lessons learned 🙂 ):
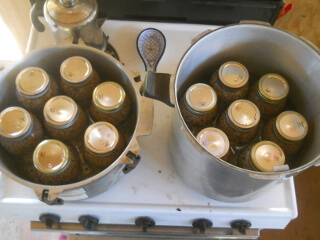
Here are both of my canners loaded and ready to have the lids secured. I do not heat up the canner and water prior to adding the jars. I prefer to skip the jar pre-heating process and heat everything up together more slowly:
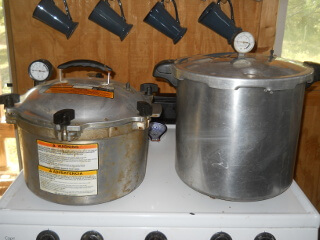
I have an All American canner and a Presto canner. Both are great and I highly recommend them. The All American (on the left) has screws all around the canner. The Presto has a twist-on lid with a gasket underneath the perimeter of the lid which creates a tight fit. The benefit of the All American is that you don’t have to continuously buy replacement parts, which you do with the Presto (the gasket). The Presto is less expensive so it all depends on your priorities. Depending on the sizes of jars you are canning, your processing time will vary. When canning meat, usually the processing time is 75 minutes for pints and 90 minutes for quarts. Just follow the instructions, especially for how much pressure to use, and you should do great!
When the canning session is complete, you turn off the heat and let the pressure come down slowly and naturally until it reaches zero. Then you open the canner and remove the jars with your jar lifting utensil and place them on a heat stable surface to cool down. (Sorry, I don’t have pics for this step.) As the jars cool, you will start hearing the “pops” from the jars which means the vacuum sealing process is complete. Sometimes you will have a jar or more that just doesn’t seal for any number of reasons, so you can either can it again if you are planning another session, or put it in the fridge and use it up like any other perishable item, whichever you feel it best:
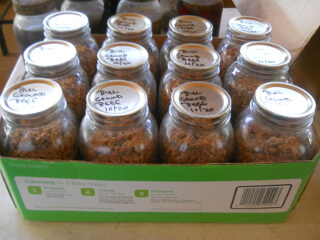
Here is the finished product. I canned 28 lbs. of meat in just an afternoon. This represents many meals for me and my husband. I store our jars in our root cellar without the bands (because they are not needed for the jar lid to stay on and sealed, and they can rust on the jar) and bring them up when I plan to use them in my weekly menu. This will taste great in a wide variety of dishes, including pasta dishes, casseroles, tacos, you name it!
I hope this birds-eye overview has helped you consider pressure canning for yourself and your family. It’s a small investment that can reap huge rewards!
Susan
Leave a Reply