Part of the original plan for our barn was to have a U-shaped loft inside, where the entire back 20 feet would have a loft, and then moving forward in the barn, the loft would extend 10-12 feet from the side walls for another 20 feet or so of depth.
Well, over a year ago, I was able to start on this process, with the idea of building one half of the back section at a time. At the time, I figured I would have that section done by now, but it was not meant to be; however, I thought I’d show the progress in pieces, starting with where it is today.
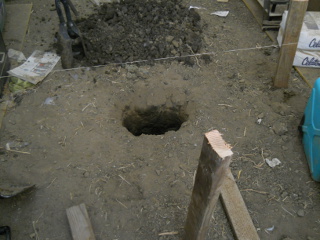
Here is the first post hole:
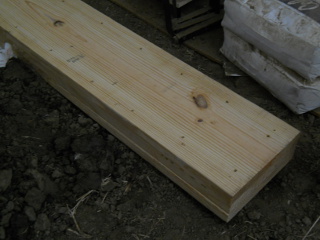
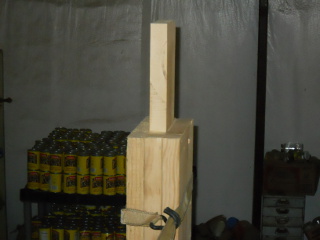
And here is part of the first post. I decided to use triple 2×12 inch built-up posts, using deck screws to tie the boards together, for the farther internal one, 2×10 inch boards for the center post between the barn-middle post and the barn wall, and 2×8 inch boards for the posts that would sit on the barn side’s concrete footer. I chose to make them this hefty because of potential weight we might have up there one day, like grains, etc., Lord willing:
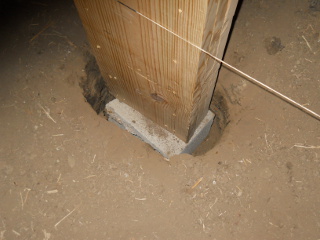
I didn’t calculate the height of the first posts correctly when I bought the wood, and so I needed to elevate the post some. I used a cinder block for that, and string to align the posts:
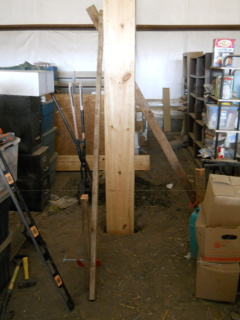
And here is the post braced:
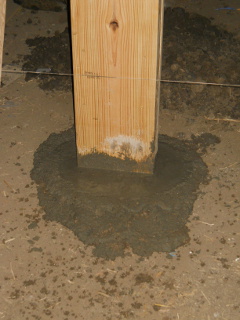
And then in concrete:
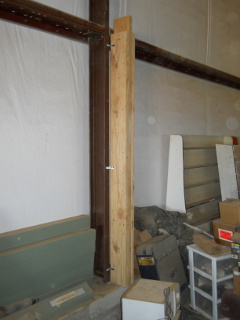
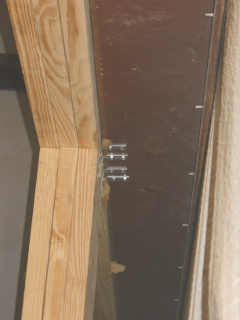
Here is a post next to the barn structure, attached to the metal barn post, using L-brackets and self-tapping screws:
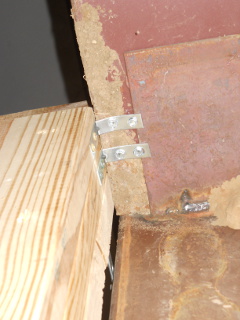
And here is one attached to one of the metal purlins, looking from behind the post:
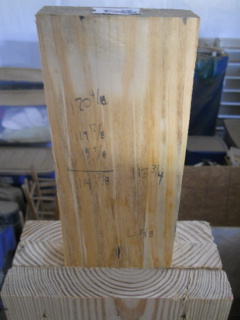
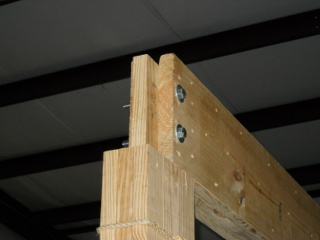
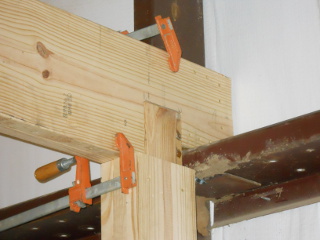
I cut away the top of the posts all around the center board to allow the cross beams to be attached with bolts and allow for the center boards of the cross beams to have something to sit on:
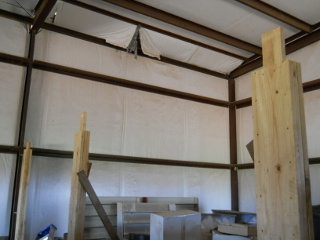
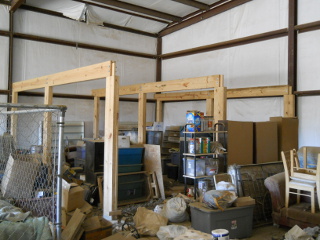
And here is the first row of posts:
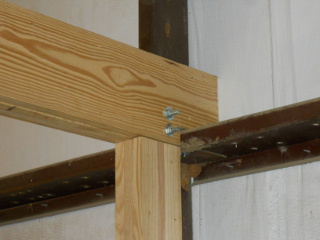
Here is one end of the cross beam. I used 5/8 inch bolts to secure the cross beam to the post:
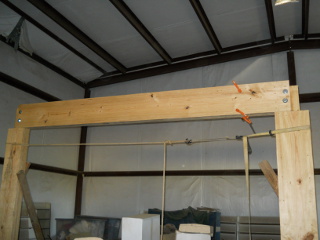
And the first cross beam in place. I used ratchet straps to vertically level the posts and bar clamps to squeeze together the cross beam boards as I screwed in the deck screws:
Here’s how the first two boards looked installed on the post attached to the barn structure, which required some overhang to cross the purlin to fill in the space all the way to the barn wall:
And that same end complete:
Here is how I attached the back cross beam to the back purlin (some of these L-brackets I would have to install on the post before raising it because of lack of space issues for getting tools in there to install them after the fact):
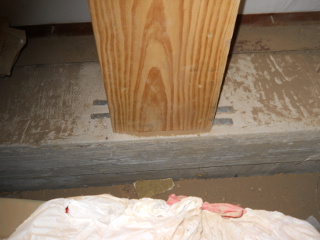
And here is how I attached the posts sitting on the barn’s concrete footer, using concrete screws for this:
And here are all the beams in place!
It’s been like this for some time, but we are grateful to the Lord for granting that we be able to begin constructing the barn loft. We look forward one day, if the Lord wills, to be able to begin installing the floor, even if it’s one sheet at a time.
— David
It looks like it's going to be a fine sturdy loft. You guys do such wonderful work. It's a blessing to be able to share it on this blog.
Hi onbigturtlecreek,
Hopefully it will be sturdy enough…I have a tendency to over build, but I think that's mostly because I don't want to have to deal with under-building problems in the future. 🙂
Thanks much. We do pray God glorified Himself and maybe benefits someone with the blog.
Please say hello to "the Mr." (assuming this is "the Mrs." 🙂 )…thanks.
— David