With the house internal walls framed, it was time to finish on the roof. I decided to go with metal roofing, for its longevity.
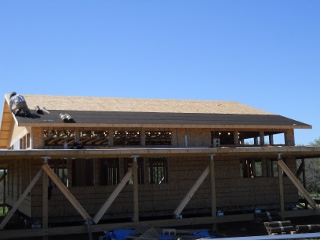
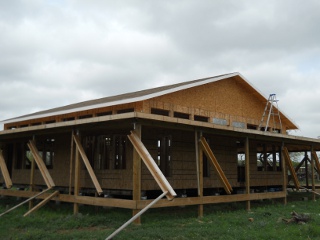
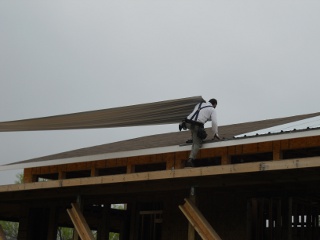
First, the tar paper (roof felt) was installed with a hammer stapler:
And we painted the face-plates:
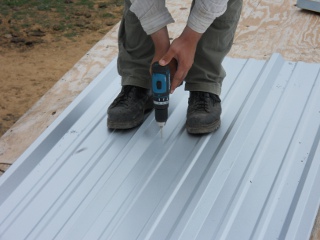
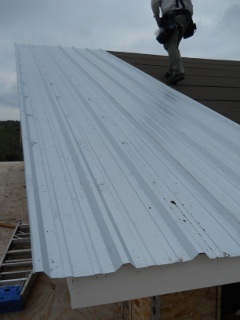
Then it was time to put up the metal. First, we pre-drilled the holes where the grommeted screws were to be put. I chose to do them 2 feet apart up the metal pieces:
And here is the first piece installed:
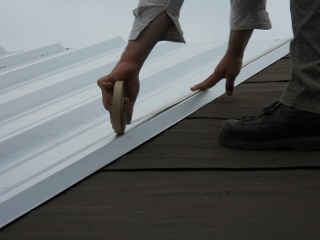
Between each piece of metal, we laid down “tacky tape” where the next metal piece would overlap:
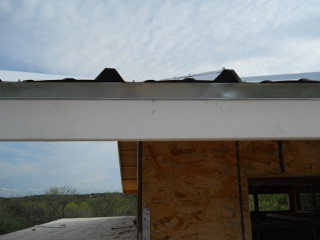
And we installed metal edging with the fitted foam on top underneath the roof metal. We found that putting the foam on first and placing the edging in place before laying down the metal piece worked best:
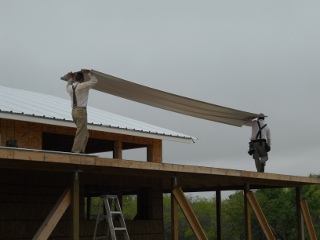
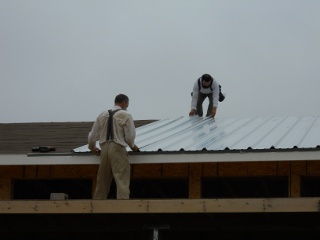
For these long pieces, we really needed two people to put up the roofing:
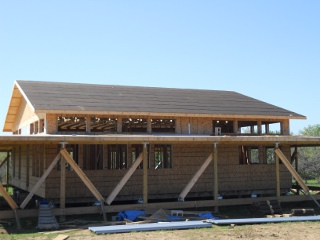
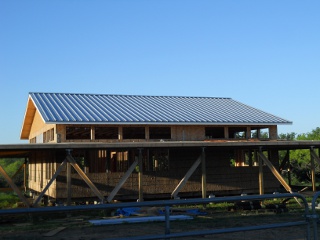
And here is the roof with all of the metal in place, including the ridge cap:
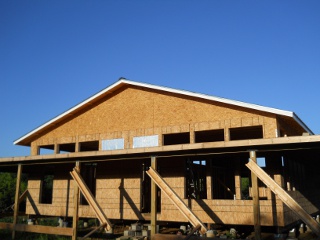
We put metal edging on the gabled end of the roof as well:
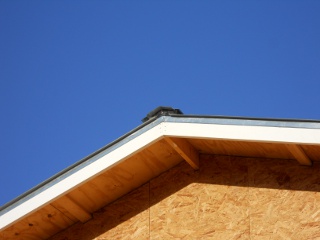
And here is a closer view of the end of the ridge cap. Mr. Gurau thought to stuff fitted foam in the ends, and with that and some caulking, that seemed to work pretty well without having to buy the typical metal roof trim and end caps. Hopefully what we did will be ok in the long-run:
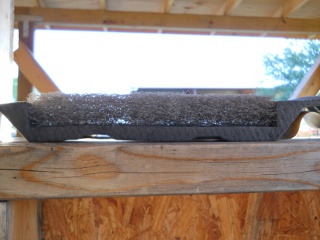
Since we don’t have air conditioning, air flow is everything, in trying to vent out the air that is heated in the attic space. Rather than buy the typical ridge vents, I decided to try a vented foam that simply is installed under the ridge cap: it’s less expensive and is supposed to vent very well:
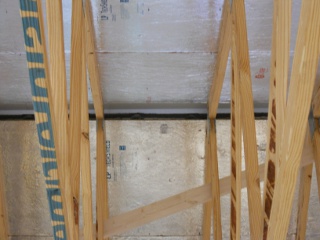
And finally, here is a look up at the ridge cap with it and the vented foam installed:
Once again, we are grateful to the Lord for allowing continued progress on the home, and thank Him for the resources to do so.
— David
Well done, David. I imagine your back was pretty sore at the end of those days of work.
Grace and peace to you.
Chris
Liberty Hill, TX
David & Susan
The roof looks very nice and certainly a good choice for the metal for the longevity, when all is done it is going to be very nice
and a job well done.
Pat Tolbert
Hi Mrs. Tolbert, Chris,
We are thankful to the Lord for the progress.
It was a little effort, but Mr. Gurau did most of the work. I know working on the roofs has been hard work for him and his back, and we've been thankful for his help.
Nice to hear from you both, and thanks.
— David
Have you been able to tell if the foam-ridge is giving you the air-flow you'd like? I'm going to try a cupola on my schoolhouse an painting the roof with elastomeric paint with ceramic insulation. I know those folks prior to AC were not any tougher than us, were they?
Hi Irritated,
We don't have any of the inside siding/roof done, so the trusses are still exposed, and we don't really know yet how they'll work. Hoping they do! 🙂
— David
Your roof is looking terrific. Our home was built 23 years ago and it has a Zincaloom roof like yours. When we bought here 3 years ago the roof was checked and was still in excellent condition. We would not have any other type of roofing. We have guttering and downpipes all the way round all our rooves to collect the rainwater.
You have a wonderful catchment now which will supply plenty of lovely fresh water. Our home also has a verandah going all the way which allows us always access to shade, a cool breeze or sun whichever we are after.
Your home is looking lovely.
Blessings Gail
Thanks Gail, and thanks for saying hello. We are grateful to God for allowing us to continue on the house.
— David
David,
I'm doing the same thing with my roof venting as yours (except I went with battens under the galvalume). Can you tell me more about the foam venting that you used? (ie. product name and/or where I can order it online). Trying to save some money here, just like you. Thanks!
John
Hi John,
They're from Marco Industries and called low profile ridge vents, but I got them at a local steel place where I got the roof tin. It looks like this is the current web site for the vents: http://www.marcoindustries.com/ventilation/lp2.
HTH and that it works out for you.
— David