In my initial design for our goat sheds, I wanted to be able to enclose the goats in the shed if necessary for protection, especially for when a doe might have new kids; but I wanted to be able to have the door completely out of the way during the hot months to allow as much breeze in while offering shade. And so, I made the front door completely removable. Well, that became somewhat difficult in having to pick up the door and maneuver it into place. Also, strong winds would blow the sheds over backwards, so we strapped them to a ground hook. Over time though, I thought of a different way to accomplish the same thing while keeping the current general design of the sheds but making it easier to manipulate the doors.
So the idea would be to have the entire door on a hinge while having another smaller door cut out of the big door, allowing the main door to be closed while a portion of it remained open to allow for the goats to move in and out. This would allow for the shed to be more enclosed when it is cold, or completely when necessary, and would also allow the entire door to be completely open during the hotter days, as before.
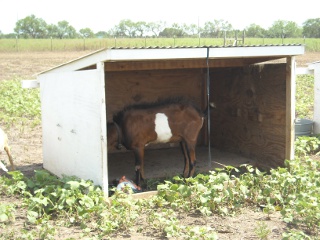
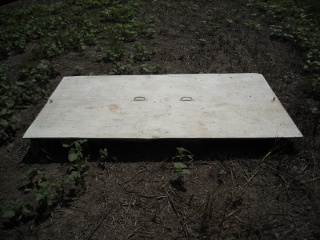
Here are the shed and door originally designed:
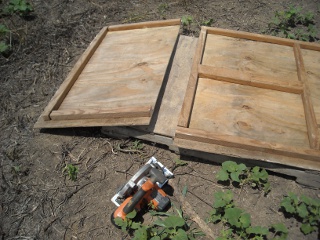
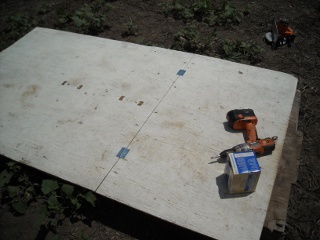
I cut off a part of the big door:
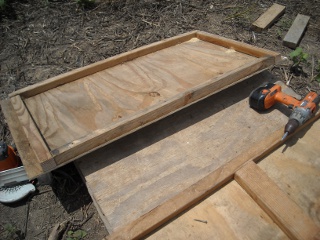
Added the missing piece of the frame onto the smaller door:
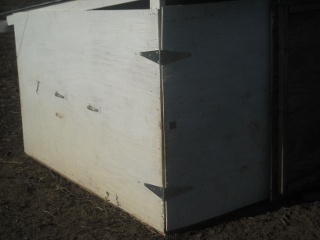
And attached the hinges, joining it back to the main door:
I attached 8″ hinges to the shed, using 1 5/8″ deck screws through #8 washers, the hinges, the siding, and into 2×4 blocks behind the siding. I then did similarly to the door, making sure it was raised up 1/4″ so the door frame doesn’t sit completely on the shed frame, making it difficult to close:
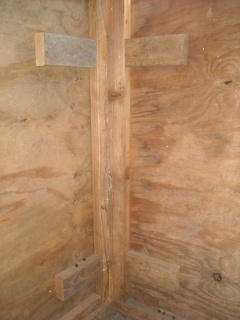
Here are the 2×4 blocks:
I then installed a 2×4 the width of the shed just above the door frame on top, to keep the top of the door from pushing in:
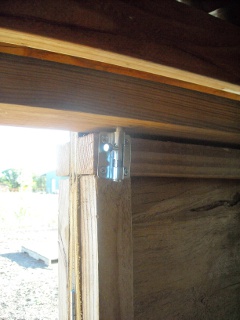
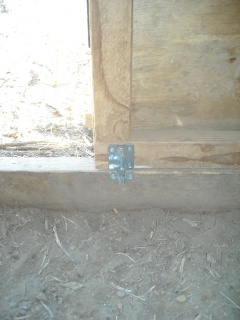
And then I installed two bolt latches, top and bottom, to the door frame. The bottom one uses the latch receptacle provided with the hardware; the top latch latches straight into the 2×4 above it:
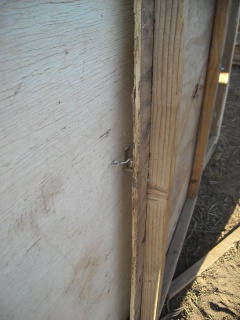
Finally, I added a small hook and eye latch to the little door to be able to keep it held open; and installed a larger one to the side of the shed to keep the larger door latched. I drilled appropriately sized pilot holes for each before attaching the latches; and also, for the main door, I had to put a 2×4 block behind the hook latch that was attached to the siding:
Here the shed is completely closed:
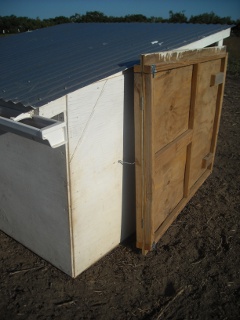
Here it is with the small door open only:
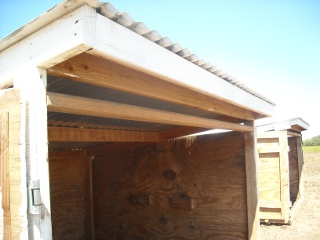
And here it is completely open:
This redesign has made things much easier to handle when dealing with the sheds in various types of weather. We’re thankful to the Lord for granting us the land, goats, sheds, and ideas to be able to husband animals, we pray, for His glory.
— David
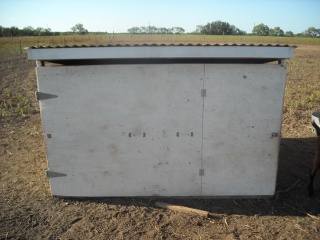
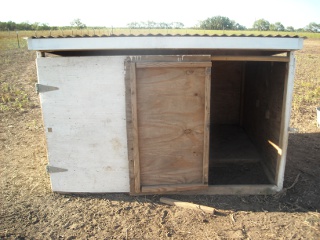
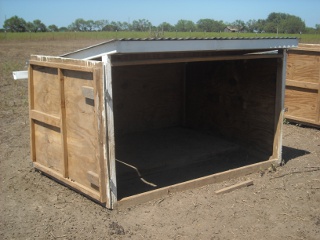
Good planning and door design/construction, David and Susan. (Looks like some of it would take 4 hands~smiley face). So does the extra weight of the door being continuously "on" the shed, whether fully or partially open, weigh down the shed sufficiently to counteract winds; or are you still using groundhooks and straps? Perhaps you haven't had enough wind to know yet.
Regardless, nice looking and well functioning doors, it appears!
Praise God for the insight/provisions.
Beth
Hi Beth,
I believe it will make a difference, although we haven't had the type of winds that have blown them over in the past. Also, since their original inception, I've added a built-in floor area vs. using the covered palettes we used previously, so that adds some weight as well.
In hoping it is the case that they're ok now, I don't have them strapped down any long.
Thanks, and thanks for saying hi.
— David
Excellent, thanks for the post. I may try the pallets in the shed this winter to get them off of the ground. I have a good supply of pallets with solid plywood tops, so when the get nasty I can put them in the burn pile. I imagine that it will take a long before they get too nasty.
– Todd
Wow, lucky goats. I made a temporary goat shed with 8 ft. long pallets for the back and roof and regular ones for the two sides. I just tied them together with big long zip straps and put one pallet on the front for some sun, wind, etc. protection.
I read that they shouldnt be completely tight because they need to acclimate to the climate. The place I bought them from just had a sort of roof and a couple of walls for all seasons. They did fine and the shed was easy to tear apart.
Hi Debbie,
Thanks for saying hi and for the info. It's nice to hear how other people are doing things.
— David