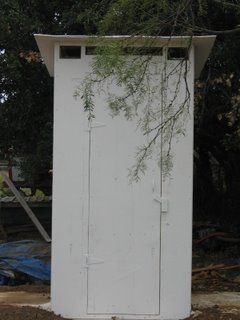
In preparation for moving from the neighbor’s place up to our own, we thought it might be a good idea to have our outhouse in place. Outhouses have seemed to be the way to go (no pun intended) out here in the country. They don’t use any water; you don’t need a septic system in place, just a big hole; and the outhouse never stops up! We have discovered too that the Lord has granted some sort of worm creature that “processes” the “material” in the hole, thus prolonging the need to dig another one.
Most of the people on the land have used the backhoe to dig their outhouse holes, although at least one family did it by hand.
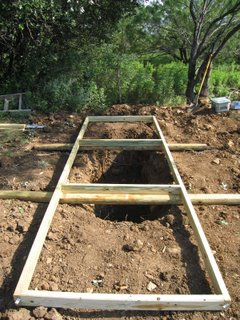
One problem with using the backhoe is that the hole becomes dug out at the ends, and so you end up with a hole elongated by some 8 feet or more. In previous outhouses, this has been dealt with by putting covered palettes or the like next to the outhouse over the exposed parts of the hole, but this had mixed results and often allowed water to get in. So, in designing the base for our outhouse, I decided to include in the base structure something to cover those parts of the hole, which you see in the following picture. I also added large eye hooks in the ends of the landscape timbers (which show left to right in the picture) so that with a tractor or maybe truck and a chain I could hopefully move the outhouse when needed. Further, I needed to slide the frame (which shows top to bottom in the picture) a little to the right along the landscape timbers so as to center it over the actual hole where the toilet seat would be. All of the wood in the base is treated wood, which better resists damage due to it touching wet soil:
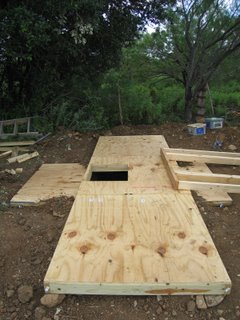
Here is the covered base frame:
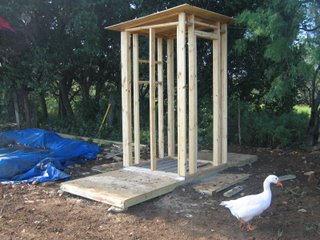
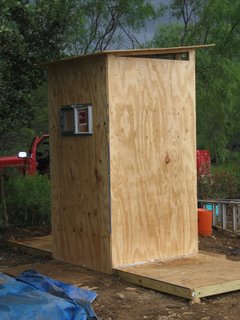
Copying the structural design of the side walls from our neighbors’ outhouse, I built similar wall frames. For the roof, instead of roofing tin to cover the plywood, I used metal flashing, which costs less:
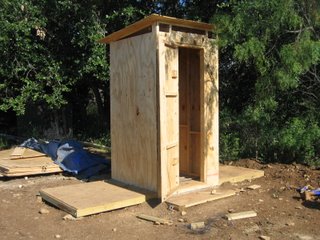
The next two pictures show the structure with the siding, and a window and screened ventilation on the top for better air flow (so as to help reduce odor). For the screening, I decided to use aluminum window screening instead of nylon, which hopefully will last longer:
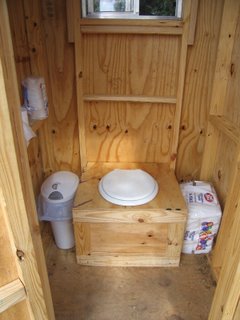
Here is the completed inside. Although you can’t see it, in the seat box I put more metal flashing all around the inside to protect the wood from getting “moisture” (and other “whatnots”) on it, which should help preserve the wood longer and reduce long-term odor as well and be easier to clean if necessary:
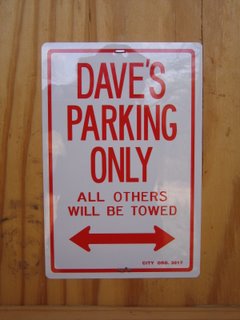
And here is a more hygienic way of “marking my territory”:
The very top picture of this post is the completed outhouse painted (which Sue did a wonderful job of doing). Also, I built up dirt around the base frame to try to seal it to keep the rains out of the hole.
All in all, the outhouse works well in this environment; you just have to get used to the idea a little. With proper ventilation, odors are lessened; and the outhouse is generally maintenance free.
We are thankful to the Lord for this provision He has allowed us.
— David
Very nice outhouse. How deep is your hole?
Judy
Thanks, Judy. We hit a rock layer maybe 5 feet down and couldn’t get through it, even with the backhoe. Other folks on the property though have been able to get down probably 8-10 feet. Basically we’ve tried to dig out as far as the backhoe would physically go.
— David
This was a very informative blog! Thanks for sharing. I need to find a sign like that my husband… lol
Thanks for sharing. Very nicely done, but then you had Gary as your construction inspector.
What a great idea, to line the inside! I never would have thought about that…..thanks again.
Elaine K