The Sifford Sojournal

Our journal of what we pray is our sojourn of life along the narrow way, even the old paths, submitting to the Bible as a light unto both.

Page 70 of 93

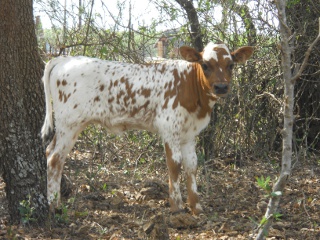
Providence’s Perpetuation Provisions: New Calf “Amilita”

Once again, the Lord has graciously granted another calf, this one to our cow Amistosa. She’s a little heifer calf, and we decided to call her Amilita (little Ami).

Here’s a picture:

New Longhorn Heifer Calf Amilita

And a quick video:

Video of New Longhorn Heifer Calf Amilita

We are always grateful to God for His continued providence in perpetuating our animals; and now we pray for His wisdom, help and guidance in their disposition during this difficult time of drought.

— David

Providence’s Perpetuation Provisions: New Calf “Cora”

The Lord graciously recently granted another calf to be born to Holga, our Longhorn cow. She’s a little heifer calf, and has a heart-shaped patch on her forehead. With the Spanish word for “heart” being “corazรณn”, we decided to call her Cora.

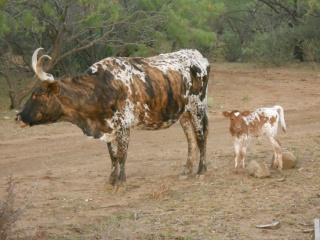
Here she is with her mother Holga:

New Longhorn Heifer Calf Cora with Her Dam

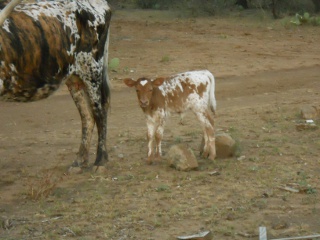
And a little closer:

New Longhorn Heifer Calf Cora

And here’s her video:

New Longhorn Heifer Calf Cora

We’re grateful once again to God providing this offspring. Given the drought here at this time, we’re having to sell much of our cattle; and so we pray for wisdom in selling them, and for buyers perhaps, or wisdom to know if we should handle them in a different direction.

— David

Providence’s Perpetuation Provisions: Ten New Chicks

Once again, the Lord graciously granted another clutch of eggs to be hatched out by one of our game hens. Out of 12 eggs, 11 hatched, although 1 died; but the other 10 are going strong. You’ll see from that video our one Australorp rooster has apparently been busy:


Ten New Hatched Out Chicks

We are once again very thankful to God for granting these new chickens that we pray will be productive members of the flock, for His glory and the benefit of His people.

— David

A House – Update VIII – Porch Posts

After the floor of the house was completed, it was time to get the porch posts into the ground, because I didn’t want to put up the wall frames and then have to wait all of the time to do the porch posts with the wall frames sitting out that much longer in the elements.

I decided to make the porch 10 feet, because I wanted to have enough room to have the community sit outside all together; and I wanted to have it go all the way around the house, so that we could sit under a porch and be out of the sun, or in the sun, or in a breeze, regardless of time of day or weather conditions.

I also decided to go with a single post all the way into the ground vs. only doing a platform and attaching the roof posts after — it just seemed the single porch post would be more sturdy. Further, I decided to use 4×6 inch treated lumber for the posts. The biggest issue with these are that these types of treated posts can sometimes start to torque and bend in the sun; but I figured that if I could get to them quickly enough, it wouldn’t cause too much trouble.

And so the process began…

I set up the stringer for a line of posts, and here set it up for the corner:
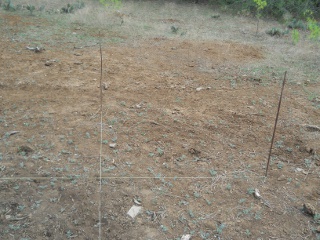
Line Strings Set Up for Corner Porch Posts

And here’s the hole dug for the corner with the brace supports pounded into the ground. At the bottom of each hole, I beveled out the bottom so the dirt above the bevel would hold the concrete more securely in the ground:
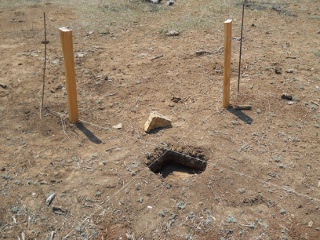
Porch Post Hole Dug and Brace Supports Set

For the corners, I decided to attach two 2×4’s on one long side of the 4×6, which made the post “L”-shaped. I also drilled holes and pounded in rebar so as to hold the post more firmly in the concrete:
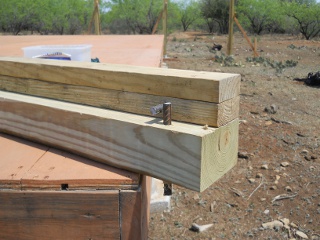
Corner Porch Post with Rebar

To build the concrete up around the post slightly, so as to keep the soil from touching the wood, and to make it a little nicer looking, I used 8 inch (12 inch for the corners) concrete tubes cut at 4 inches high, and would slide it up the post, propping it up with screws, before standing up the post in the hole:
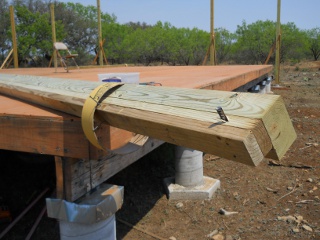
Porch Post with Concrete Footer Tube Pre-set in Place

Here is a post set in the ground before final floating of the concrete and setting the concrete tube footer:
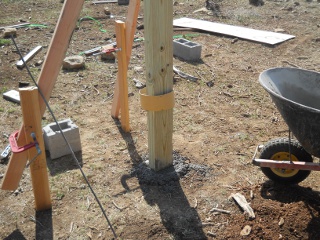
Porch Post in Set in Concrete with Braces and Before Tube Footer Set

And here is a post completed, including the tube footer:
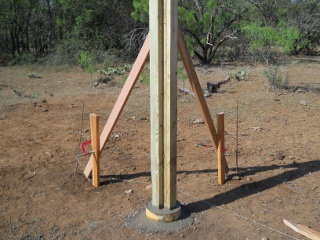
Porch Post in Set in Concrete with Braces and Tube Footer Set

With each side of the house being 40 feet, thus making a porch side 60 feet, I decided to place each post around 10 feet apart (it actually ended up being 9 feet, 10 inches, to allow for some overhang of the porch joists), and then figured to use double 2×10 inch treated boards for the joist supports. I also put two spacers between the two boards, about 1/3 of the way in from each post. To level the boards from post to post, we used the same water level we used in leveling the concrete piers of the main house structure; and we leveled each post based on a single post so that any error introduced into the leveling would not be cumulative. Also, before attaching the joist supports, I’d have to sometimes use ratchet straps to re-level vertically the two posts I was working with, because they would sometimes over time start to get a little off-level:
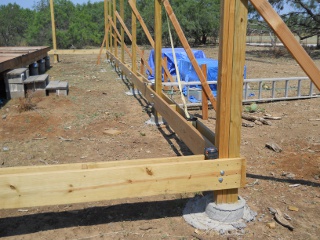
Porch Joist Braces in Place

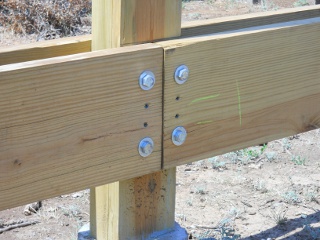
Here’s an inside look of how I joined the corners. I used 1/2 inch hex bolts and screws to hold them up. Also, I had to add another piece of 2×4 between the boards attached to the two vertical 2x4s that were part of the overall post to be able to add a little more support for the boards (I probably should have had those part of the main post structure):
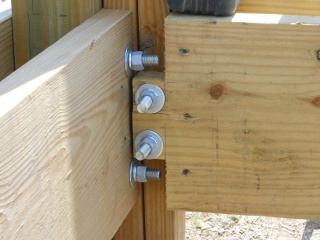
Porch Post and Joist Brace Join at Corner

And here is a middle post join:

Porch Post and Joist Brace Join

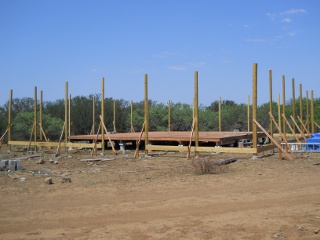
And here they are all in place!

Porch Posts Set All Around the House

As I had feared, some of the posts are starting to twist and bend; but hopefully we’ll be able to straighten them enough to where that won’t cause long-term issues.

We’re grateful again to God for allowing us the resources and strength to work on the house; and we look forward to continued progress on it, as He might will.

— David
Providence’s Perpetuation Provisions: New Kids “Stanley” and “Ollie”

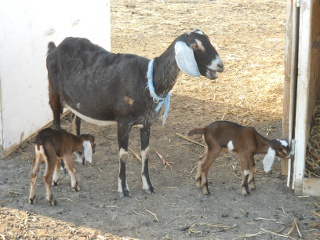
About three weeks ago, the Lord granted another set of goat kids, this time to our full Nubian goat Betsy. She gave birth to two little bucklings, which are also full Nubian; and we decided to call them Stanley and Ollie.

Here they are shortly after being born:

New Full Nubian Bucklings Stanley and Ollie with Their Full Nubian Dam Betsy

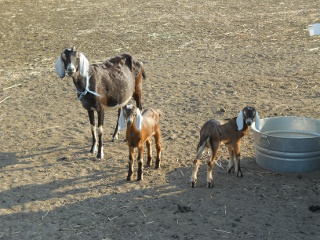
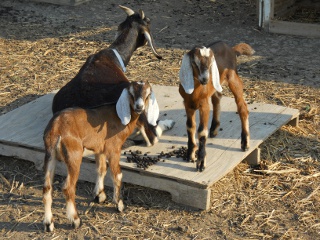
And here they are now (Ollie on the left in the first picture; Stanley on the right; vice-versa in the second picture):

Three Week Old Full Nubian Bucks Stanley and Ollie with Their Dam Betsy
Three Week Old Full Nubian Bucks Stanley and Ollie

And here’s their moving picture:


Full Nubian Goat Betsy with New Full Nubian Bucklings Stanley and Ollie

We are again very grateful to the Lord for granting these provisions; and we again pray for guidance in raising them and continued provisions for the herd.

— David

Animal Update – Pebbles and Fred

We just wanted to give a little update on some of the animals we’ve shown in the past, so you can see how they’re doing now.

Pebbles

You might remember our orphaned piglet (see the last video of that blog post) from a little over nine weeks ago.

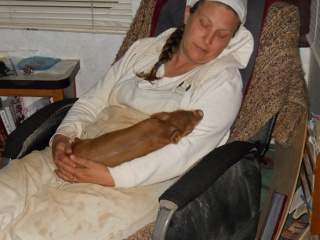
Here she is with Sue a few weeks ago:

Pebbles the Duroc Gilt Resting on Sue

Well, by God’s continued graces, she’s past the piglet stage, and has grown into just plain pig stage. We had kept her in the camper until she was getting restless in there; and since our pig pen area was being used by her sire, who had been put with some of the Bunker female pigs to “service” them, with her being as small as she was, we decided to basically start swapping her and the dogs, day and night, between the dog’s outside and inside-the-barn kennels.

Here’s the transfer we do in the morning (she seems to get heavier each day!) Sometimes I can play with her shoulders, and she’ll play back. And then it’s hard to resist patting her little bum ๐Ÿ™‚ :


Swapping Dog Kennels with Pebbles the Duroc Gilt

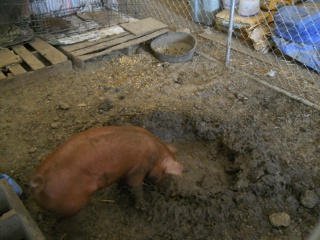
With some of the temperatures reaching well over 100 degrees outside lately, I dug her a mud pit in the barn:

Pebbles the Duroc Gilt with Mud Pit in the Dog Kennel in the Barn

We thank the Lord for granting that Pebbles make it this long, especially being an orphan.

Fred

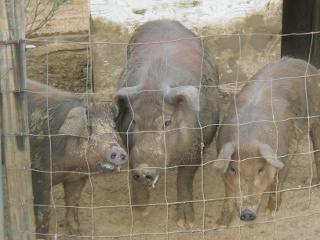
Here’s Pebble’s sire, Fred (in the middle, with his current “harem”):

Fred the Duroc Boar with His Female Friends

There had been two other females originally brought up, but with one he did his work pretty quickly; and the other one was going to go to the butcher, but looked pregnant, and ended up being so, with God granting the Bunkers several piglets.

Here is the original quintet “singing” for their supper! (They would do this each time when I would walk up with the food bucket.) Notice the choreography, and the aspiring soloist too!


Duroc Pigs Singing for Their Supper

And so, the plan is, when the Bunkers feel there has been enough time with these three together (or if Pebbles outgrows the dog kennel and starts breaking things), they’ll come get their females; and Fred will take his final ride to the “processor.” He’s going to be quite the haul, Lord willing!

Once he’s gone, we plan to move Pebbles up to the pig pen so she can start her life up there.

God has shown His graces and mercies in granting the health and safety of these provisions, and we are again most thankful to Him.

— David

Garlic 2011

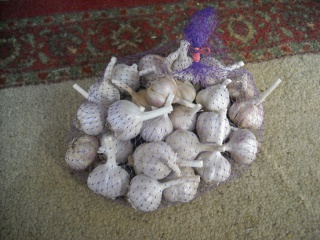
Dave and I have been learning about the health/medicinal benefits of certain vegetables, herbs, etc. We were so impressed with the benefits (and obvious great taste) of garlic that we decided to plant some. The Bunkers have been very successful with growing Spanish Roja, a high quality gourmet bulb; so we went with that as well. Since garlic is a good Winter garden crop, we decided to plant four beds with it as everything had been pulled from our 2010 Spring garden. We figure you can never have enough garlic, and this particular variety is highly valued among the “gourmet garlic buying” crowds. We thought that if the Lord allowed a large crop we could turn around and sell some. We looked to buy it later in the season and found it was already about 90% sold out and somewhat difficult to locate, but Dave finally triumphed on eBay and with another garlic seller, so we took the garlic plunge:

Purchased Garlic in Its Bag

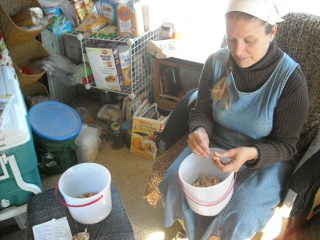
We had to prep the garlic before planting, so the first step was peeling it and separating it into individual cloves:

Sue Pealing Garlic Cloves

Those ice cream buckets really come in handy! That’s the only reason we buy them, you know. ๐Ÿ™‚

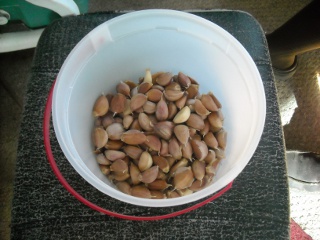
Pealed Garlic Cloves

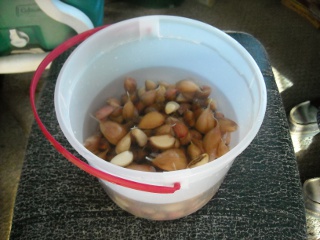
We then soaked the cloves in rubbing alcohol for an hour or so in order to kill any bacteria on them:

Garlic Cloves Soaking in Rubbing Alchohol

And then we soaked them in water over night and then planted.

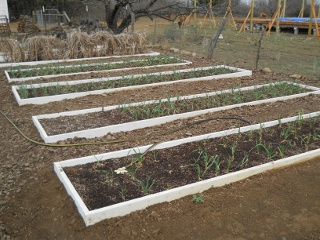
Dave planted them in late November, and we had to water them sparingly because we have been in an awful drought. But God allowed them to grow and we recently pulled the first batch in early May!

Garlic Plants Growing in the Garden

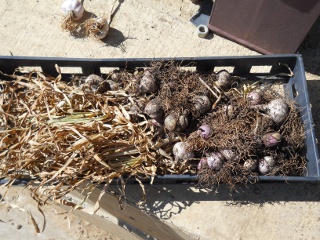
Here they are freshly harvested:

Harvested Garlic Bulbs

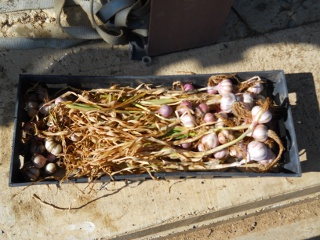
In preparation for long term storage, and I wasn’t aware of this, but through research I discovered that garlic goes through a drying or “curing” process after harvesting. Here are the bulbs dried and ready for braiding and curing. In my ignorance, I did wash this batch; but with further research, I didn’t see anywhere that washing was appropriate at this stage. Apparently though, the drying helps harden the dirt so it comes off easily; and the curing hardens the outer layer, which helps seal in the moistness:

Dried Garlic Bulbs

You can braid the garlic or simply hang it out to dry for a few weeks to cure it. We thought we would just stick it in the food dehydrator, but my research indicated to keep it out of the direct sun. I found a very good braiding garlic tutorial online to help me with the process.

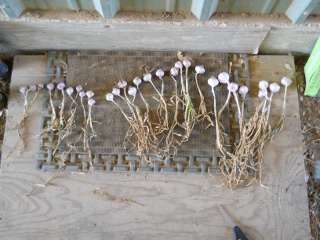
First I separated out the different sizes of garlic bulbs:

Dried Garlic Plants Separated Out by Size

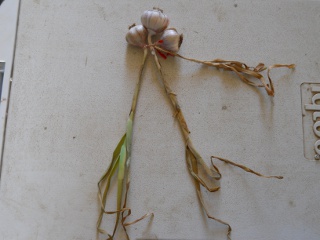
Then I tied a large bulb and two smaller bulbs together with a twisty tie like the nice lady said on the video:

Tying Garlic Plants Together to Begin Braiding

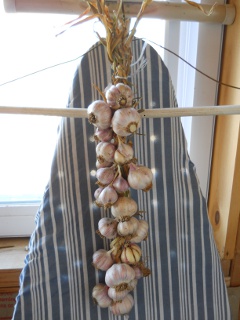
Then I continued to braid in the remaining bulbs, and this is the result. I made several mistakes but learned from them, so it’s not perfect by any means but accomplishes the goal of curing the garlic! Several of the bulbs lost their tops, so I have them drying on a table in the summer kitchen. This represents just a portion of one garden bed, so it looks like I may have ample opportunity to hone my garlic curing and braiding skills and put it on my agrarian resume! ๐Ÿ™‚

Braided Garlic Plants

We are ever thankful to our great Provider for this harvest of garlic with its manifold benefits.

Susan

« Older posts Newer posts »