Our Texas gardens seem to be like snowflakes, there are none alike. This year we planted what we thought were to be large tomatoes, but they came out the size of cherry tomatoes. Cherry tomatoes are like candy to me, so they were a treat nevertheless. And we also planted an heirloom tomato plant that didn’t produce one solitary tomato until mid-Fall. Go figure. But it almost seemed fitting because Dave and I both are late bloomers ourselves and always root for the underdog, so we were excited when we started seeing little yellow blooms starts to form 🙂 So I thought I’d give an end of the garden “Where Are They Now” update:
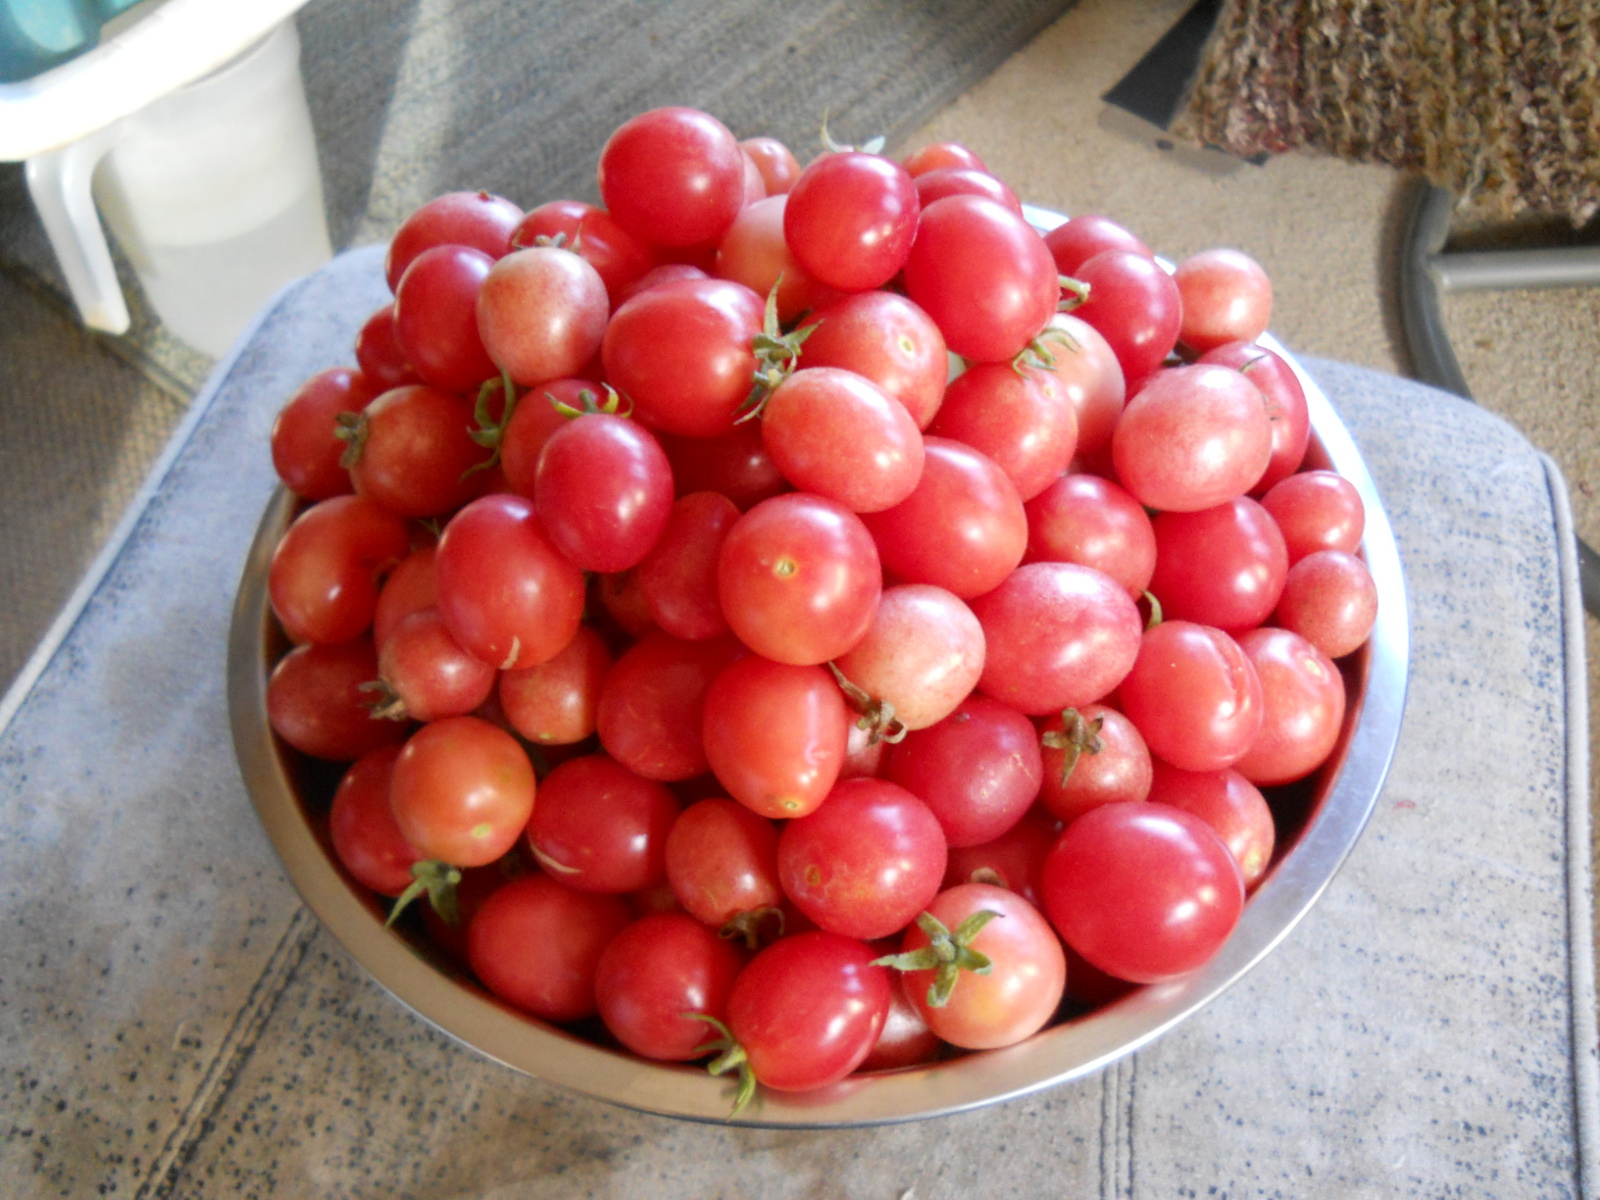
God blessed us with an abundance of these cherry tomatoes. We enjoyed them on our salads and in pasta and other dishes all through the summer:
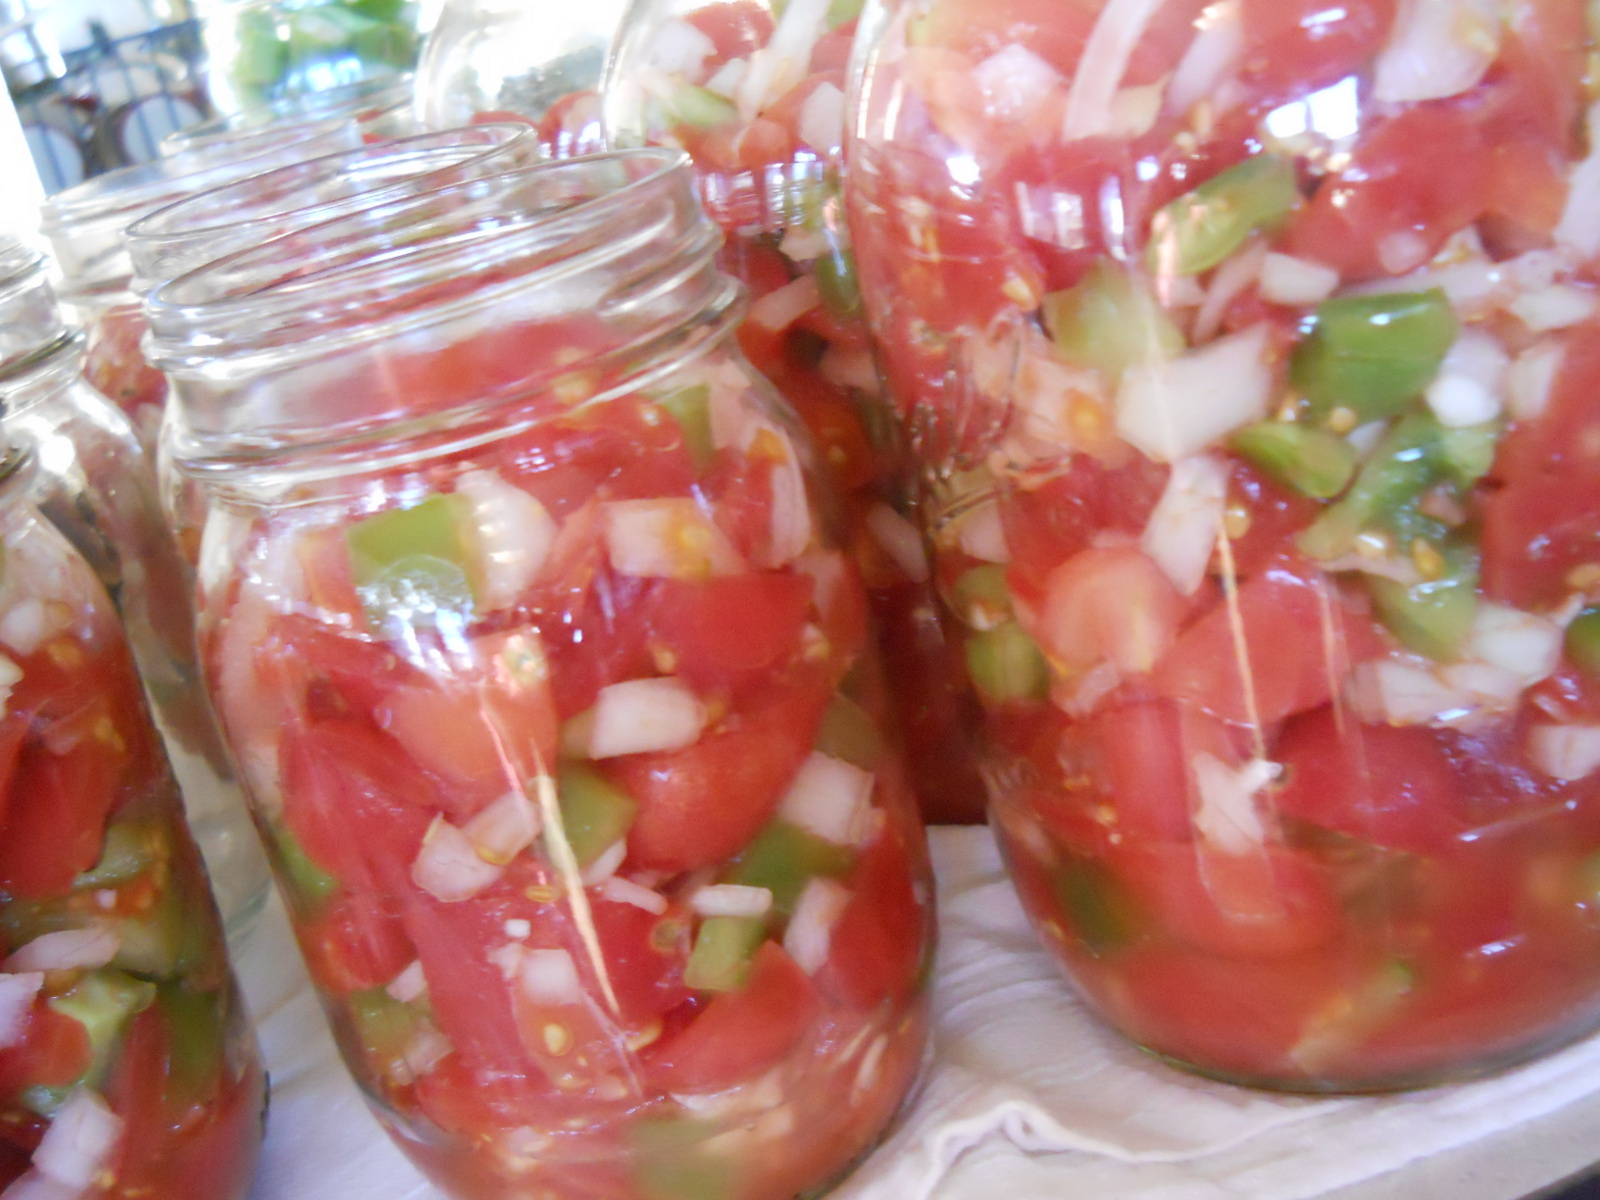
I decided to make some lacto-fermented salsa with some of the tomatoes by adding chopped onions, garlic and green peppers, and then adding a salt brine (1 1/2 Tbsp. salt to 1 pint water) to let it ferment for a few days. This stuff is great with tortilla chips or on salads!
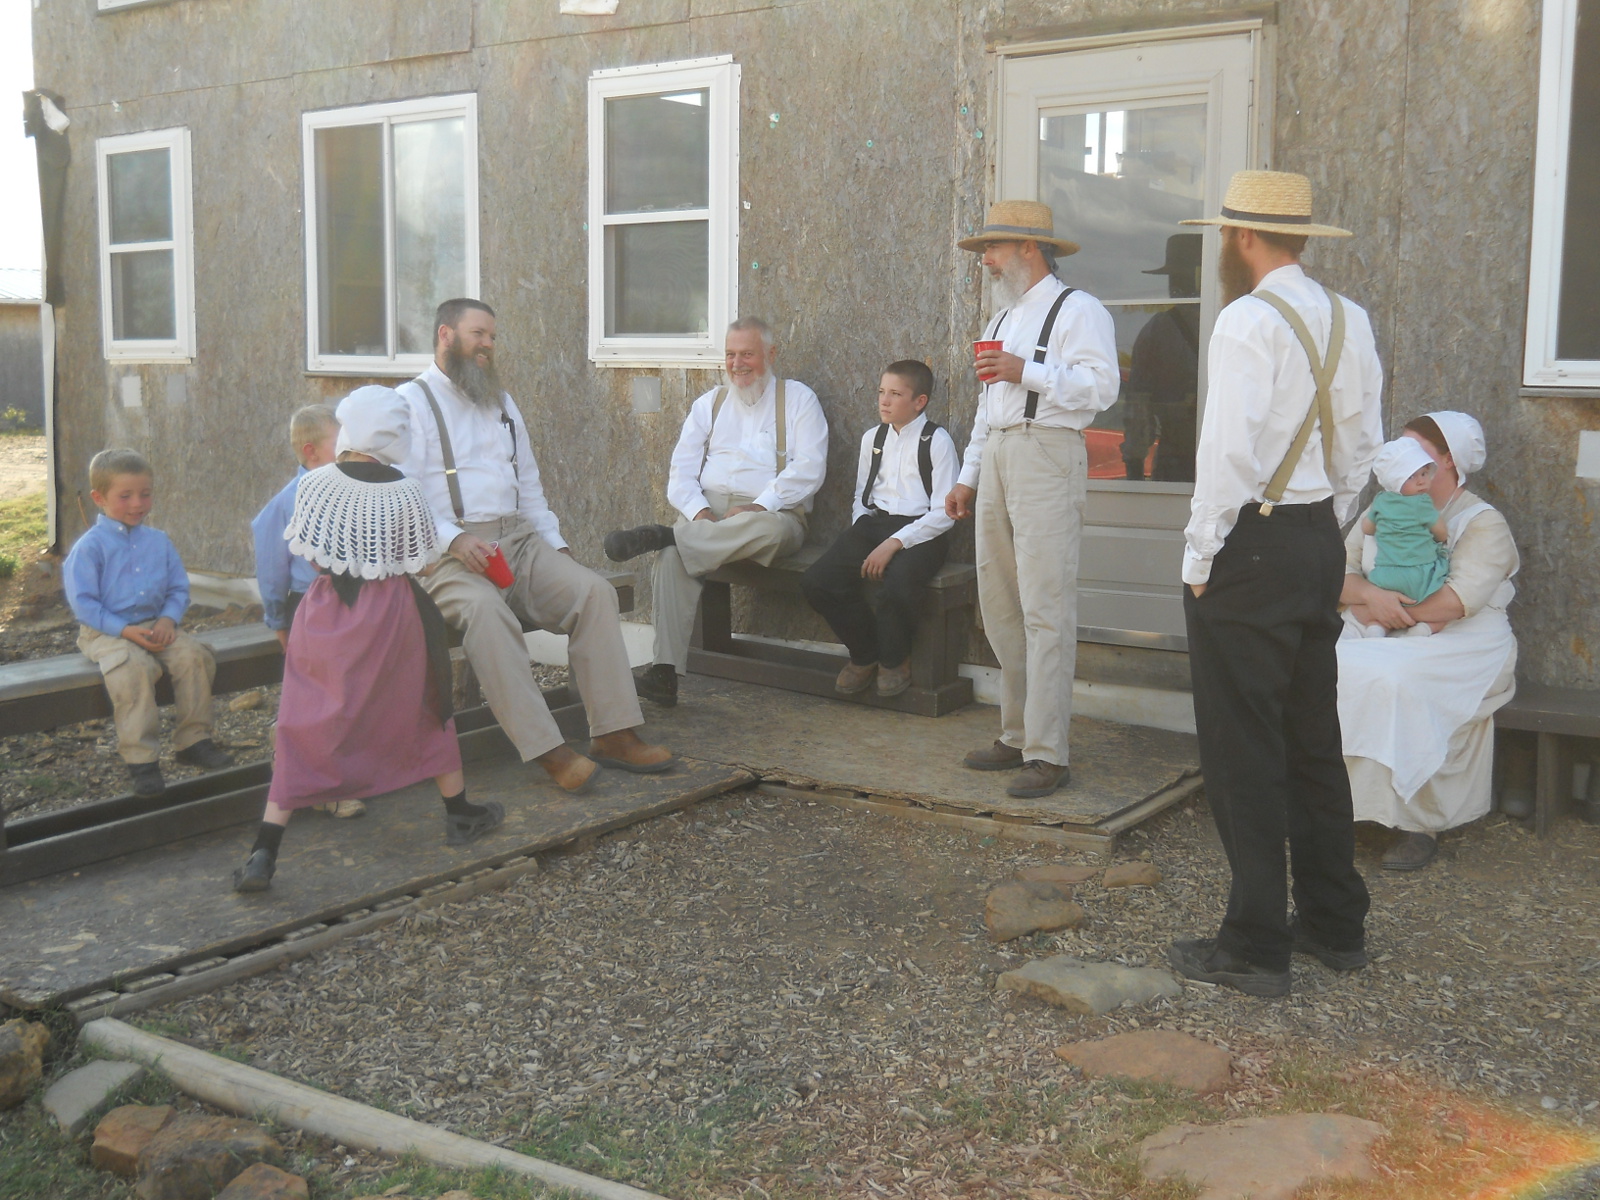
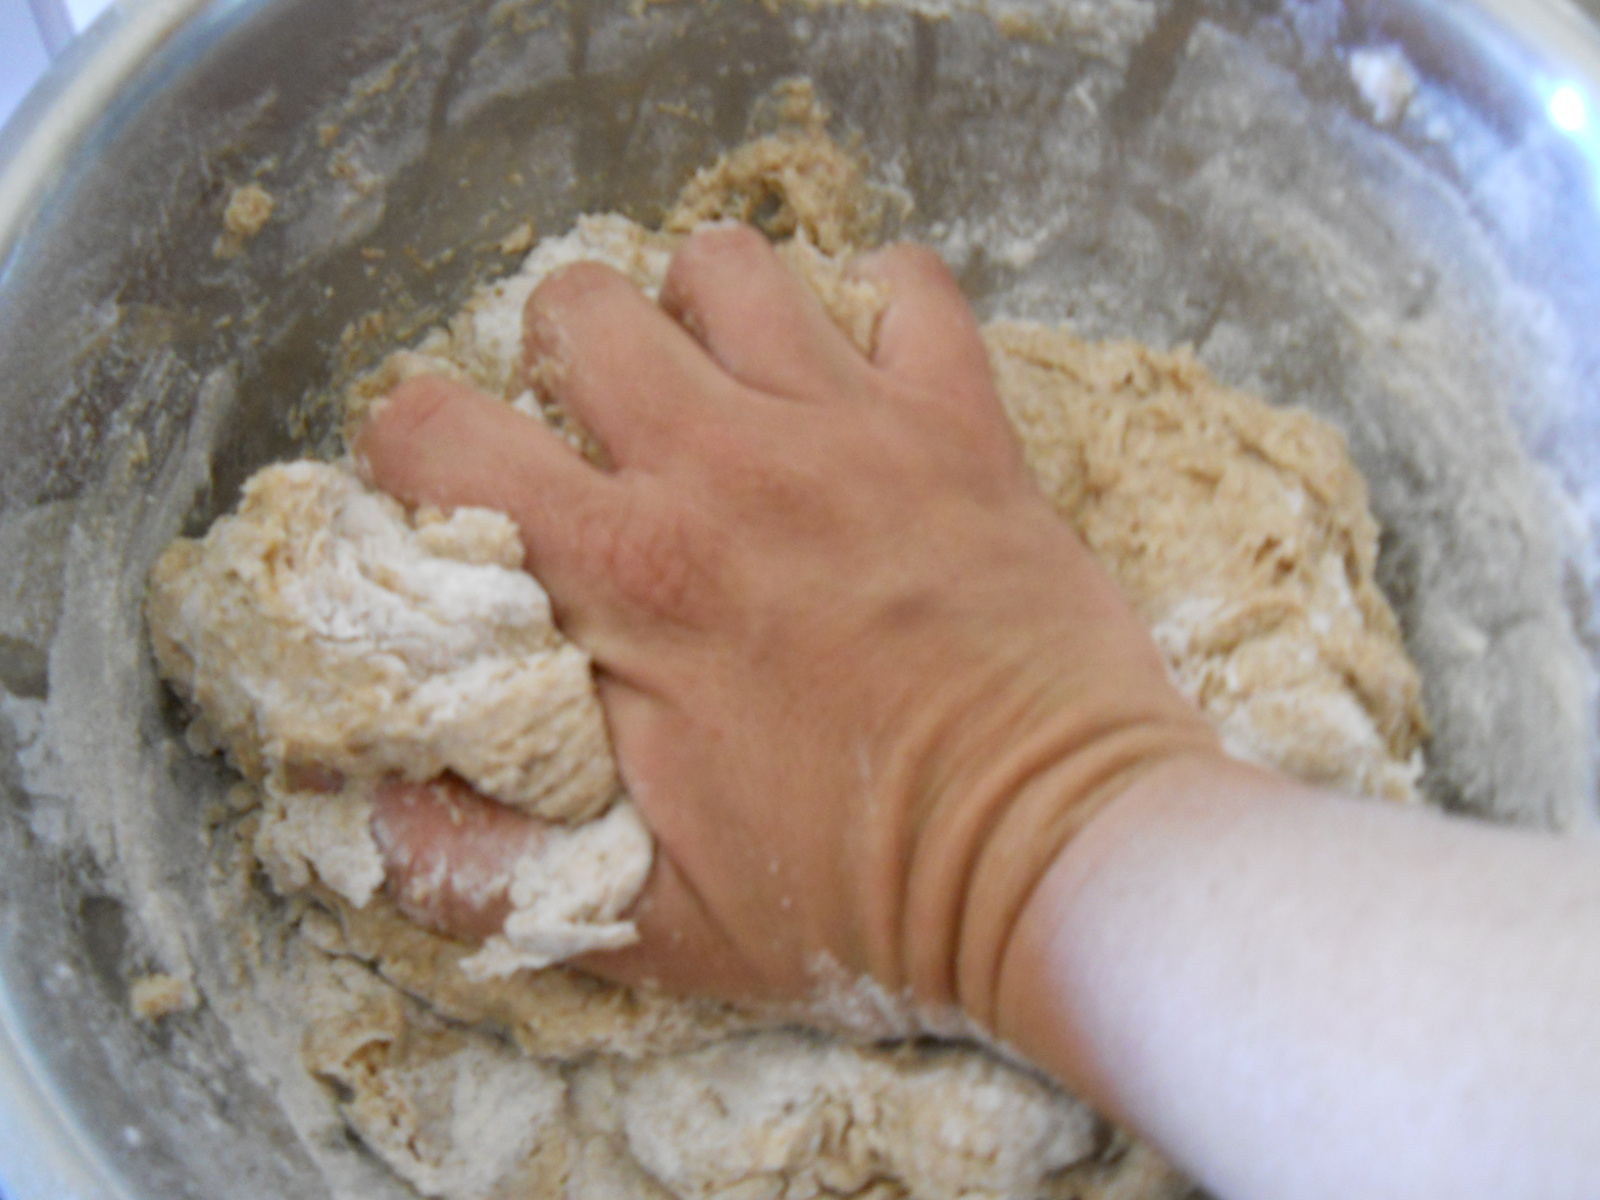
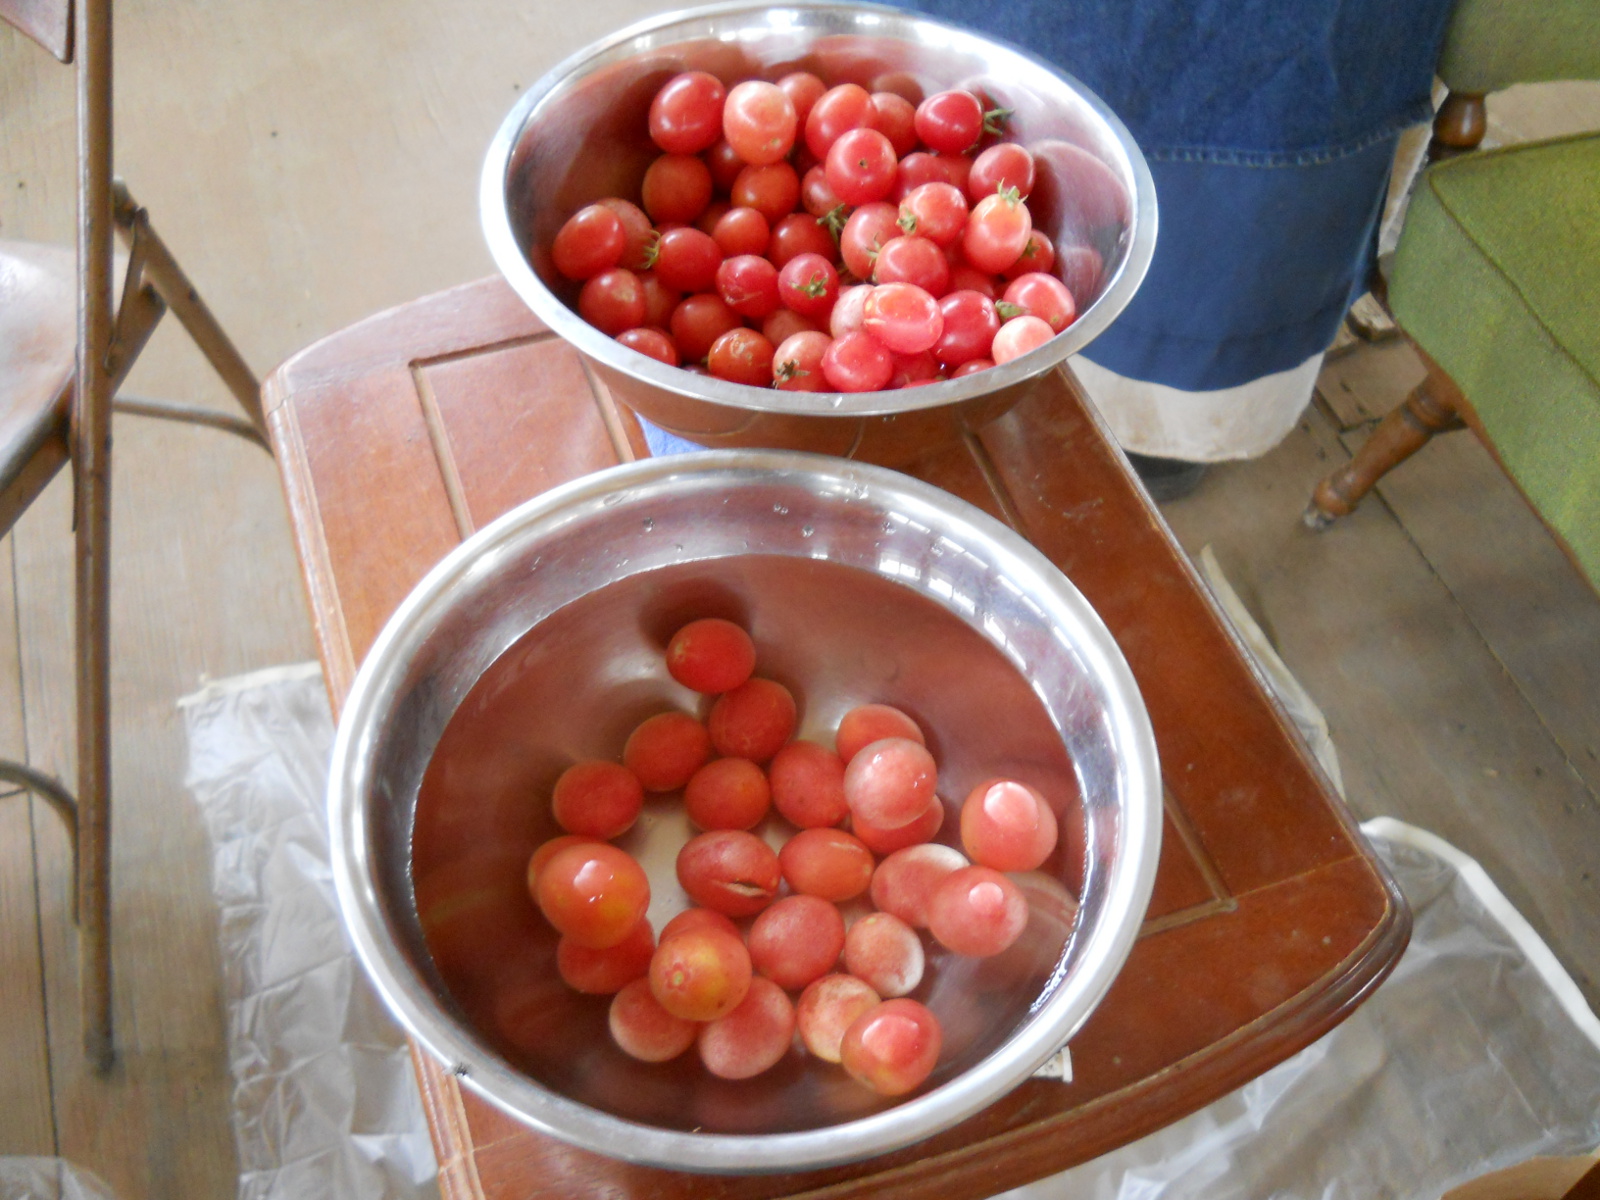
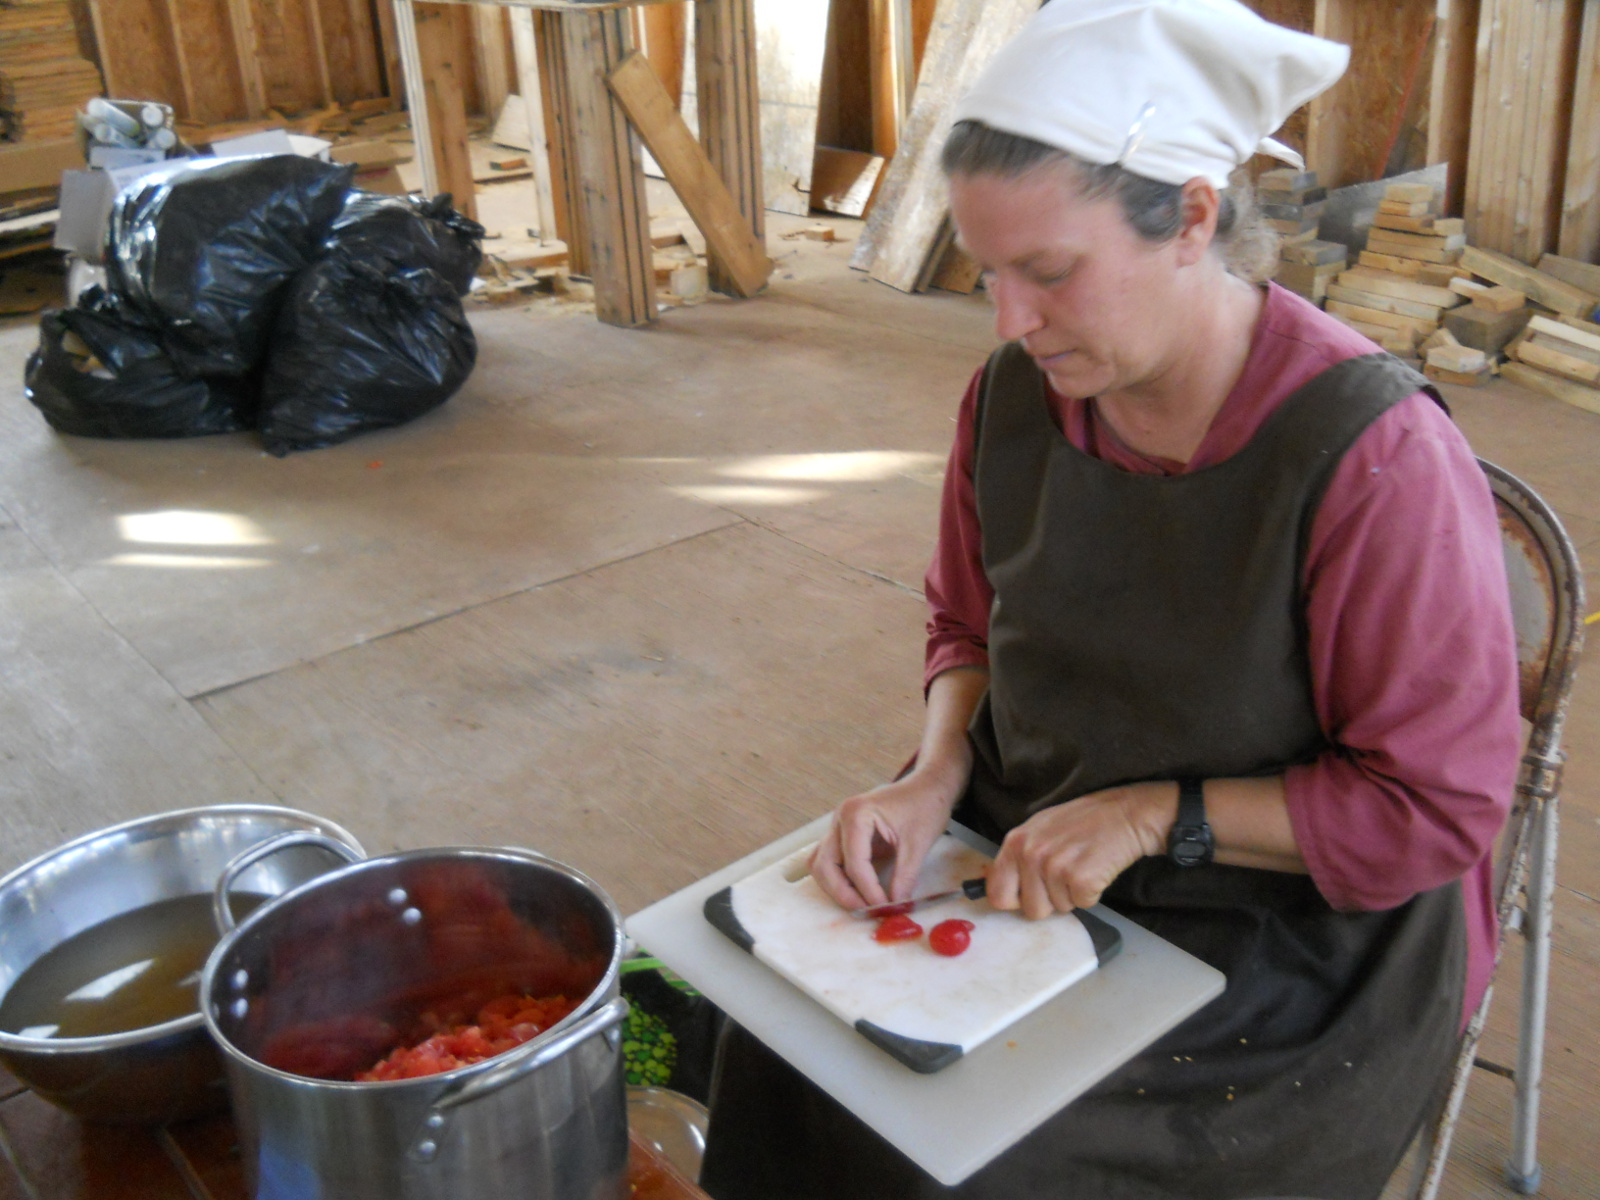
One of the ladies in the community, Shannon, came over one day to help me chop up some tomatoes in preparation for making my first ever batch of tomato sauce. Here the tomatoes are being rinsed and readied to be chopped:
Shannon took an “action” shot of the tomatoes being cut up. Can’t you just feel the excitement in the air?! (By the way, her young boys did a great job of helping pick up construction debris in our new house that day as you can see by the garbage bags in the background – thanks, boys!)
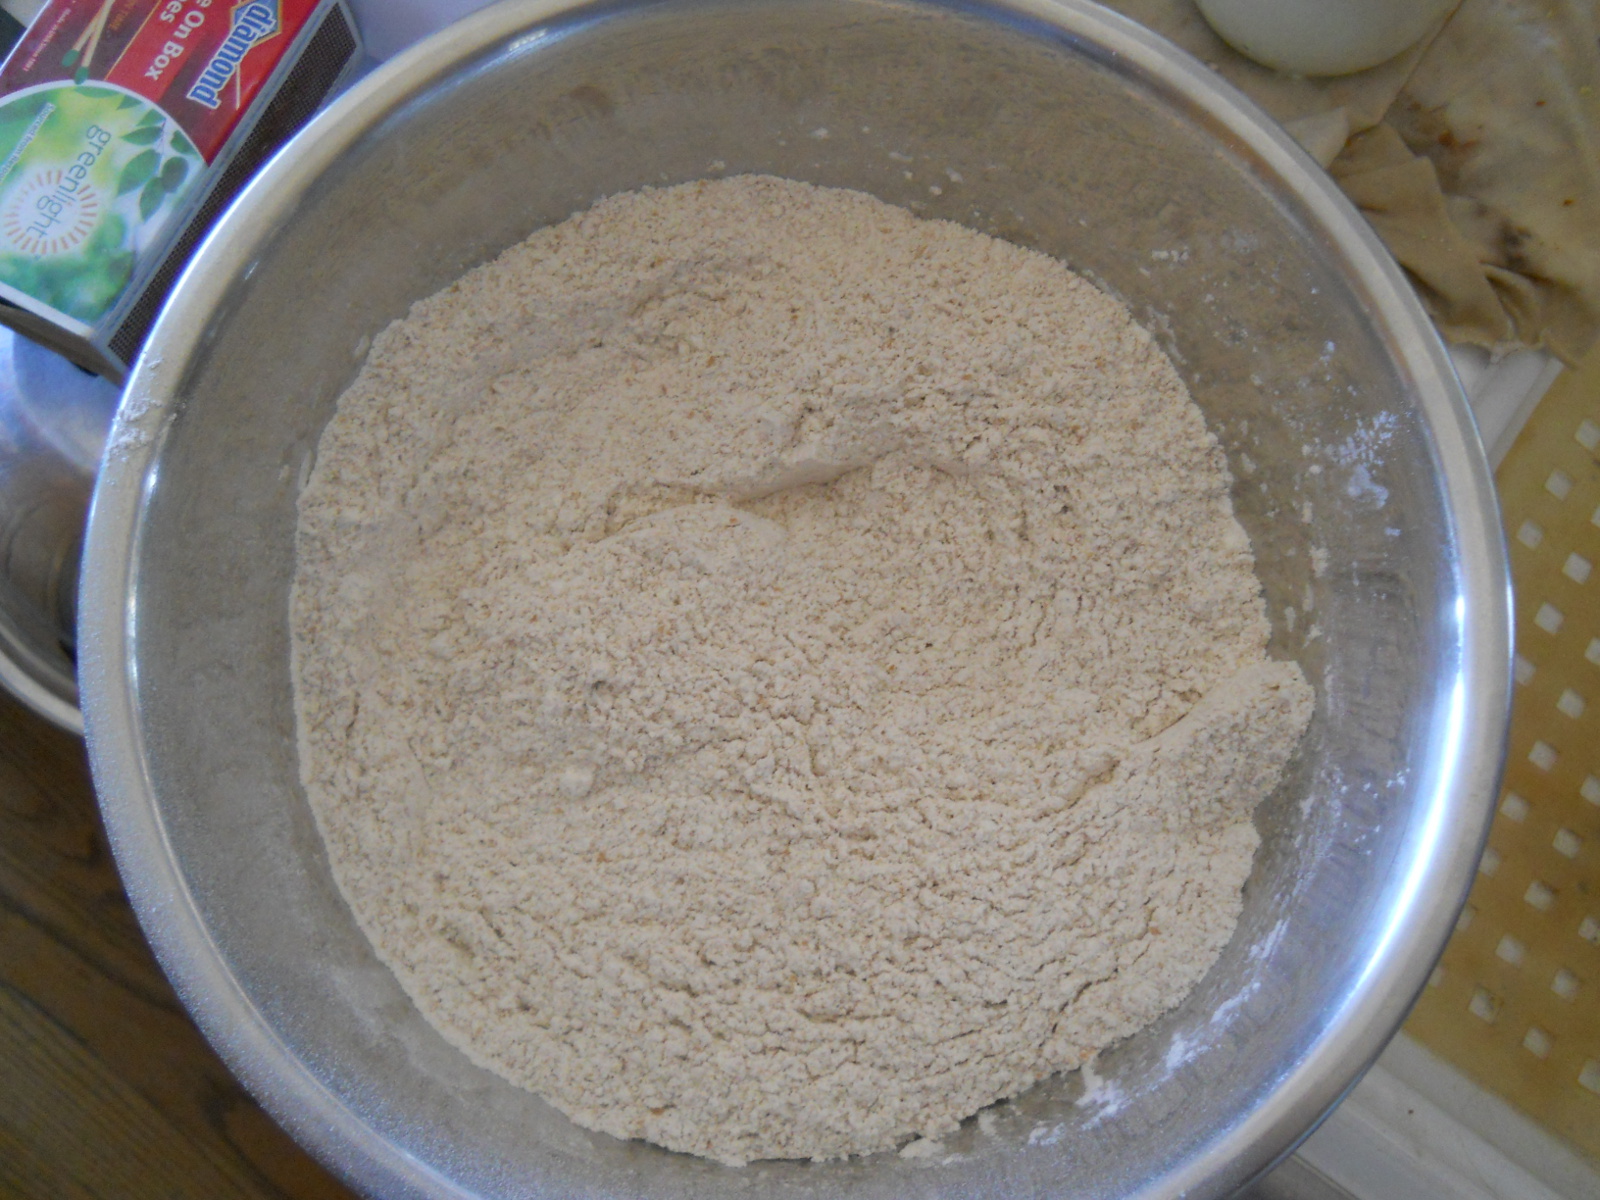
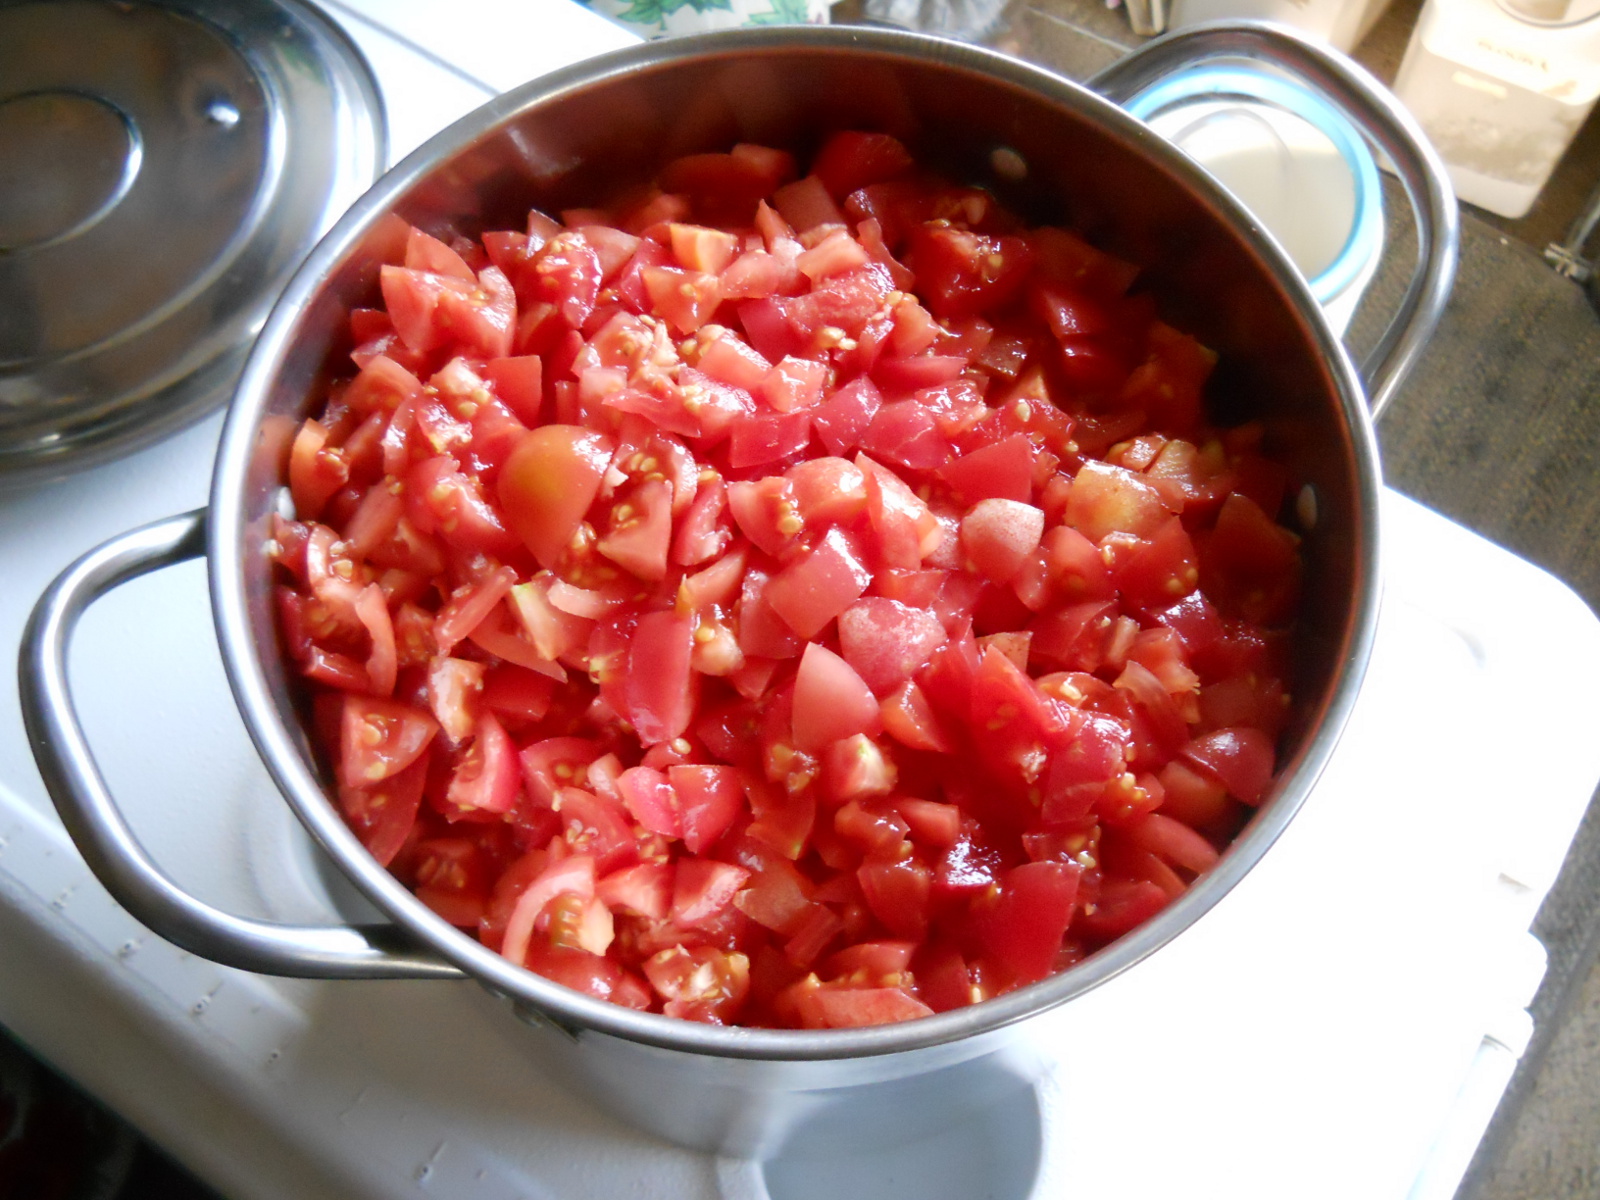
Here are the tomatoes all cut up (thanks again, Shannon!) and ready to be made into tomato sauce:
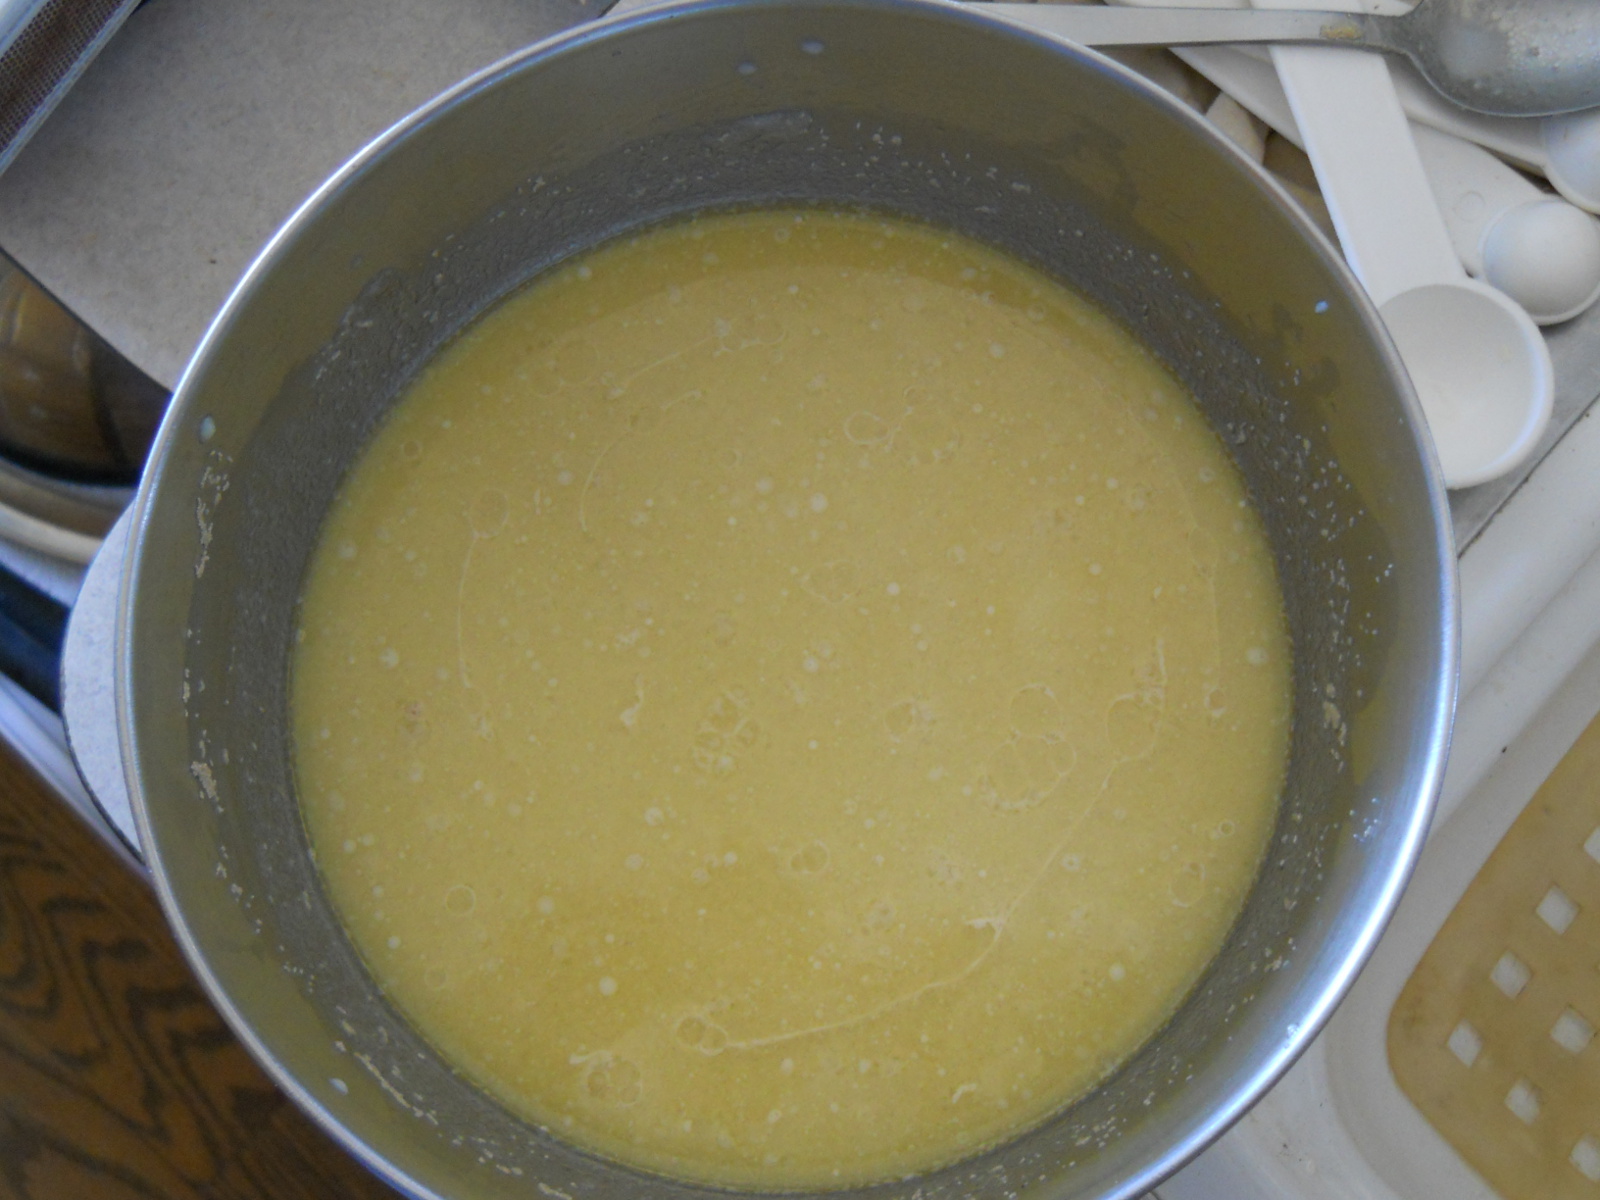
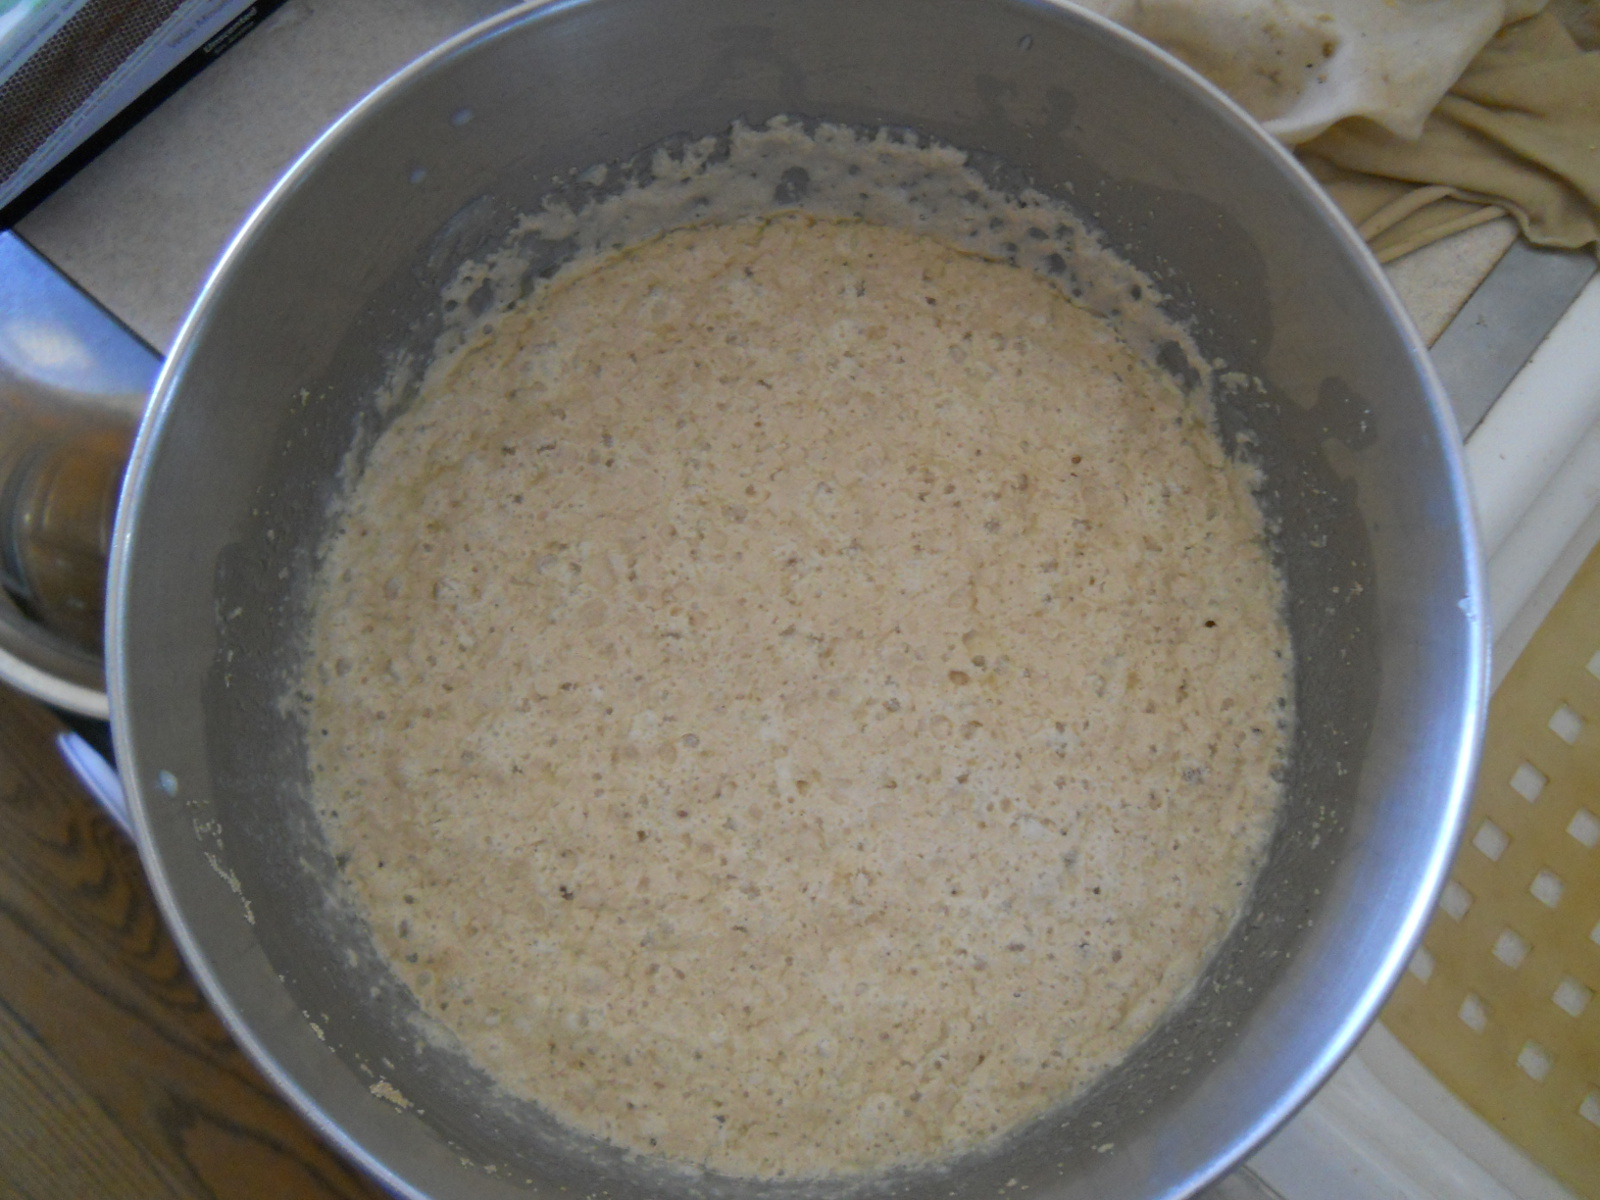
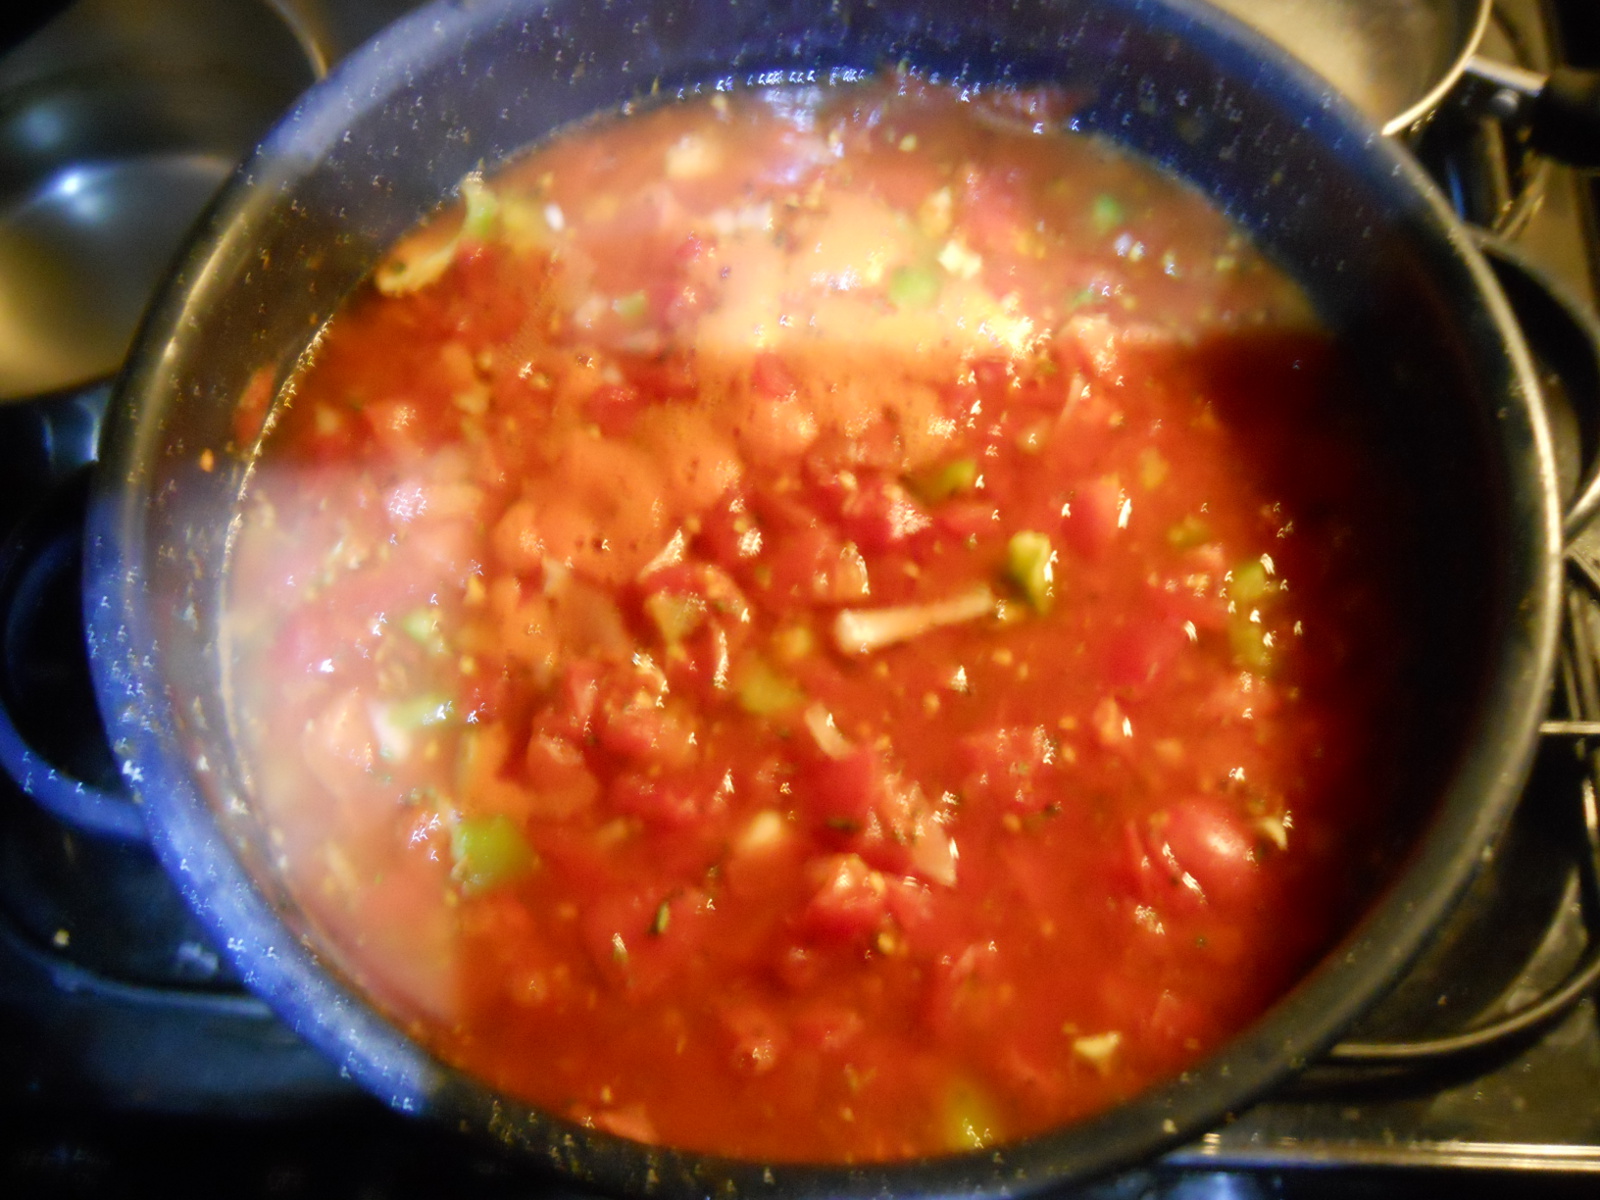
I added other ingredients per the recipe below, and here it is simmering and being prepped to pour into hot jars in order to be pressure-canned:
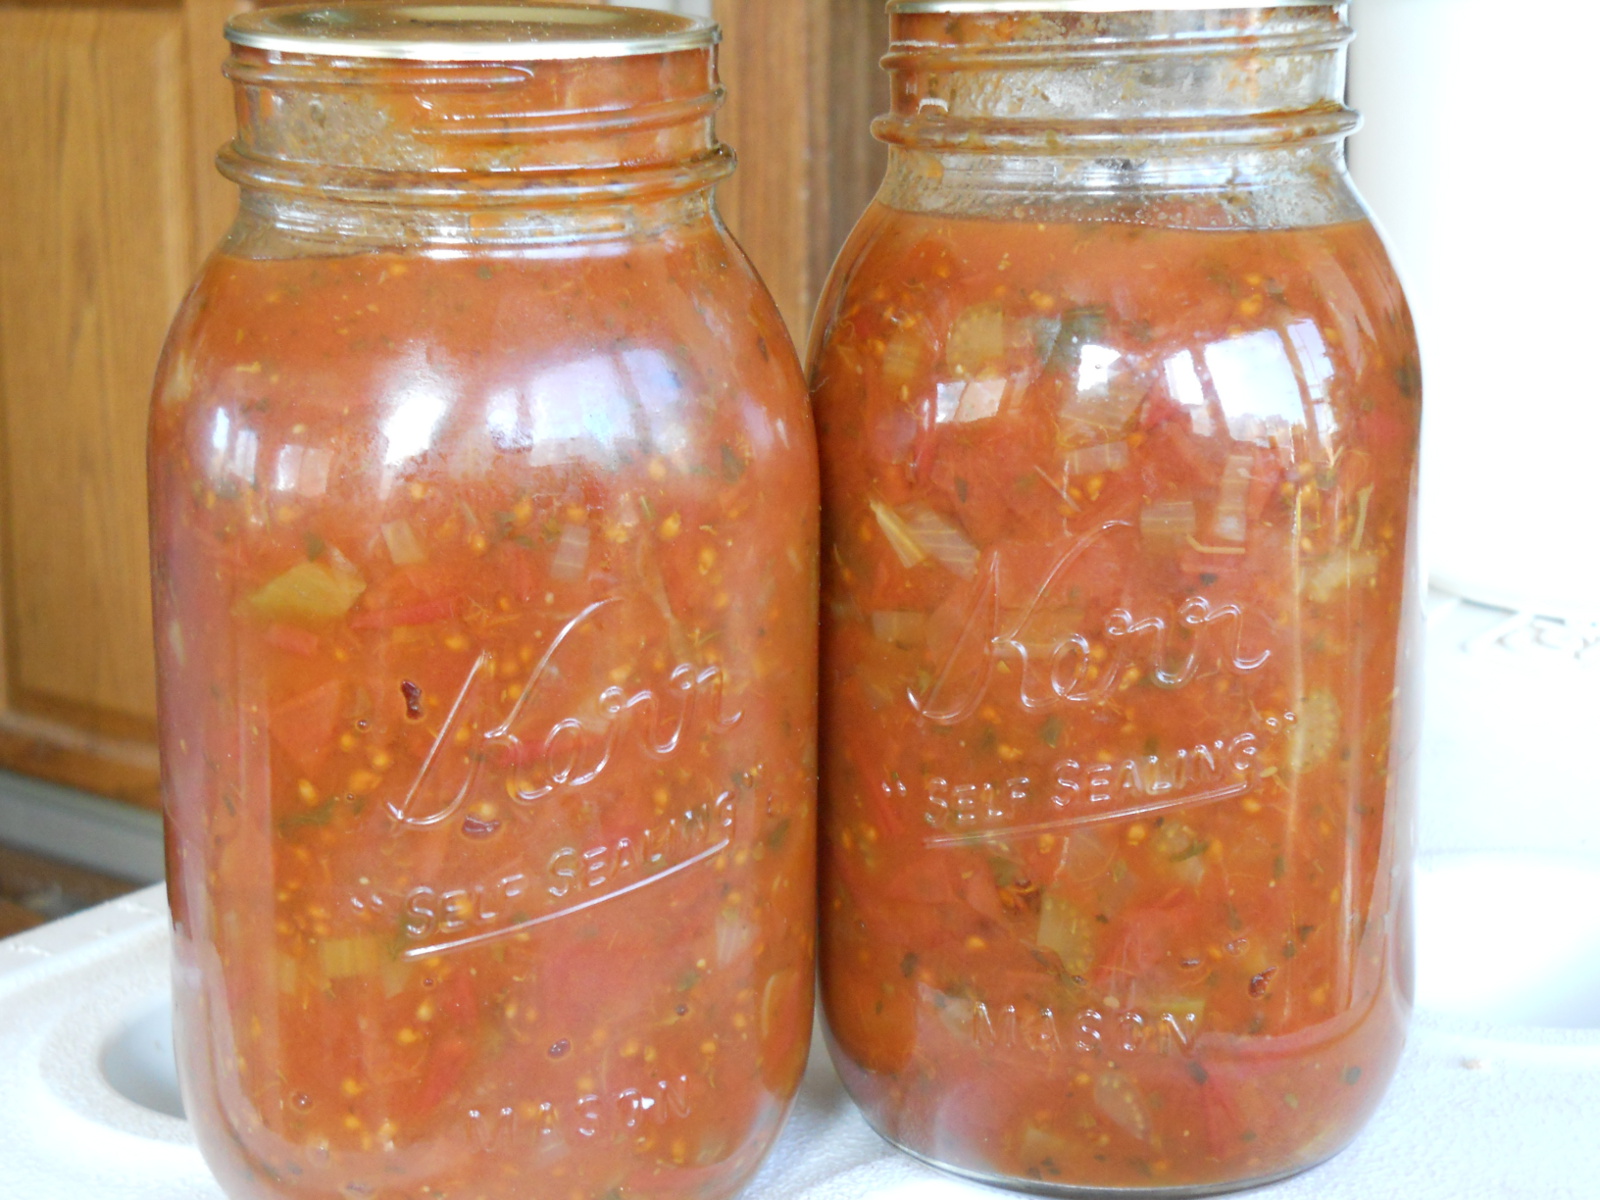
I think the yield was three and a half quarts; but by the time I took this picture, we had already used half our yield! It is pretty tasty stuff!
As you may know by now, I am all about keeping things simple. So I looked for a really simple recipe. I think next time I may keep it even more simple by adding only garlic and onion, but this recipe is great too. It is titled “Italian Tomato Sauce” in the Ball “Blue Book of Preserving”:
ITALIAN TOMATO SAUCE:
Yield: About 7 pints or 3 quarts
- 4 quarts chopped (about 24 large), seeded, peeled, cored tomatoes (uh, yeah, right – I only cored and chopped mine and threw the rest in as-is)
- 1 cup chopped celery (about 2 stalks)
- 1/2 cup chopped onion (about 1/2 medium)
- 1/4 cup chopped green pepper (about 1/4 medium)
- 1 Tbsp. Basil
- 1 Tbsp. Oregano
- 1 Tbsp. Minced Parsley
- 2 tsp. crushed red pepper (optional – I didn’t use it)
Combine all ingredients in a large saucepot. Cover and cook 10 minutes, stirring occasionally to prevent sticking (cook longer if you want to cook out some of the juices and make a thicker, less watery, sauce). Ladle the hot sauce into hot jars leaving 1-inch headspace. Remove air bubbles. Adjust two-piece caps. Process pints 15 minutes, quarts 20 minutes, at 10 pounds pressure (depending on altitude) in a steam pressure canner. SIMPLE!!
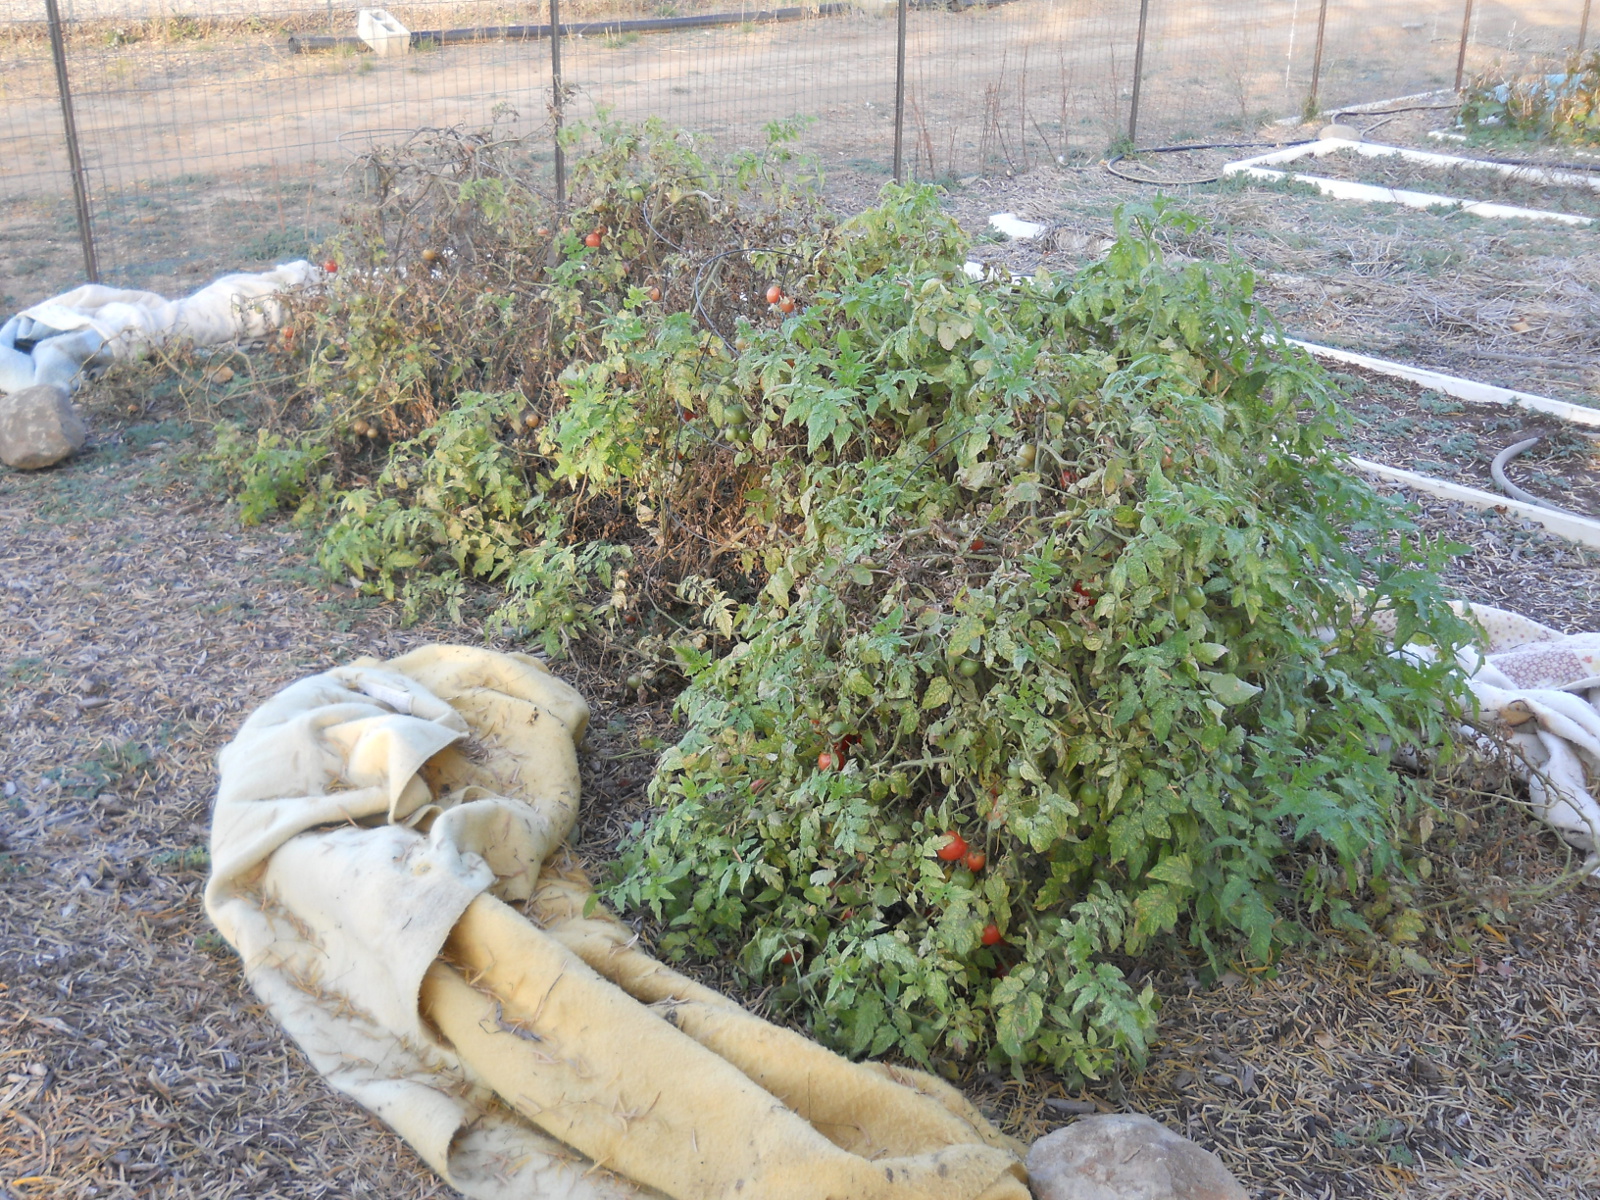
This past Lord’s Day we made the decision to pull the remainder of the garden due to a long, hard freeze that was expected to hit on Monday night (we’ve been covering one of the black-eyed pea beds and the tomatoes with blankets up to this point, for light freezes, which has worked very well; but we covered other black-eyed peas beds with a tarp, and that didn’t work so well). As you can see, the tomatoes were going strong into December:
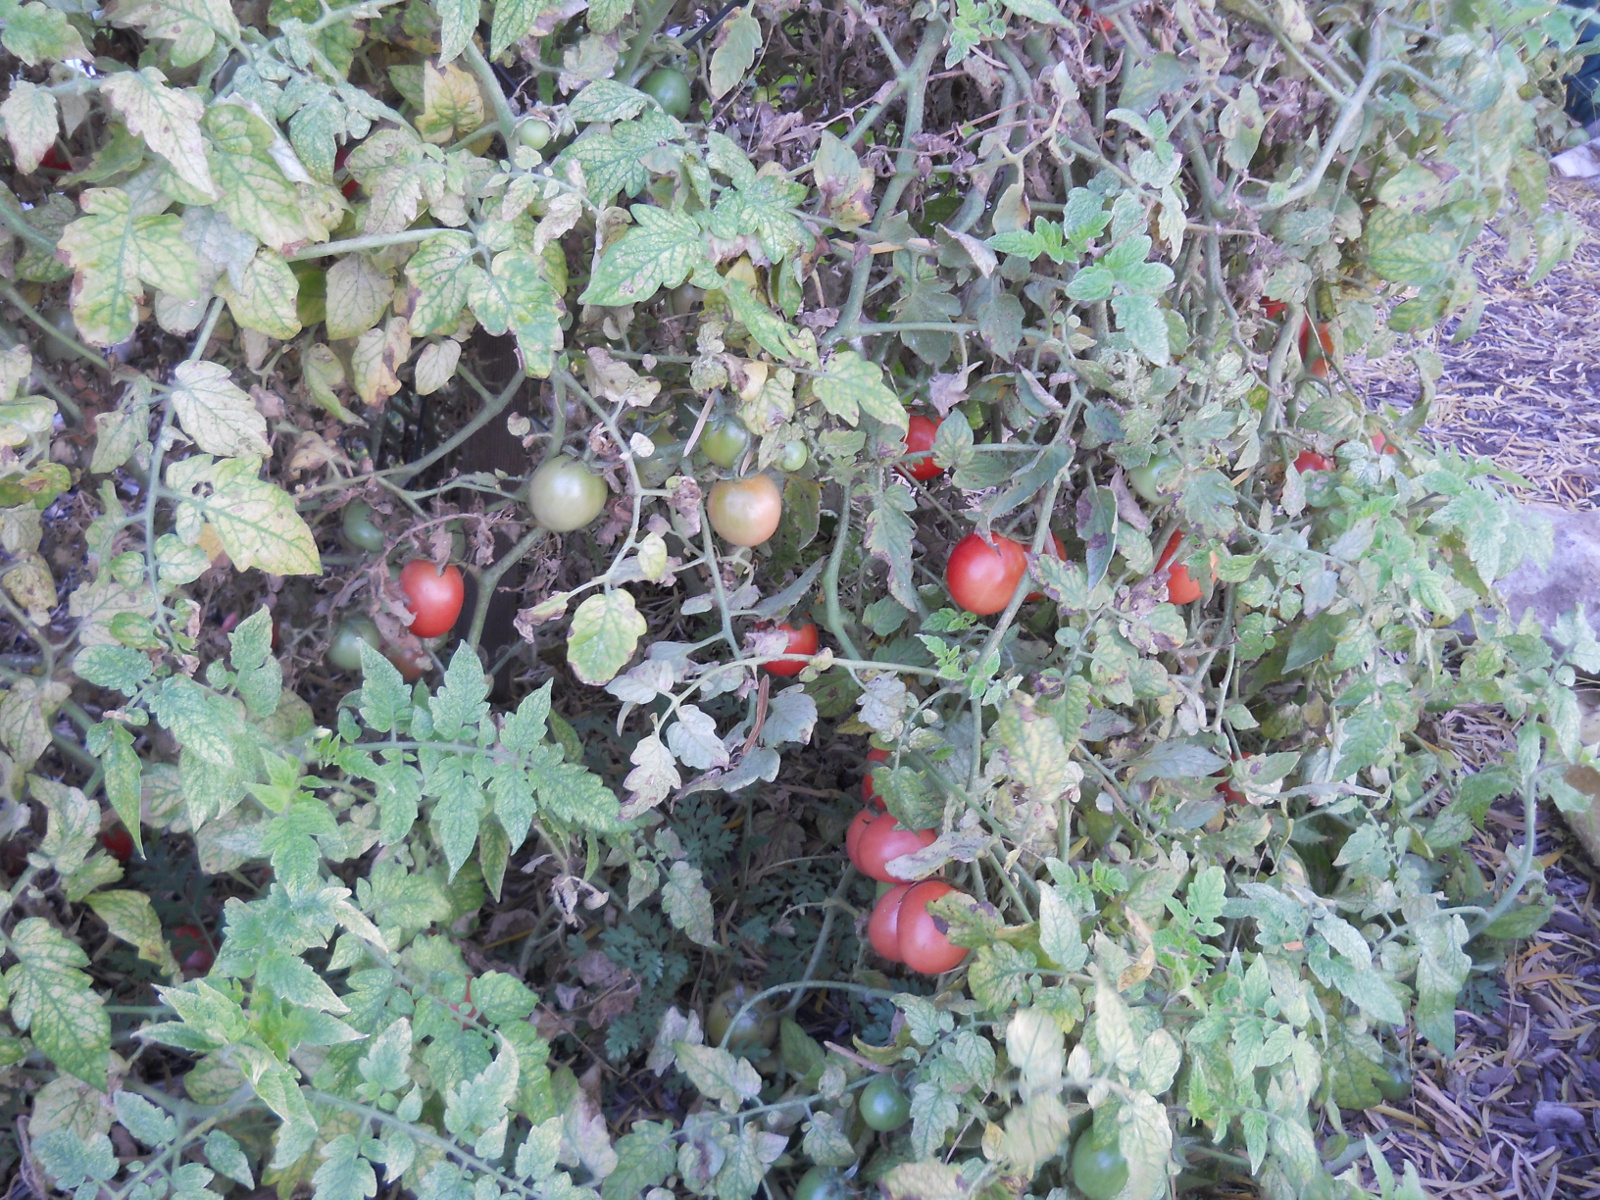
The growth seemed to flourish after the temperatures dropped a bit when Fall kicked in:
This is the lone, late-blooming, heirloom plant (we had originally planted two, way back in the Spring):
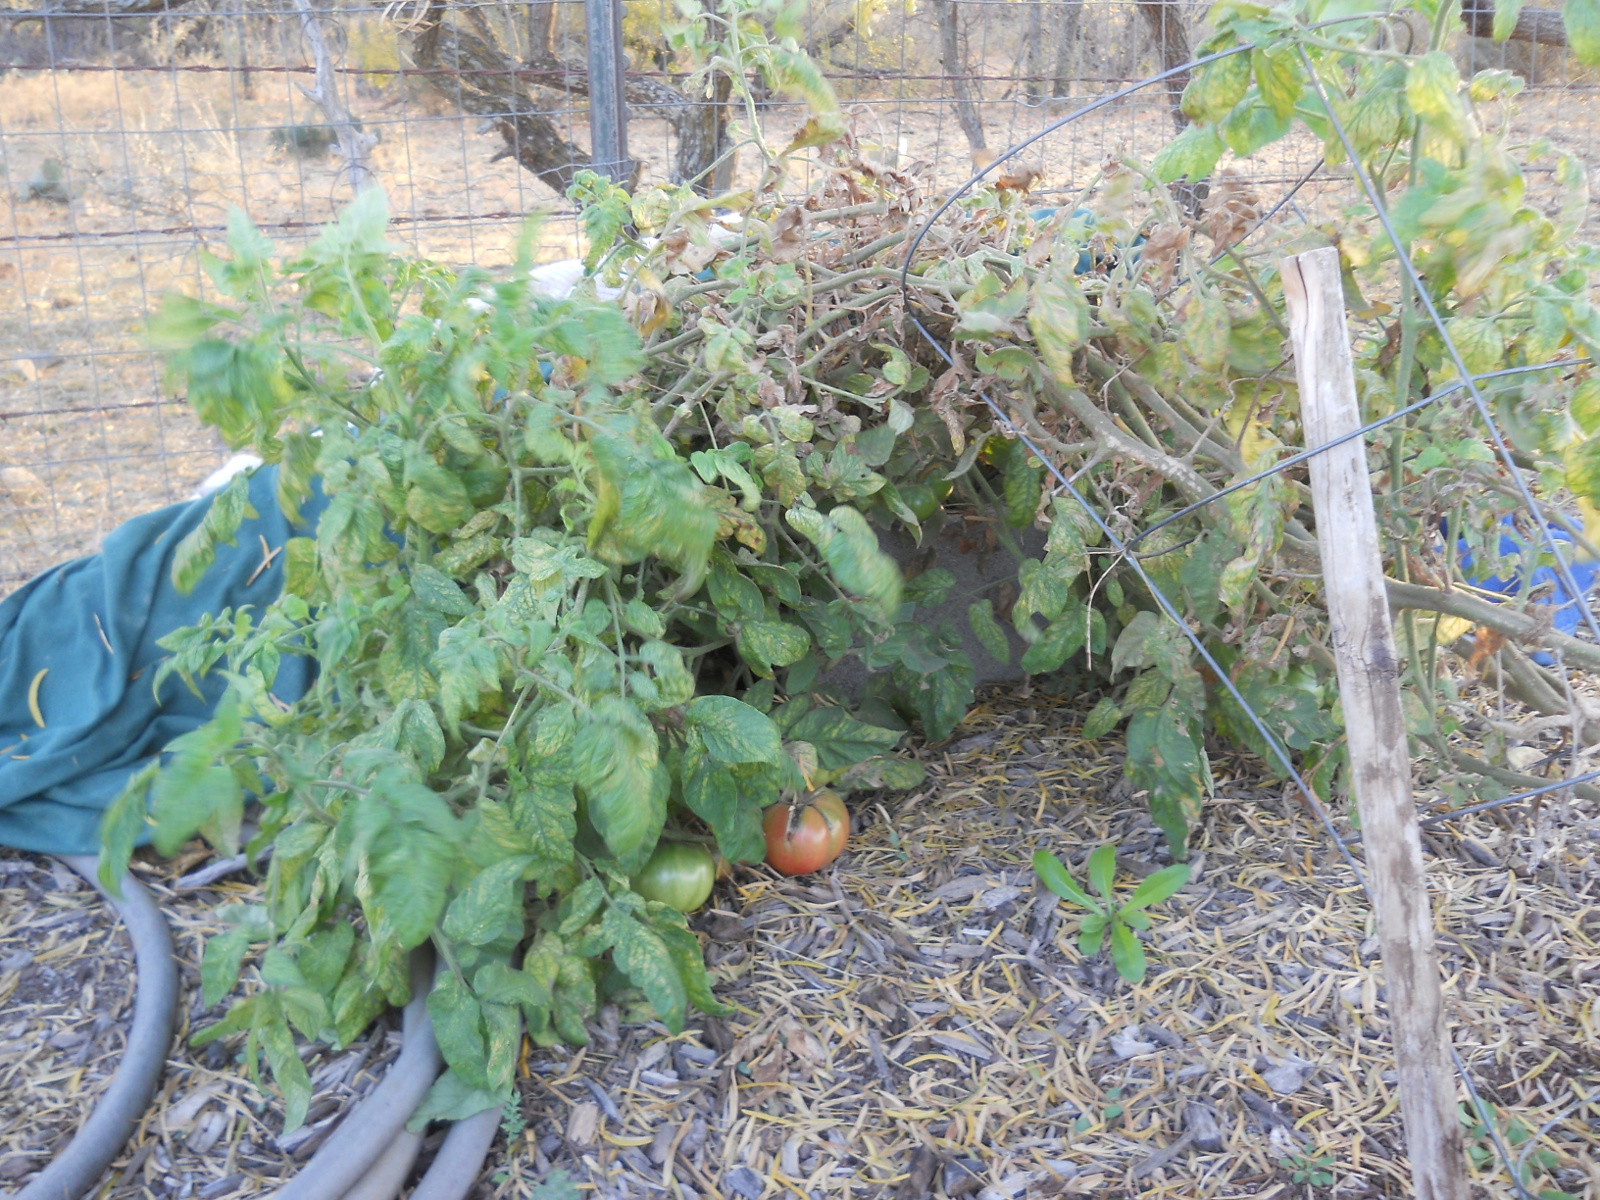
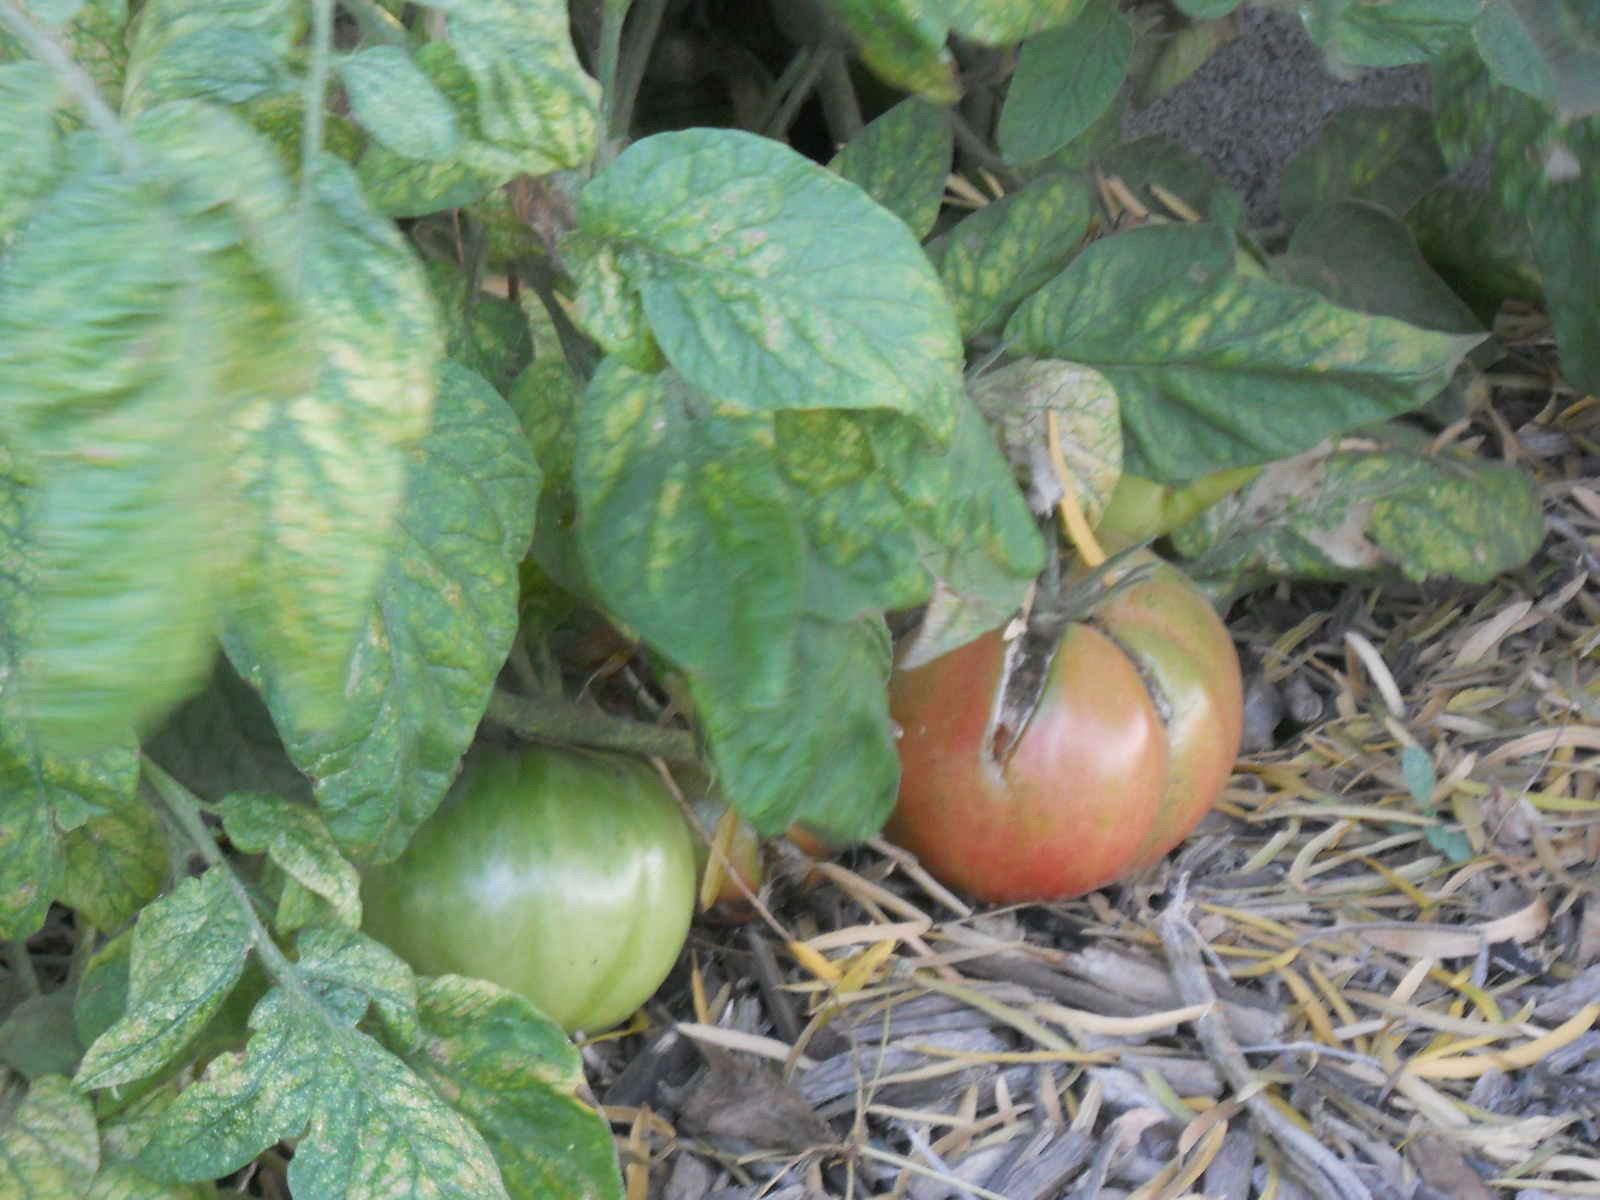
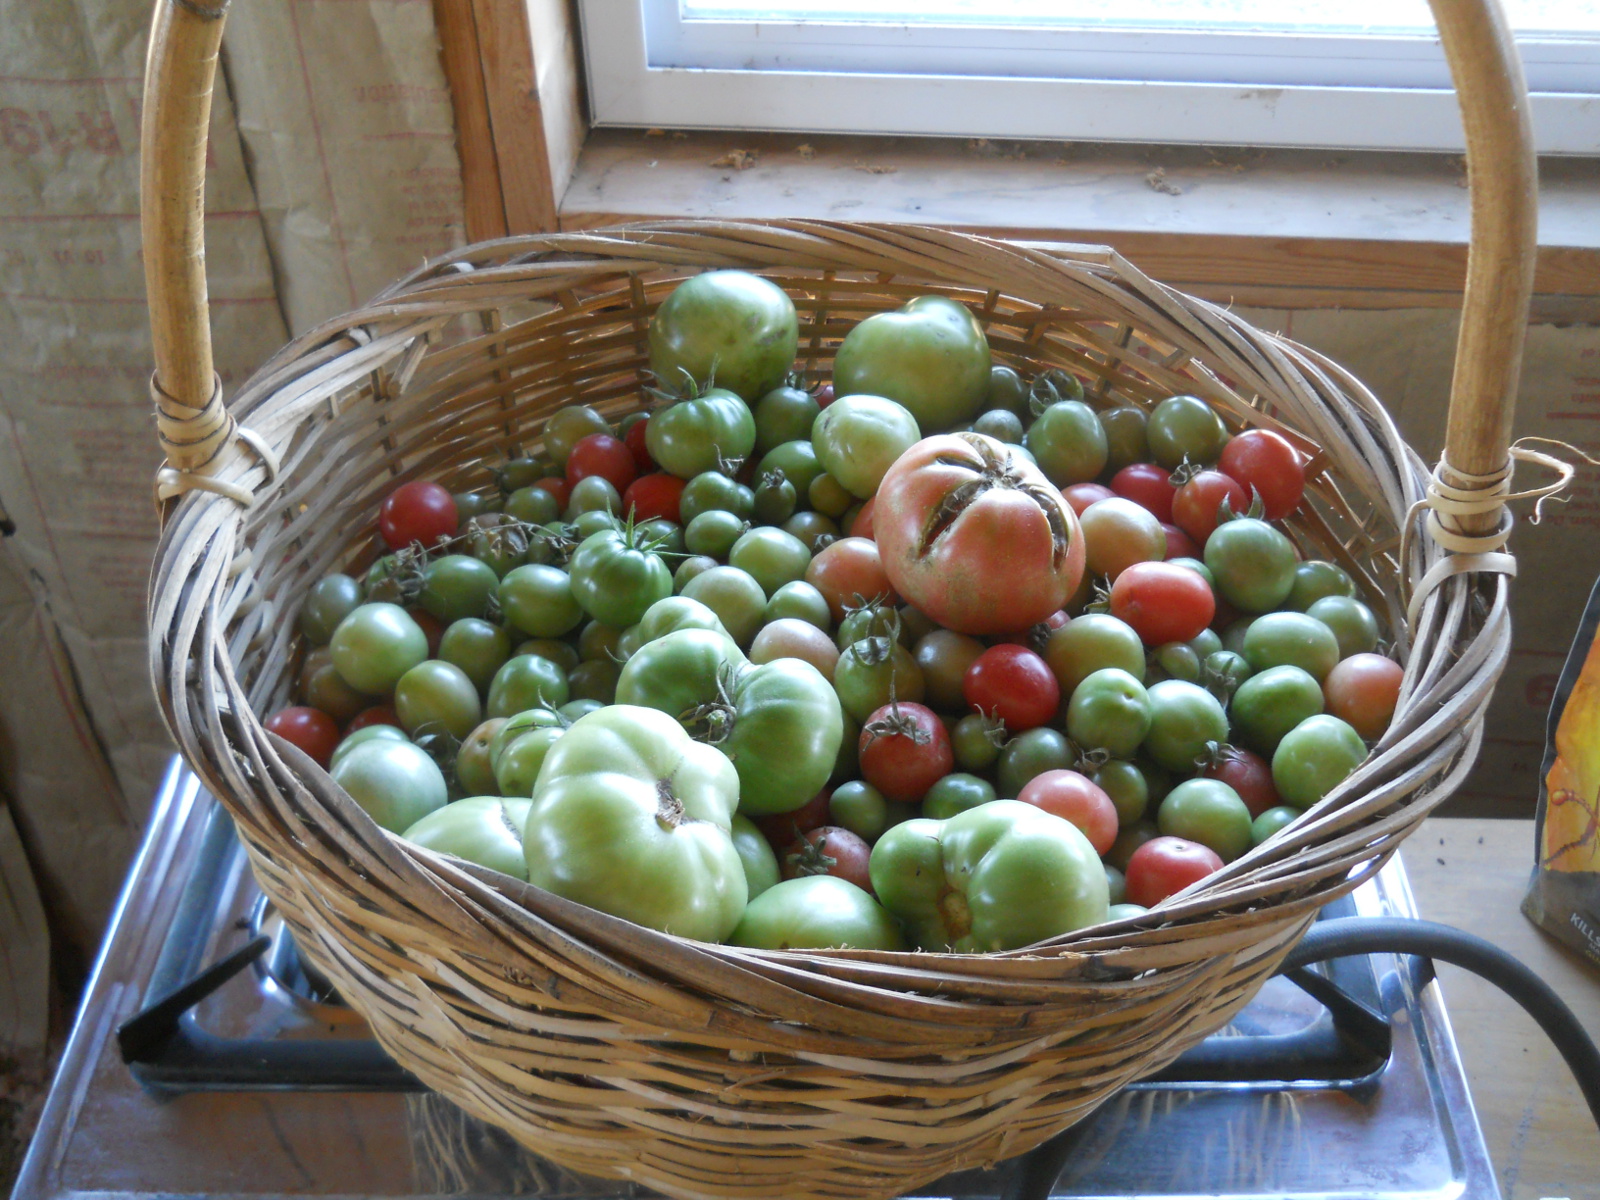
It’s too bad we had to stop it in its prime because it put out some beauties:
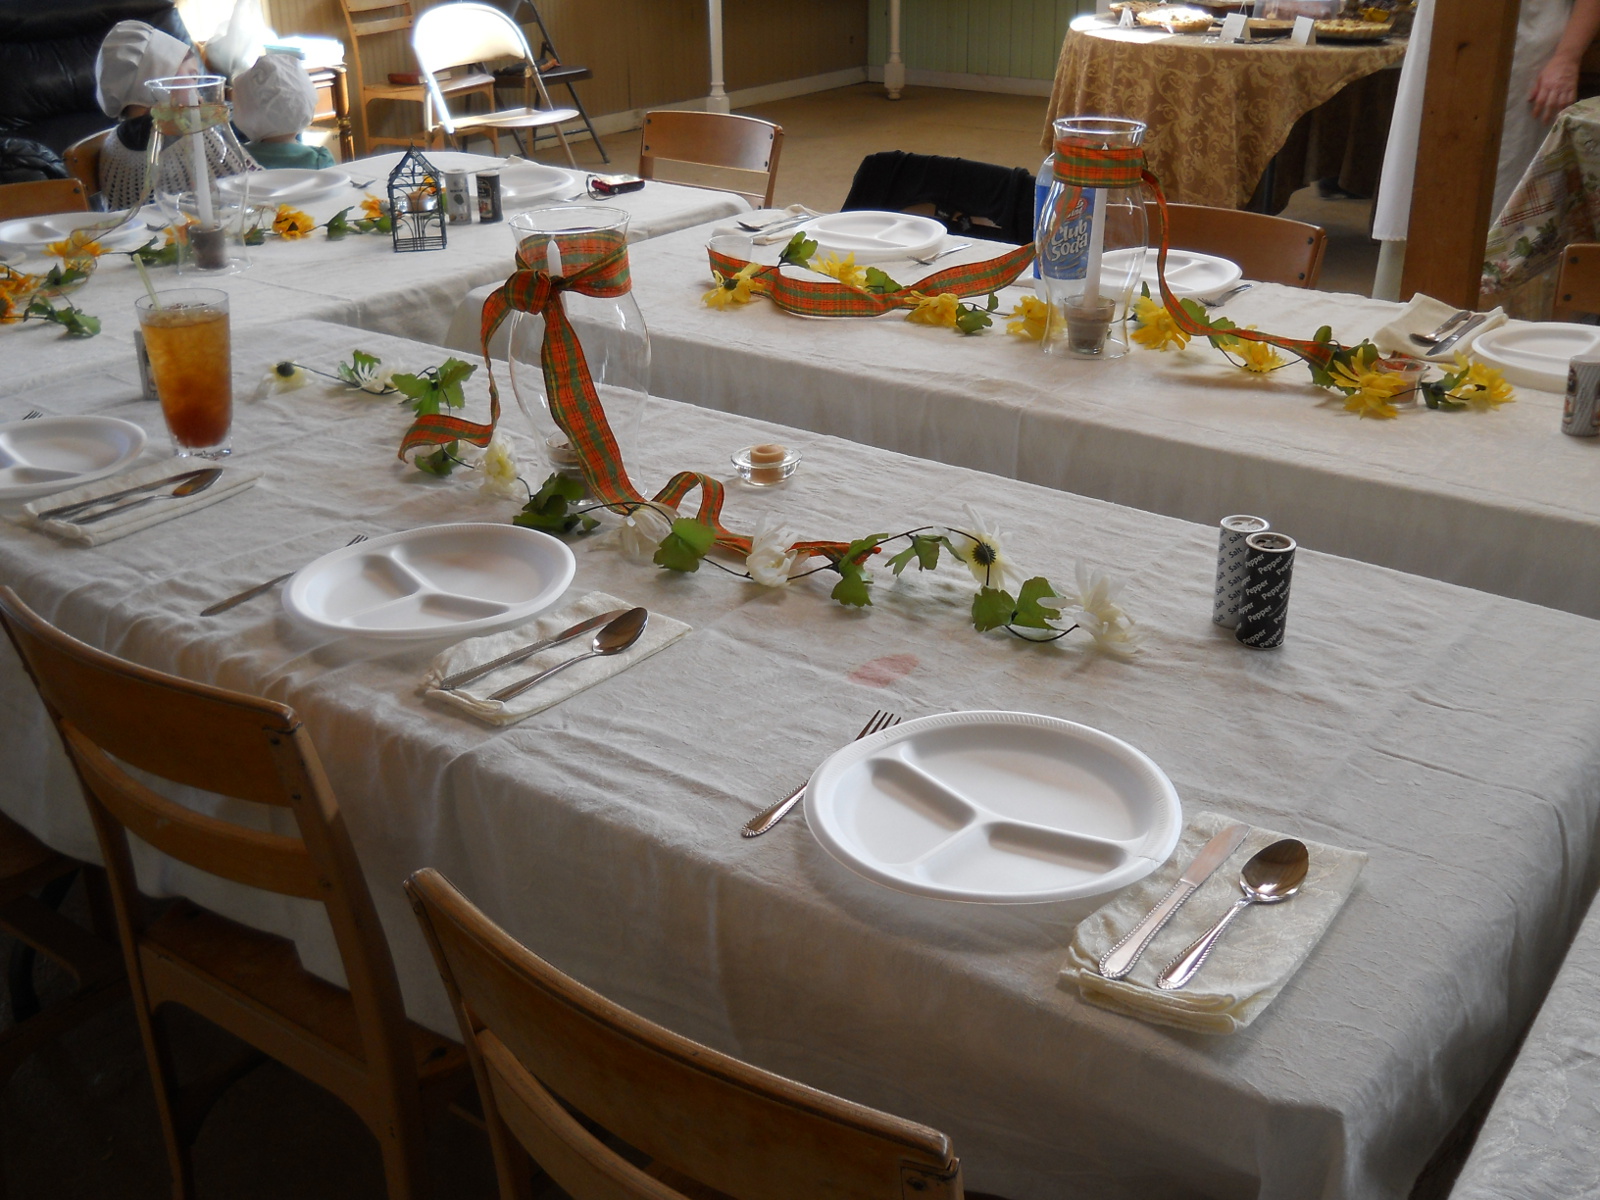
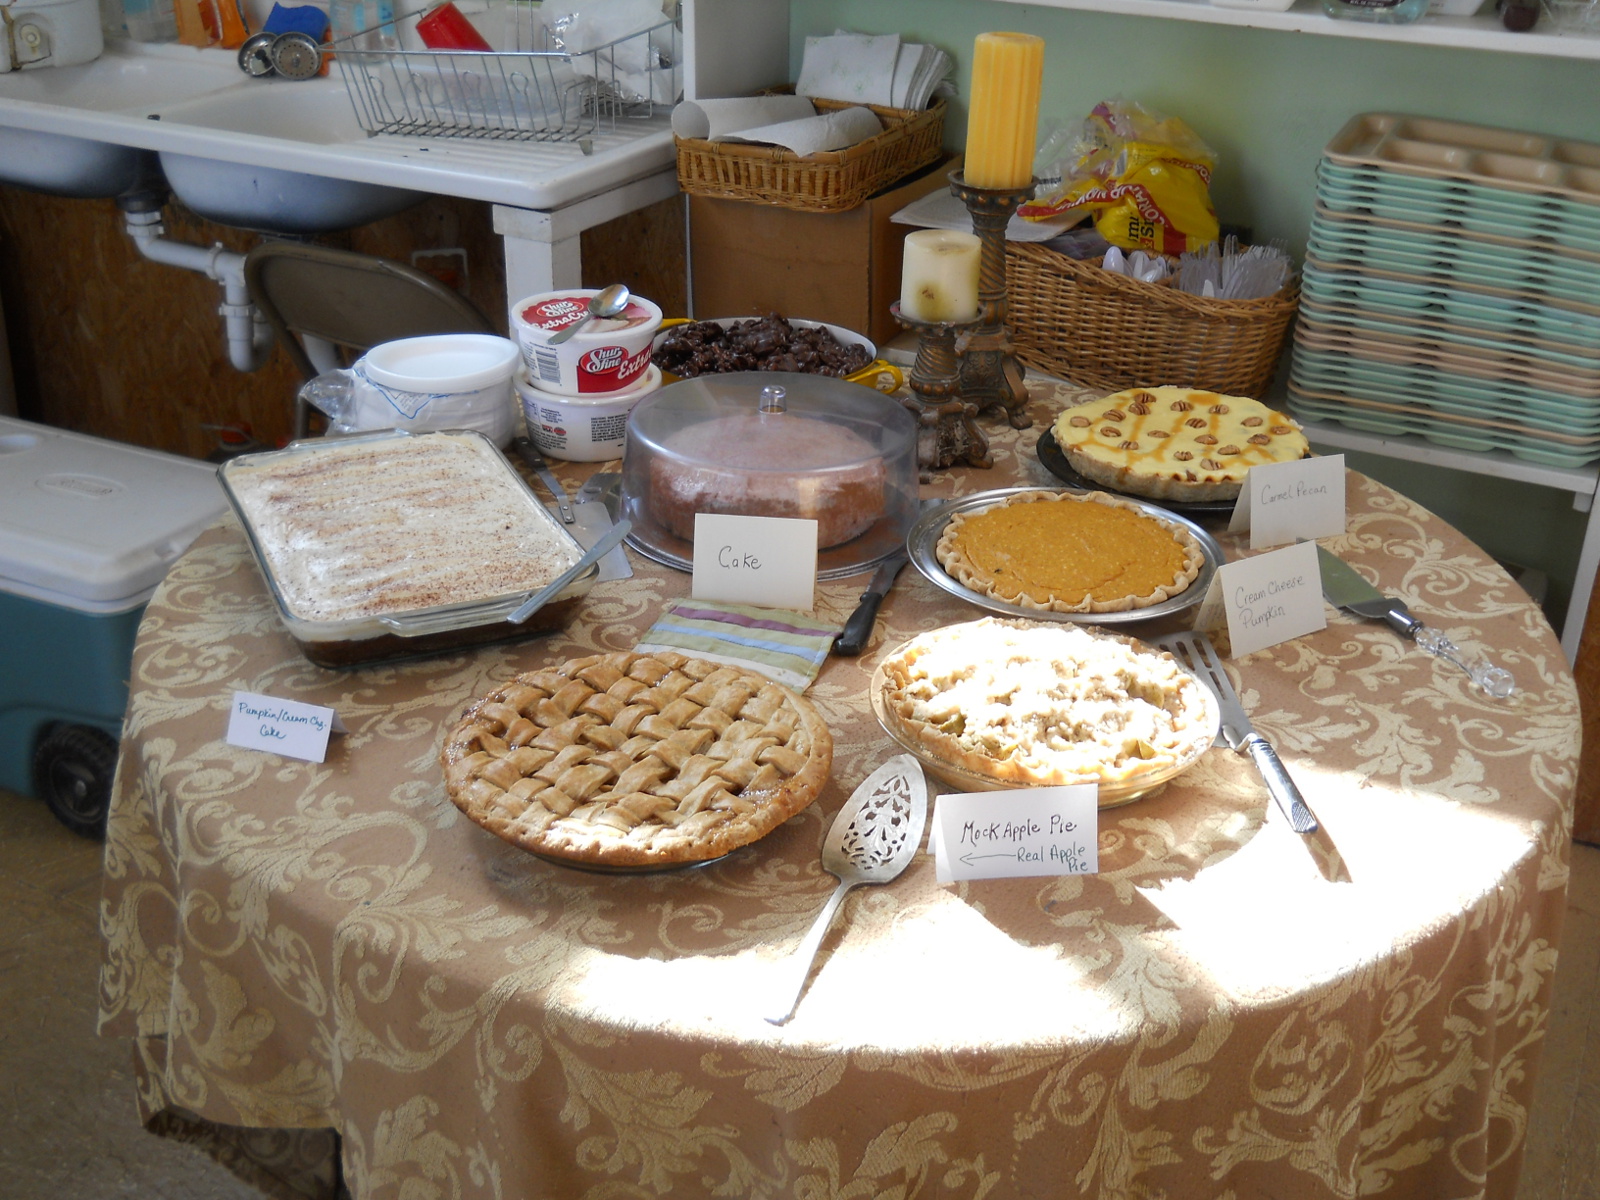
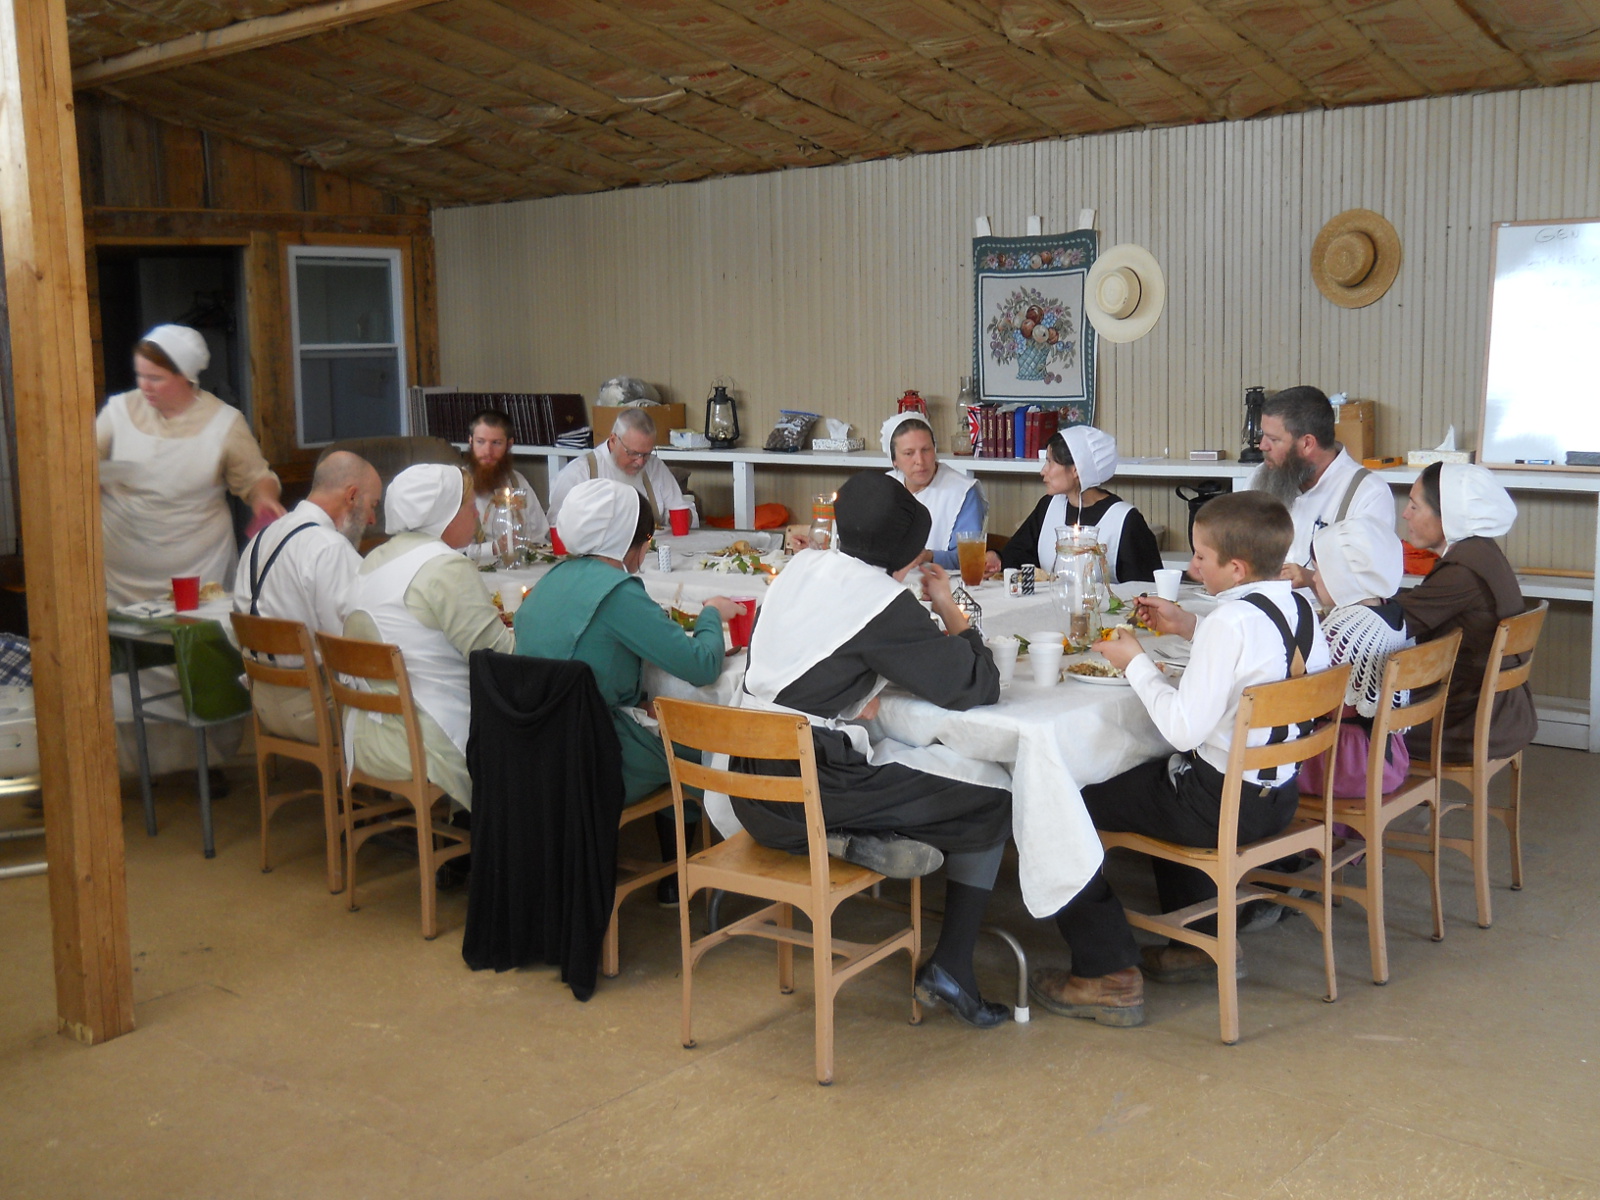
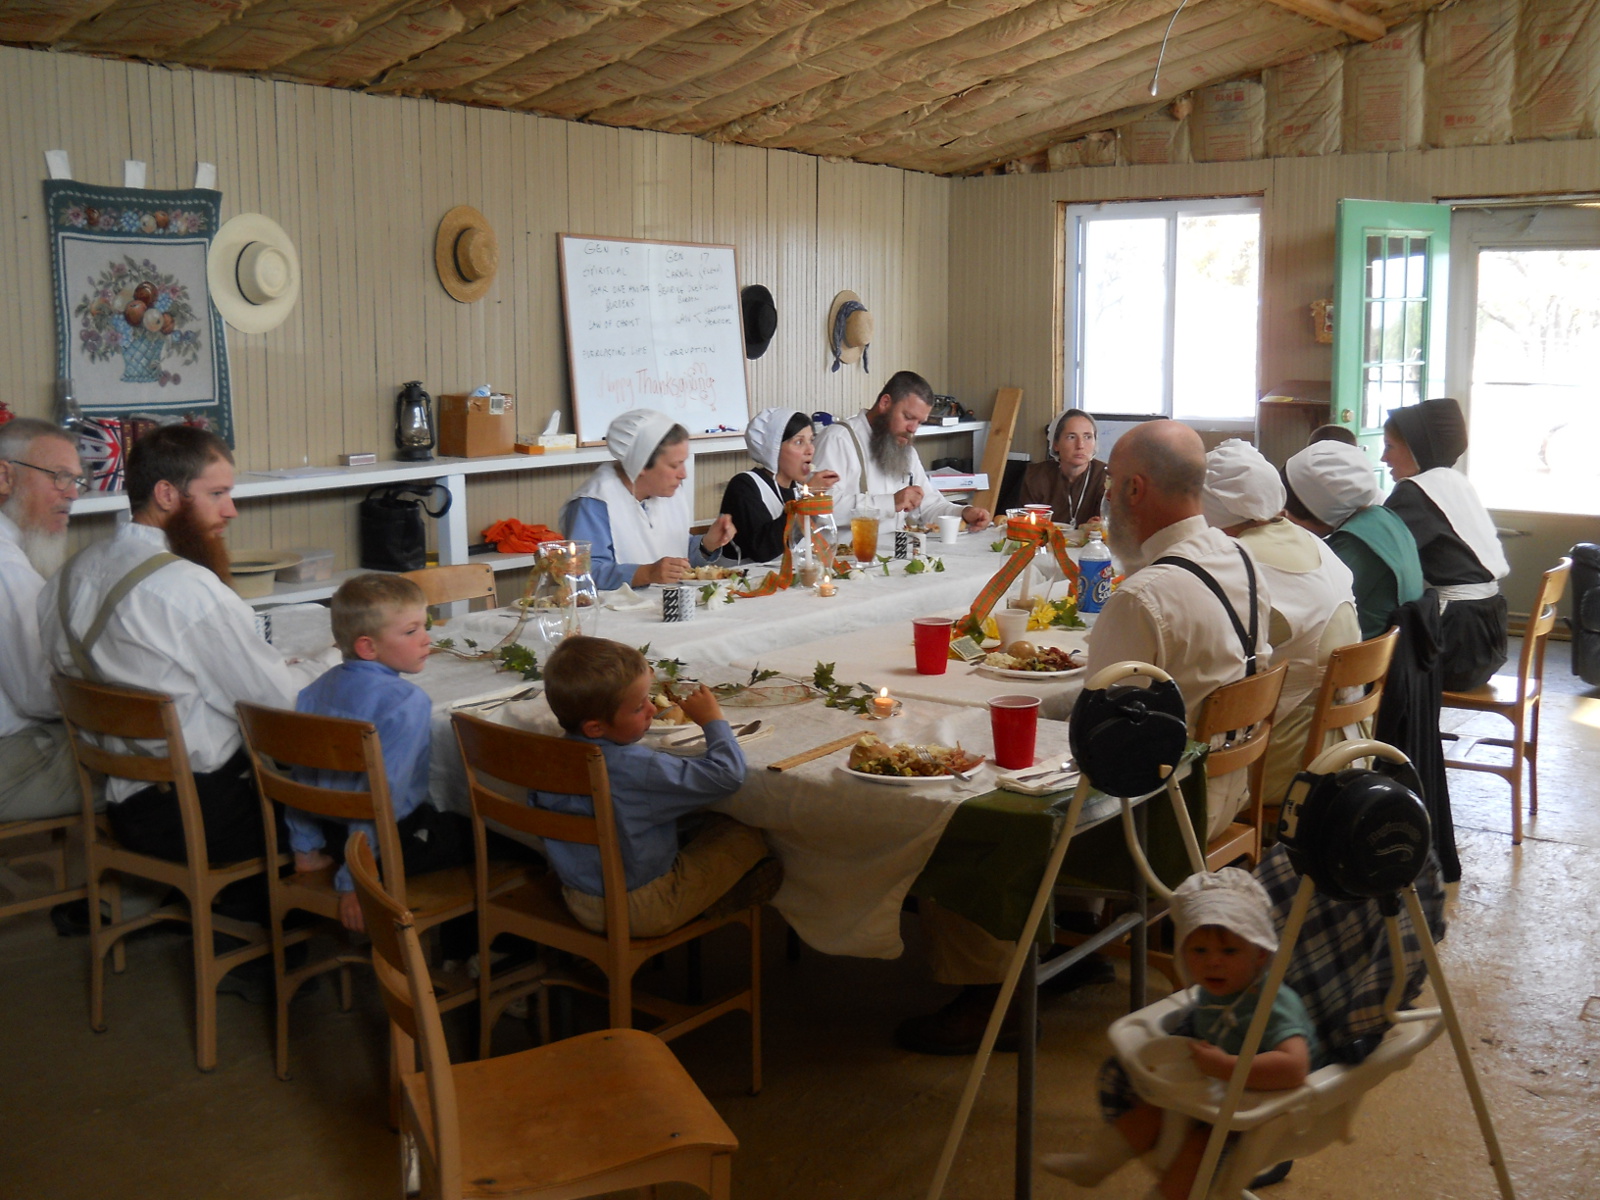
You wouldn’t know it from this picture, but the width of the basket is about 17 inches! Thank the Lord for the tomato bounty! I plan to ripen most of these little pretties in our summer kitchen and make more salsa and tomato sauce. Also, our neighbor made a delicious mock apple pie with green tomatoes (don’t judge until you taste!) for our community Thanksgiving meal, and I was very impressed. So if she’s willing to share the recipe, I plan to make a pie with some of our green tomatoes and share the recipe and process with you all, Lord willing:
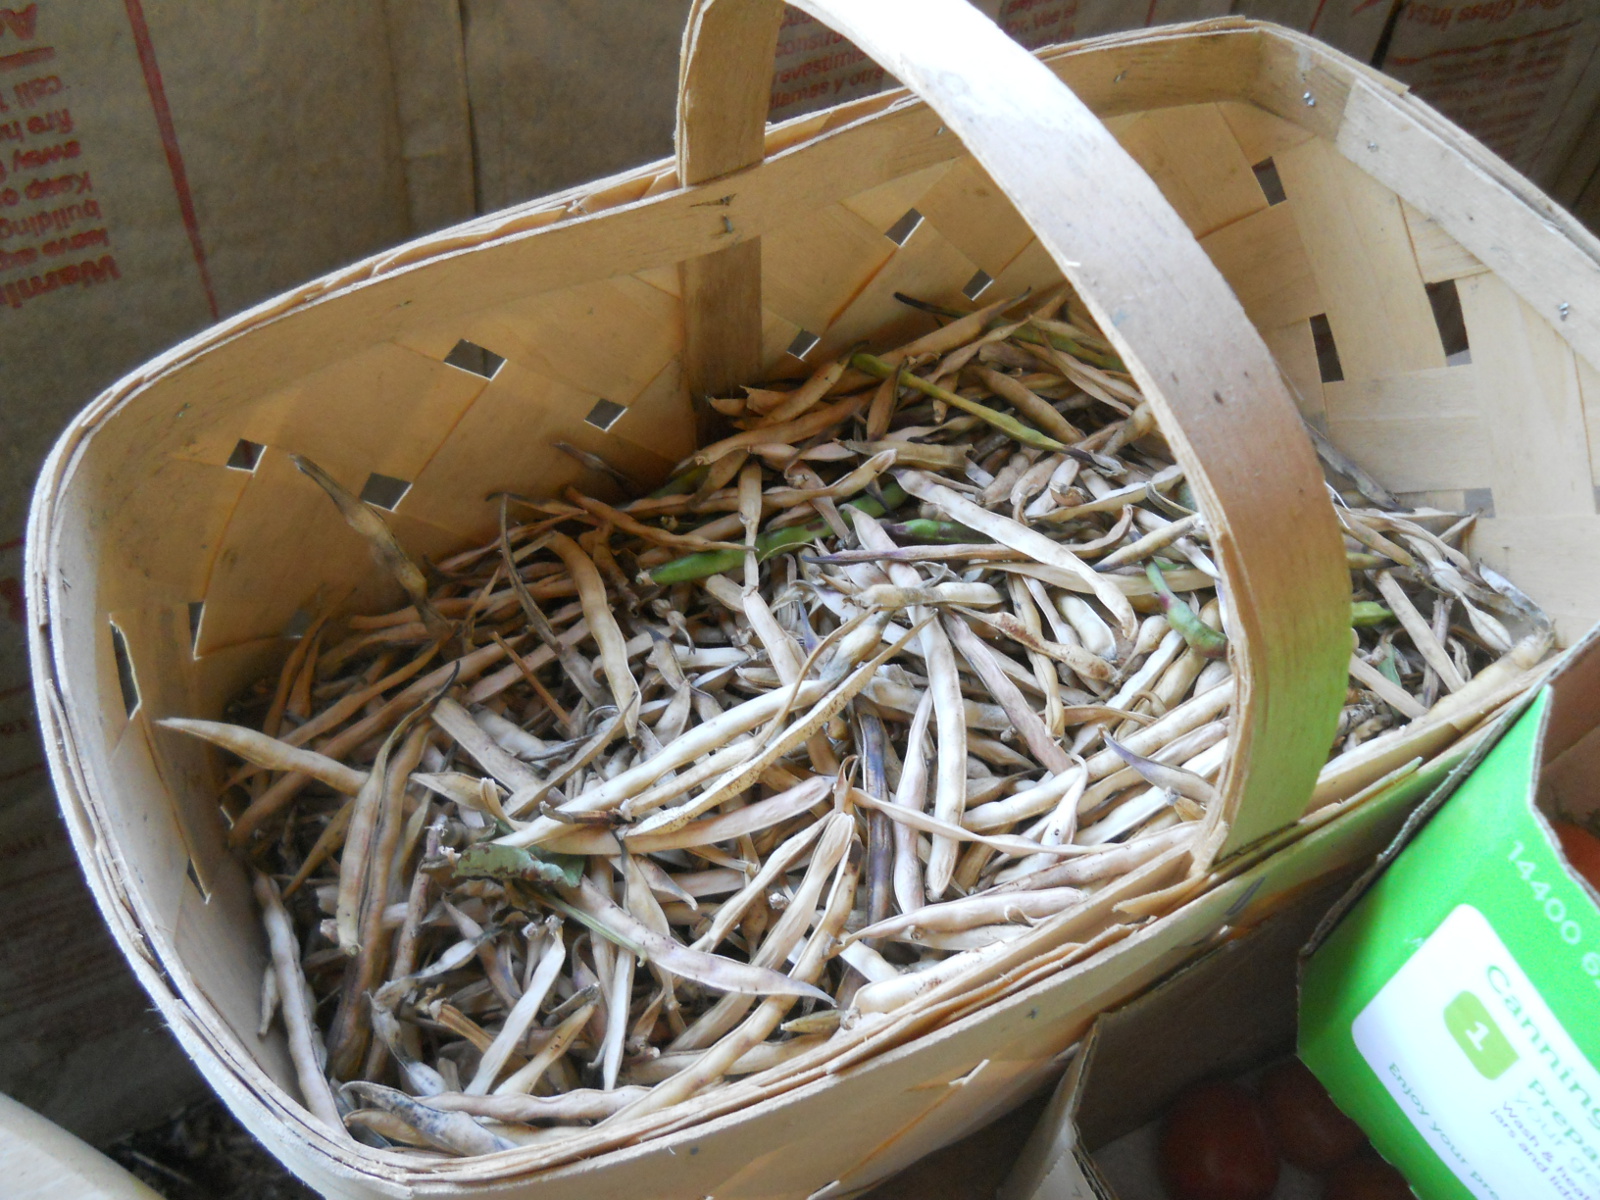
Lastly, but certainly not least….ly (? 🙂 ) We picked the last of our black-eyed peas dried pods. (You can learn more about our other black-eyed peas experience when we picked from the Bunker’s field of black-eyed peas.) We plan to extract the little dried peas from the pods and save them for re-planting in a future garden, or rehydrating them for soups, stews, etc.:
Even continuing this year on the heels of one of the worst droughts in Texas history last year, we are very thankful to God, our Provider, for granting us water and a bountiful garden enabling us to eat and preserve vegetables for the future. May He receive all the glory.
Susan