The Sifford Sojournal

Our journal of what we pray is our sojourn of life along the narrow way, even the old paths, submitting to the Bible as a light unto both.

Page 60 of 92

The Barn – Update I – The Loft

Part of the original plan for our barn was to have a U-shaped loft inside, where the entire back 20 feet would have a loft, and then moving forward in the barn, the loft would extend 10-12 feet from the side walls for another 20 feet or so of depth.

Well, over a year ago, I was able to start on this process, with the idea of building one half of the back section at a time. At the time, I figured I would have that section done by now, but it was not meant to be; however, I thought I’d show the progress in pieces, starting with where it is today.

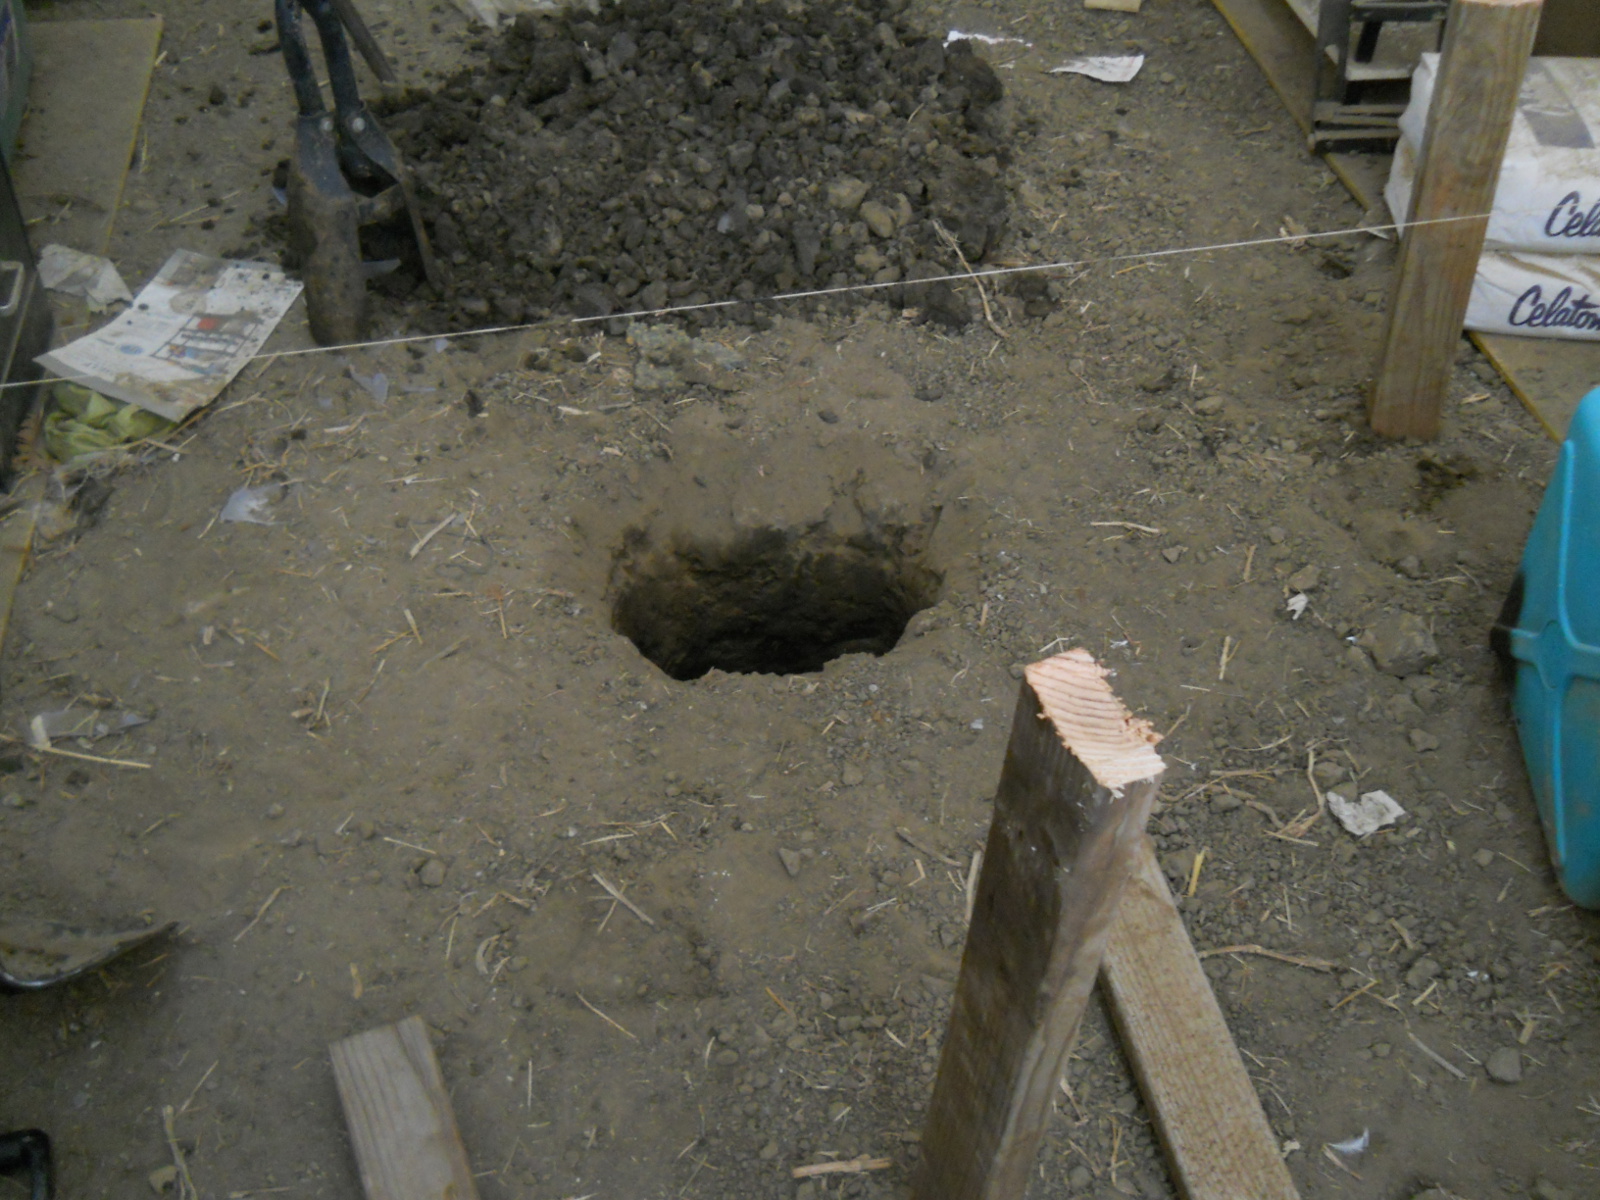
Here is the first post hole:

Barn Loft First Post Hole

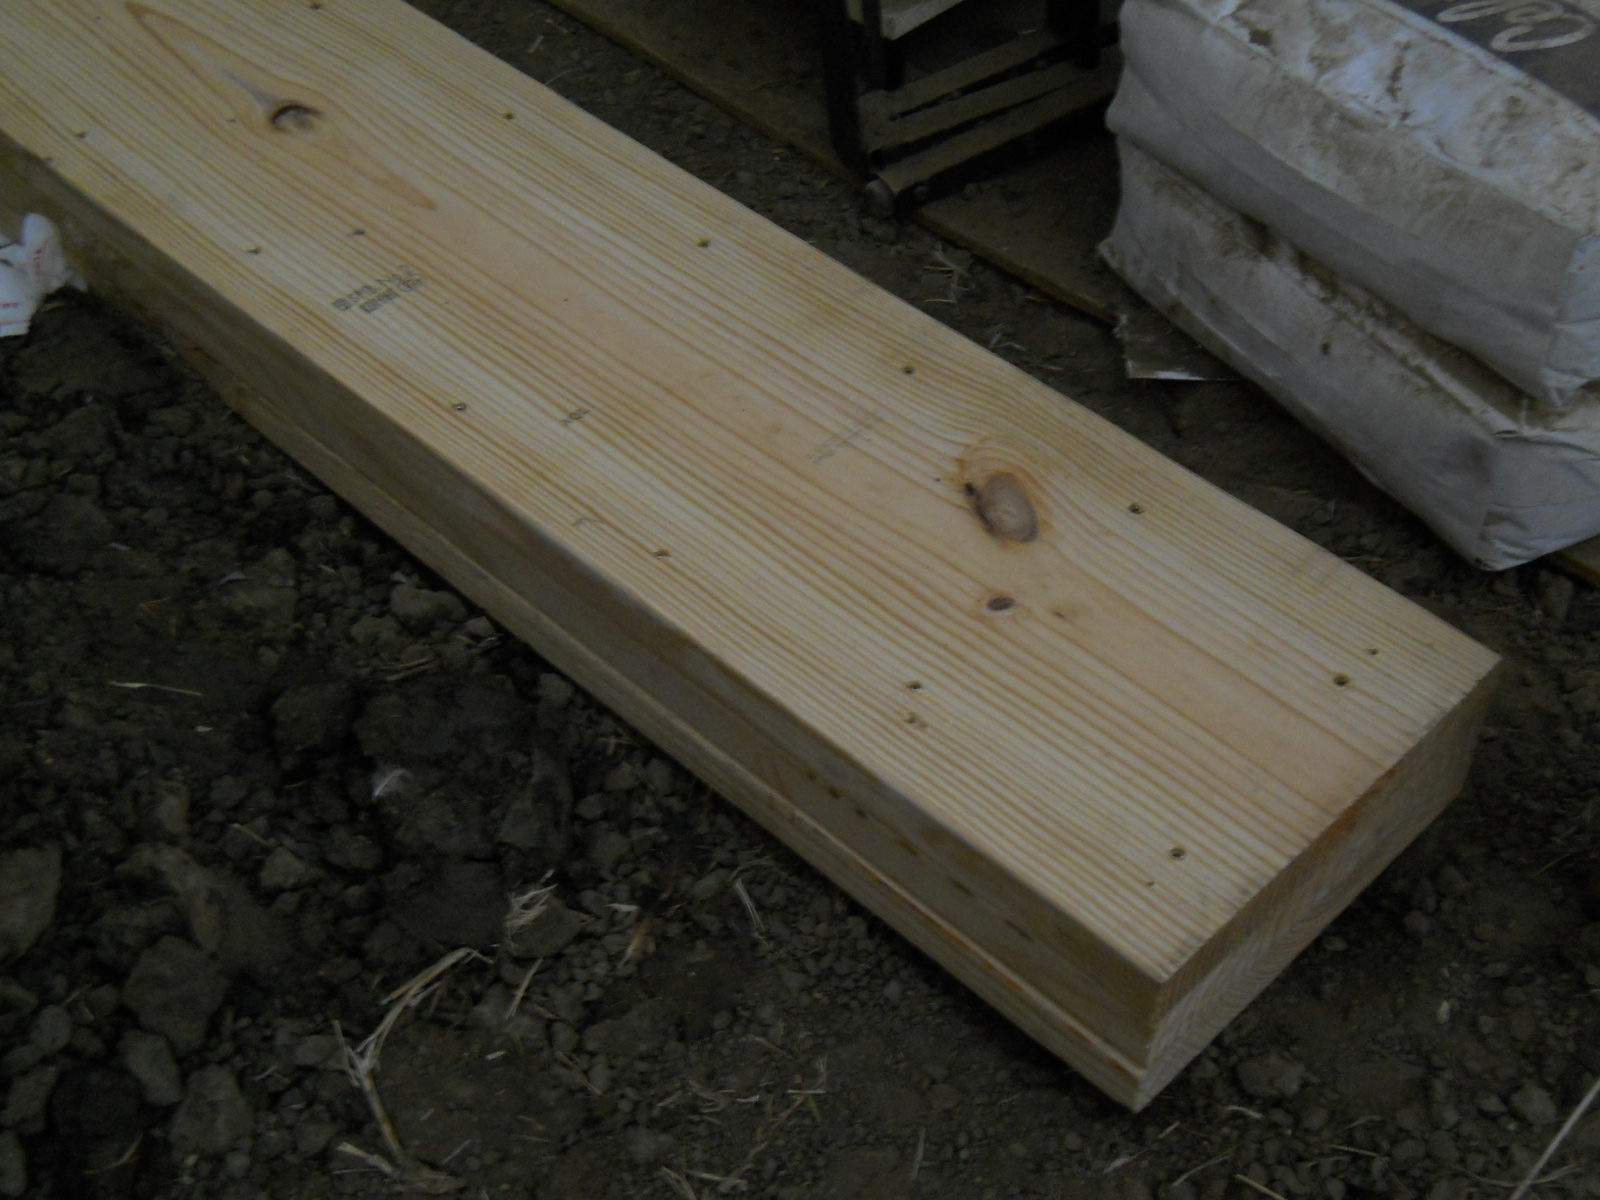
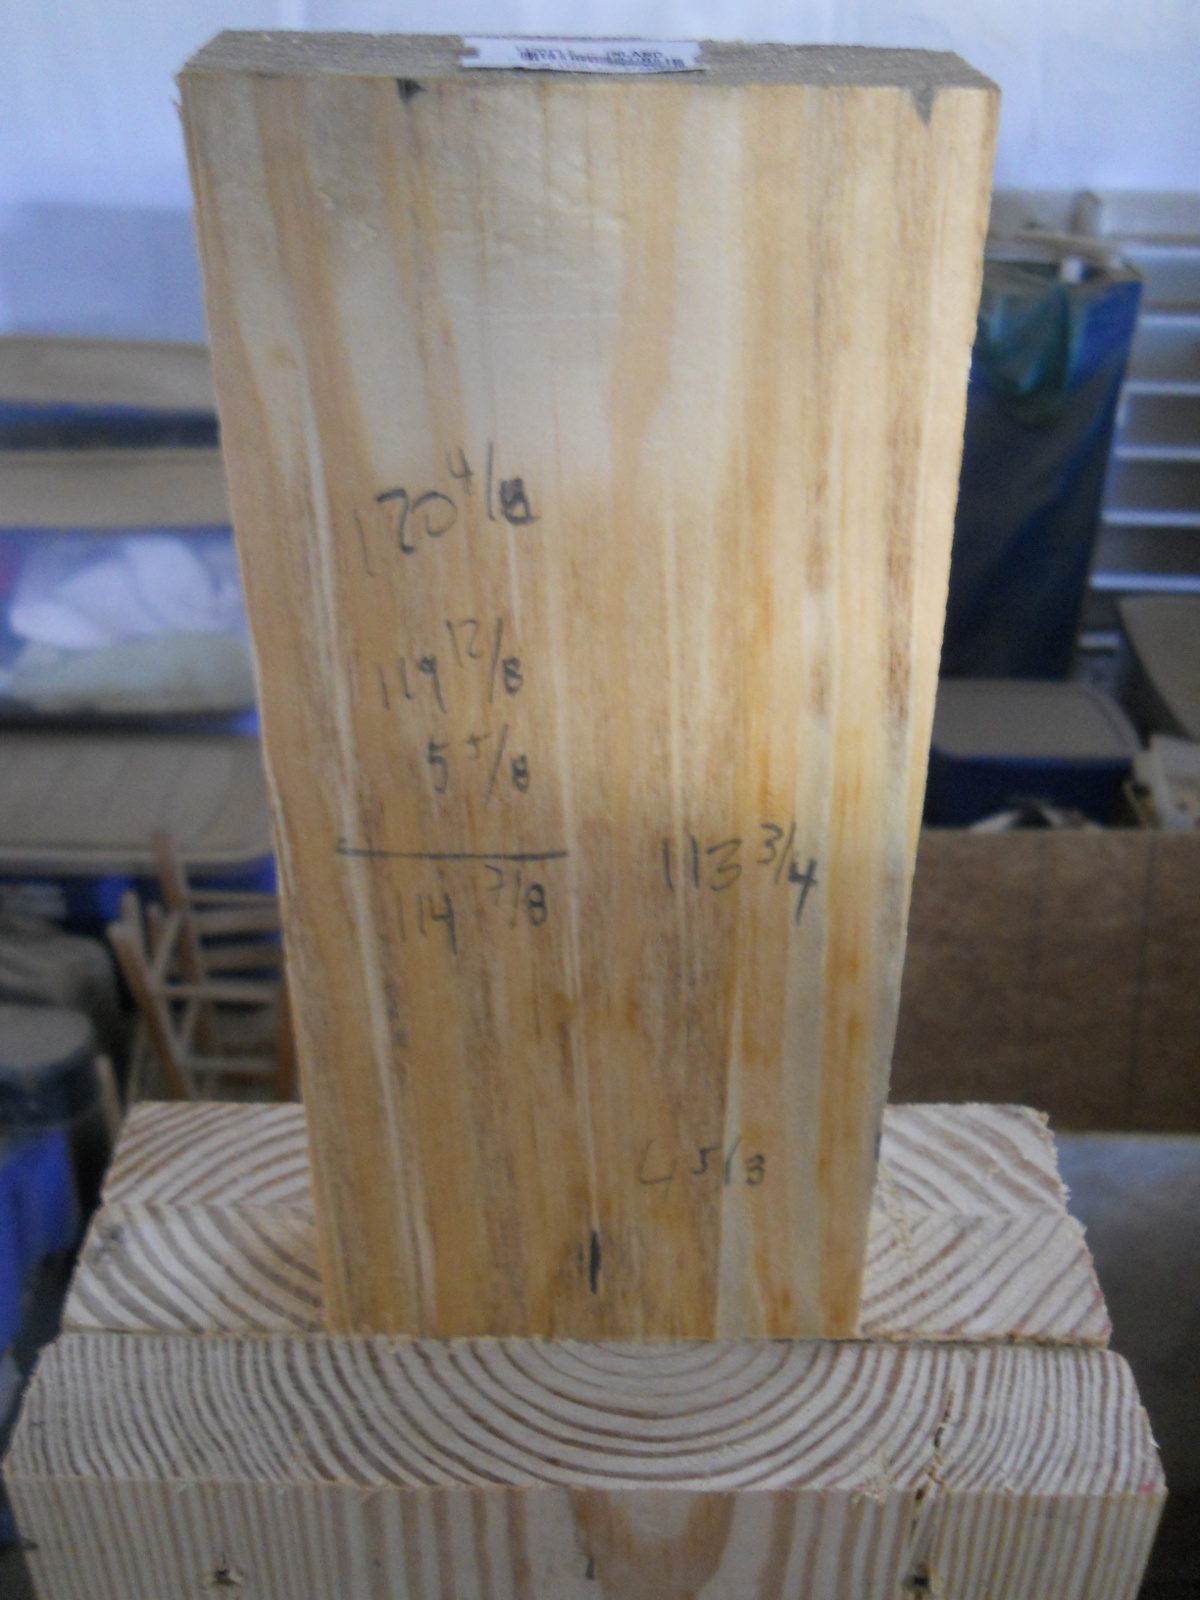
And here is part of the first post. I decided to use triple 2×12 inch built-up posts, using deck screws to tie the boards together, for the farther internal one, 2×10 inch boards for the center post between the barn-middle post and the barn wall, and 2×8 inch boards for the posts that would sit on the barn side’s concrete footer. I chose to make them this hefty because of potential weight we might have up there one day, like grains, etc., Lord willing:

Barn Loft Built-Up Post

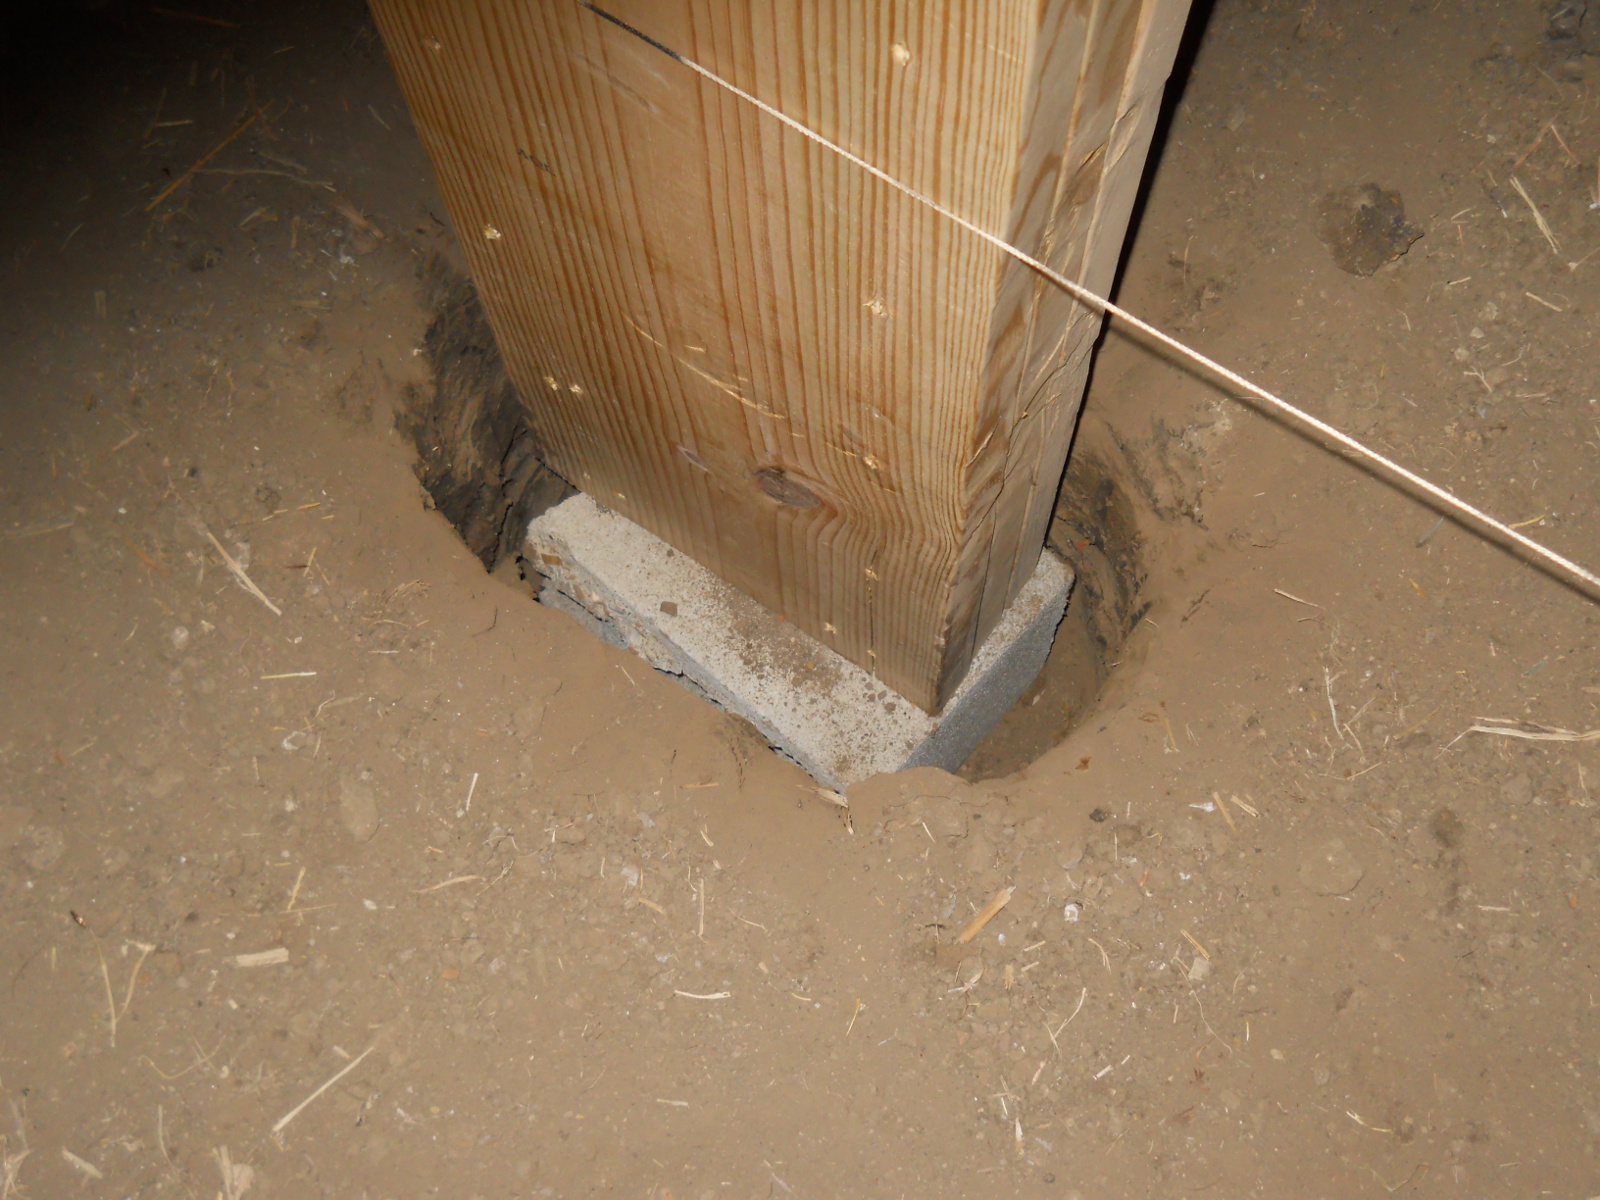
I didn’t calculate the height of the first posts correctly when I bought the wood, and so I needed to elevate the post some. I used a cinder block for that, and string to align the posts:

Barn Loft Post on Cinder Block in Hole

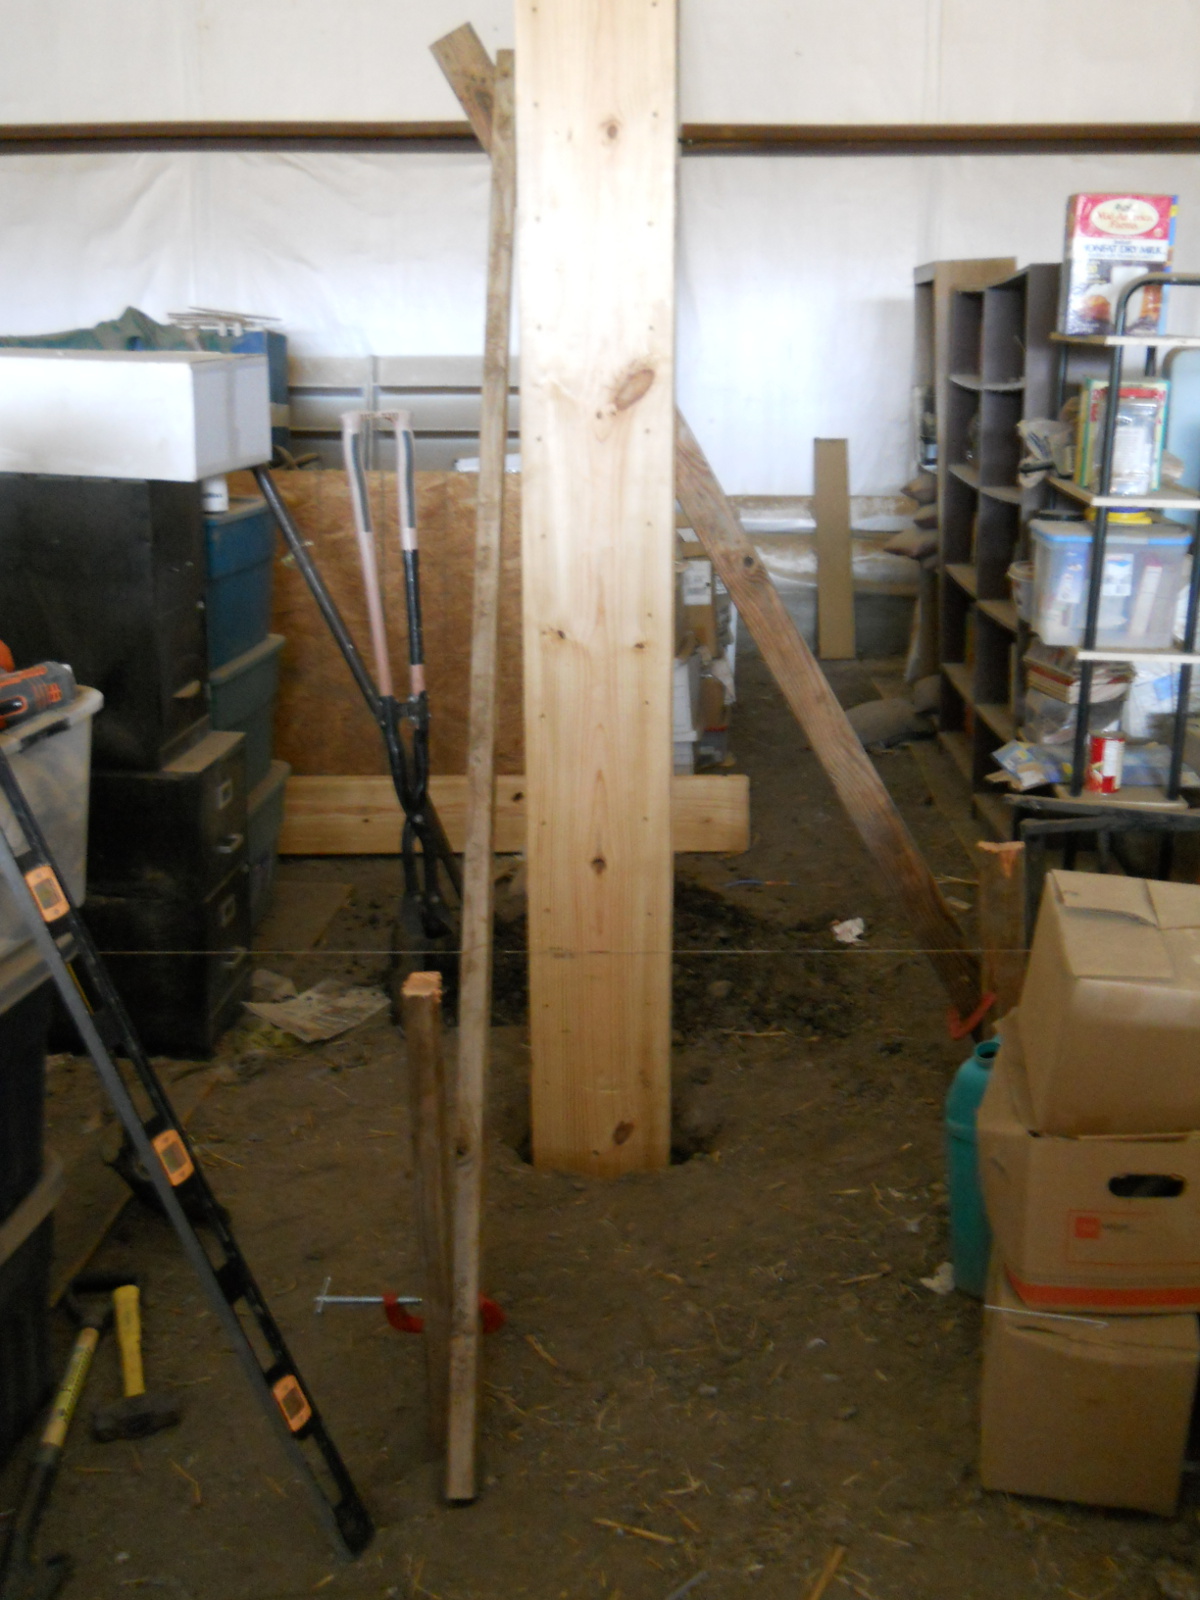
And here is the post braced:

Barn Loft Post Braced

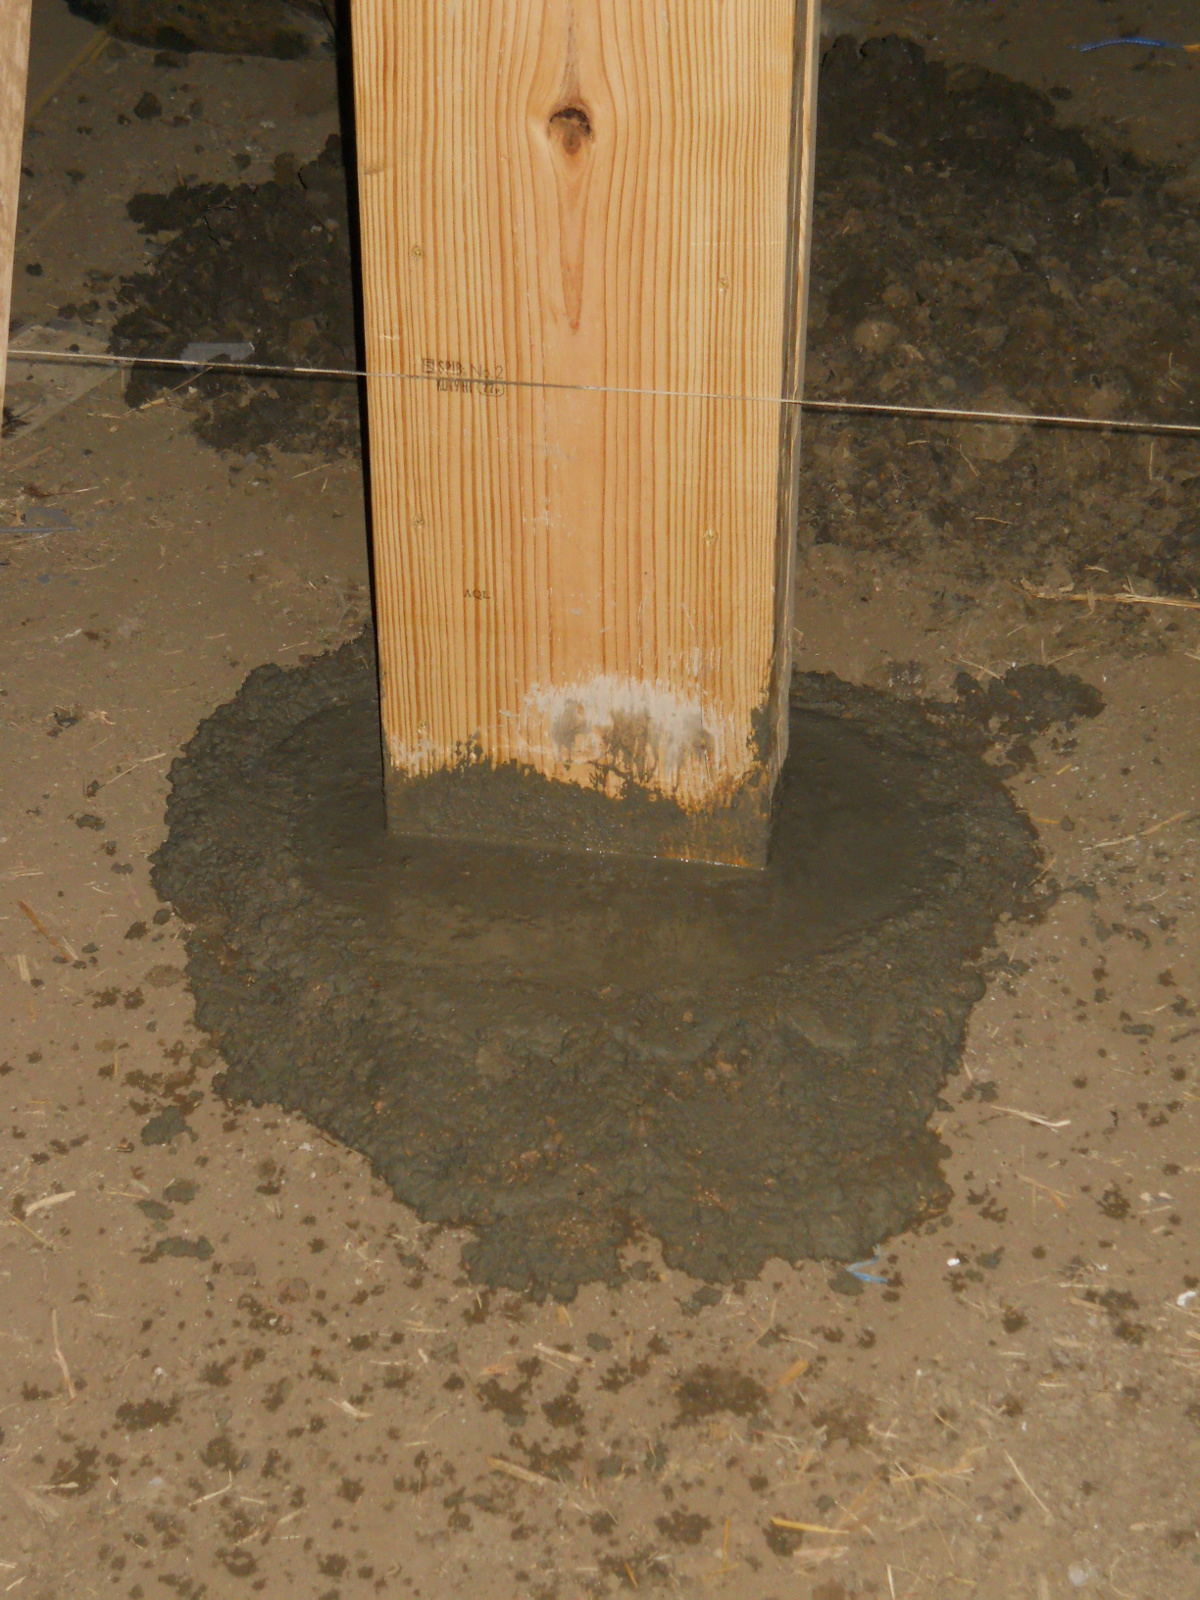
And then in concrete:

Barn Loft Post in Concrete

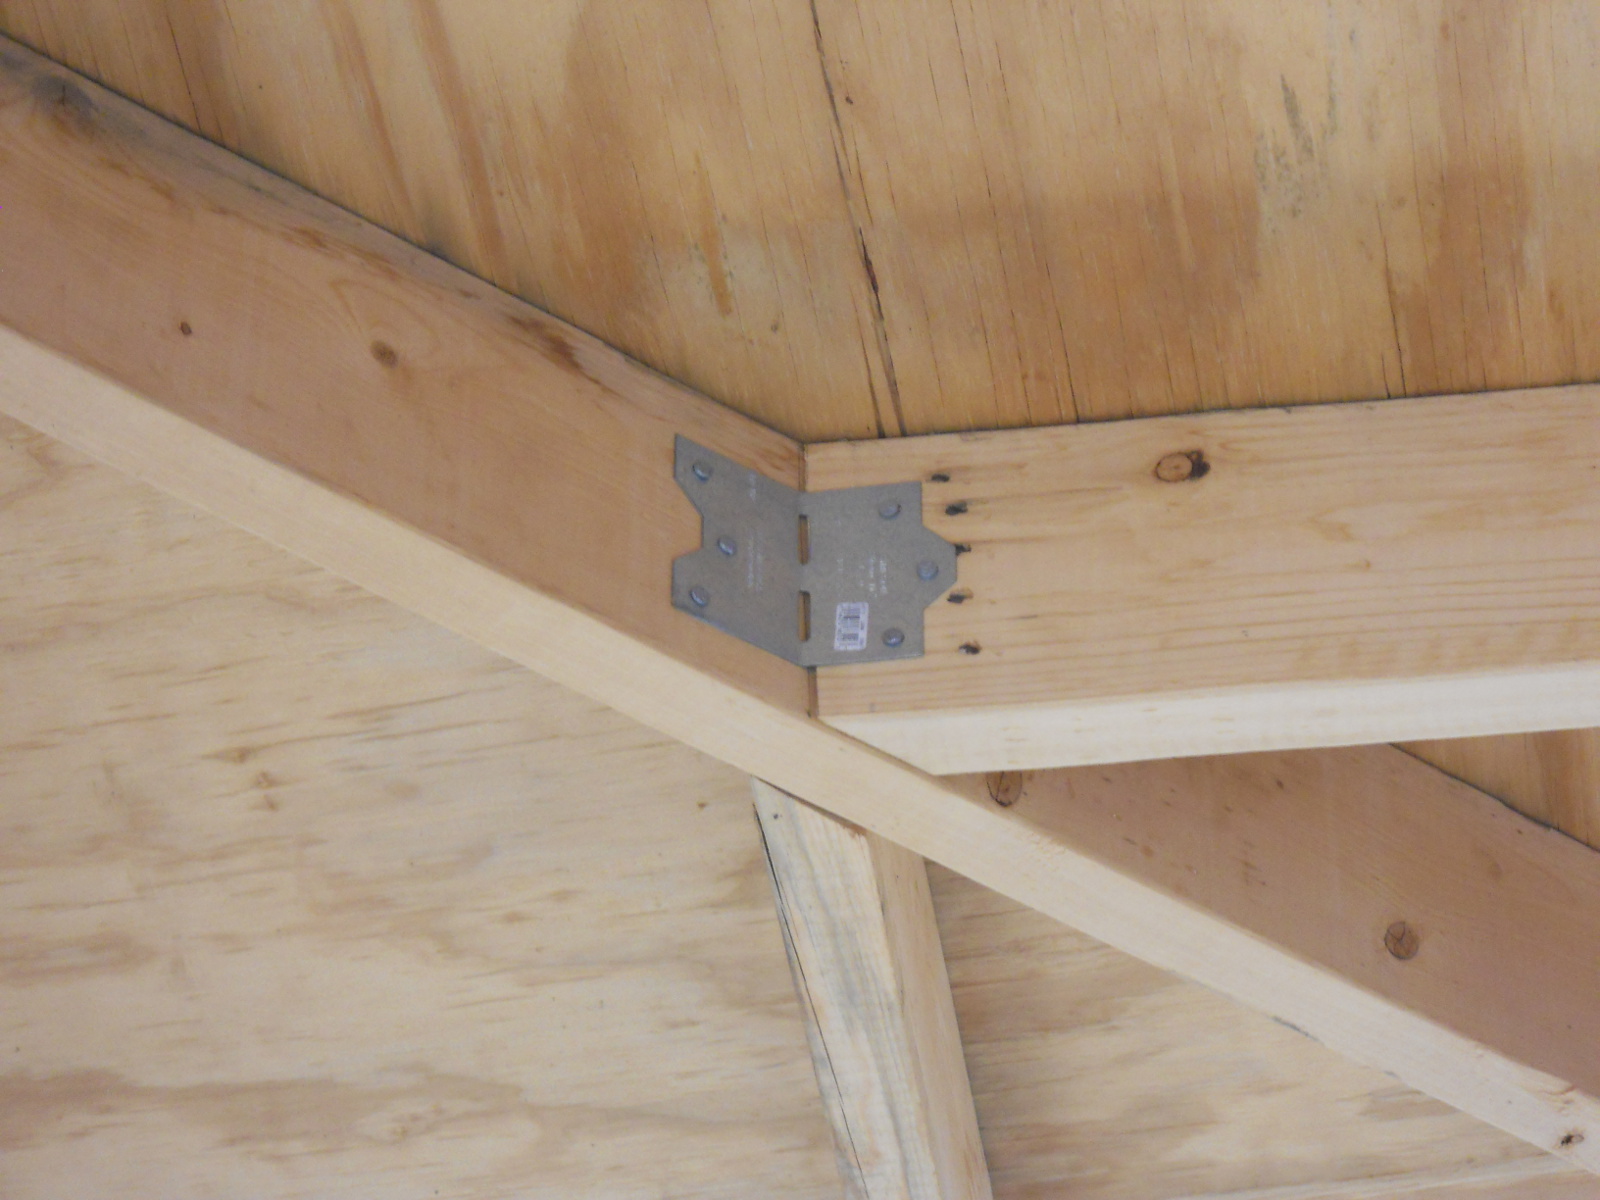
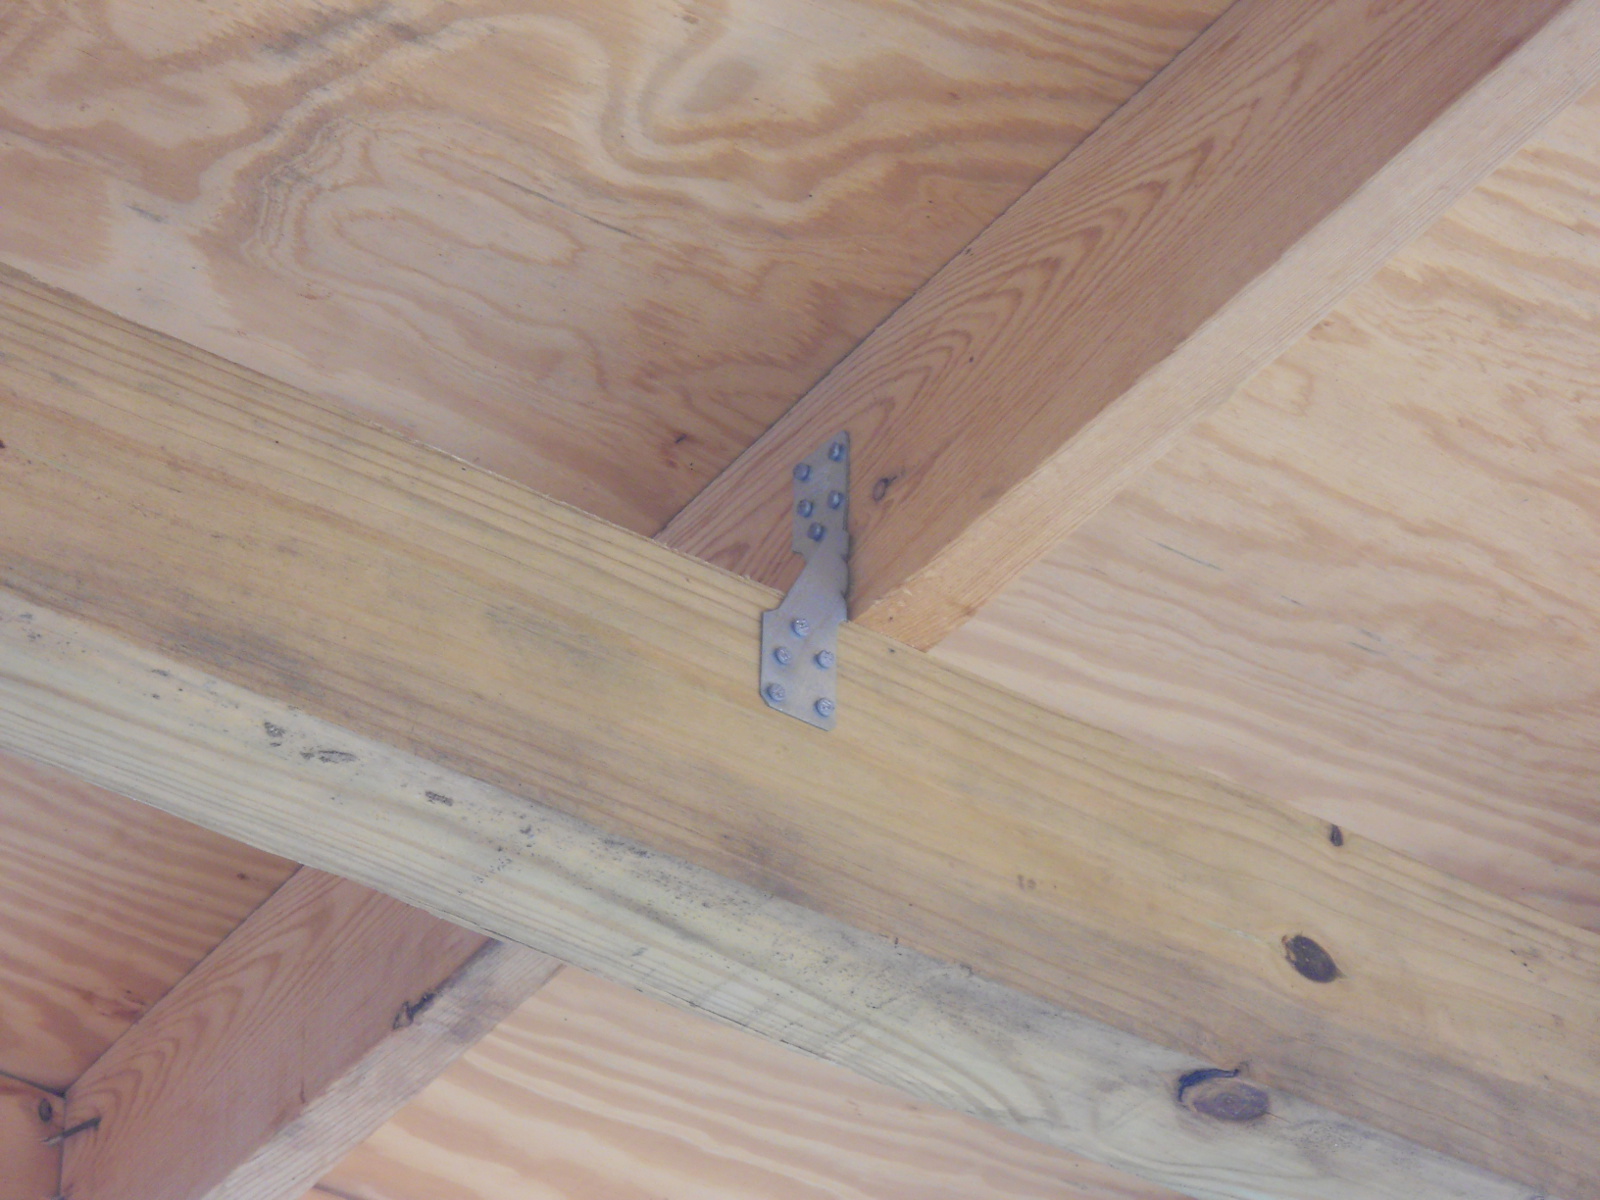
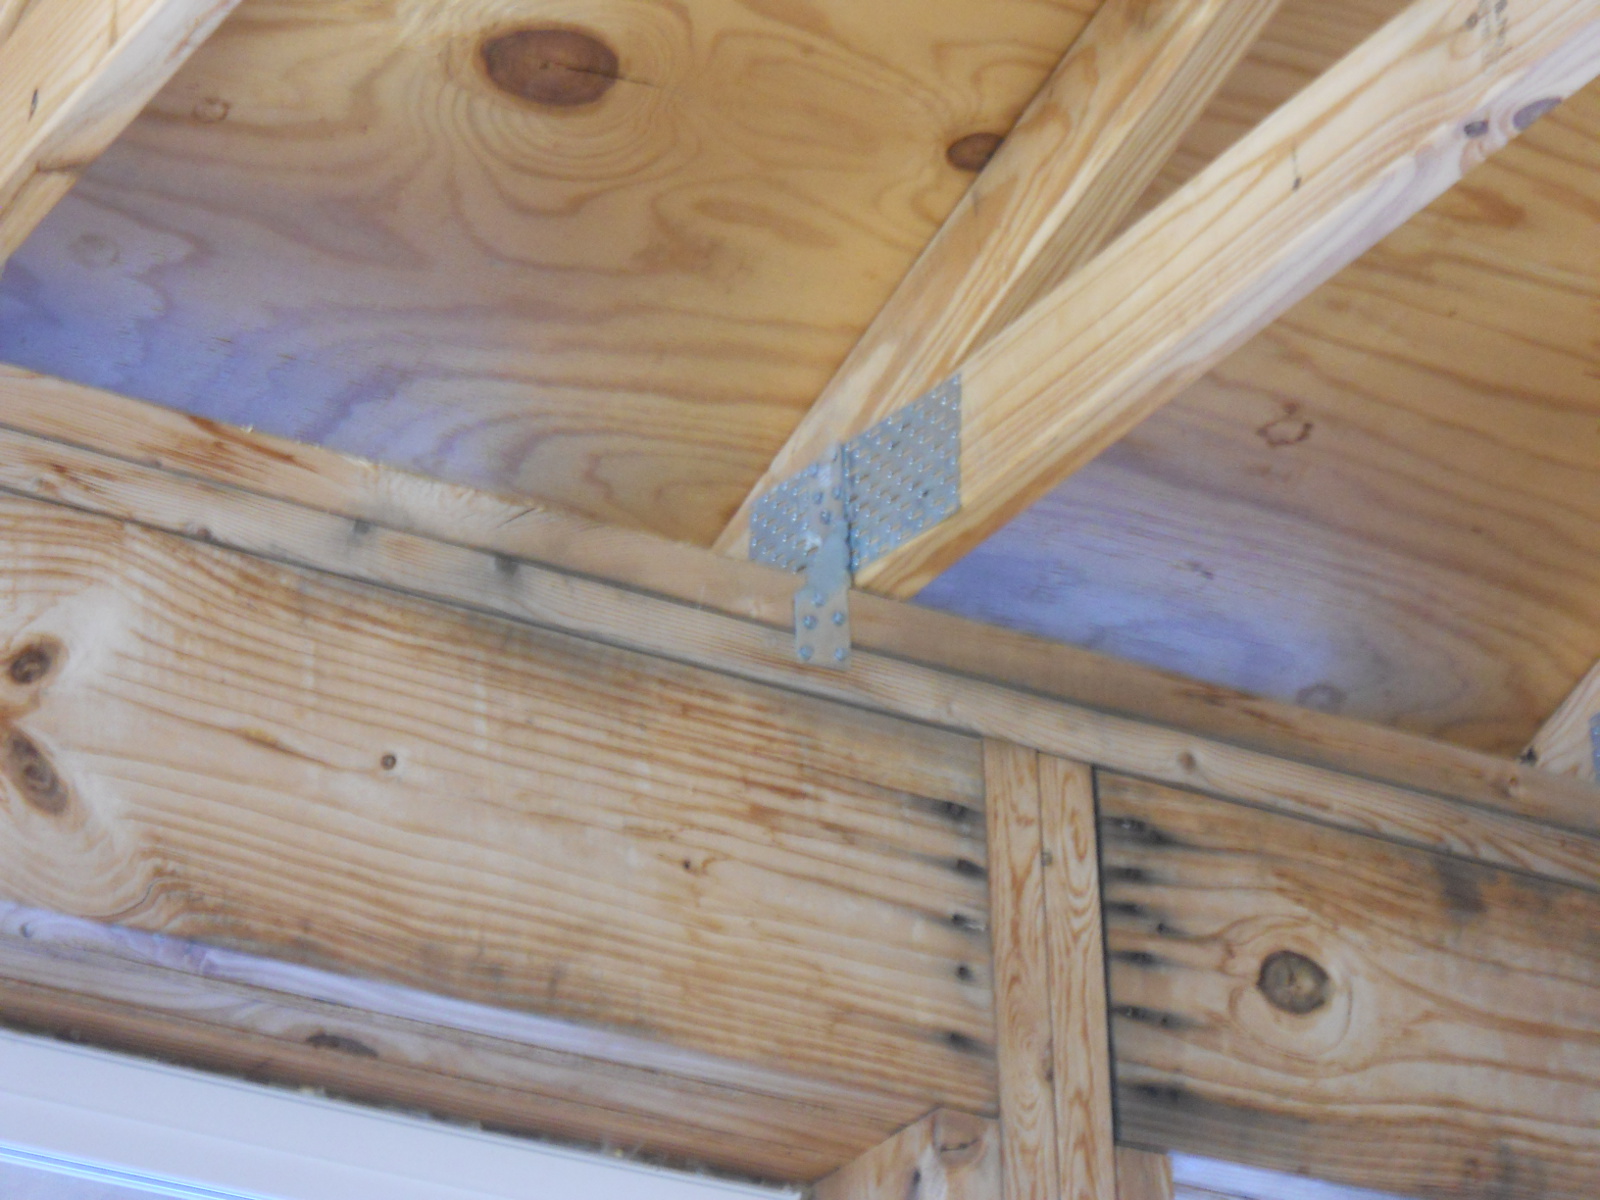
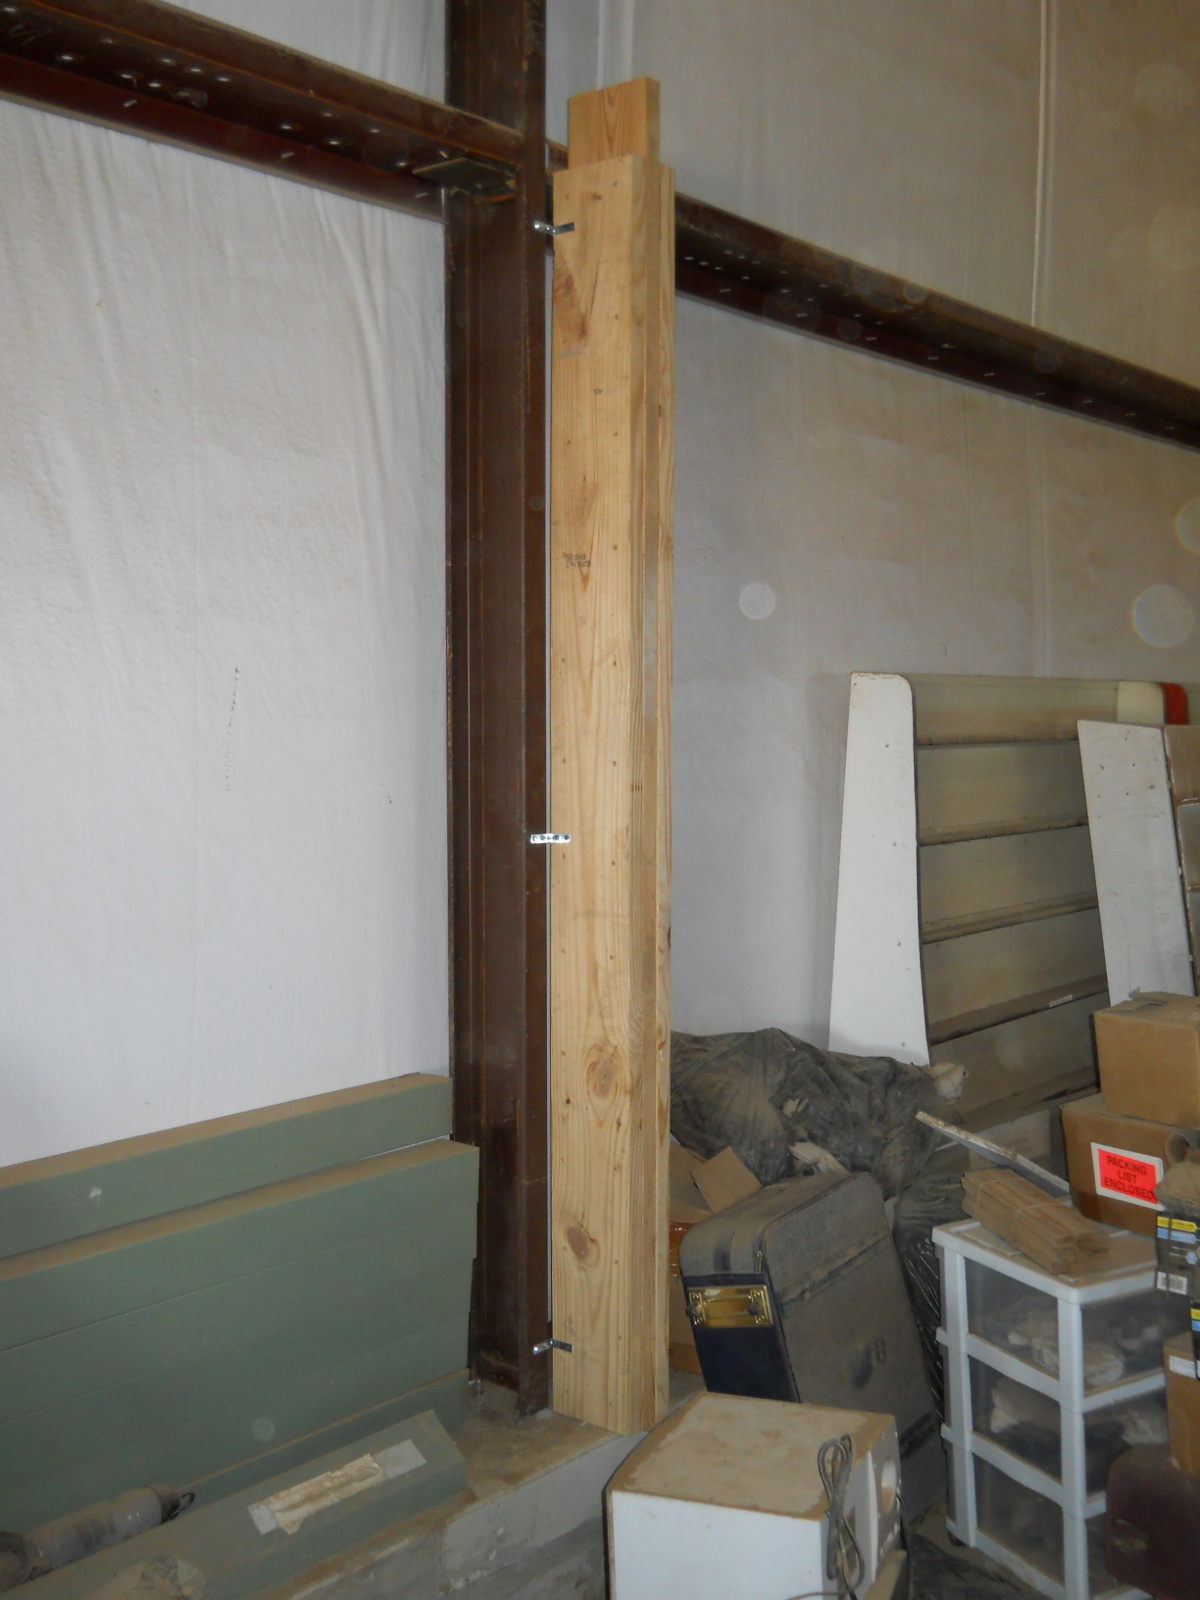
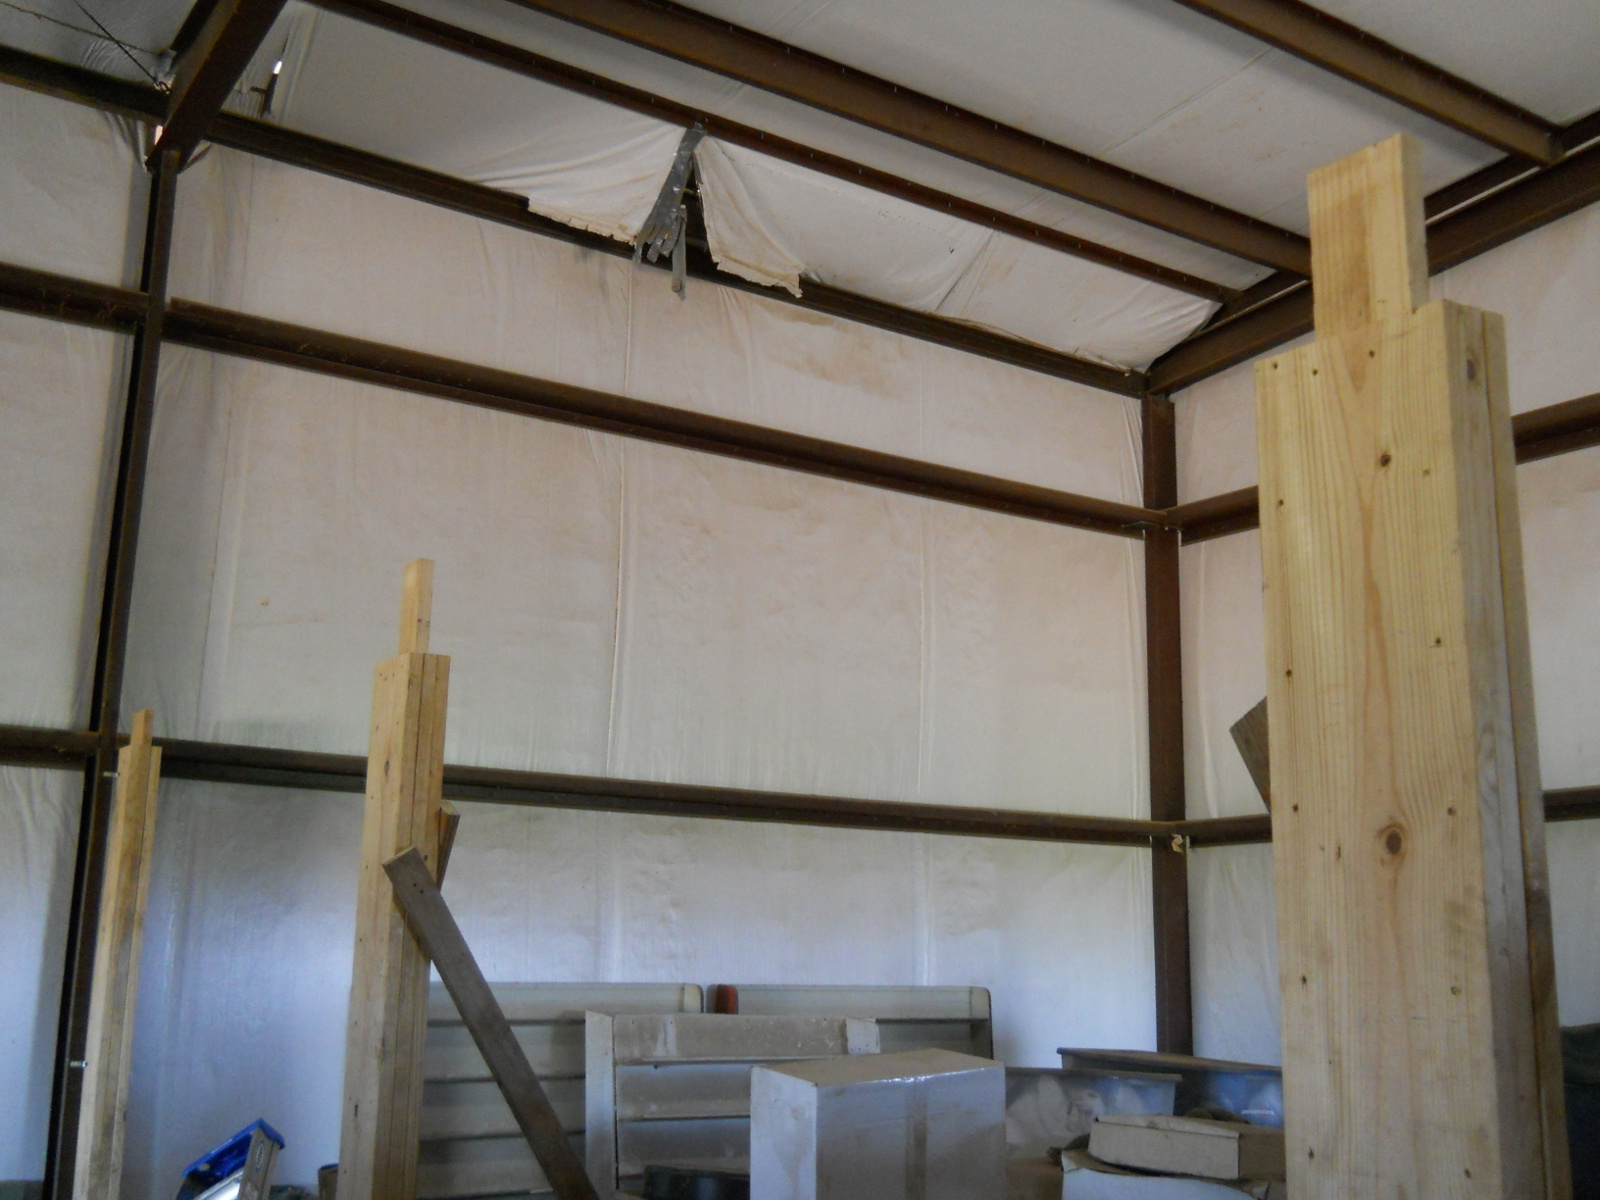
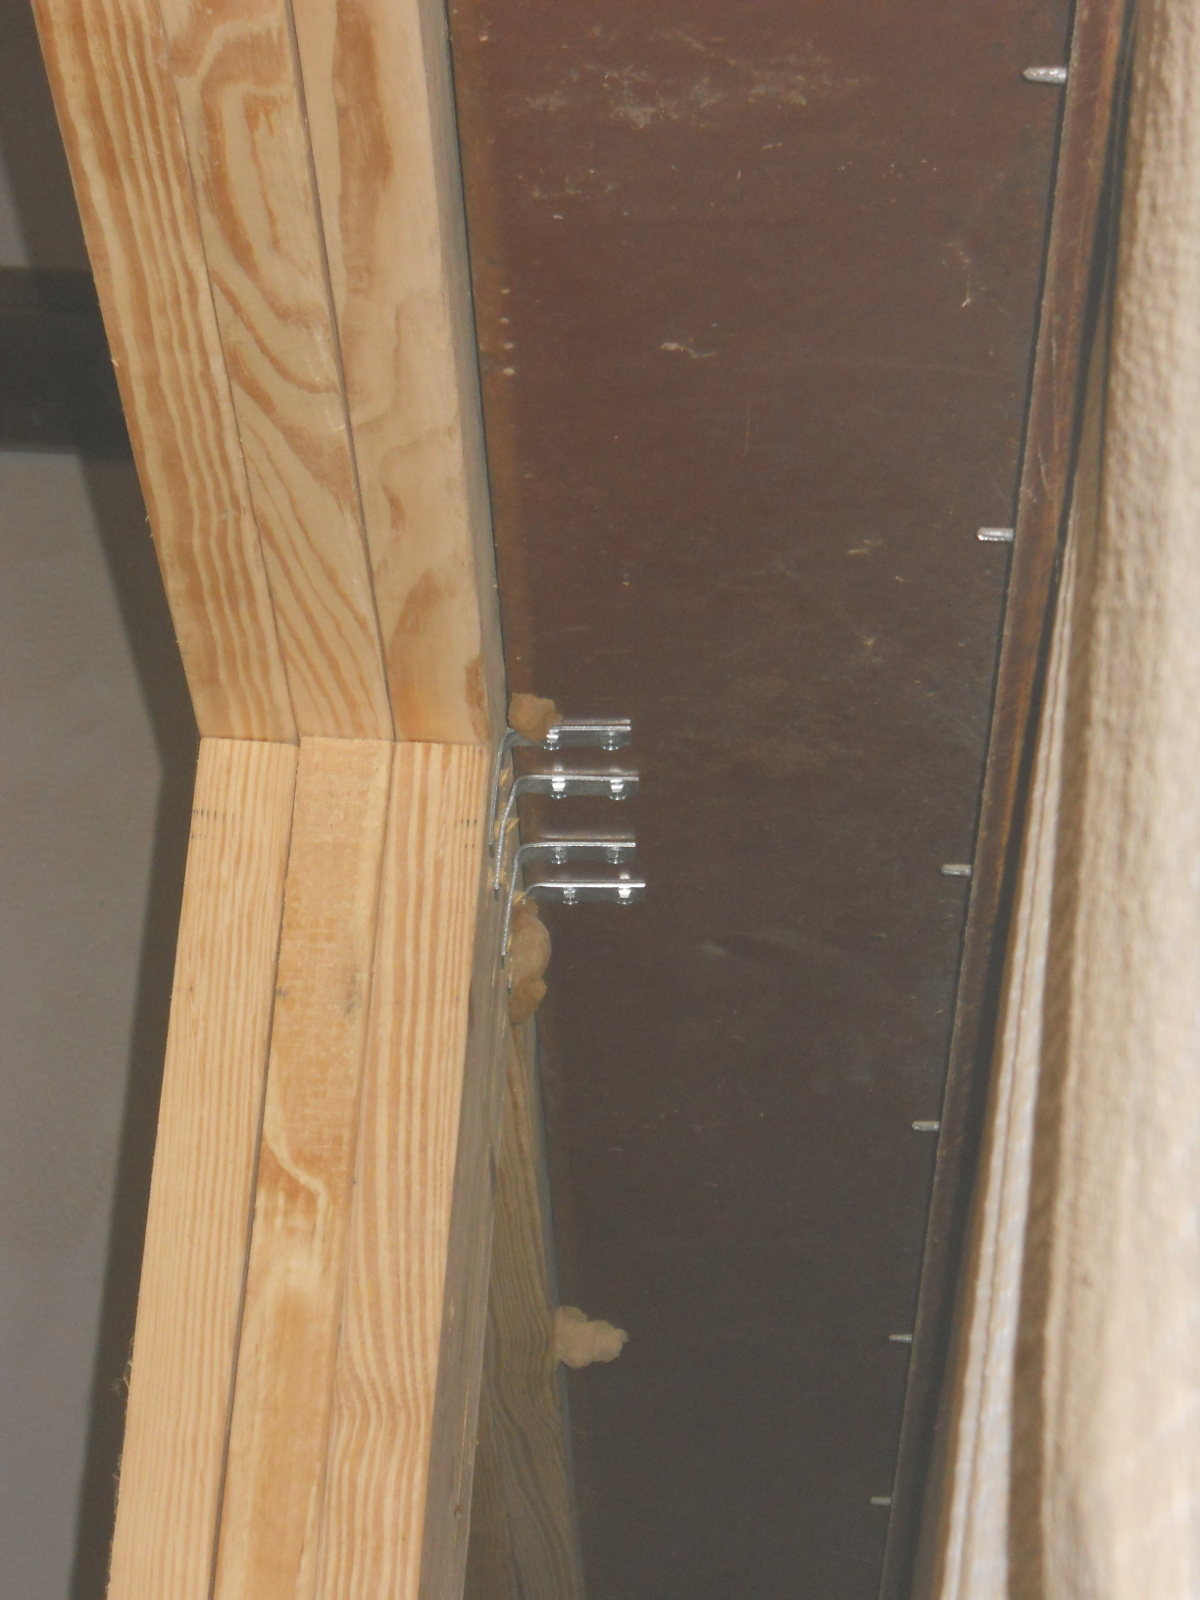
Here is a post next to the barn structure, attached to the metal barn post, using L-brackets and self-tapping screws:

Barn Loft Post on Barn Footer Attached to Metal Post

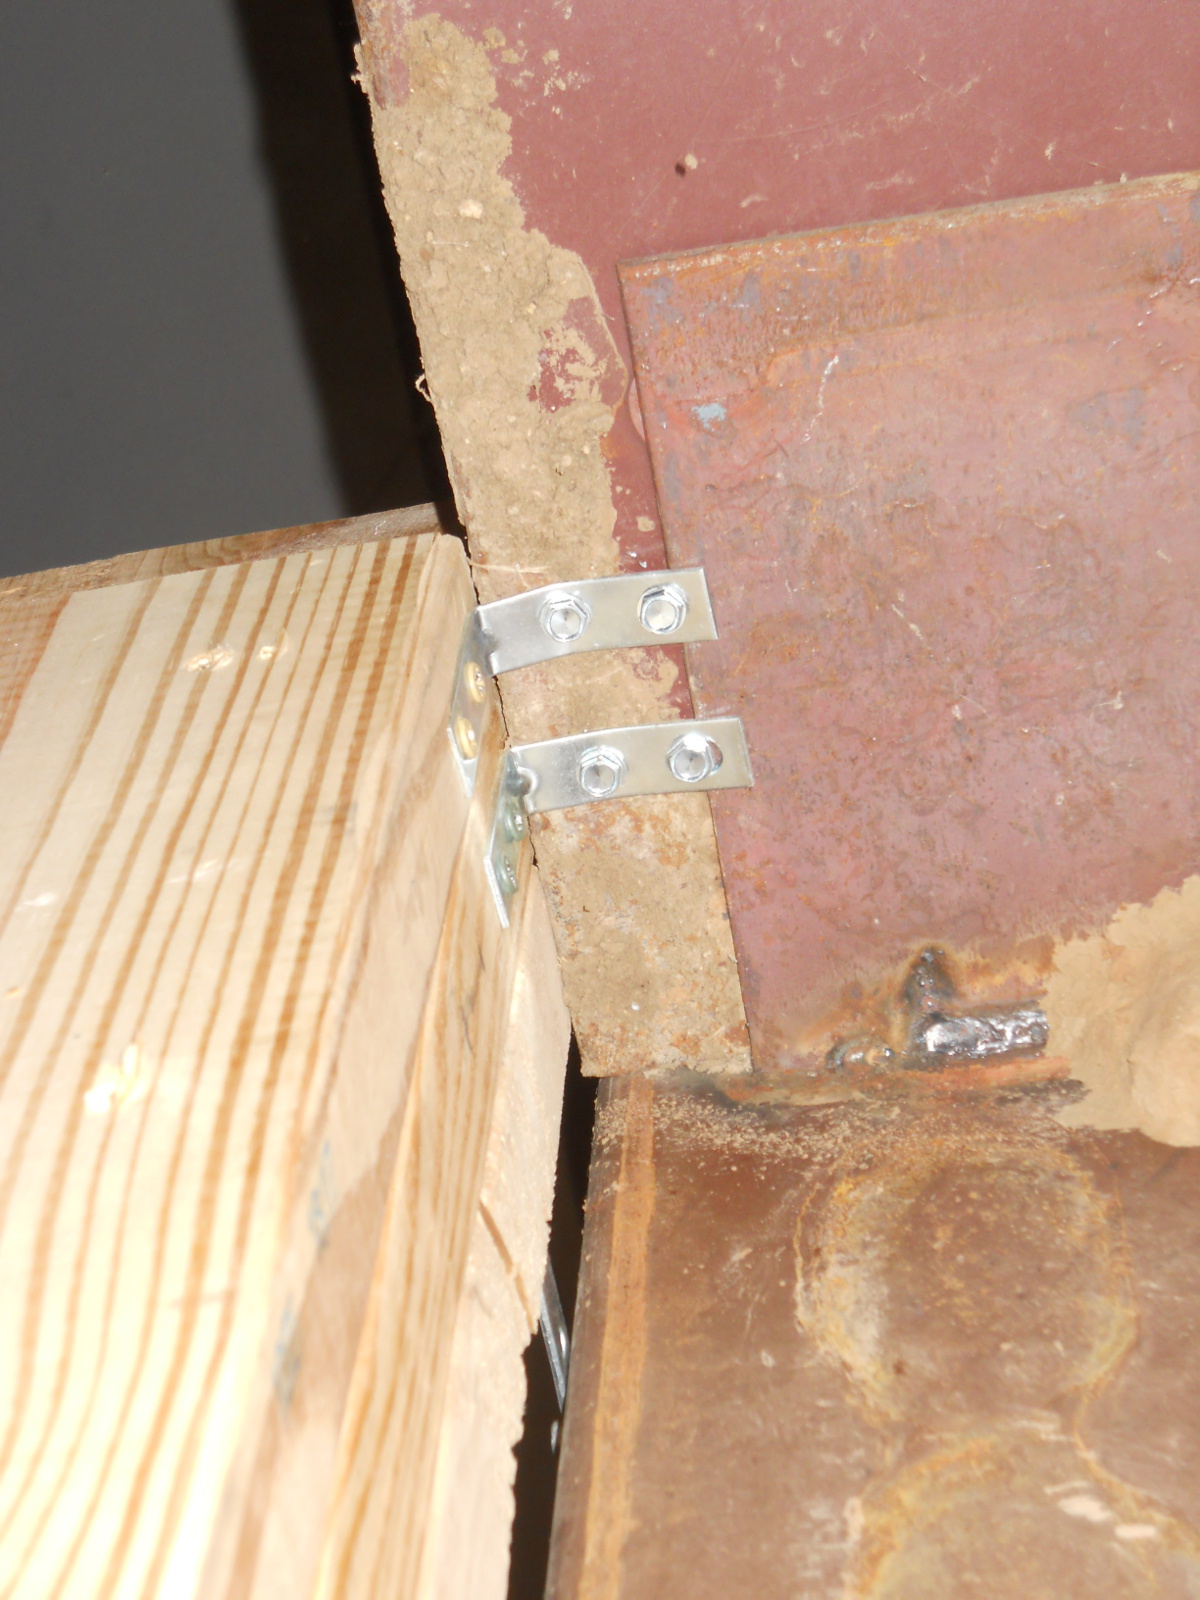
And here is one attached to one of the metal purlins, looking from behind the post:

Barn Loft Post Attached to Metal Purlin

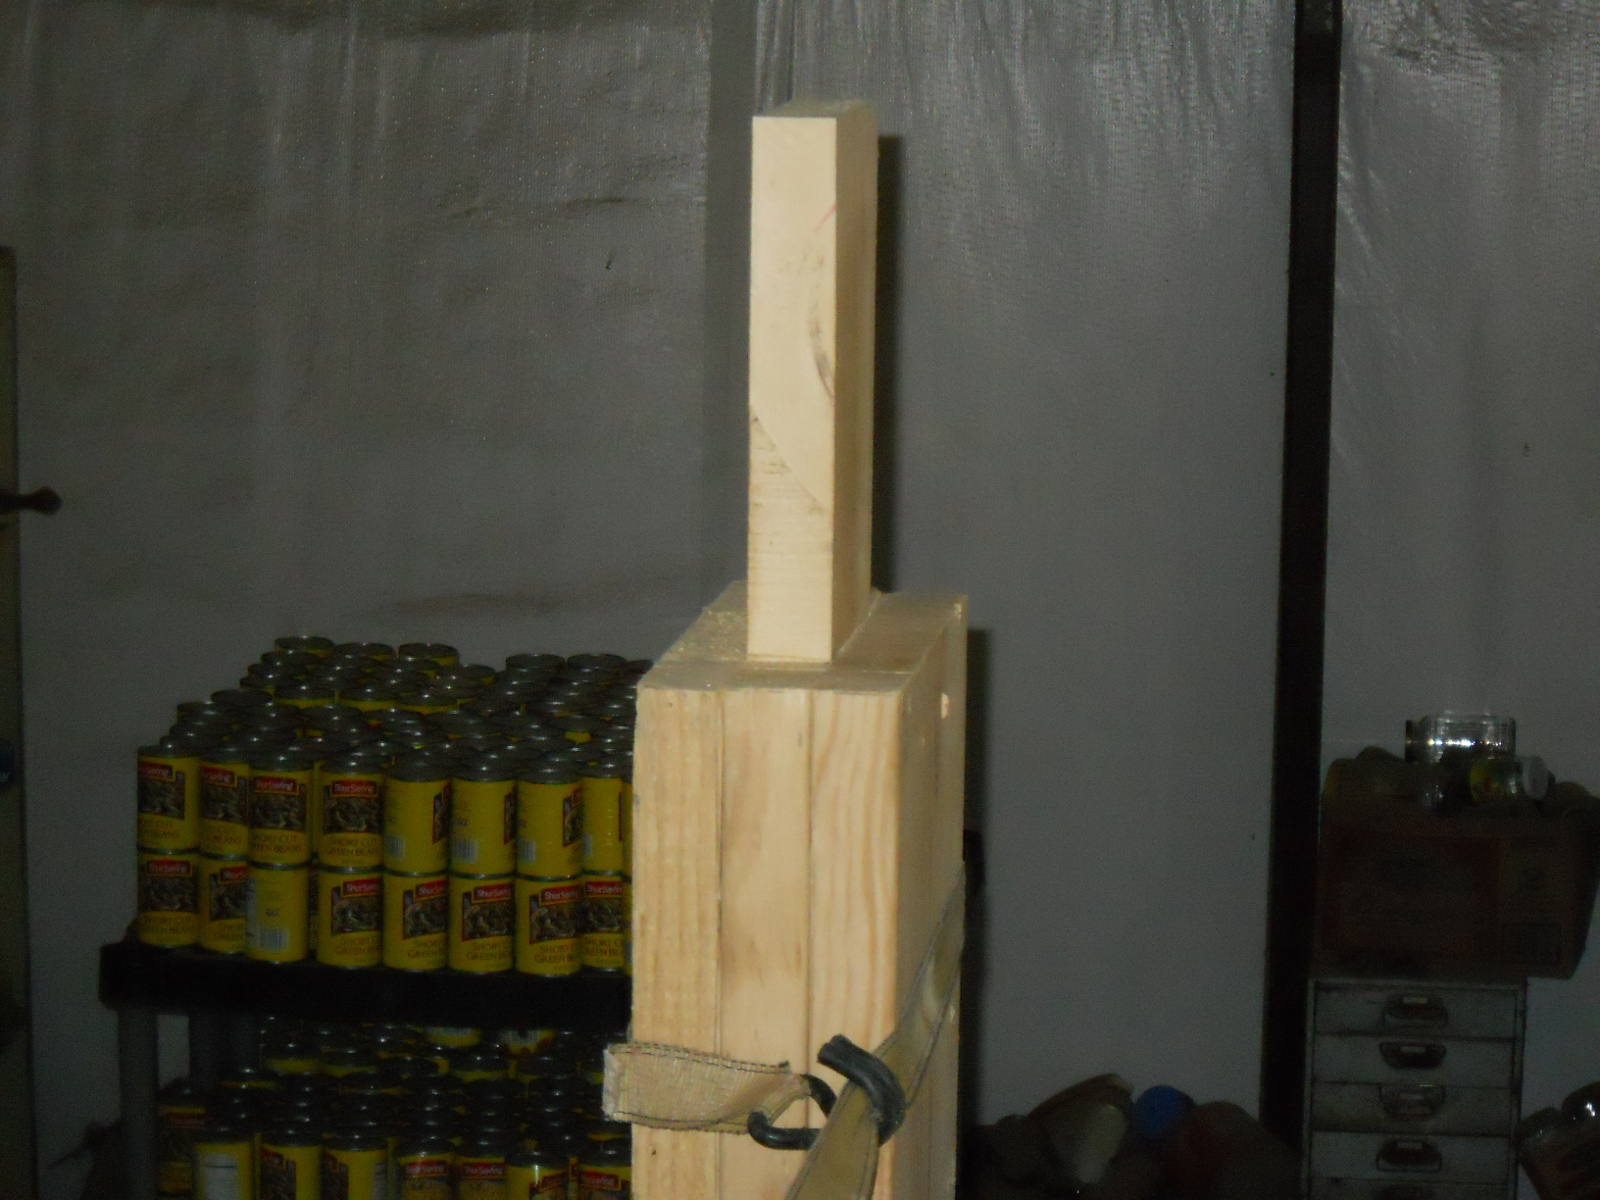
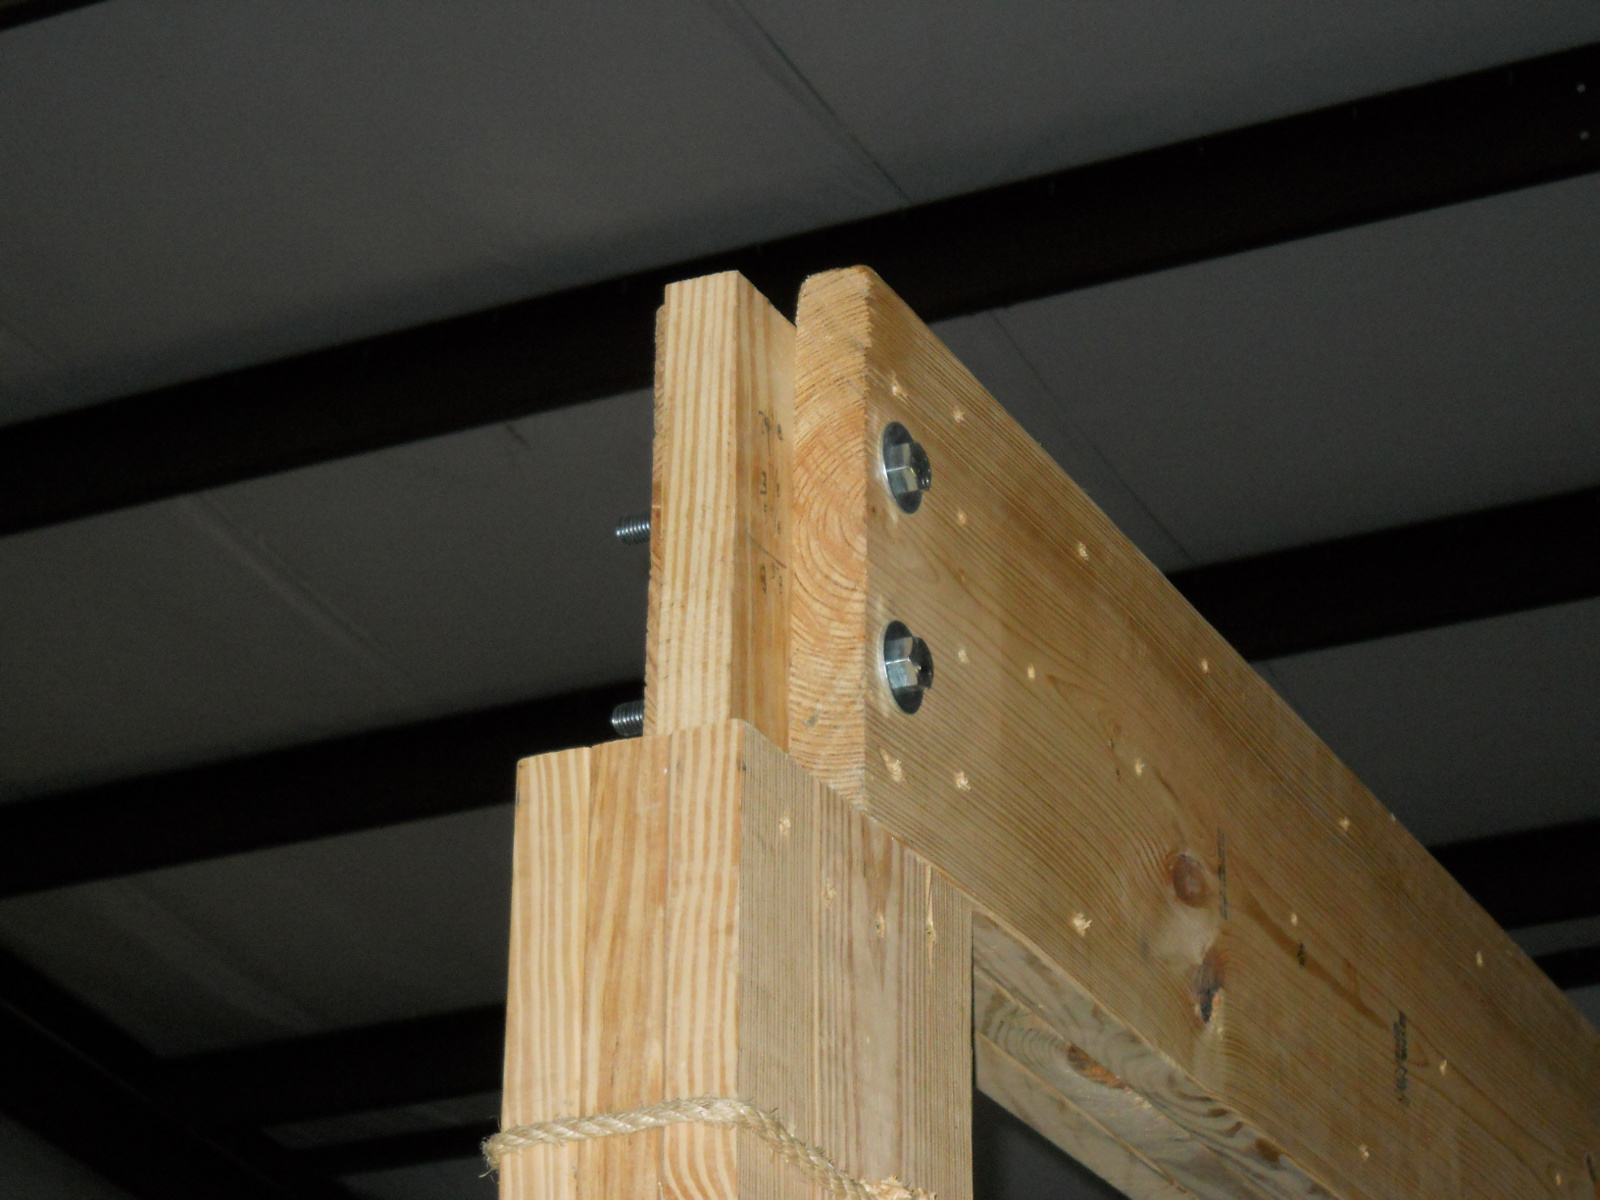
I cut away the top of the posts all around the center board to allow the cross beams to be attached with bolts and allow for the center boards of the cross beams to have something to sit on:

Barn Loft Post Top Cutaways Front View
Barn Loft Post Top Cutaways Side View

And here is the first row of posts:

Barn Loft Three Posts Complete

Here is one end of the cross beam. I used 5/8 inch bolts to secure the cross beam to the post:

Barn Loft Cross Beam End

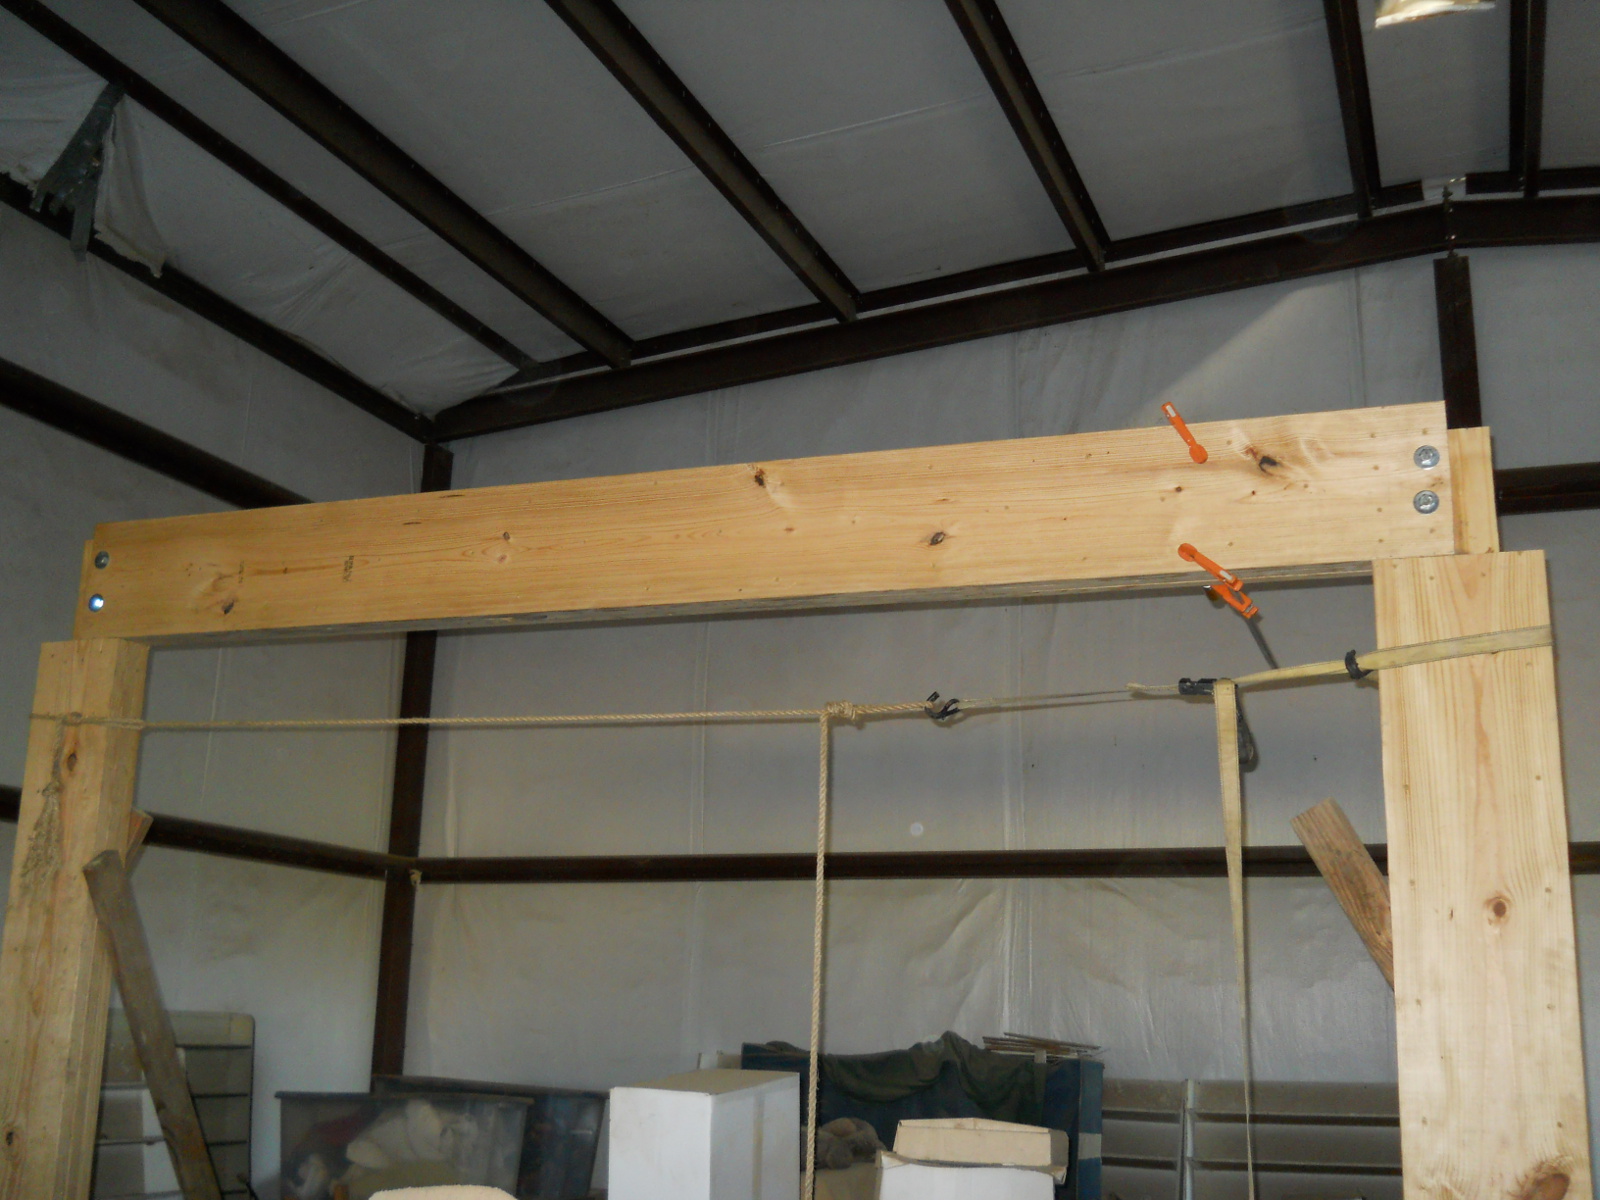
And the first cross beam in place. I used ratchet straps to vertically level the posts and bar clamps to squeeze together the cross beam boards as I screwed in the deck screws:

Barn Loft Cross Beam Installed

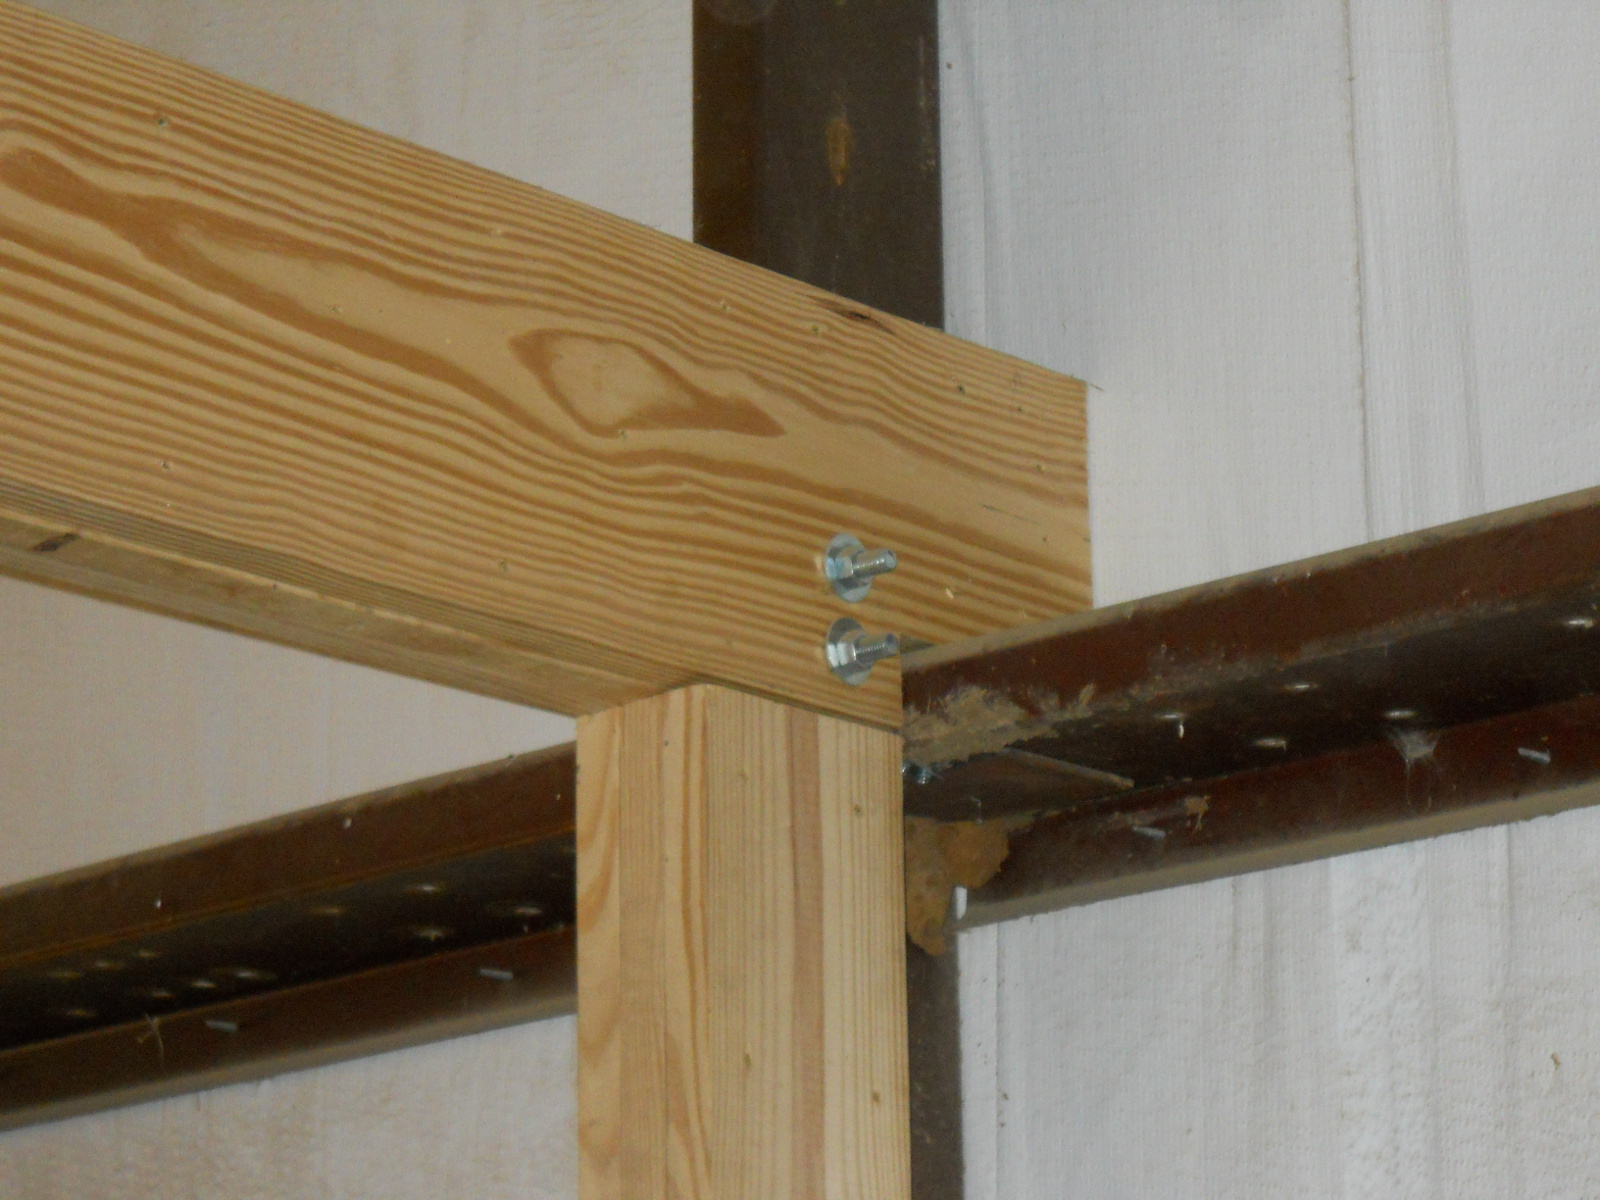
Here’s how the first two boards looked installed on the post attached to the barn structure, which required some overhang to cross the purlin to fill in the space all the way to the barn wall:

Barn Loft Cross Beam Barn End Design

And that same end complete:

Barn Loft Cross Beam Barn End Complete

Here is how I attached the back cross beam to the back purlin (some of these L-brackets I would have to install on the post before raising it because of lack of space issues for getting tools in there to install them after the fact):

Barn Loft Back Cross Beam Attached to Purlin

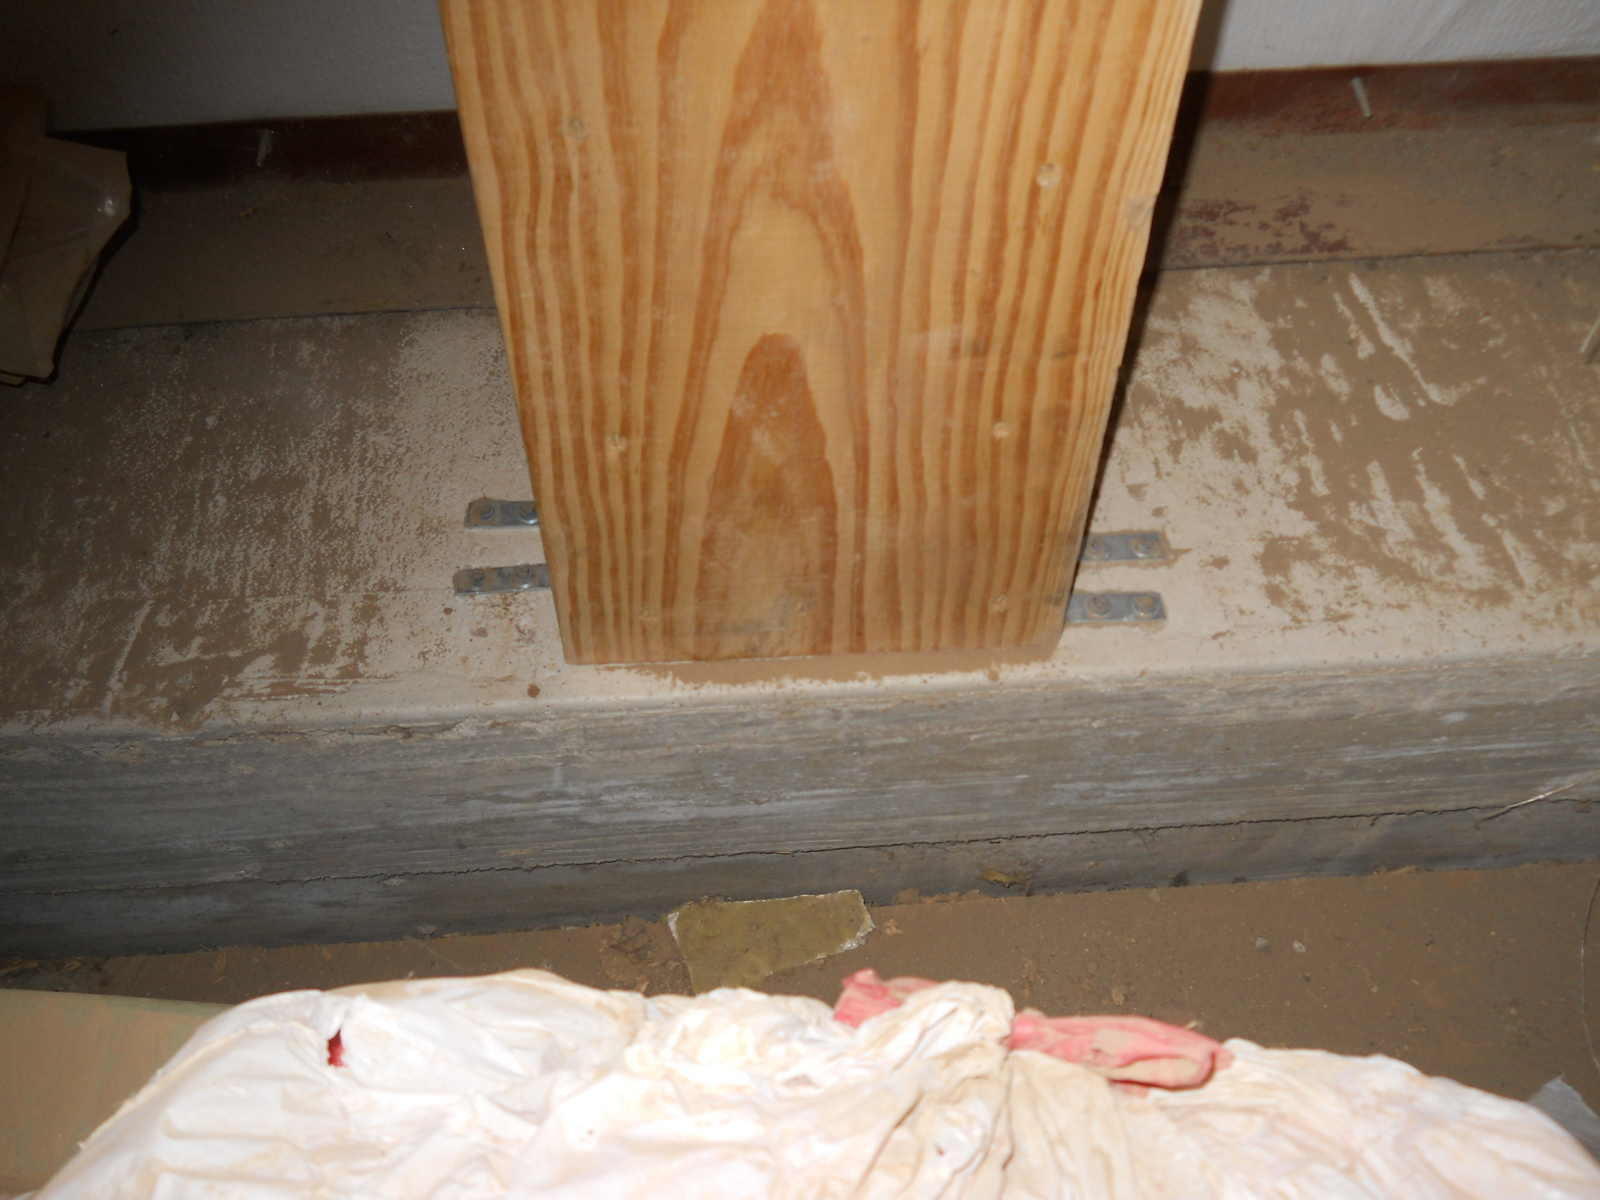
And here is how I attached the posts sitting on the barn’s concrete footer, using concrete screws for this:

Barn Loft Post on Barn Footer Attached to the Concrete

And here are all the beams in place!

Barn Loft Posts and Cross Beams Complete

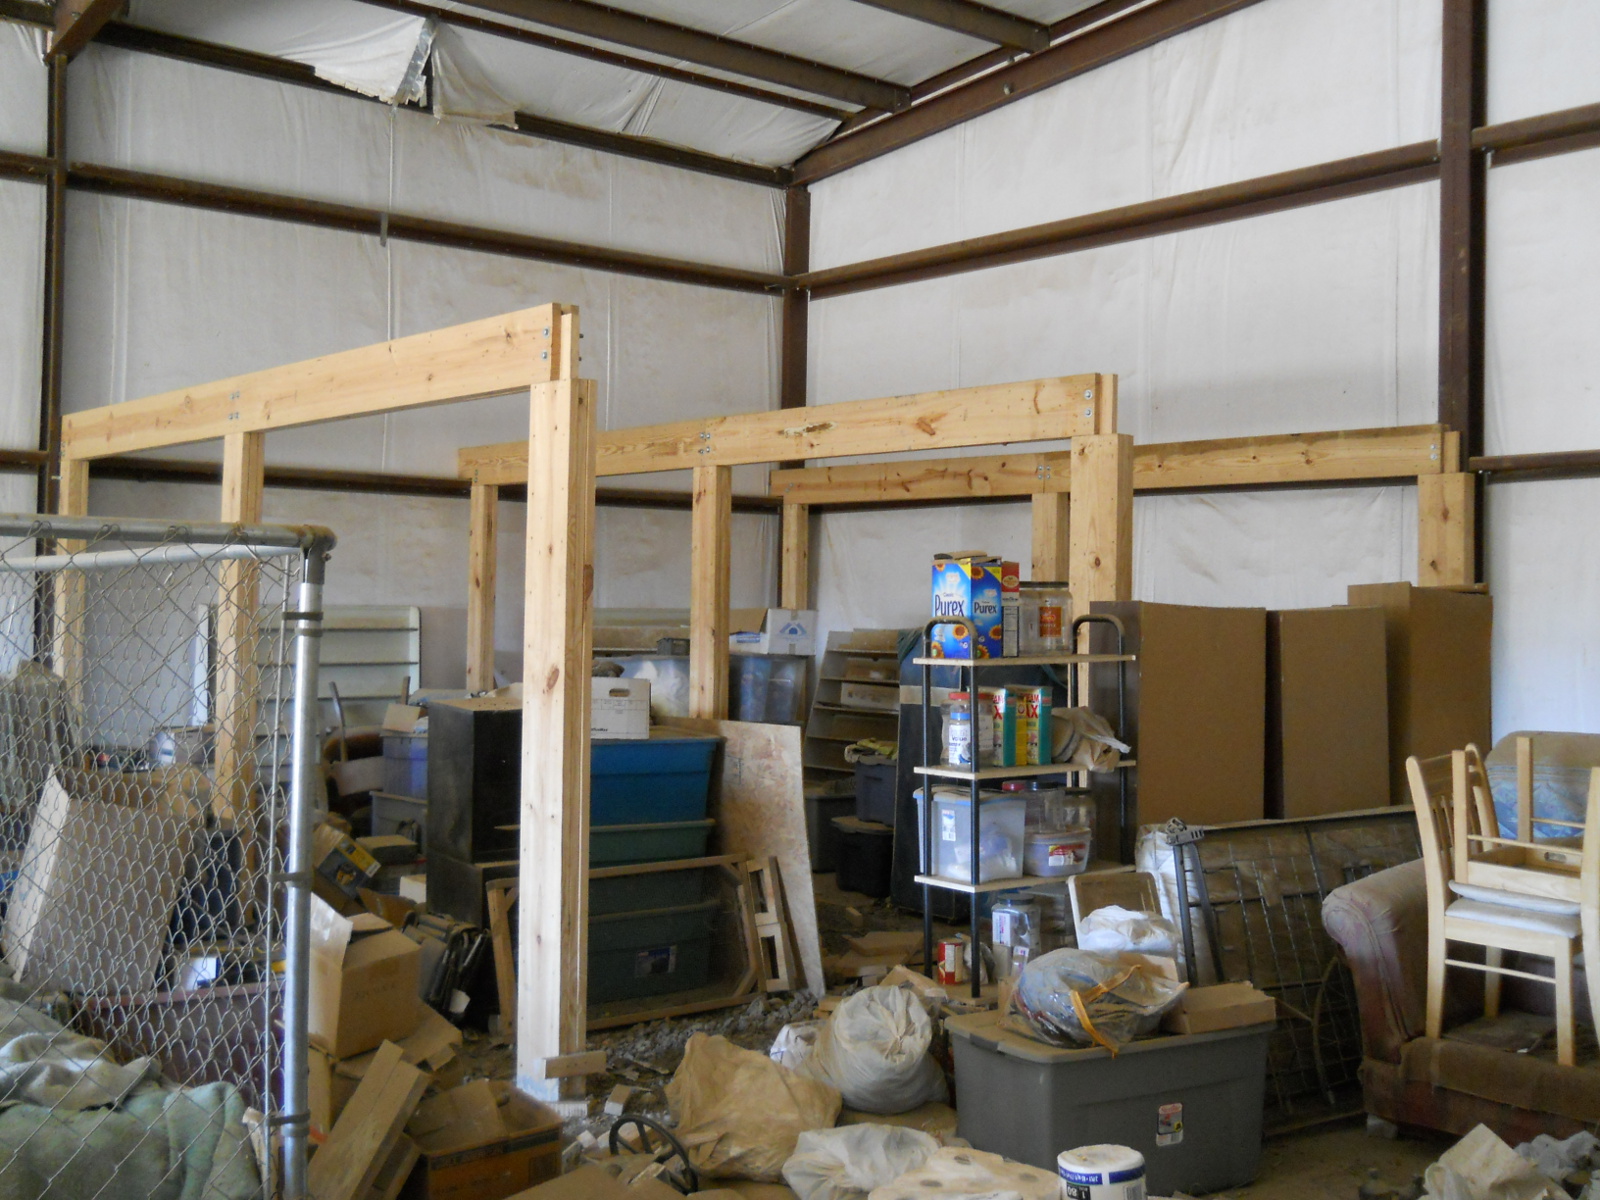
It’s been like this for some time, but we are grateful to the Lord for granting that we be able to begin constructing the barn loft. We look forward one day, if the Lord wills, to be able to begin installing the floor, even if it’s one sheet at a time.

— David

Community Singing – February 2013

After our last fellowship time of recording Psalms from the psalter we use, we recorded the next set earlier this month, again so those who might be trying to learn them as well might have something to help them if needed.

And here is the next set:

Psalms 22F-24C

Previous Psalms singings:

Psalms 1A-12B (minus 4B)

Psalms 4B & 13-18L

Psalms 19A-22E

We are eternally grateful to the Lord for His word and the opportunity to sing it, learn it this way, and sing together in praise of His gloriousness, His mighty works, and His protecting hand. We again pray He glorifies Himself through this, and that He benefits and strengthens His Church through it.

— David

A House – Update XXI – The Bedroom

In continuing with our house we’re working on, back in the fall, I was hoping to be able to start working on finishing the bedroom so that we could be at least sleeping in there for the winter, with maybe even a small wood burner in place that we plan to have in there. But, resources didn’t really allow for that to come about, although we are grateful to the Lord for allowing us start to make some progress on the bedroom.

I believe it was back in the fall when I was able to get the insulation required for the walls, and here it all is installed:

This is the south wall:

House Bedroom Insulation South Wall

And the west wall:

House Bedroom Insulation West Wall

The north wall:

House Bedroom Insulation North Wall

And the east wall:

House Bedroom Insulation East Wall

And then, just this last community work day (which are the first Wednesdays of each month), the men came over to help put up the ceiling material, which was next on the agenda. I spent some time trying to price out the best deal that also might look kind of nice, and that could be installed fairly quickly; and so, I decided to go with what’s called “rough shod” plywood, which is a less expensive form of “T1-11”-looking siding.

It took three of us on ladders, with two helping below to hand us the plywood and screws (I decided on tan-colored Deck Mate screws, so that they would hopefully hold better than nails and would also blend in color-wise).

Here is the first row done. We decided to starting in the middle and work our way toward each side, in hopes any error in the squareness of the room would show less than if we started on one side, which might cause gaps between sheets and between sheets and walls to become cumulative as we went along. It’s actually kind of hard work holding up that sheet while trying to place it properly:

House Bedroom Ceiling First Row

And here is the ceiling after the day’s work, facing southeast. You can see that we got everything done except that last row to the left:

House Ceiling Facing Southeast

And facing southwest:

House Ceiling Facing Southwest

And then one of the men graciously offered his time on the next Lord’s Day community visitation day to help me put up the last row (which included much smaller pieces width-wise, so just the two of us were able to handle it):

House Ceiling Complete

Much gratitude to the community work day ceiling crew!

House Ceiling Community Work Day Crew

And then it was time for the community work day fellowship meal. Everyone says “hello”, by the way: 🙂

Community Work Day Fellowship Meal

We are once again very thankful to God for granting progress on the house. He’s gracious and merciful in allowing it to continue, and for allowing us the fellowship of the brethren here, in general, in serving one another. It is Sue and my prayer that she and I especially (and of course all of us) grow more in servanthood to Christ and His people.

— David

Pebbles Pork Chop Party

In our last round of pig breeding, we decided to keep, raise and eat the offspring of our sow Pebbles, and breed her again because she had a good disposition and because we had a soft-spot for her, given she was the lone piglet from the difficult birth her mother had, and we had bottle-raised her on goat milk ourselves. But, as the piglets eventually turned into decent-sized pigs, and with the possible difficulty of finding a large enough mate for Pebbles, I decided to change the plans and revert back to the old way of doing things, where we process the mother as well and keep an offspring to continue the pork perpetuation.

Here is Pebbles and most of her offspring before taking Pebbles in (she’s on the left, one female had already gone to Michael and his family as a next breeder for them):

Our Sow Pebbles and Her Offspring

And this is Pebbles next to the offspring we are keeping for the next round of breeding, which we decided to call Lulu. We decided to keep her because she has more of the Duroc characteristics:

Our Sow Pebbles and Our Next Breeding Mother Lulu

With these previous blog posts, you can follow Pebbles’ interesting story from the beginning:
Providence’s Perpetuation Provisions: New Piglet “Pebbles”
Animal Update – Pebbles and Fred
Providence’s Perpetuation Provisions: New Piglets of 2012

And so, we took Pebbles and two of the males in to the butcher (two other of the offspring also went to the Michael and family).

Once getting the meat back, we wanted to continue to practice preserving without canning or freezing, so we had some strips of meat cut from one of the younger pig’s hams, and put them in the salt brine:

Brining Pork Ham Meat

And then I hung them in the meat dryer:

Drying Brined Pork Ham Meat

Then, it was time for the Pebbles Pork Chop Party fellowship meal! We held it on a Lord’s Day fellowship time, so every household contributed to the meal.

Here is all of the eating goodness:

Pebbles Pork Chop Party Dinner Meal

And the group communing together around the table:

Pebbles Pork Chop Party Communing Around the Table

And young Annabelle enjoying the time:

Pebbles Pork Chop Party Young One

We are so very grateful to the Lord for His provisions of the pig meat, and the opportunity to gather in His name and share His beneficence together.

— David

Community Singing – January 2013

It’s been quite some time since we posted the recording of our first sets of Psalms we sing from our psalter, and recently we thought we’d continue on to the next set of Psalms, for those of you following along at home with your own psalter.

Psalms 19A-22E

Previous Psalms singings:

Psalms 1A-12B (minus 4B)

Psalms 4B & 13-18L

We are thankful to God for His word and the opportunity to sing from it and learn it in this way, and we pray He glorifies Himself through this singing, that it might be of benefit to His Church, and that by it His word is hidden in our hearts that we might not sin against Him (Ps 119:11).

— David

A House – Update XX – Keeping a Lid On It

With the external windows and doors installed, and with winter coming upon us, I figured it was time to secure the various roof lines as planned, to help against any snow loads we might have and any high north winds as can often happen with those cold fronts that run through.

For roof load of the porch, I still needed to tie the rafter header board to the house, and for this I used 4×1/2 inch lag screws with a washer, drilling a 3/8 inch pilot hole into wall studs, placing them 4 feet apart or so:

Porch Roof Header Board Bolted to Wall Studs

I also added ties for the rafters to the header board. These were the less expensive ones but also had a gusset to help keep them from bending and thus hopefully keep the rafters more tightly against the header board. I used 1 1/2 inch 9 gauge exterior galvanized joint hanger nails to attach them, and for now, I decided to at least get one in place for every other rafter, hopefully to someday put on on each:

Porch Rafter Header Joint Ties

And I added some angled ties to the rafters that join at the hip rafter:

Porch Roof Hip Rafter Joint Ties

As for the winds, I used hurricane clips for the porch roof rafters, tying them to the cross posts:

Porch Roof Rafter Cross Beam Hurricane Clips

And inside, on the main roof, tying the trusses to the pony wall top plates. To make sure the tie twist was hidden in the roof area, I put them on the left side. I started by hammering one nail into the bottom part, then placed all the nails in the top part, and then finished by filling in the bottom. Also, the top part of the tie was right where the truss metal gussets are, and so I had to hold the nail with my right hand trying to bend the top of the tie back, and then hammer through the gusset with my left hand, and being right-handed, that sometimes had some quite painful results. 🙂 :

Roof Truss Hurricane Clips to Interior Wall

Hopefully these will help against most of the weather issues we might face, as the Lord wills.

We are thankful once again to God for allowing us to continue progress on the house.

— David

First Snow of 2013

We weren’t sure what to expect when we woke up the other morning. The weather “peeps” were calling for 1 to 3 inches of snow, depending on which way the weather system moved in the night. Well, it looks like we got about 2 inches!

I thought I’d “carpe that thar’ diem” and take a few miscellaneous videos of the morning chores and scenes around the farm:

And here are a few pictures:

Our wood pile covered in snow with the house in the background. Beautiful!

Snow on Wood Pile

Our garden. It’s hard to believe veggies grow and flourish in the area that looks so barren now. Hmmm, I’ll have to ponder that spiritually!

Snowy Garden

Our orchard covered in snow. “To every thing there is a season”……

Snow on Orchard Trees

Augie and Gigi usually come straight up to the goat area when they are let out of the barn each morning, especially when there is a stiff north wind. They will actually take naps facing the cold breeze. They love to hang out up there:

Geese in Snow

Here is Minnie on the milking stand in the melting, muddy snow. I am very thankful for that green pad on the stand which is the only barrier between me and the wet!

Milking Goats in Snow

Thanks for hanging out with us a little on this snowy morning! May God guide your day!

Susan

« Older posts Newer posts »