Last year you may remember us introducing our new stray rescue cat, Ritzie. At the time we weren’t sure why God brought her into our lives but thoroughly enjoyed the time He allowed us with her. After a few months, in April, we had to make the decision to have her euthanized due to illness. It was very sad for me, in particular, because we believe there was a very spiritual side of that whole experience and things God wanted to teach me. I plan to write a blog post about that in the near future. We still miss her.
Well, fast forward about five months in early November, just before a cold snap, while we were doing our morning farm chores. I had walked past the summer kitchen and beyond the cistern when I heard William meow back by the kitchen. Then he immediately walked right in front of me. Dave and I looked at each other realizing the mewing wasn’t William after all. I walked hastily back to the kitchen and listened more intently. Just then I saw this little gray “thing” nestled safely in between the summer kitchen wall and the top of the closed root cellar door. She was crying out but really scared at the same time, growling and defensively showing me ALL of her teeth. I went and got some work gloves and a stick and tried to nudge her out but she wasn’t “down with that.” Then I brought out some goat milk to entice her but she still wasn’t buyin’ it. I finally nudged her out, but she then ran towards the barn wall where there are lots of obstacles under which she could hide. Well played, little gray “thing”, well played. Thinking of my next move, I went and got an animal cage and finally tracked her down hiding under a generator. I slowly reached out with a gloved hand and petted her furry face. Bingo! When she sensed I was not out to harm her, she melted like butter and started purring up a storm, rubbing her face against my glove. I scooped her up and put her in the cage whispering sweet sing-songy things to her. After the whole Ritzie experience, I knew Dave (let alone William) would probably not be too keen to take in another feline tenant, and was ready to accept whatever his decision was. Well, I walked in the house with the cage and Dave was on a business phone call. I stayed across the room, took her out of the cage petting her, and she just couldn’t get enough lovin’. Dave looked over, smiled, shook his head like “here we go again” and later said he didn’t hesitate about agreeing to bring her into our homestead. She had shown up out of nowhere as a 6 week old kitten, no other cats in sight, probably not even fully weaned. Dave and I agreed to take it one day at a time and see what would happen.
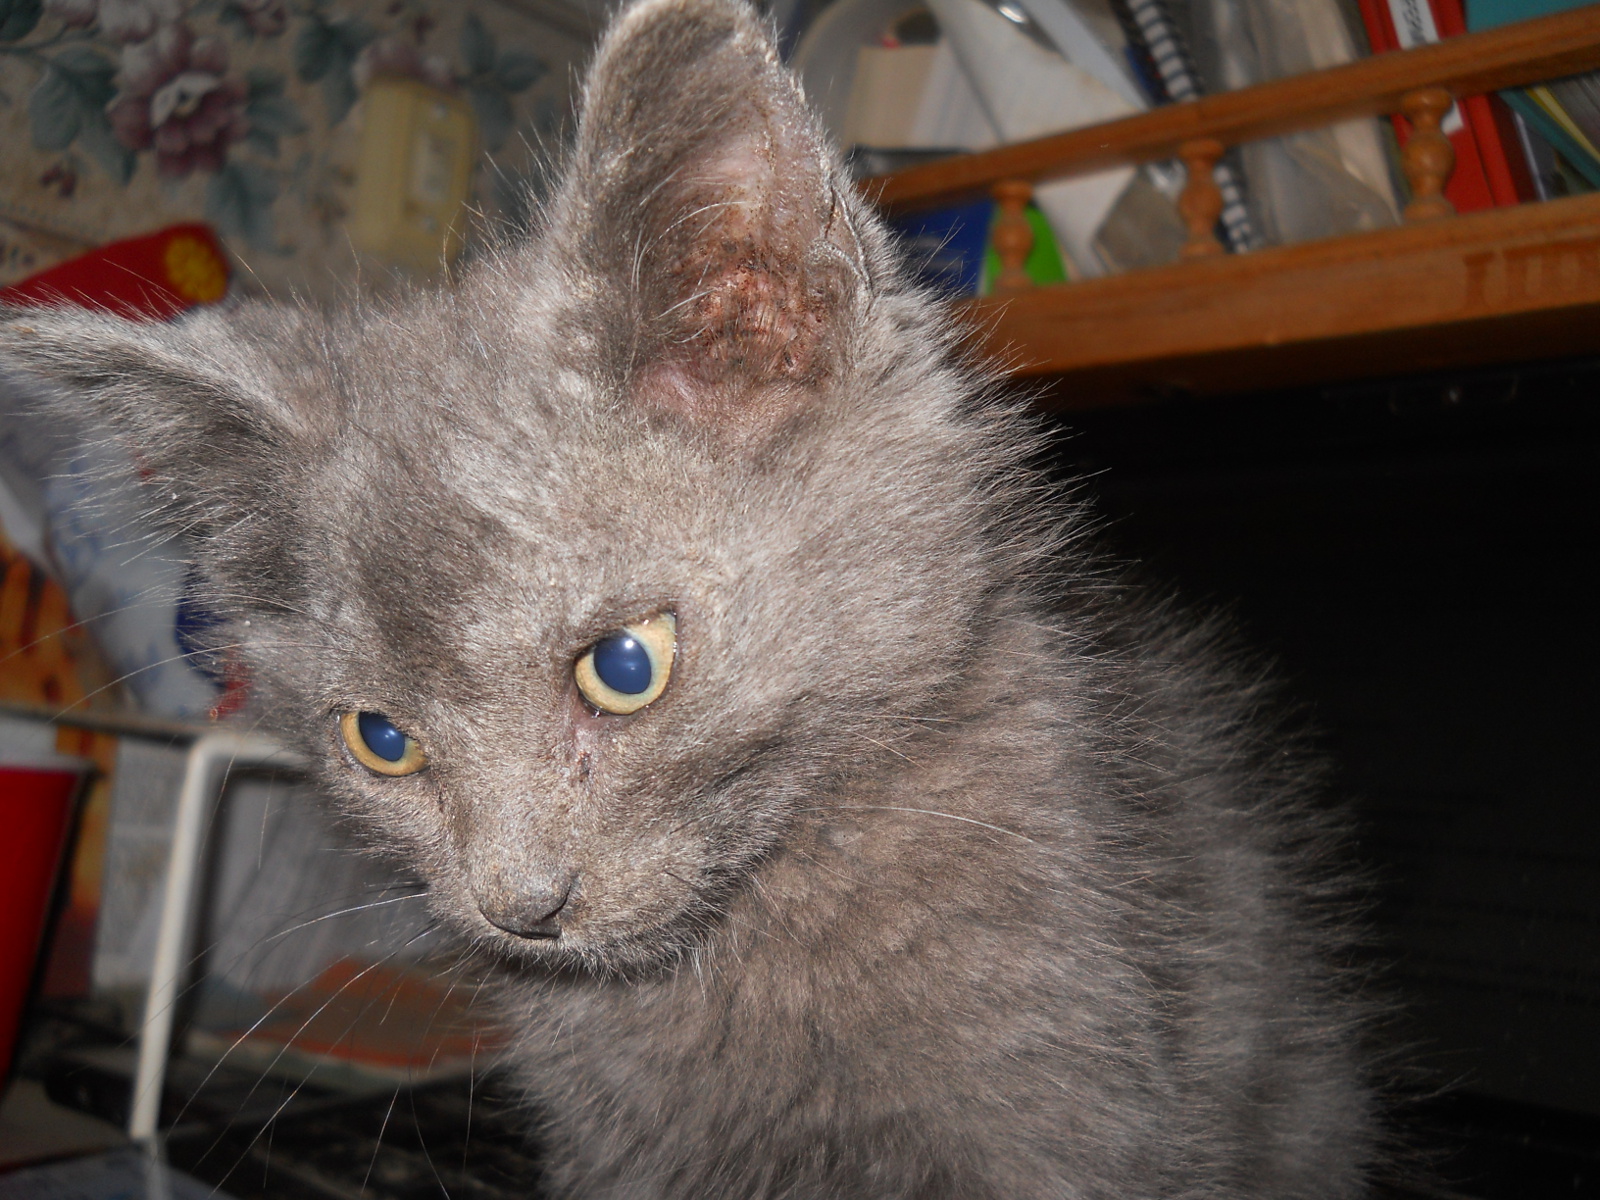
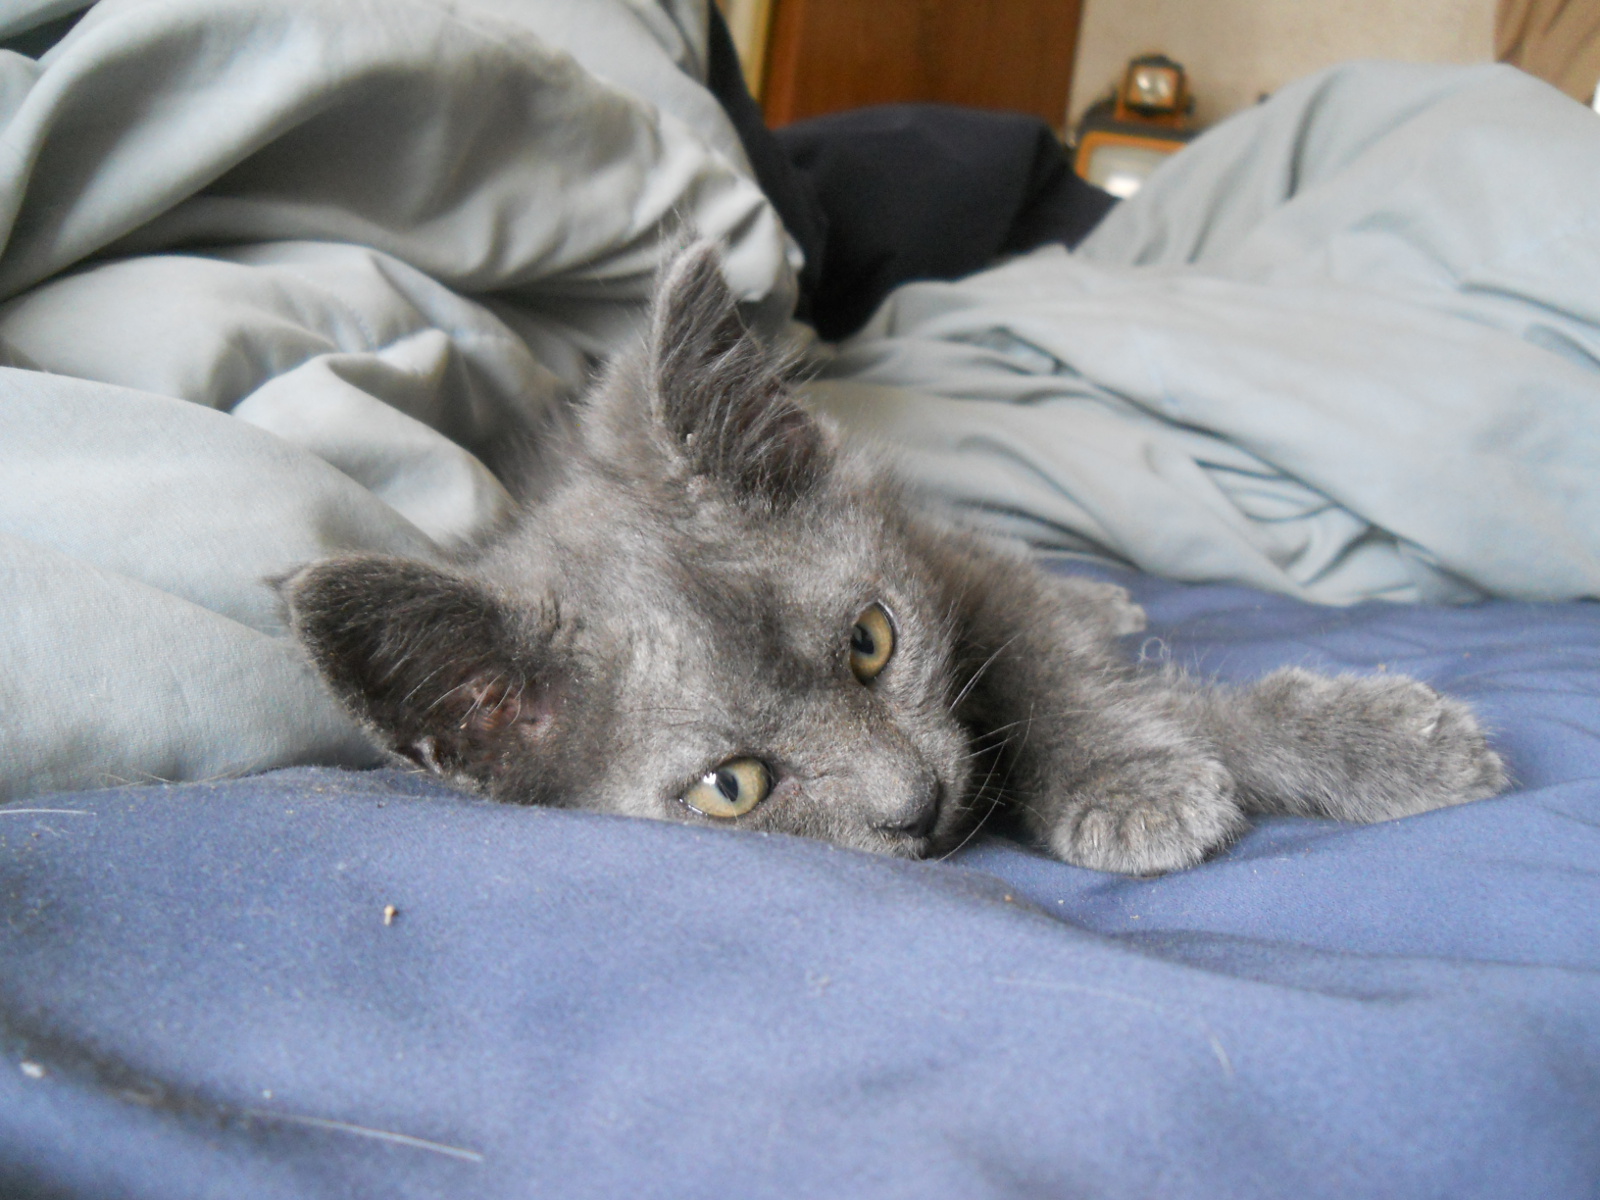
Here she is when we first took her in. We couldn’t help but notice how big her ears were in relation to her little body! Dave started using Google Translate to see what he could come up with, and lo and behold, apparently the Japanese word for “ear” is an English, female proper name — Mimi!!
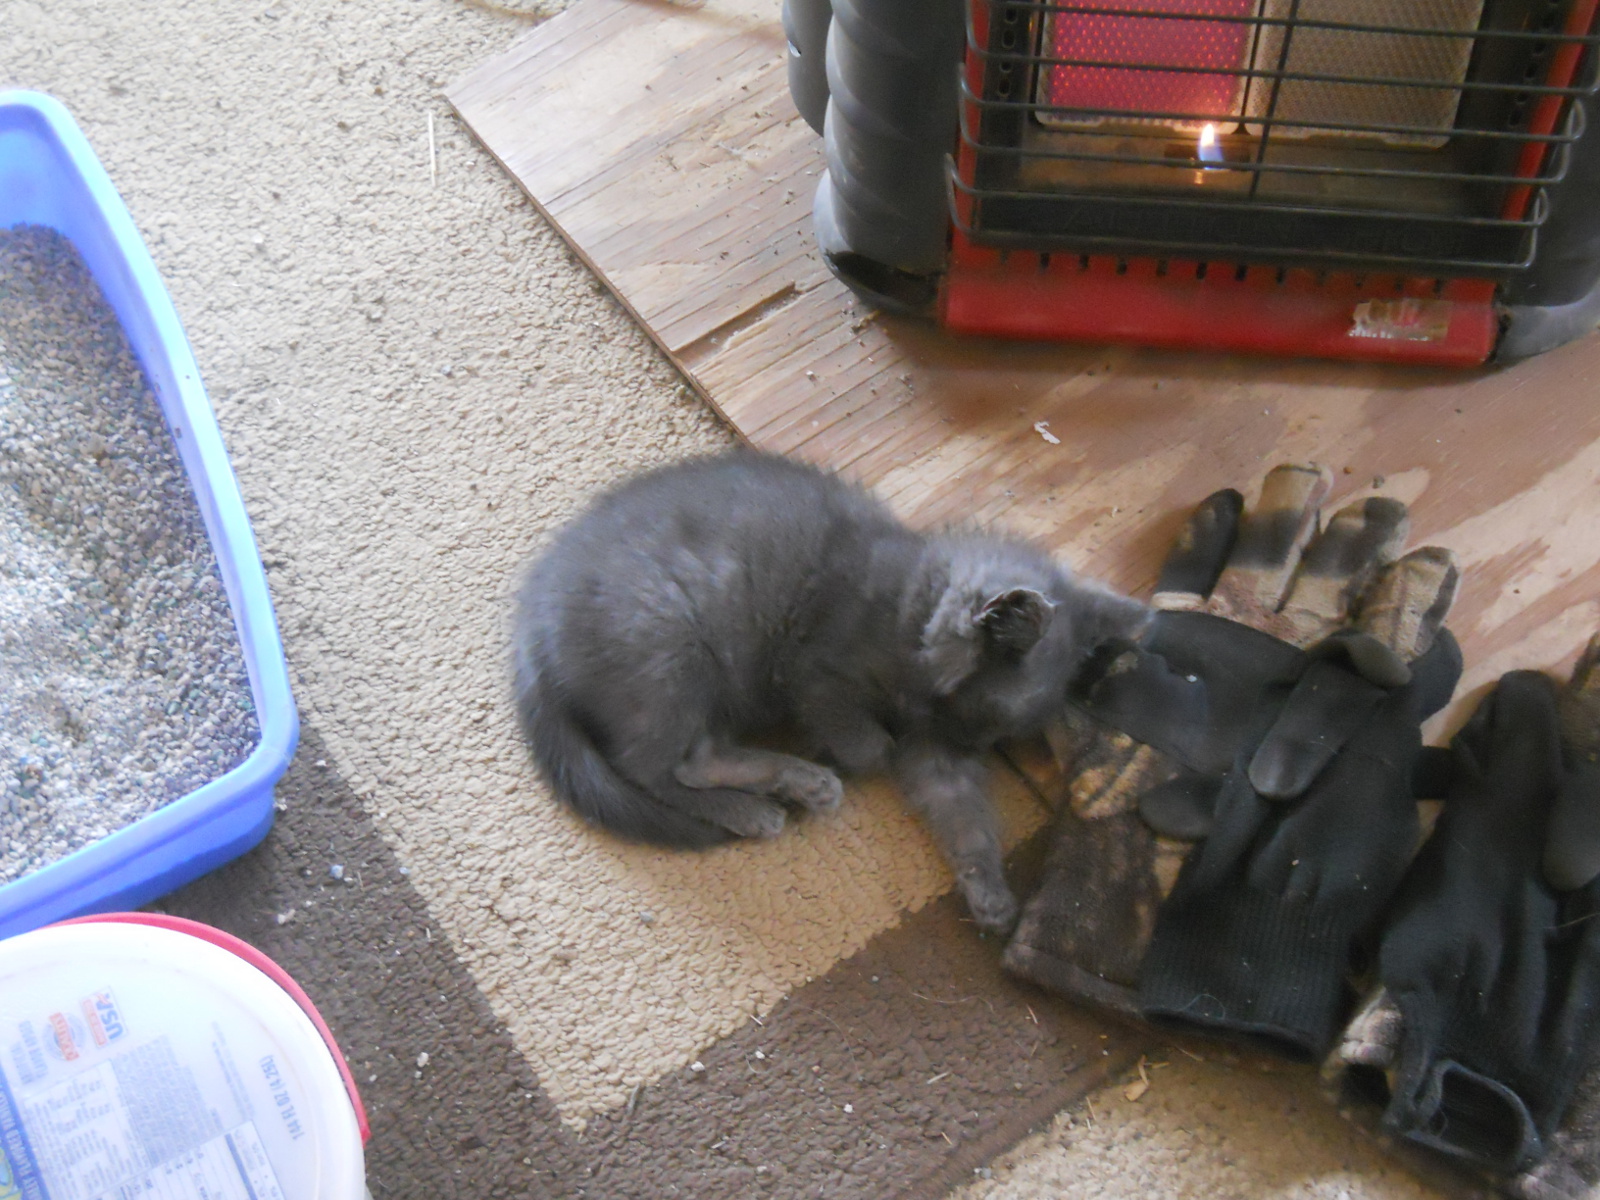
It was cold outside so Mimi’s first BFF was the heater!
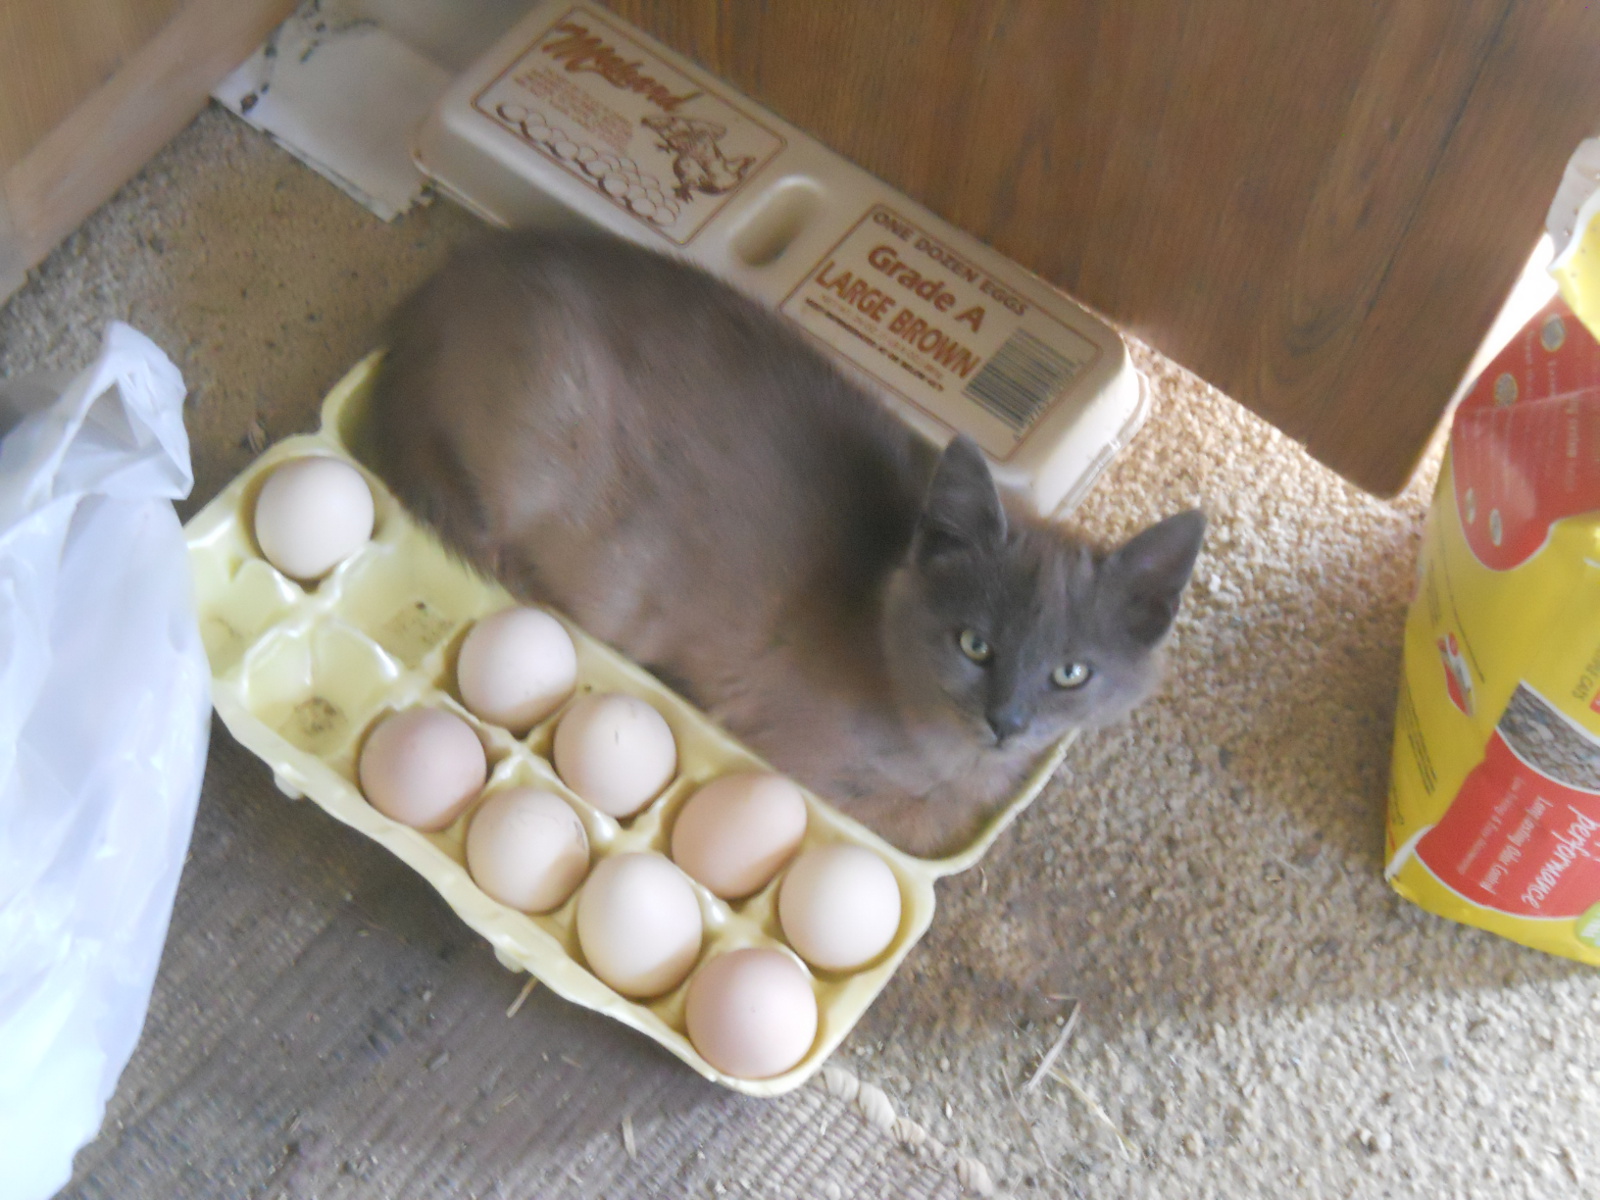
She found a resting spot “exactly” her size!
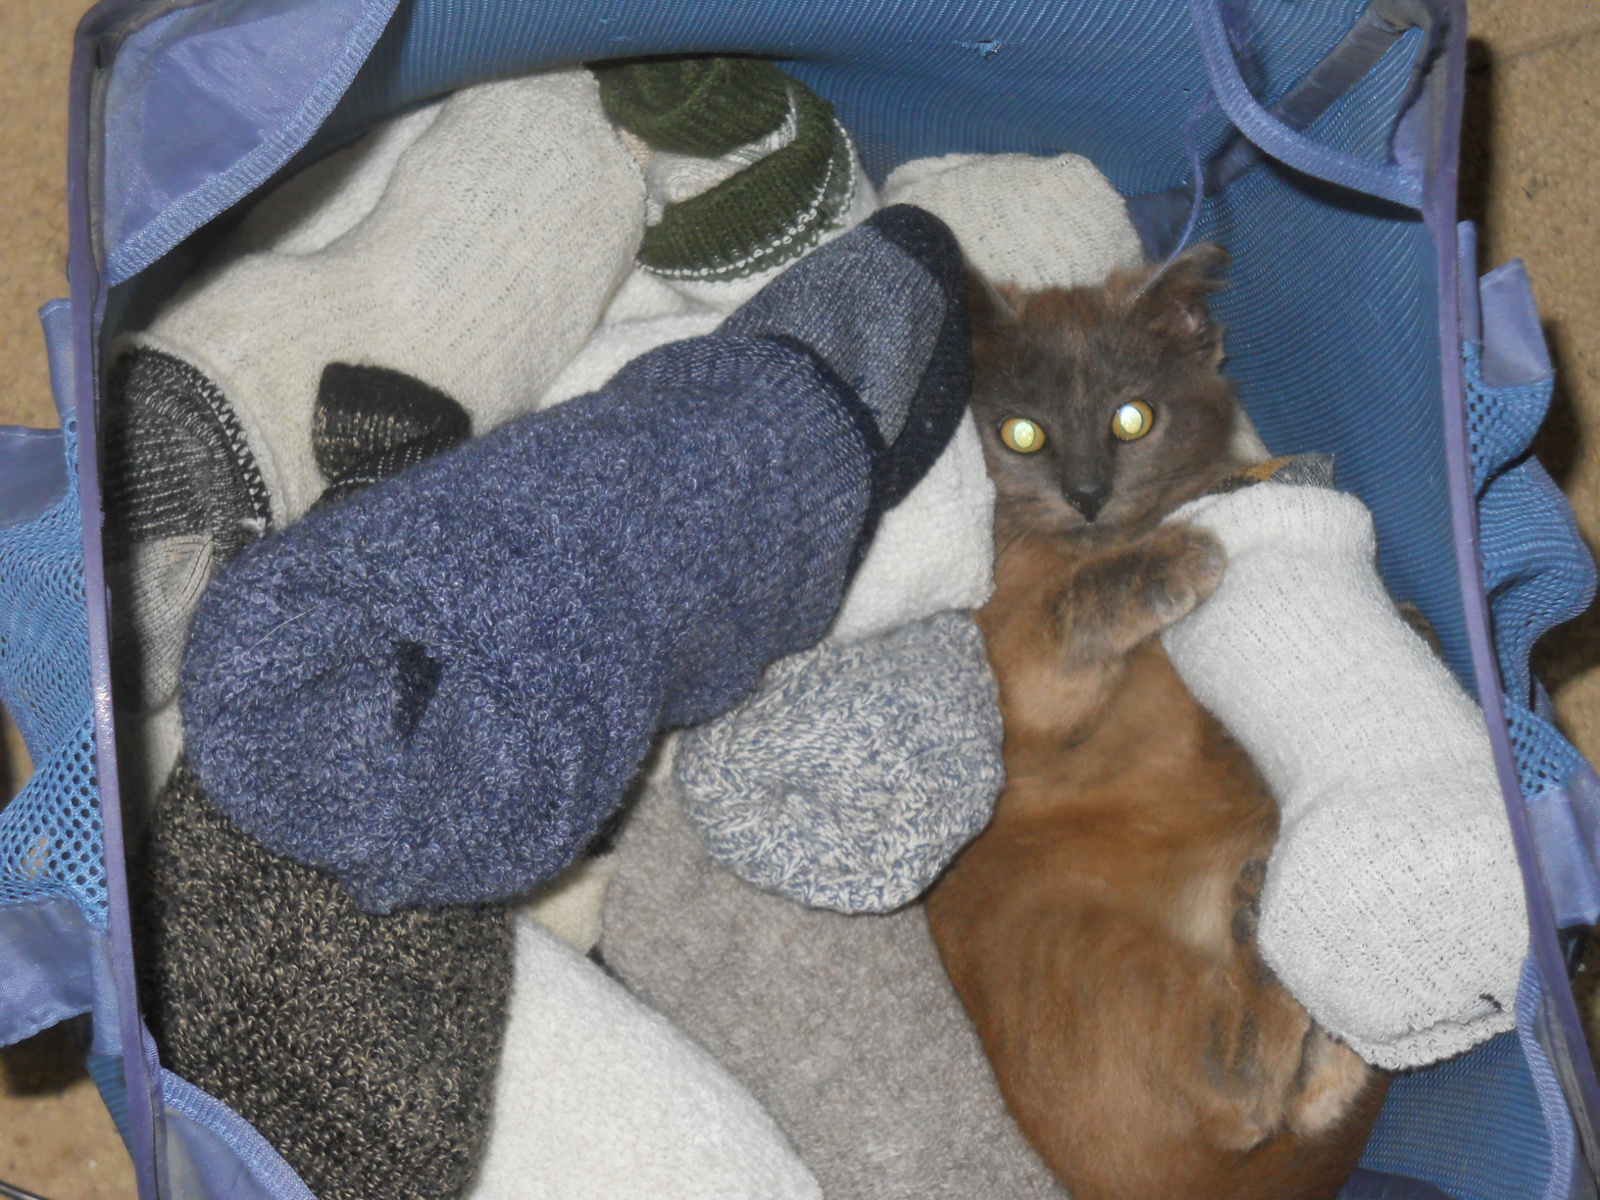
When mommie’s away, the cat (and socks) will play:
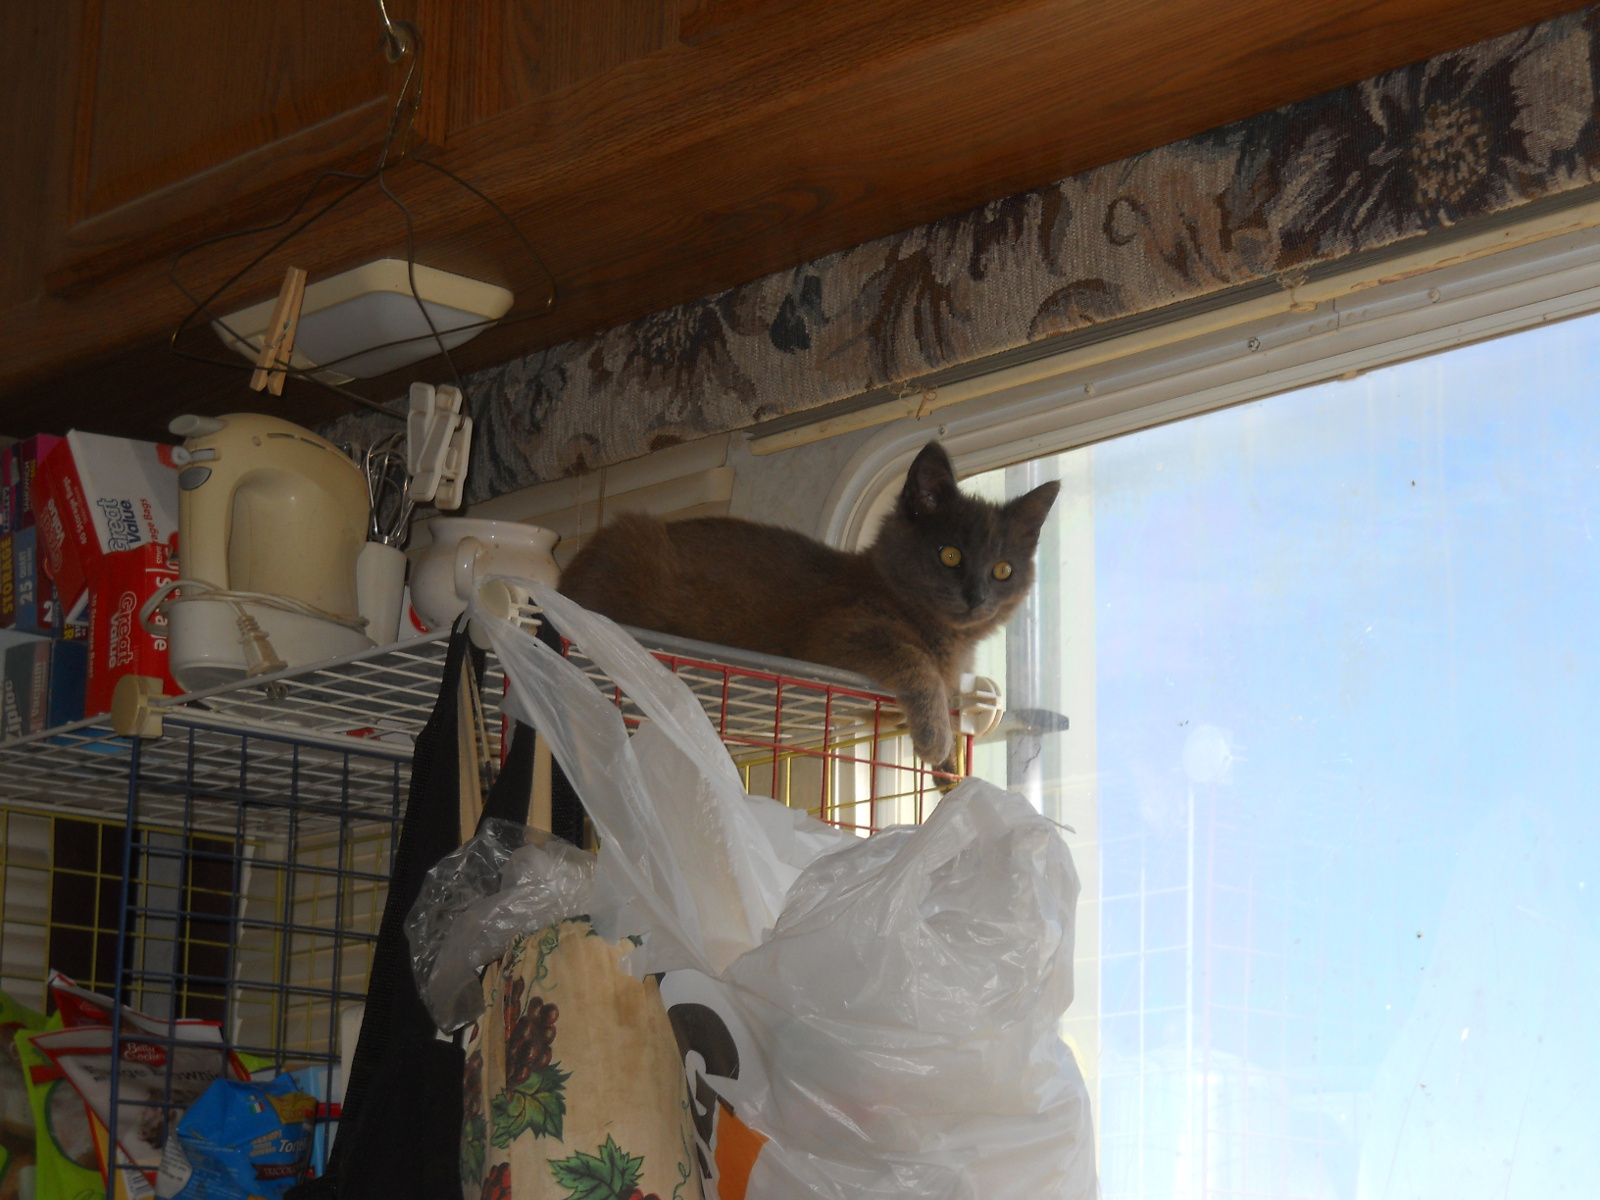
Mimi’s safe lookout spot:
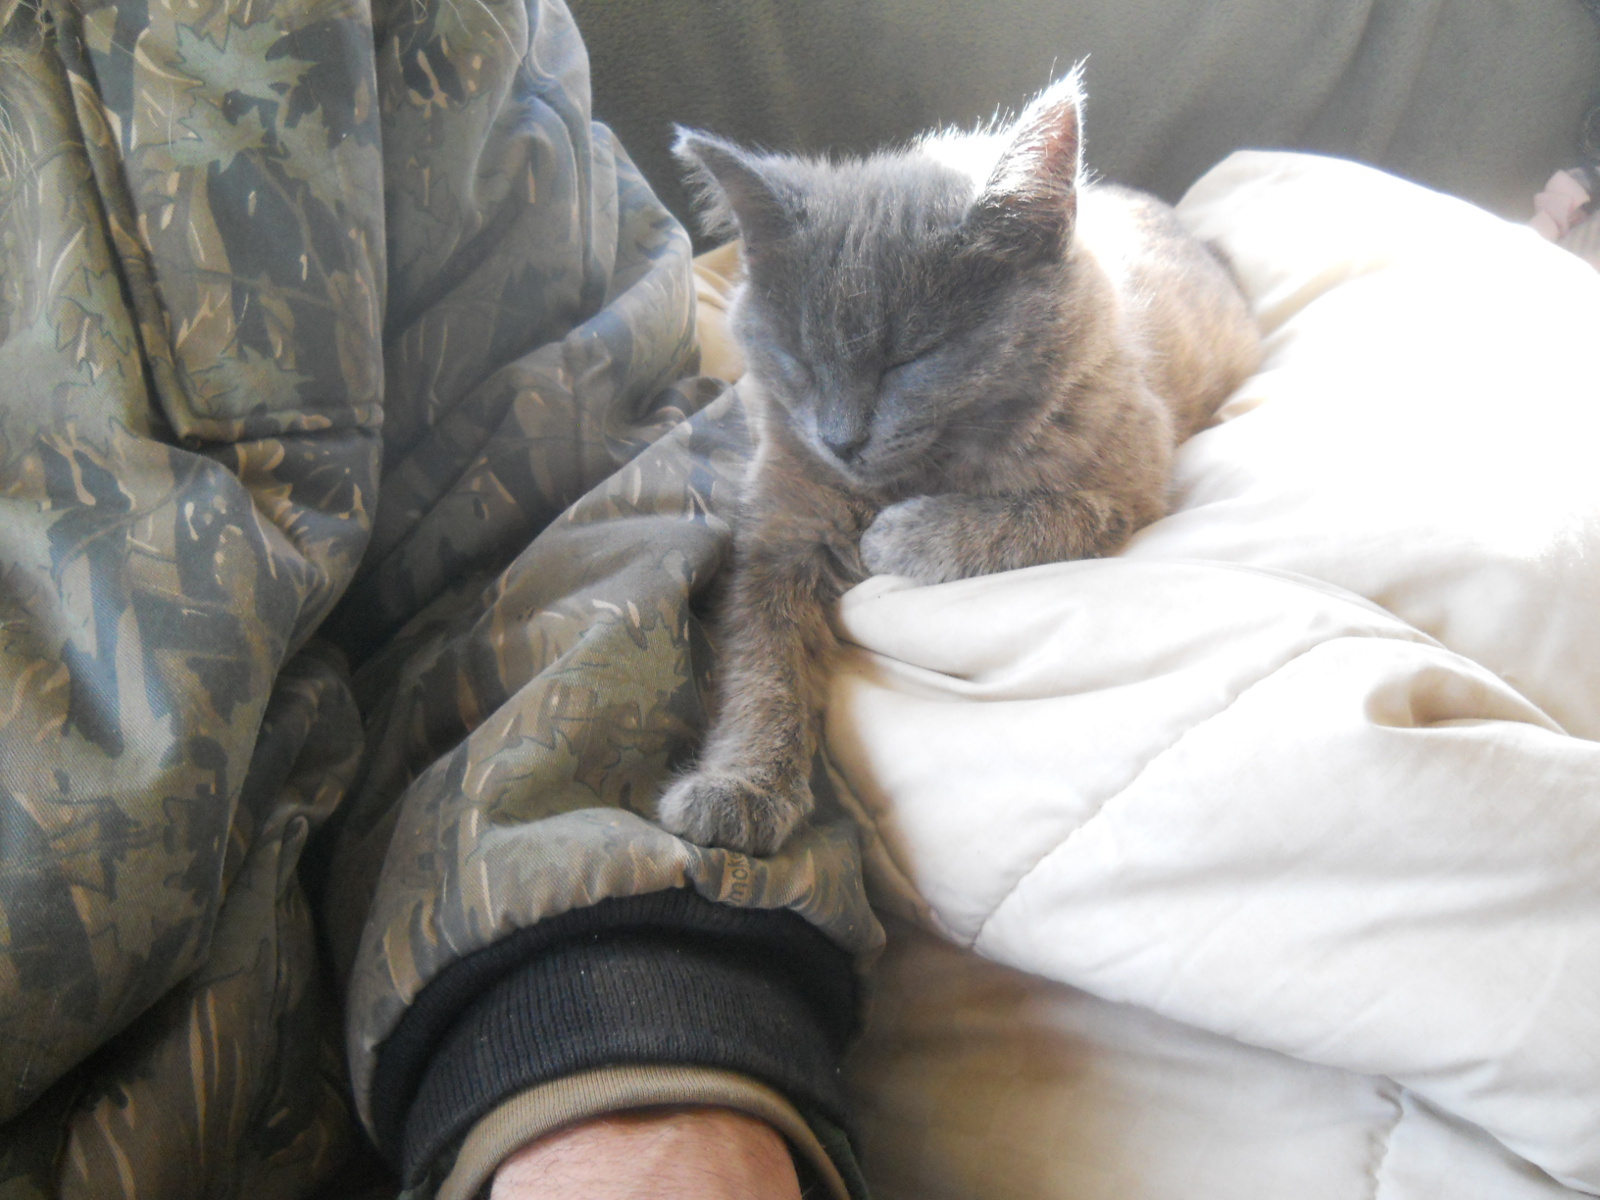
Mimi and Dave bonding:
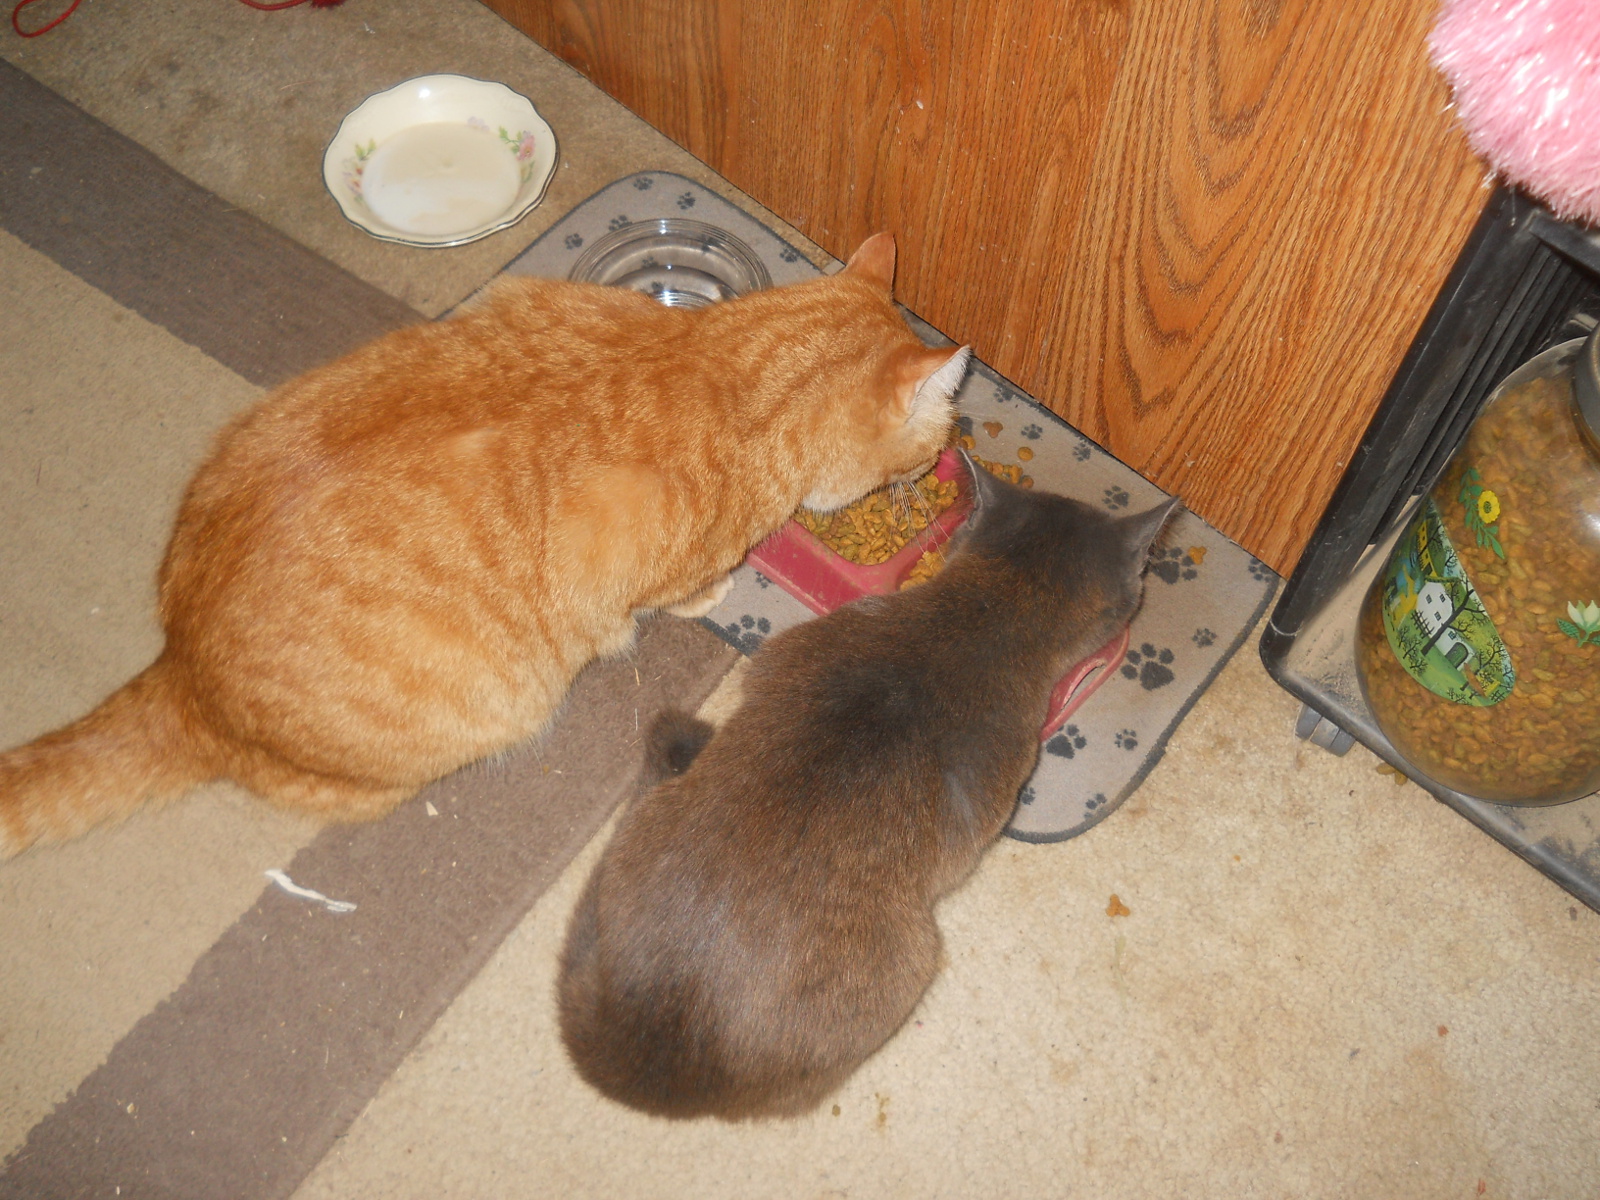
We refreshed our memories on the best way to introduce a cat (kitten) into a household with an existing cat. It was the best case scenario with William being the older, dominant, male cat and her being a small, female kitten. Over the course of the next two to three weeks, we sloooowllly introduced them. Thankfully, they have become very good friends.
Mimi ain’t no dummy. She wanted to be friends with William right away but knew he would take a little longer to realize how adorable she was – so she kept her distance:

After about two weeks of bonding and cuddling, we agreed I should take her to the vet for a once-over and a rabies shot. The vet came in the room, took one look, and I don’t think used more than her thumb and index finger to pick her up by the neck the entire time. Mimi was instantly branded with a scarlet “R” for ringworm. I couldn’t believe the avoidance in this vet. Heck, we didn’t know what ringworm looks like on cats. The vet proceeded to tell me all about ringworm, which I appreciated. But it was almost like a death sentence the way it was described. (Paraphrasing) “Ringworm is a fungus-based condition, with spores that can live up to a year, and you and all of your other animals will get it, and it will be next to impossible to rid yourselves of it”. The vet, then, proceeded to scare me with the cost of an expensive $20 bottle of chemical-laden shampoo and 30 day bathing (yes, bathing a cat) instructions. It was like a declaration of leprosy or something. I dutifully bought the shampoo and left in a stunned condition. When I got home and told Dave about it, he said, “No way, we’re going natural.” (I love that about him) Long story short, we did some research, sprayed her with diluted raw apple cider vinegar and hydrogen peroxide. A couple of weeks later, ringworm gone, and no other animals got it from her. Dave and I had gotten a couple little itchy patches we realized later were ringworm, but put some essential oils on and, bam, gone. Hurray for natural cures!!
So far so good. Then, a few more months into it, Mimi started showing signs of going into heat, so we decided to get her…shhhhh…s-p-a-y-e-d. Here she is recuperating after a successful and non-eventful surgery, thanks to God. Boy, the vet sure wanted to have a big, clear working area, didn’t he?! By the way, I took the expensive bottle of shampoo back and received a full refund which we applied towards her spaying fee! Yay!

Well, it’s been about eight months, and we couldn’t have asked for a better feline friend for William, as well as another good hunter to help keep the varmints down around the homestead.
Here are a few meow feline fotos for your enjoyment:)
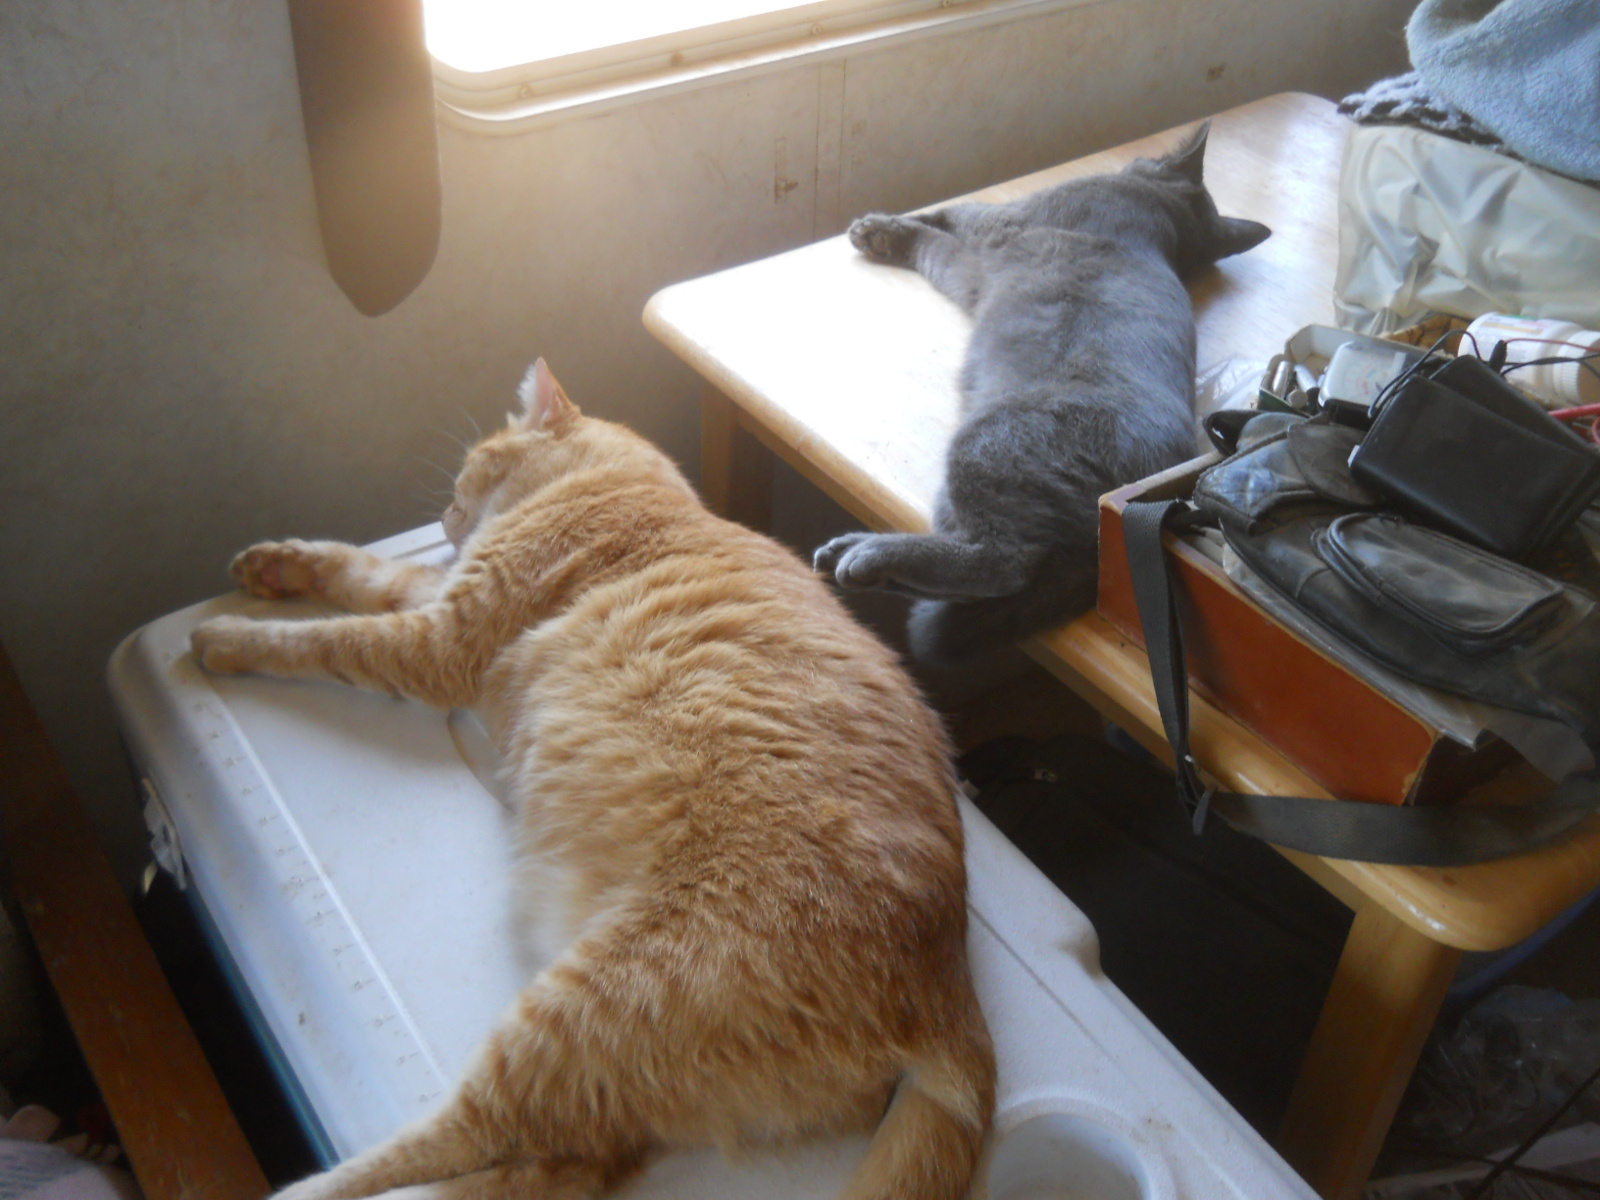
No doubt, this is William’s regular napping spot, but Mimi had gotten there first on this day. As you can tell, it didn’t faze him much (Mimi: “For real, dawg?!”):

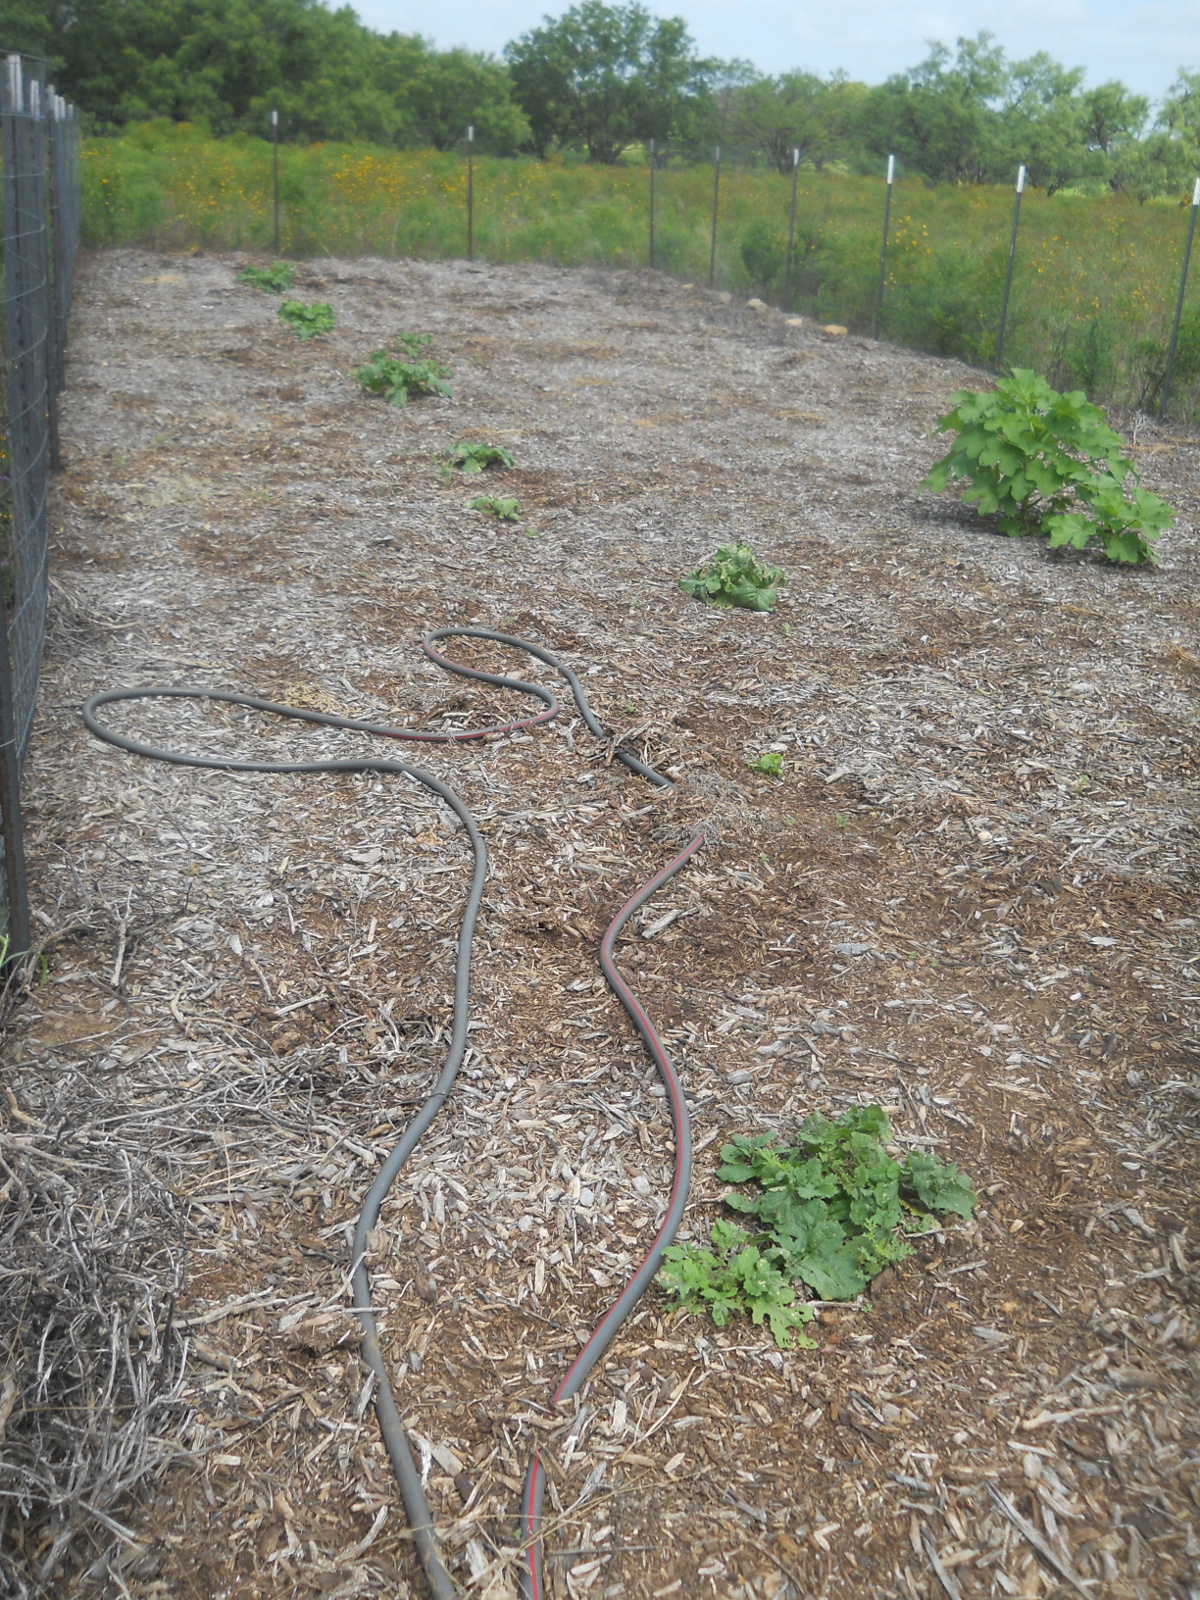
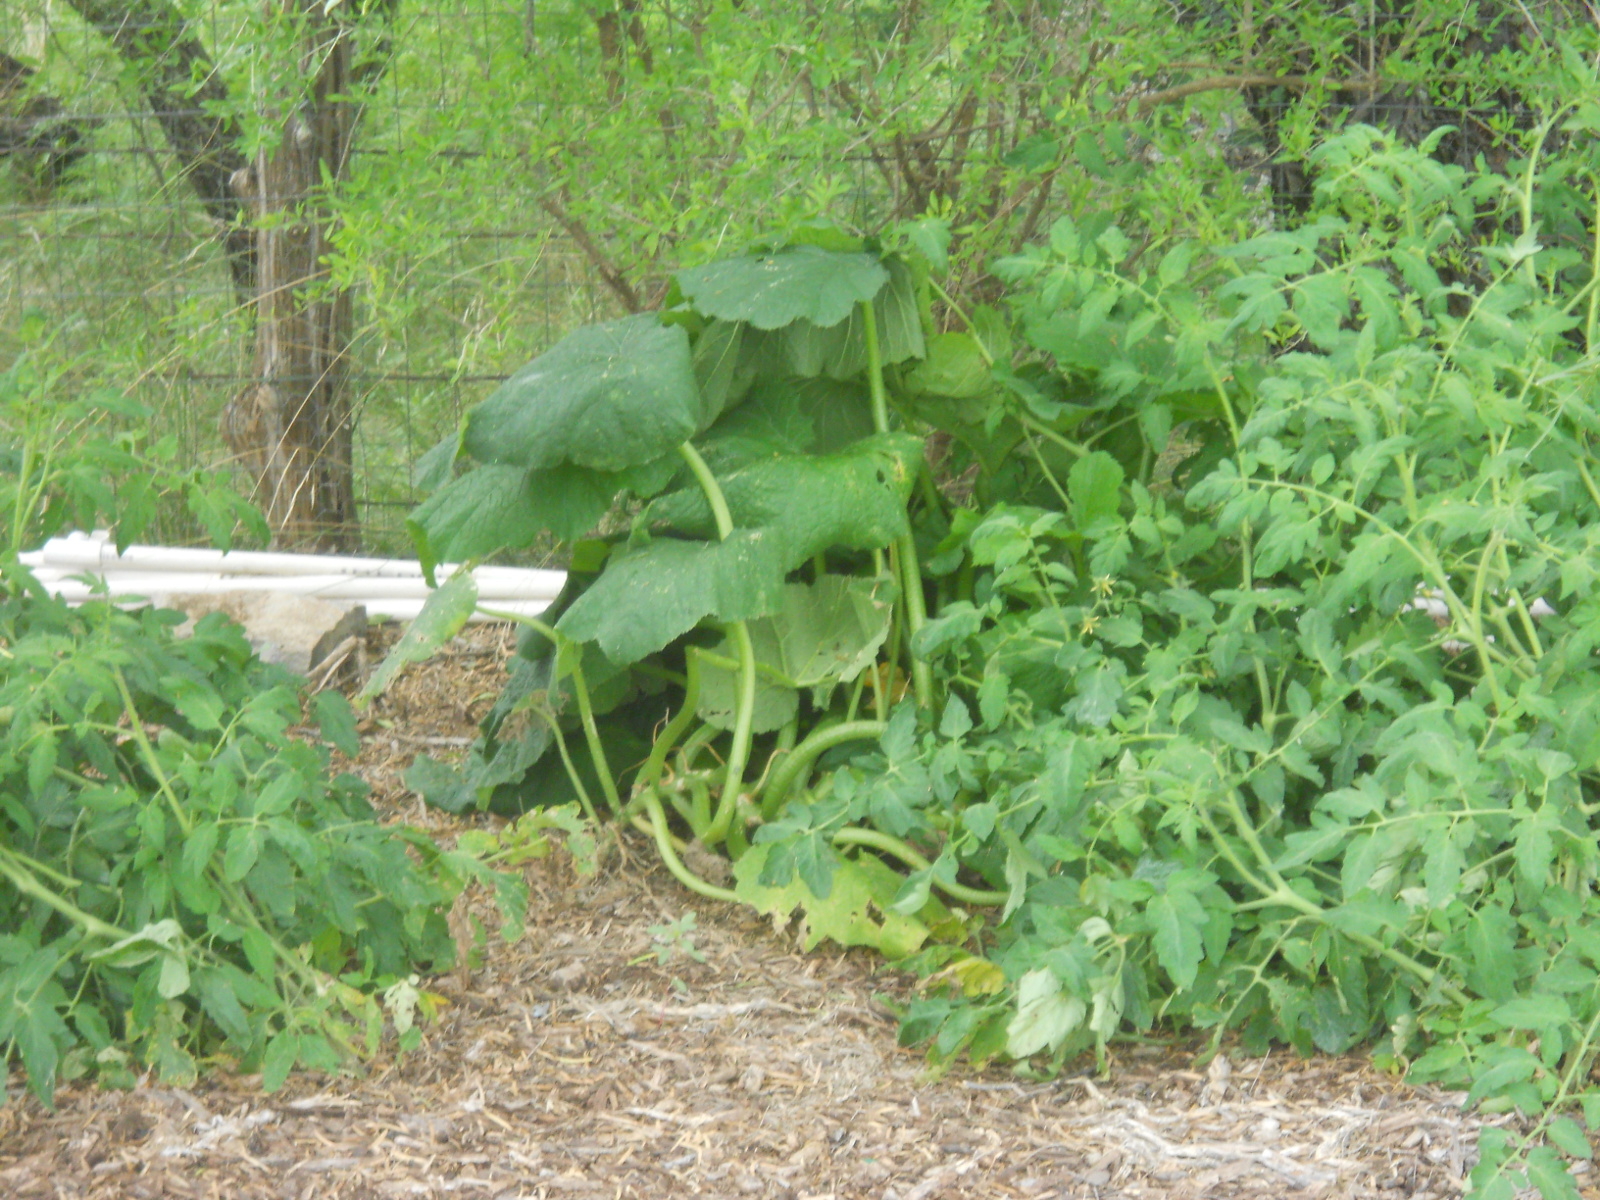
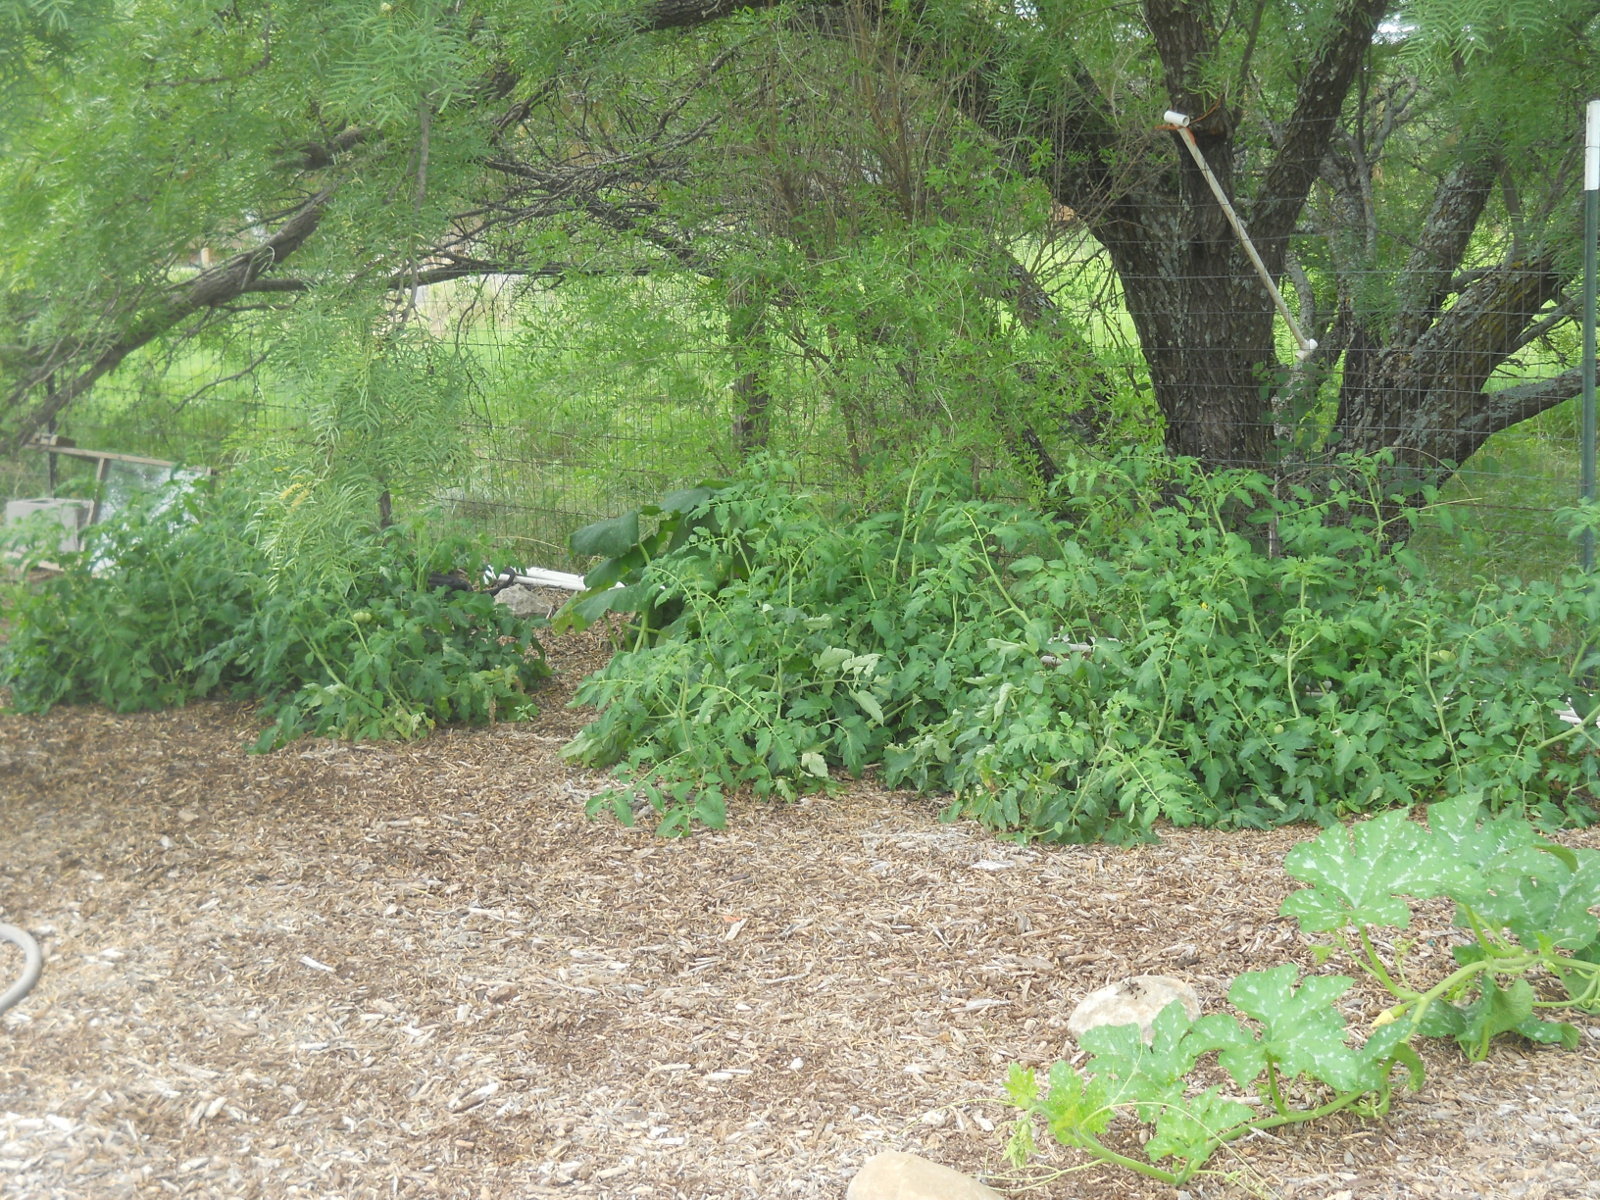
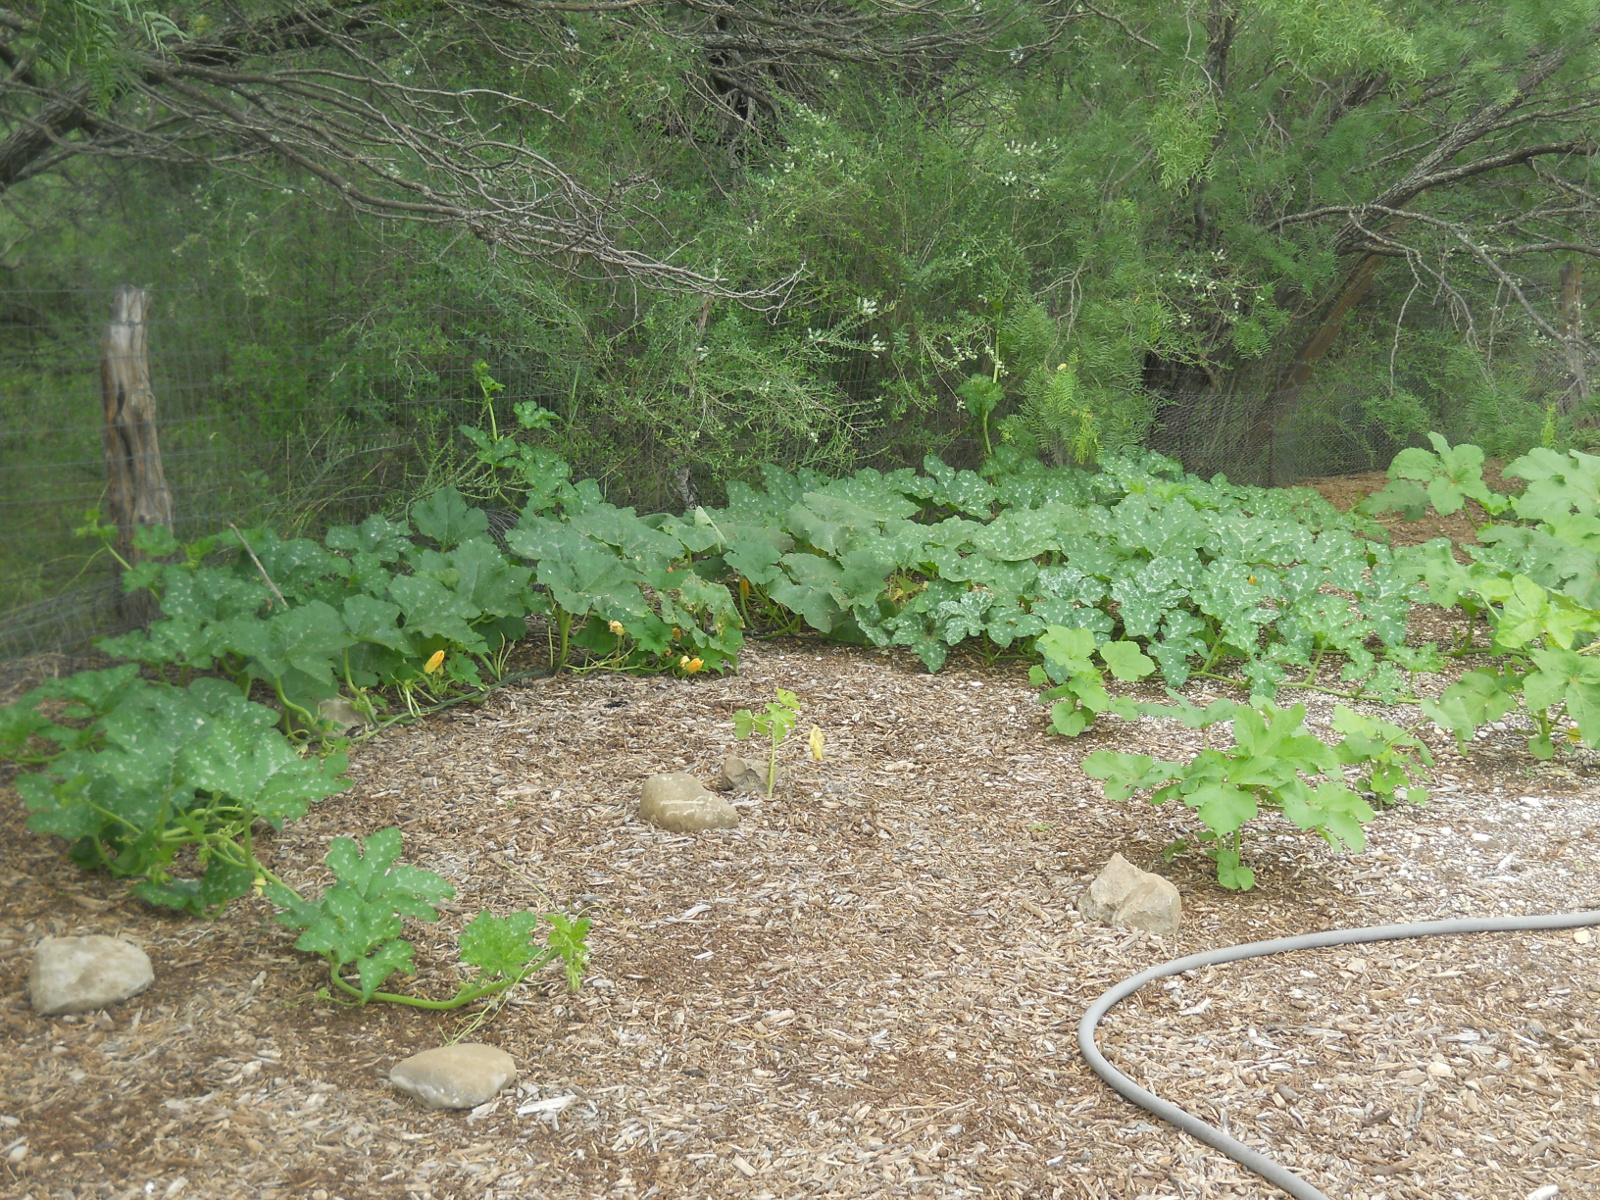
Mimi loves to hang around Dave when he is working in the orchard or the garden. She will stay for hours at a time. She’s definitely a tom(girl) cat! Can you spot her there in the tree?

Finally, here is our signature video introducing Mimi live and capturing her first known catch and kill, as well as her sweet side. Awwww 😉
As we have learned to be with all gifts from God, we are very thankful for His provision to us in Mimi, and we pray for His help to be good and righteous stewards of her and all of our animals.
Susan