We’re thankful to the Lord to be able to continue on the house! Thanks again to those who are helping make this possible, and thanks to Robert for his help!
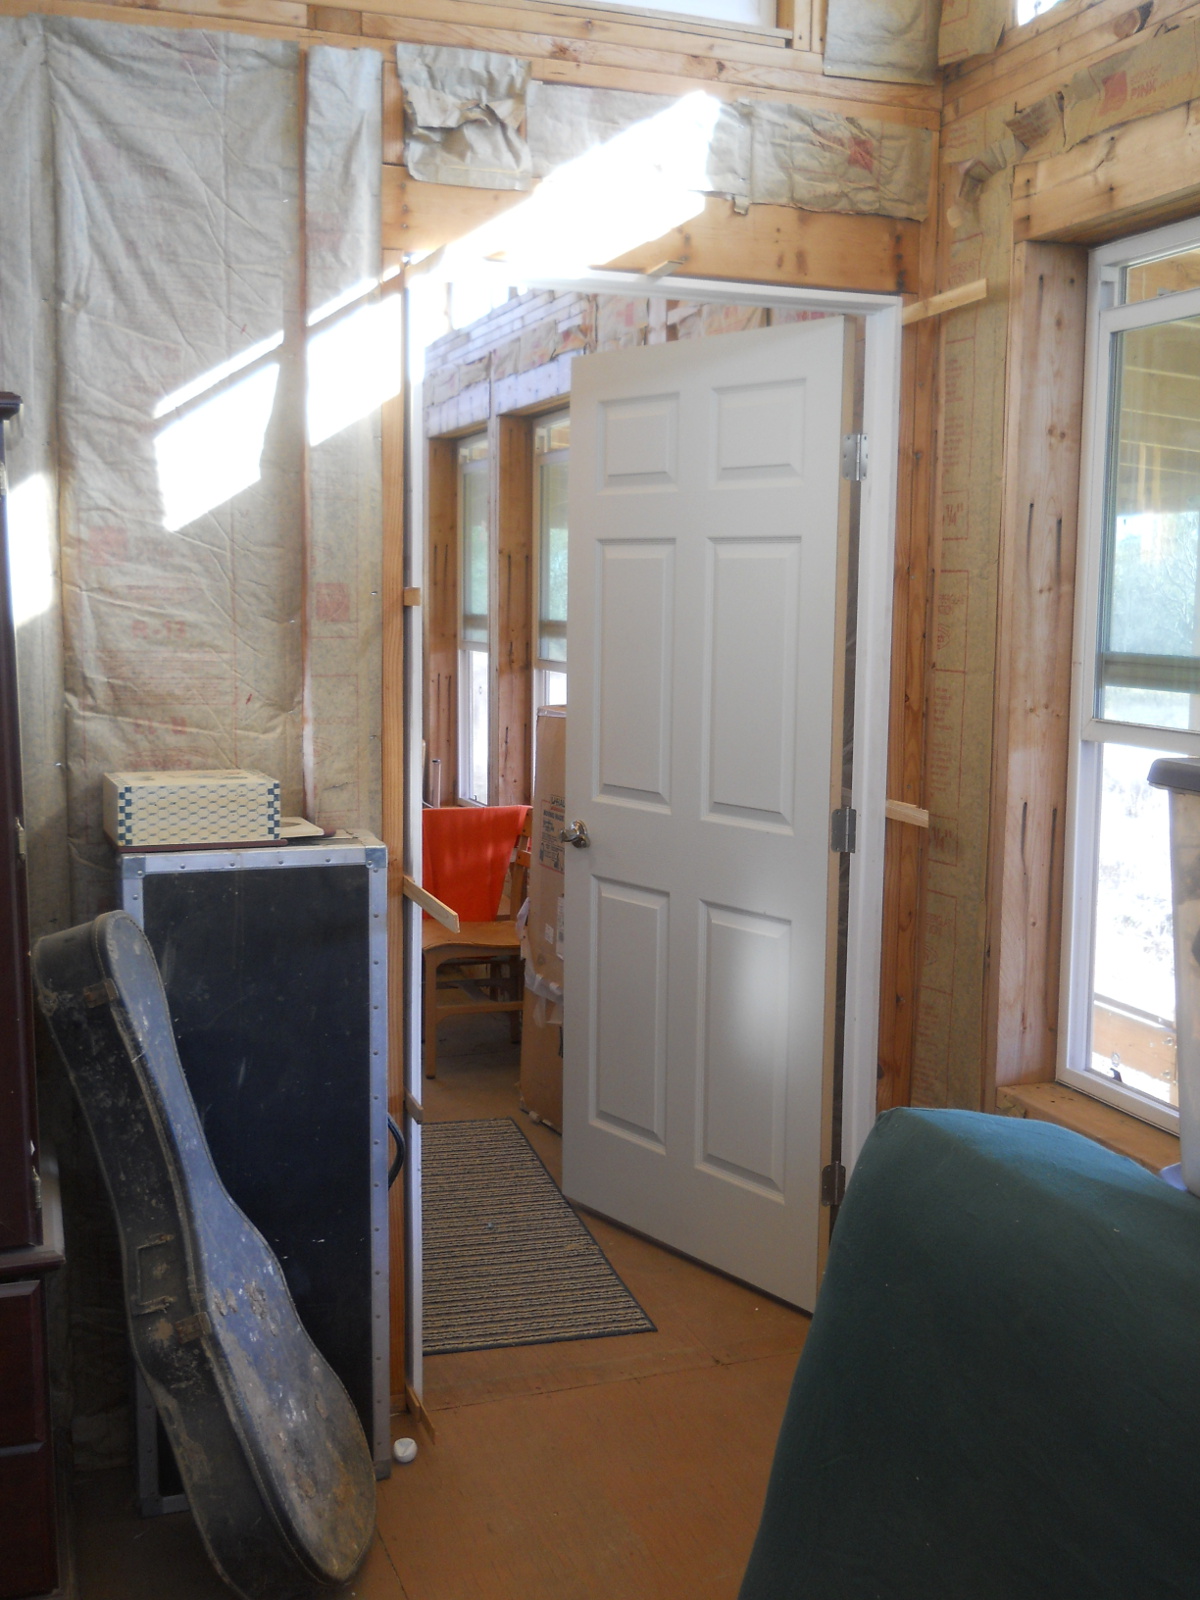
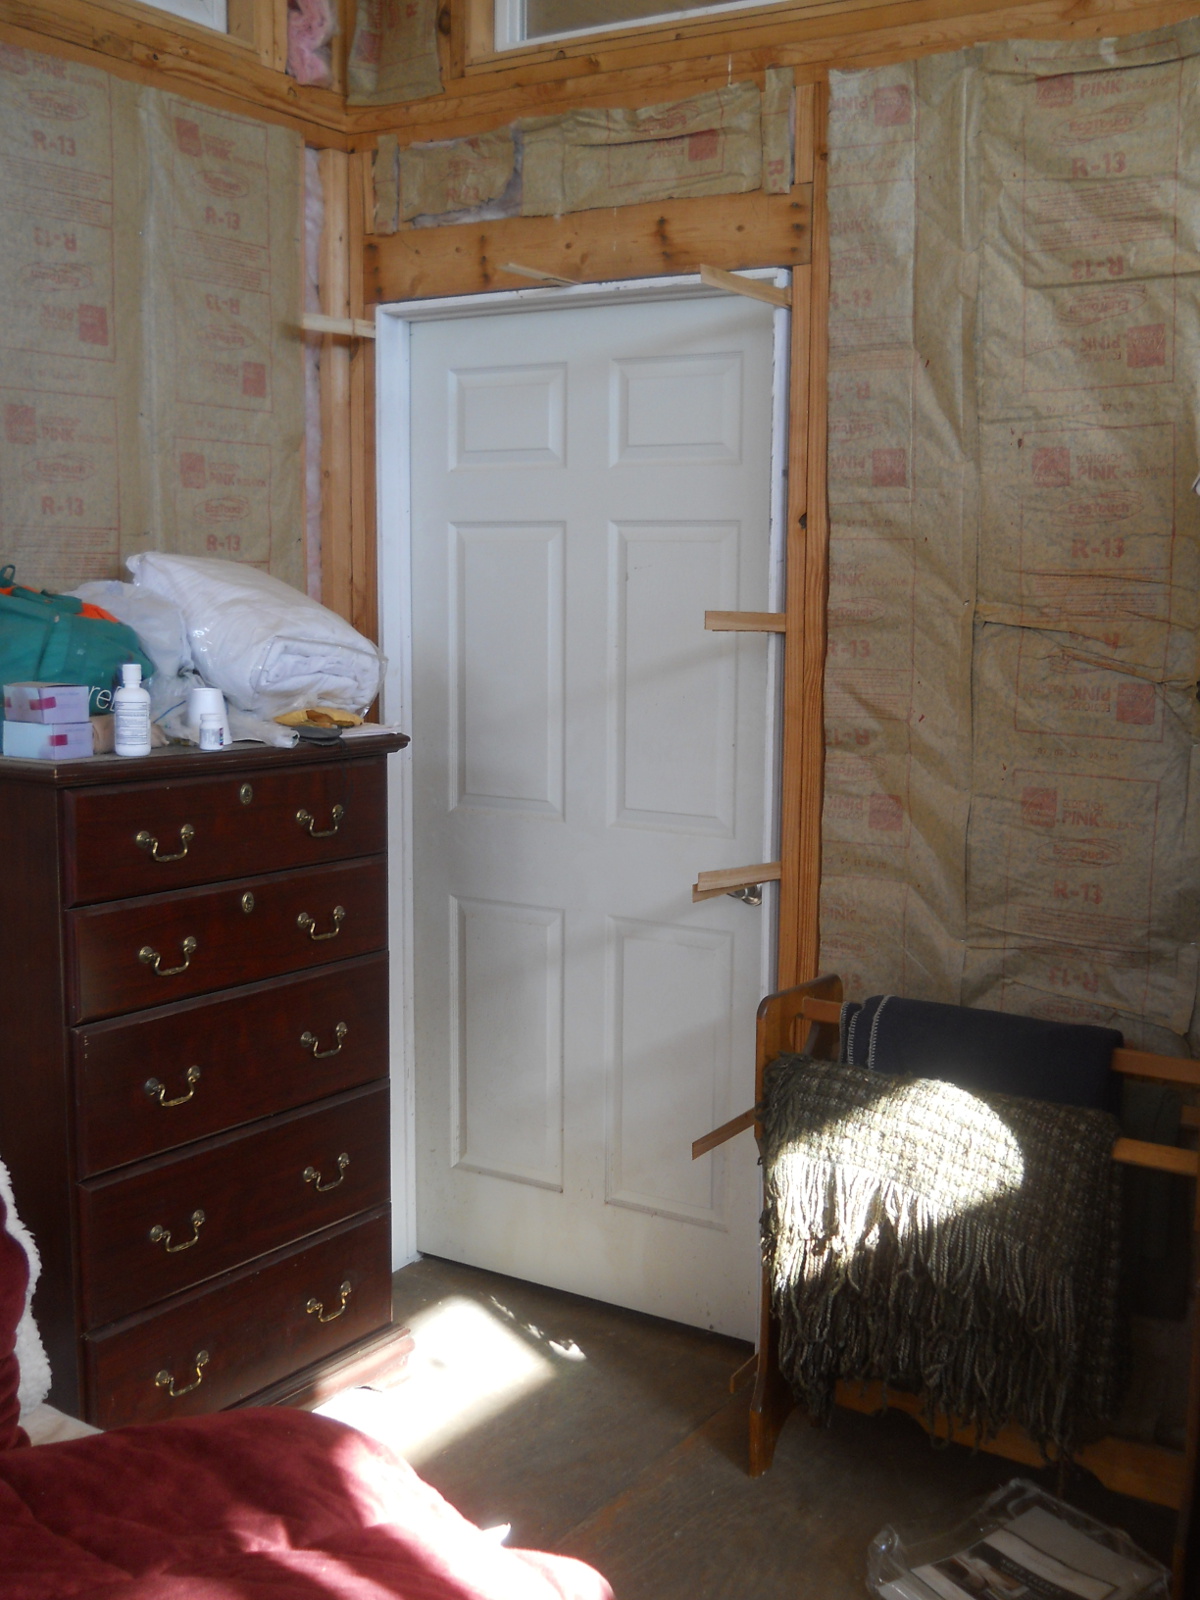
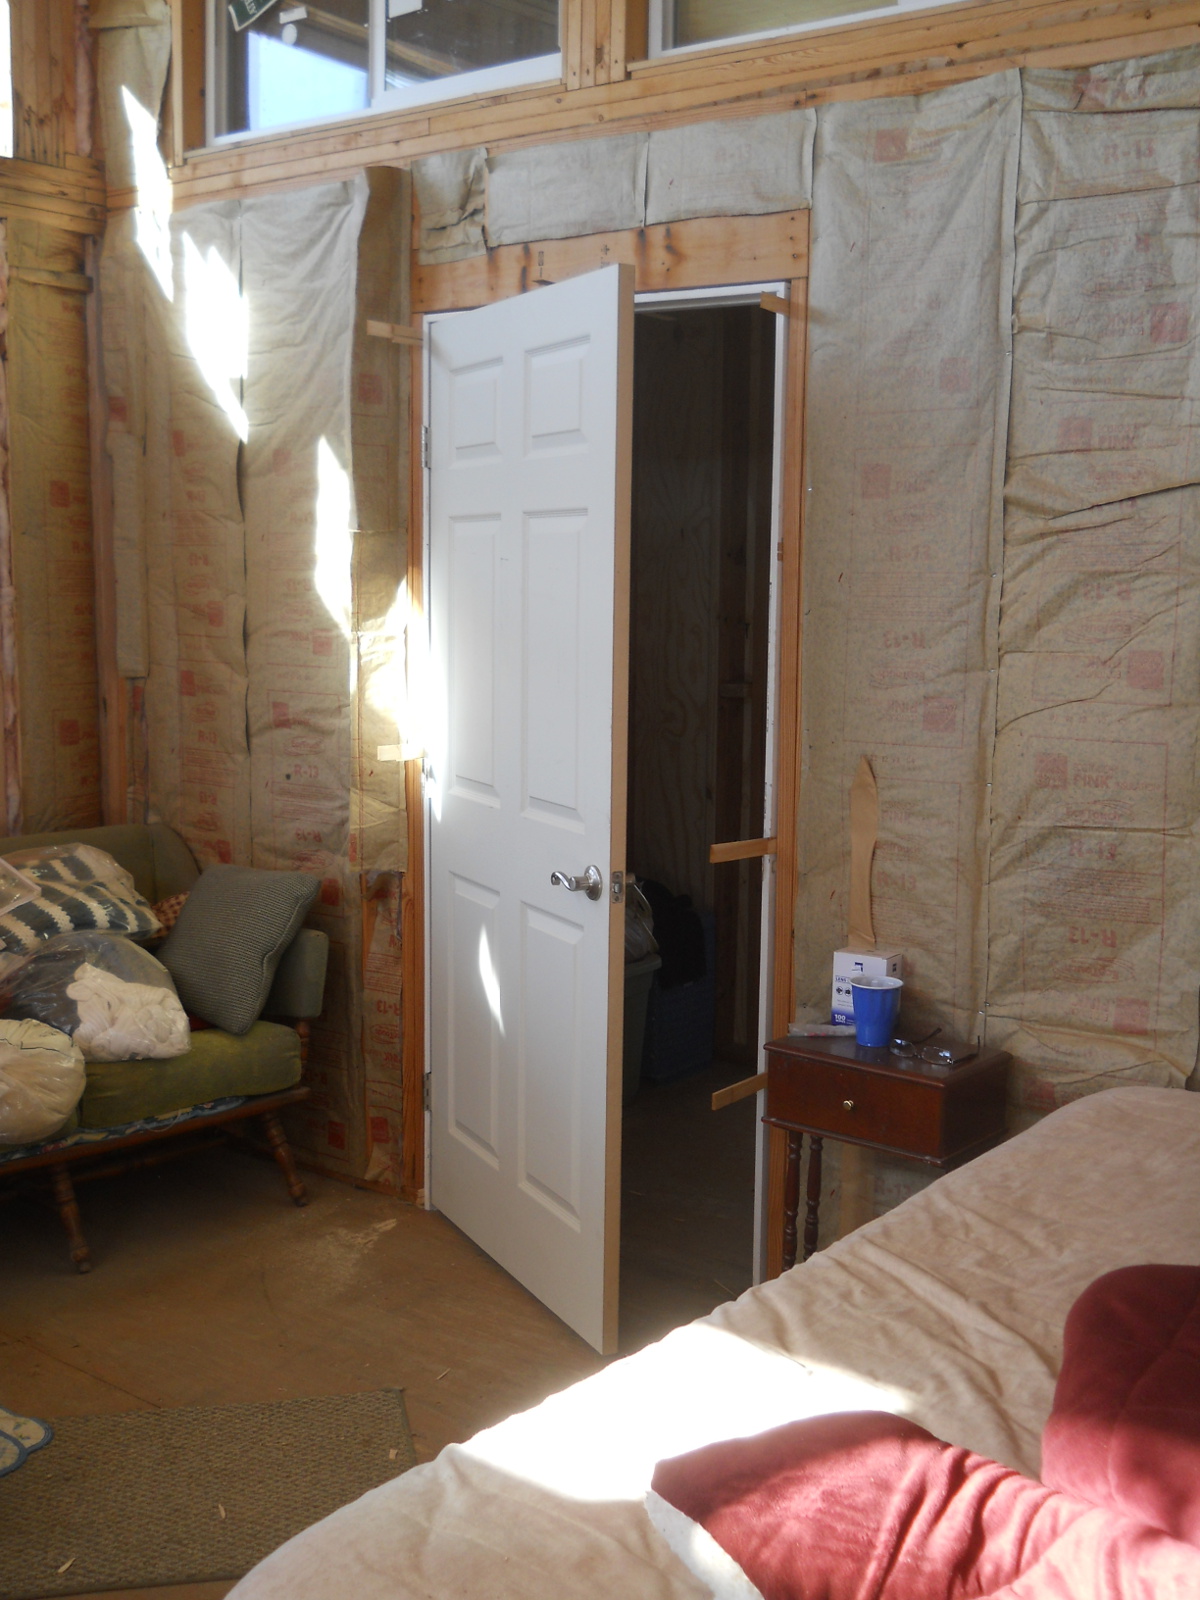
The plan always was to seal in the bedroom so we could run separate heat in there, with the idea of using fewer resources for when we are sleeping, rather than trying to keep the whole house warm just so the bedroom is. And so, we added the doors:
To the library:
To the closet:
And to the bathroom:
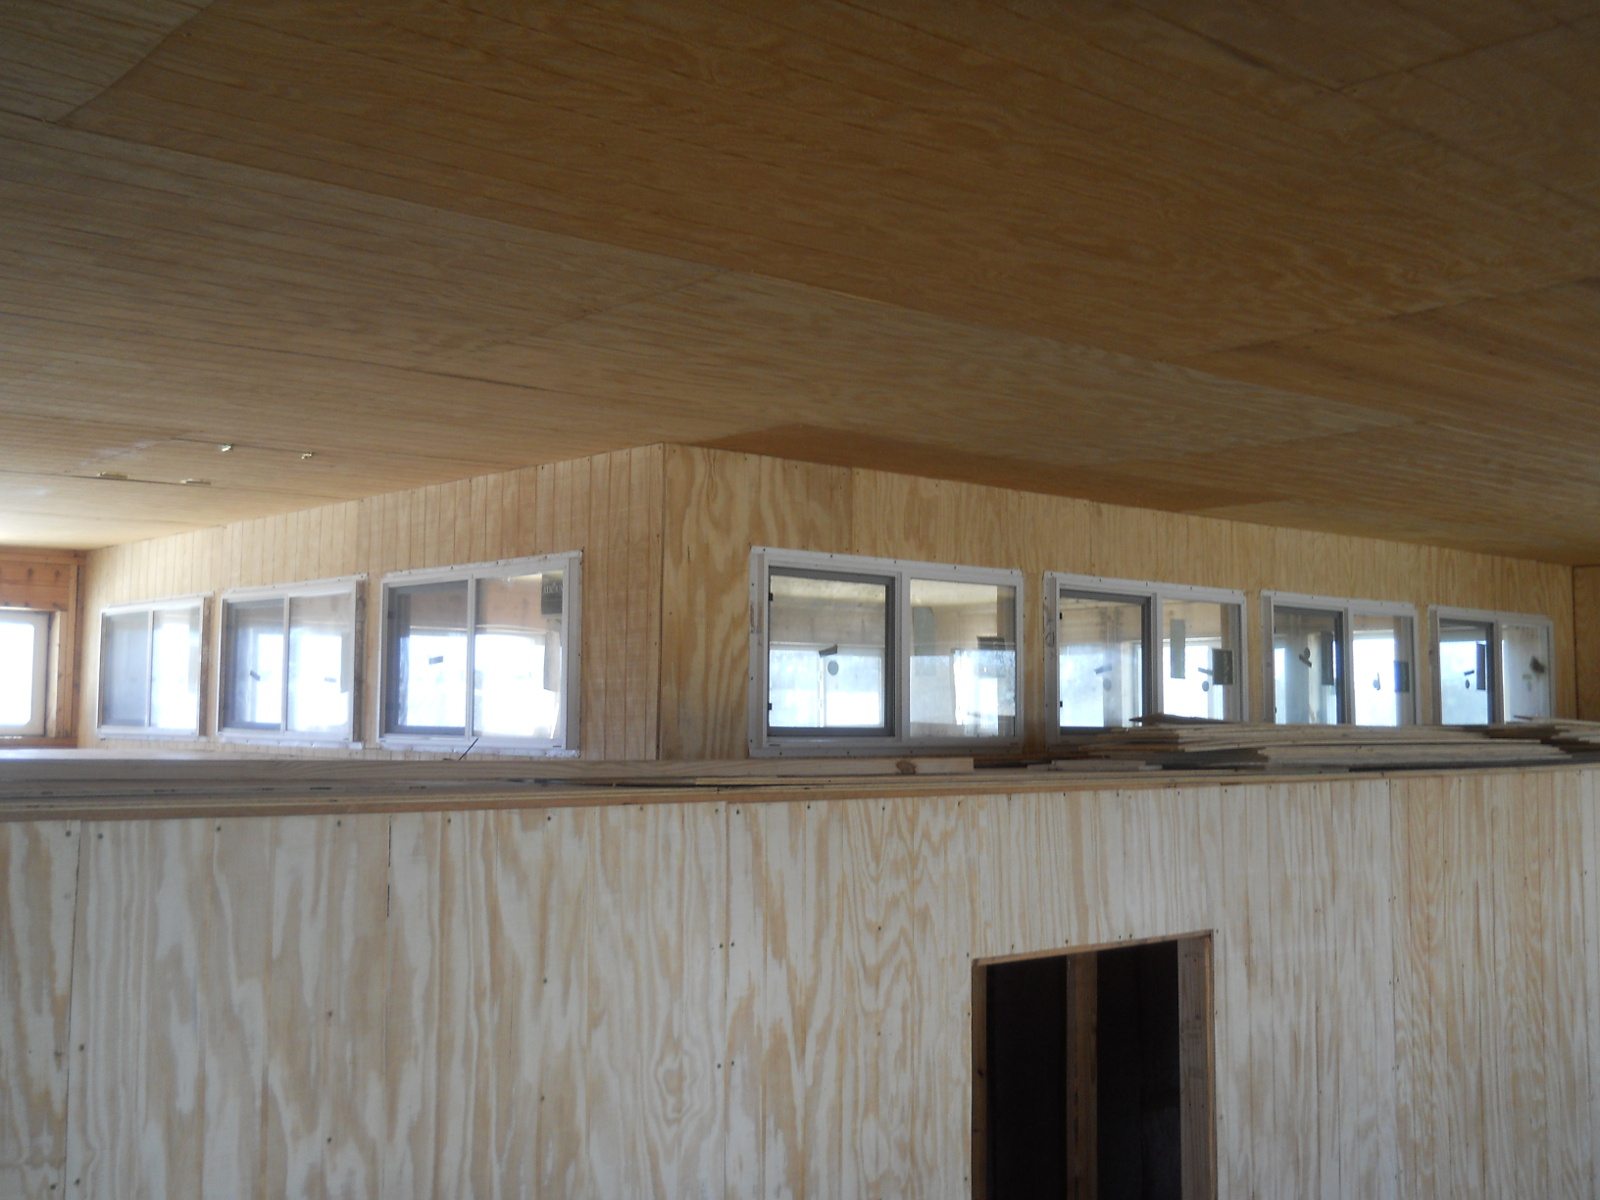
And then we put in the bedroom internal windows:
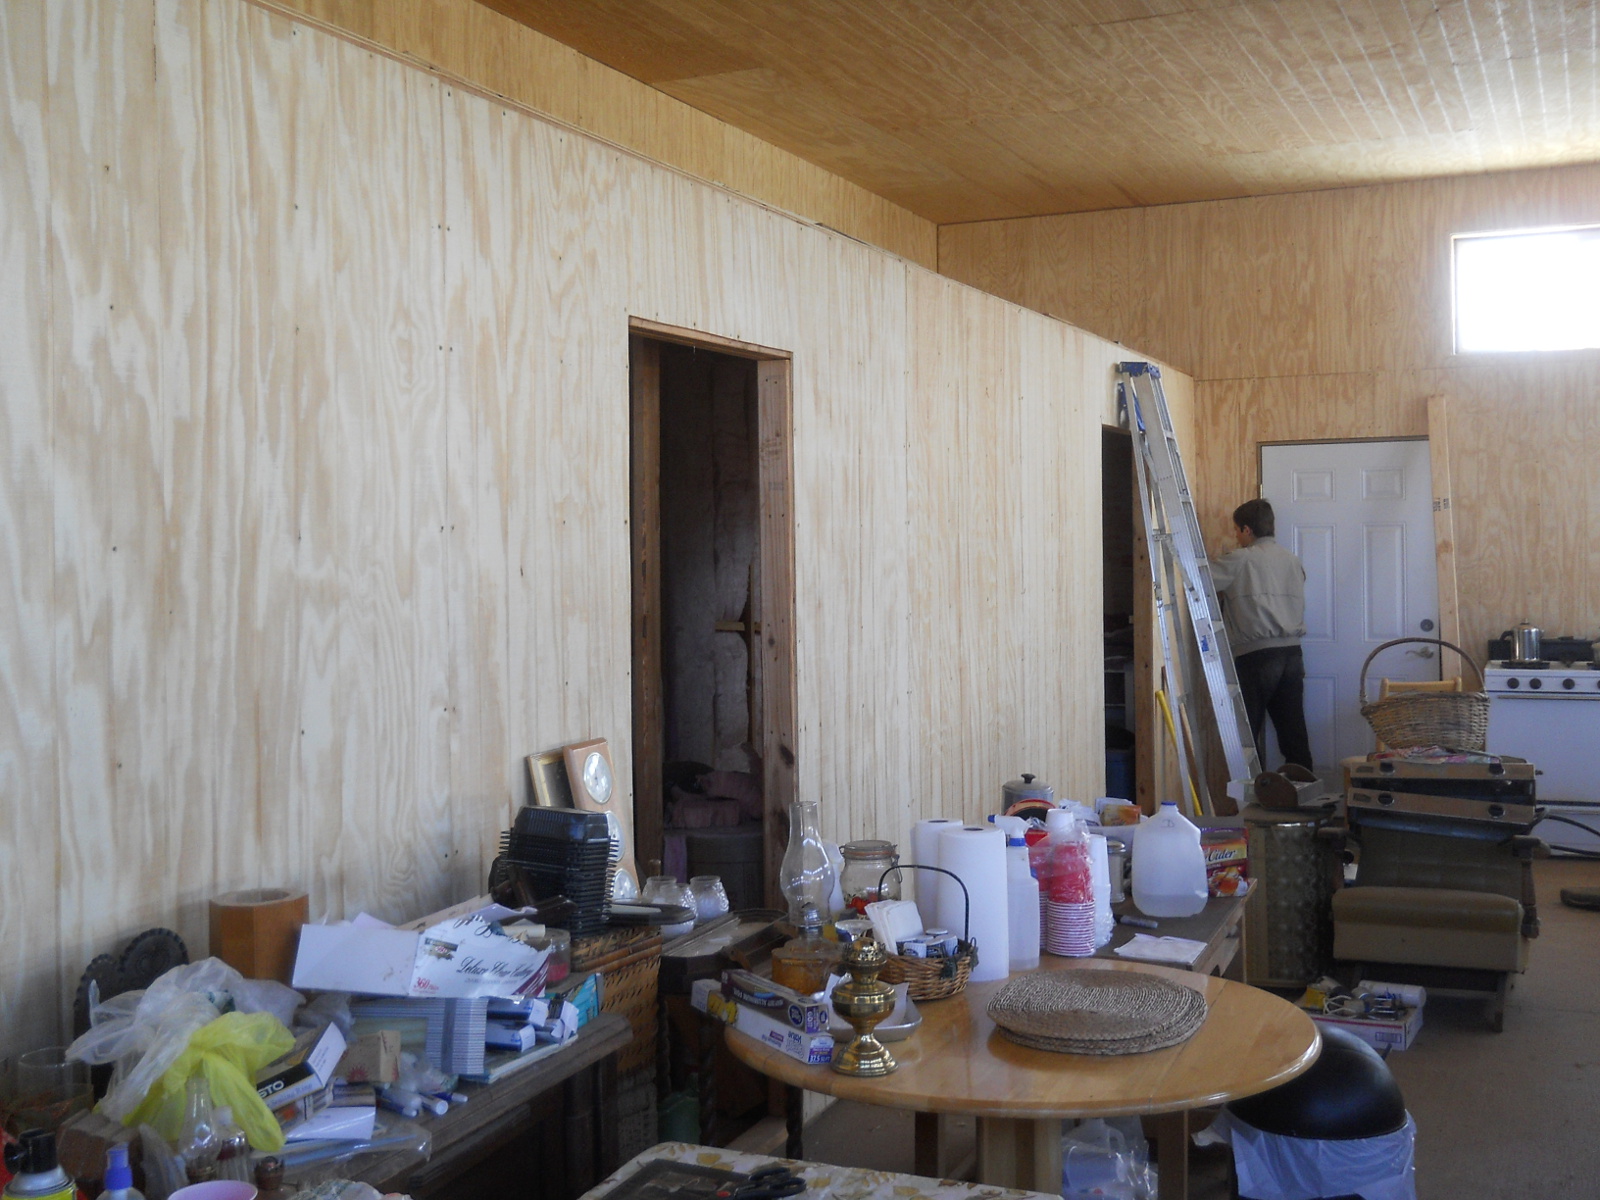
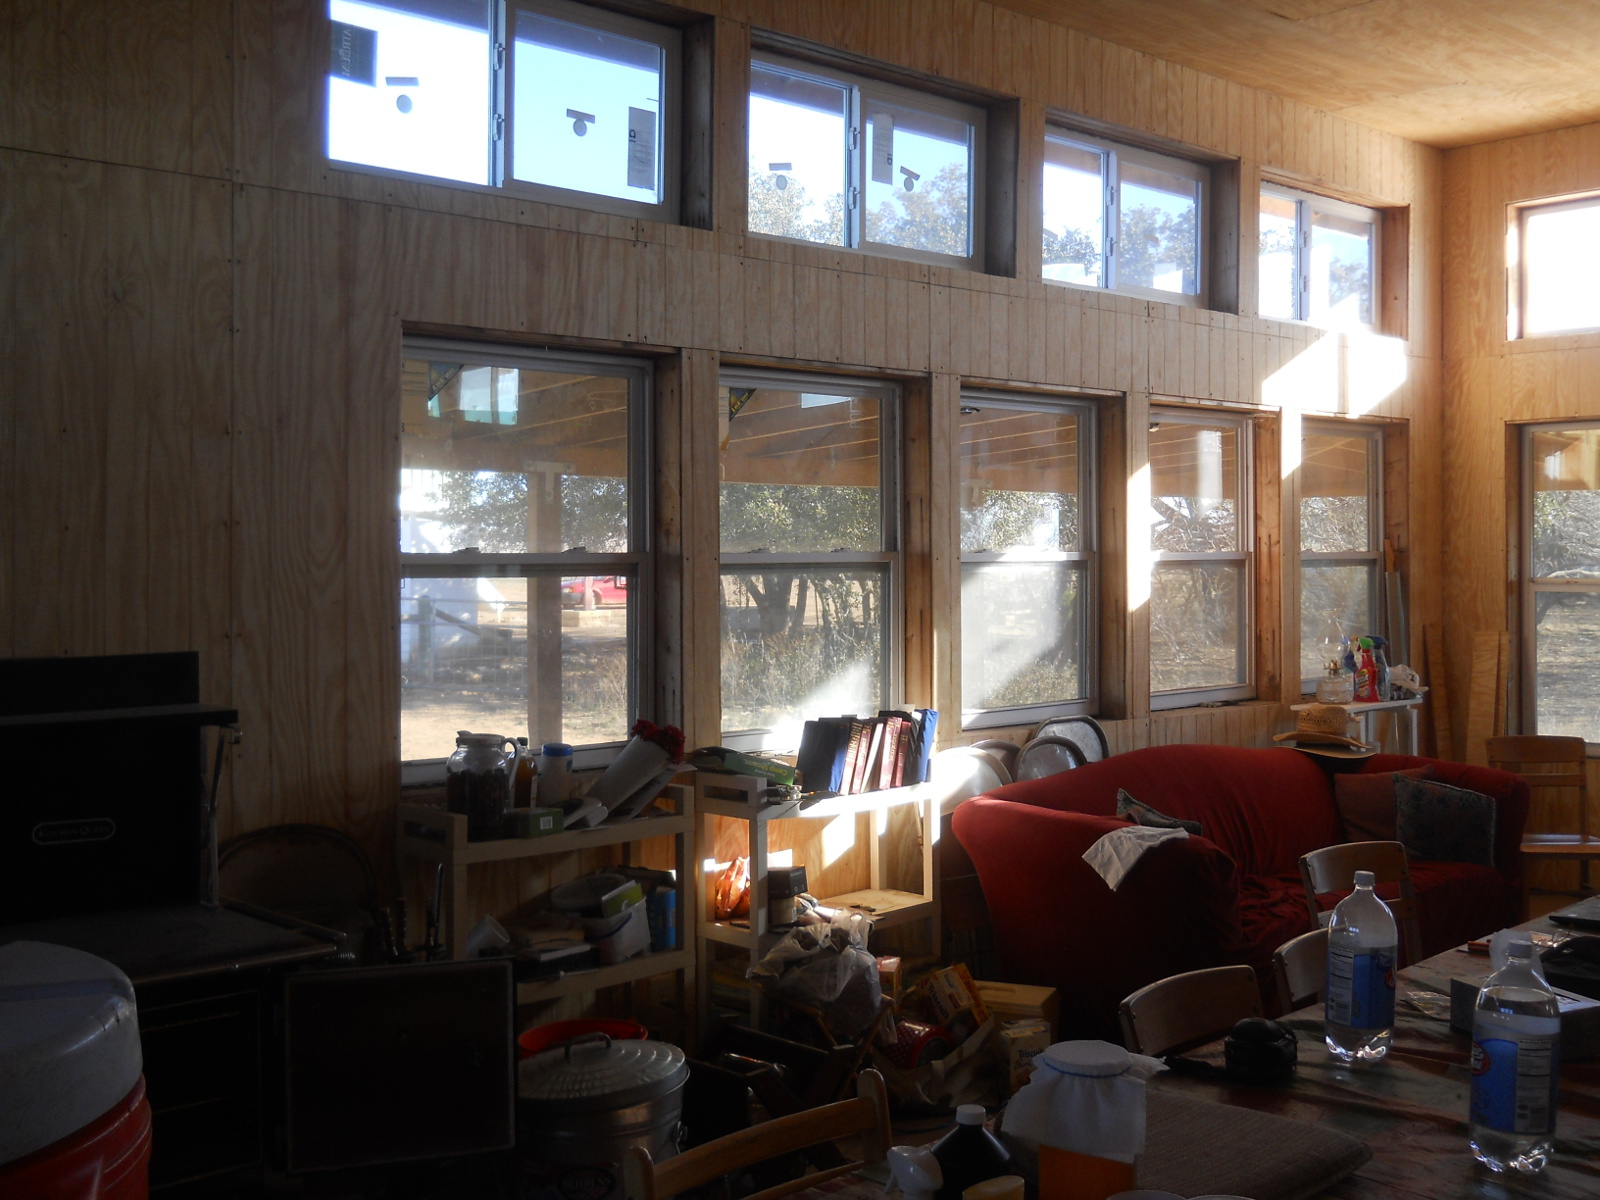
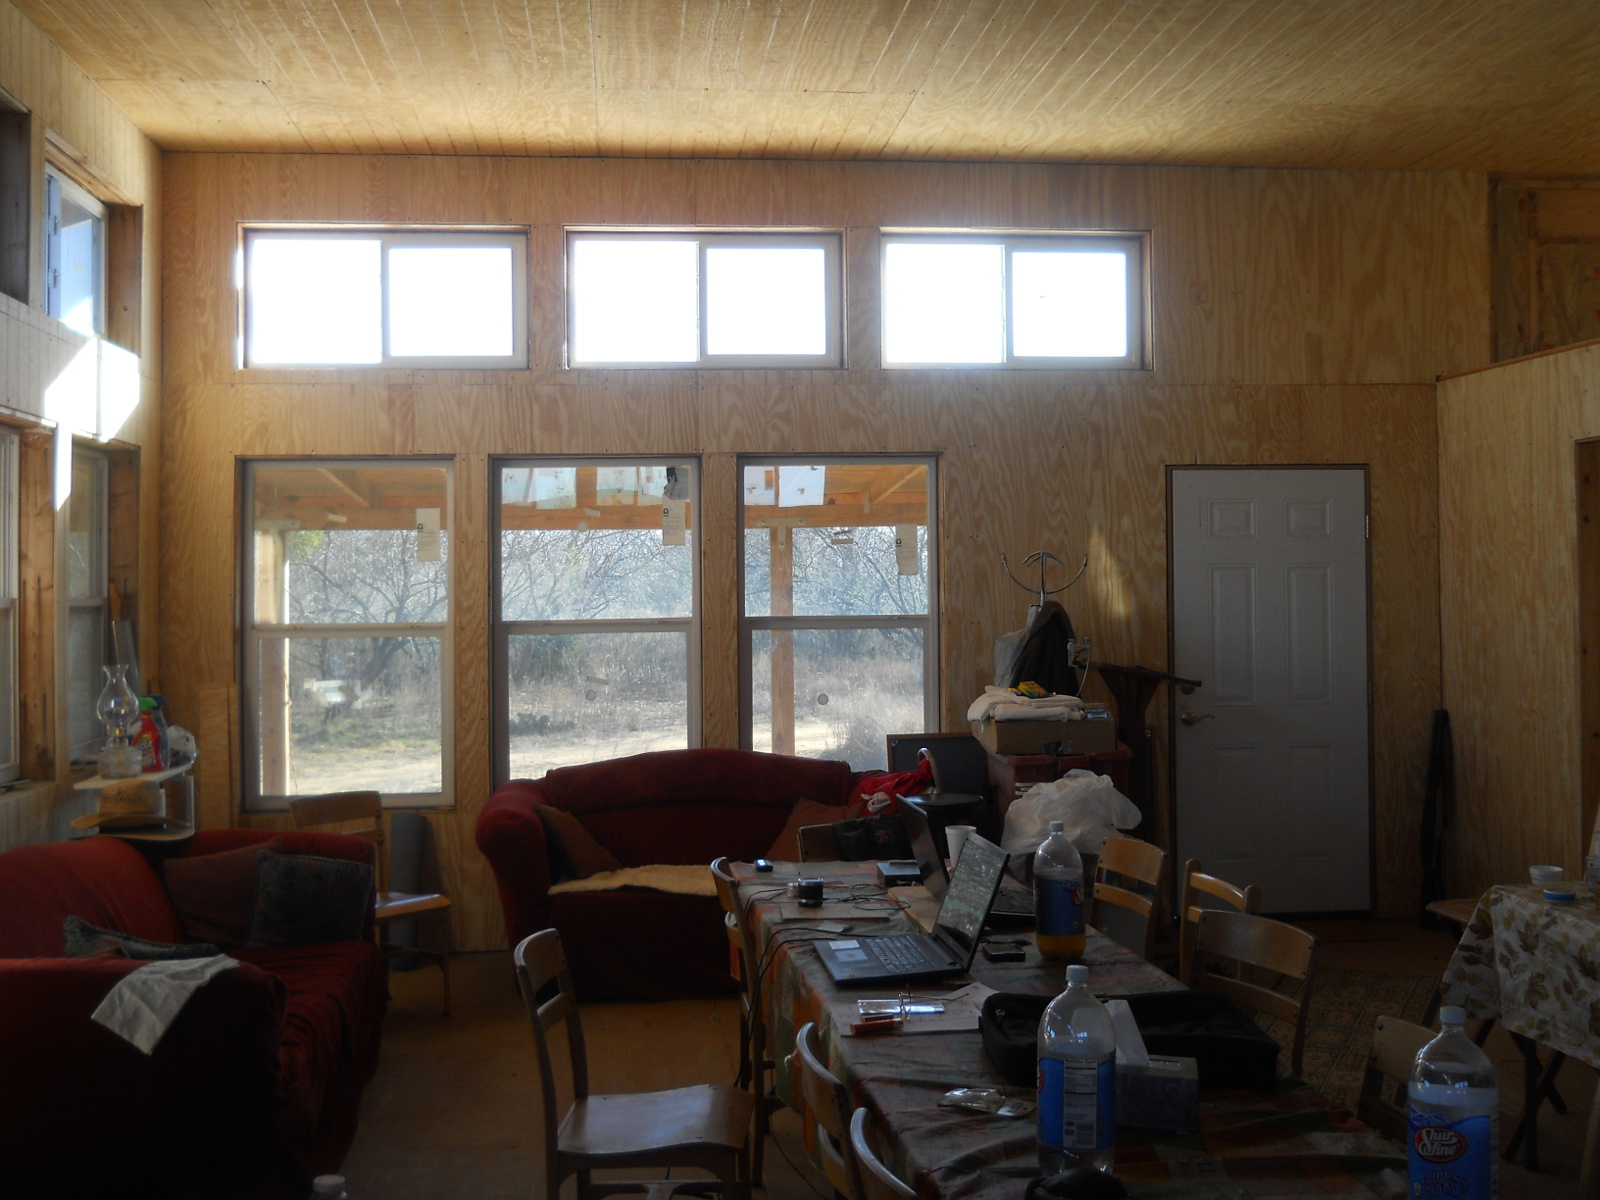
Then, it was more great room/kitchen siding, which are now finished!
Electricity Through the Wall
Up until recently, we’ve had an extension cord running from our camper going through two slightly opened windows wrapped around the wall frame between the two windows, and we’ve had towels tucked in the openings to keep out the weather. Well, we recently discovered cold air was coming in between the sliding and permanent glass in the middle of the two windows. We put some towels there also to try to get by, but only until I could figure a way to pass the electricity through the wall.
In looking online, the only similar male to female things I could find were for RVs and were very expensive. So, I set out to see if I could figure out something a lot less costly…
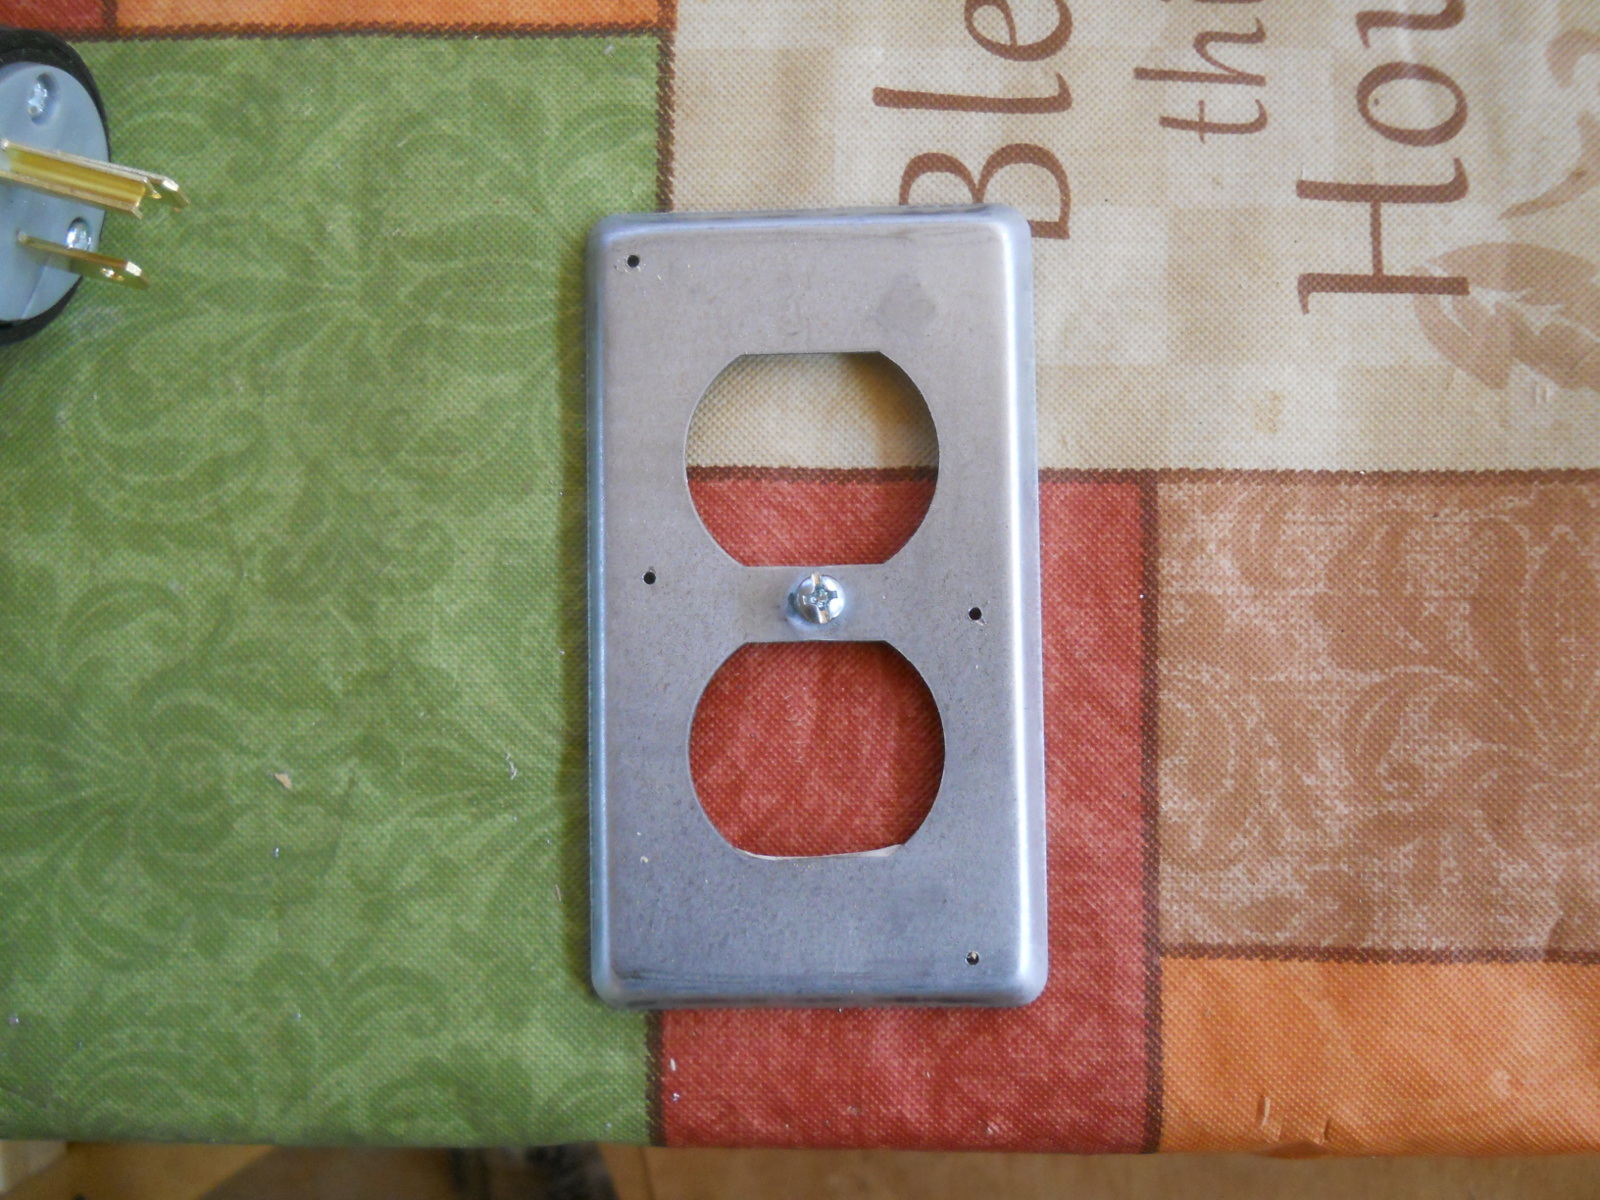
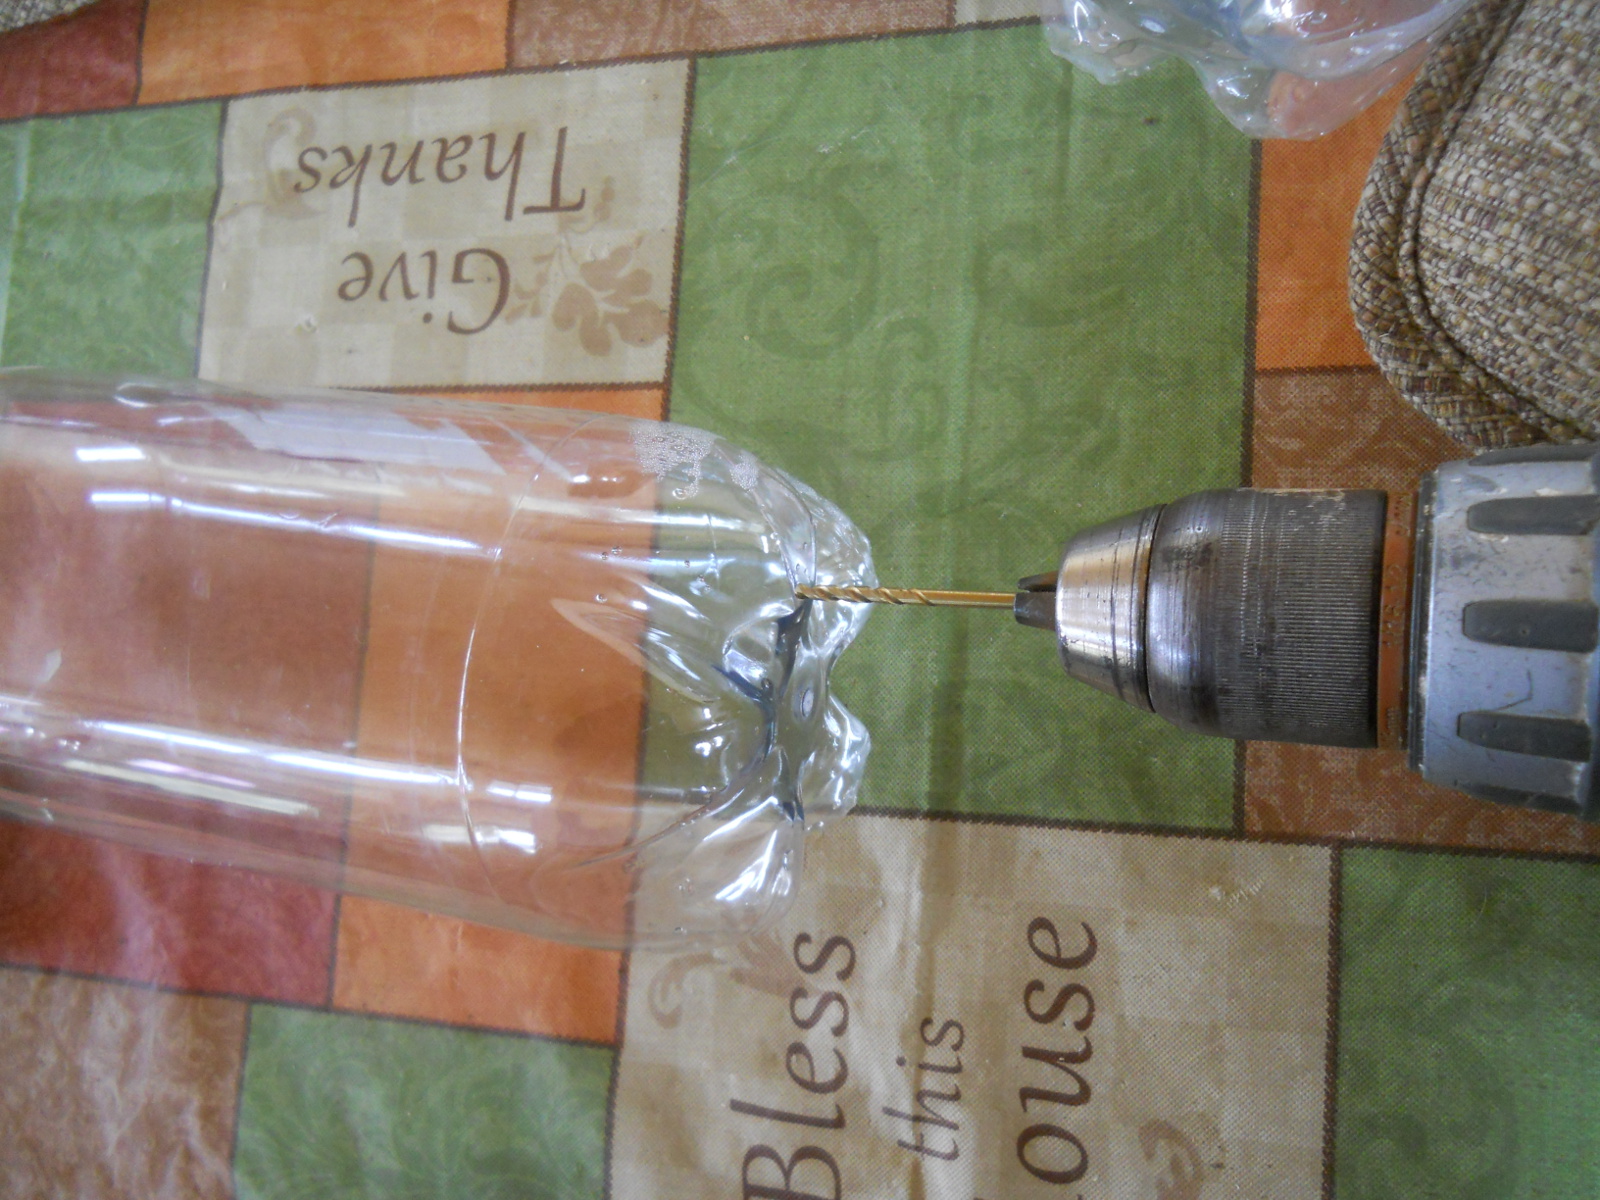
Here is the metal, external wall plate with holes drilled through using the smallest bit I have:
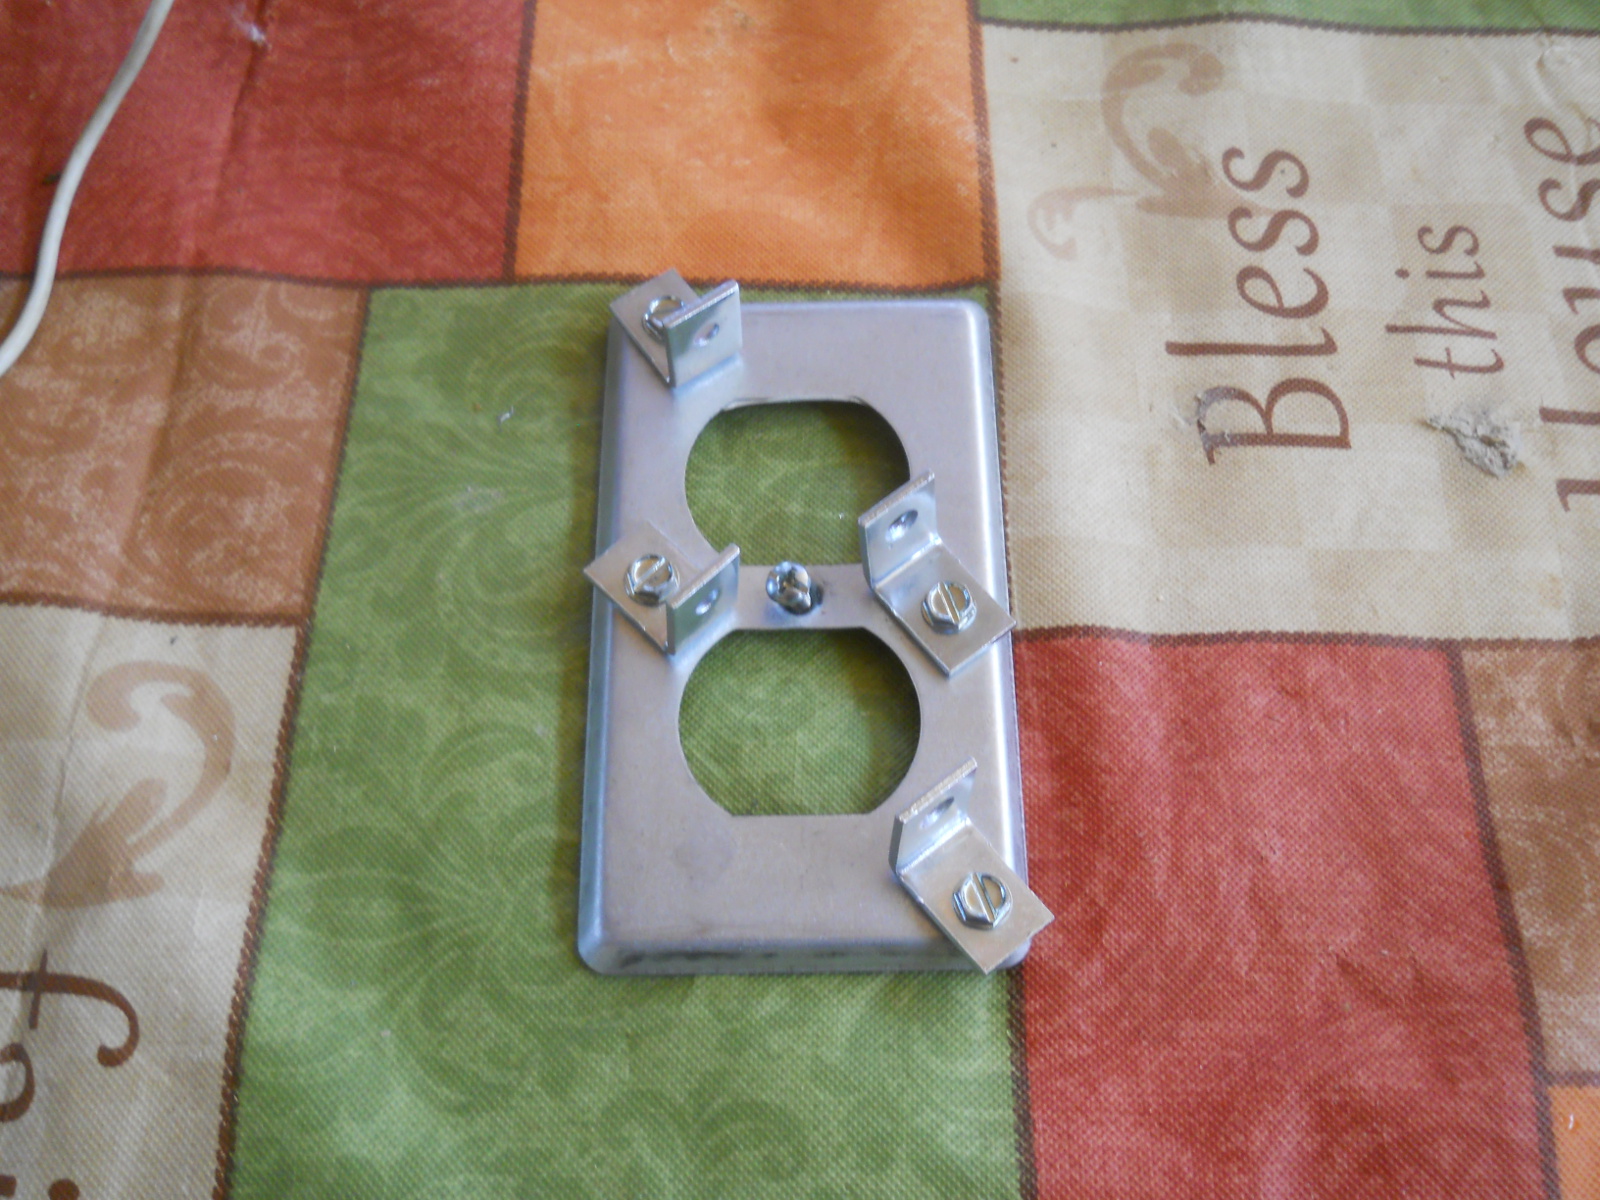
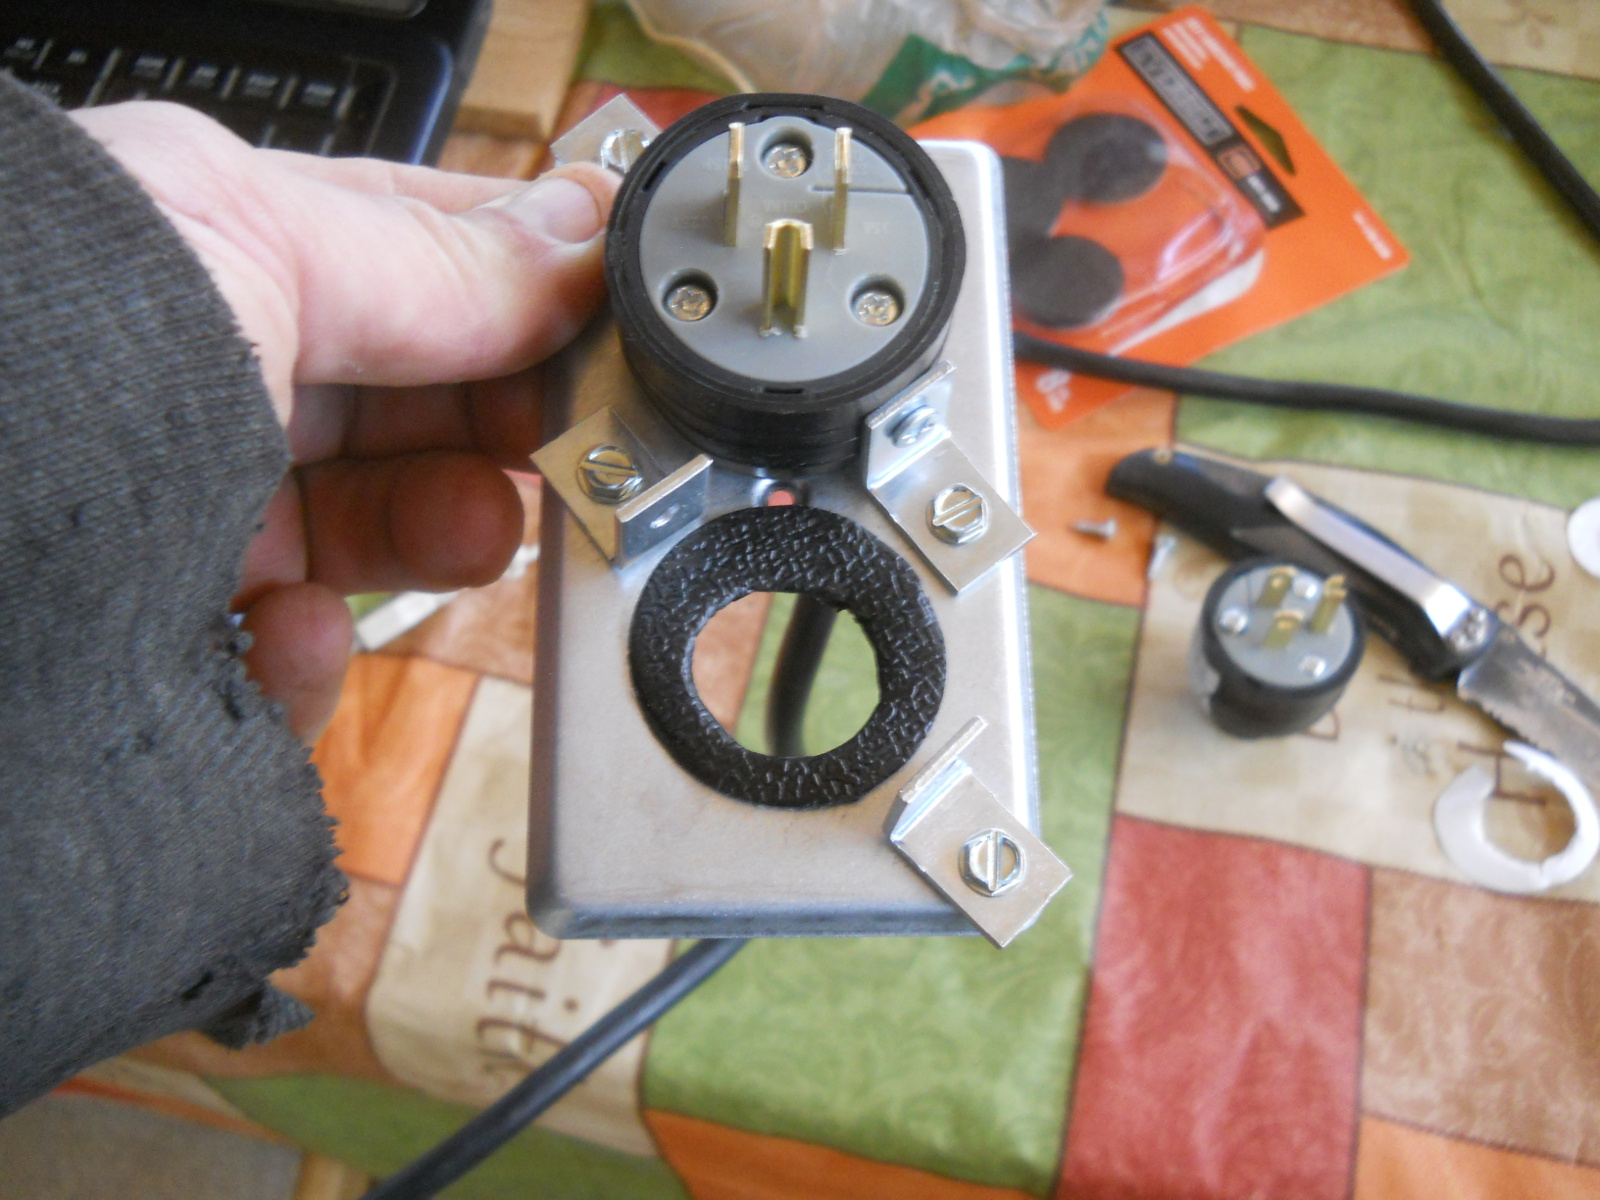
And then L brackets attached, which will hold the male receptacle ends:
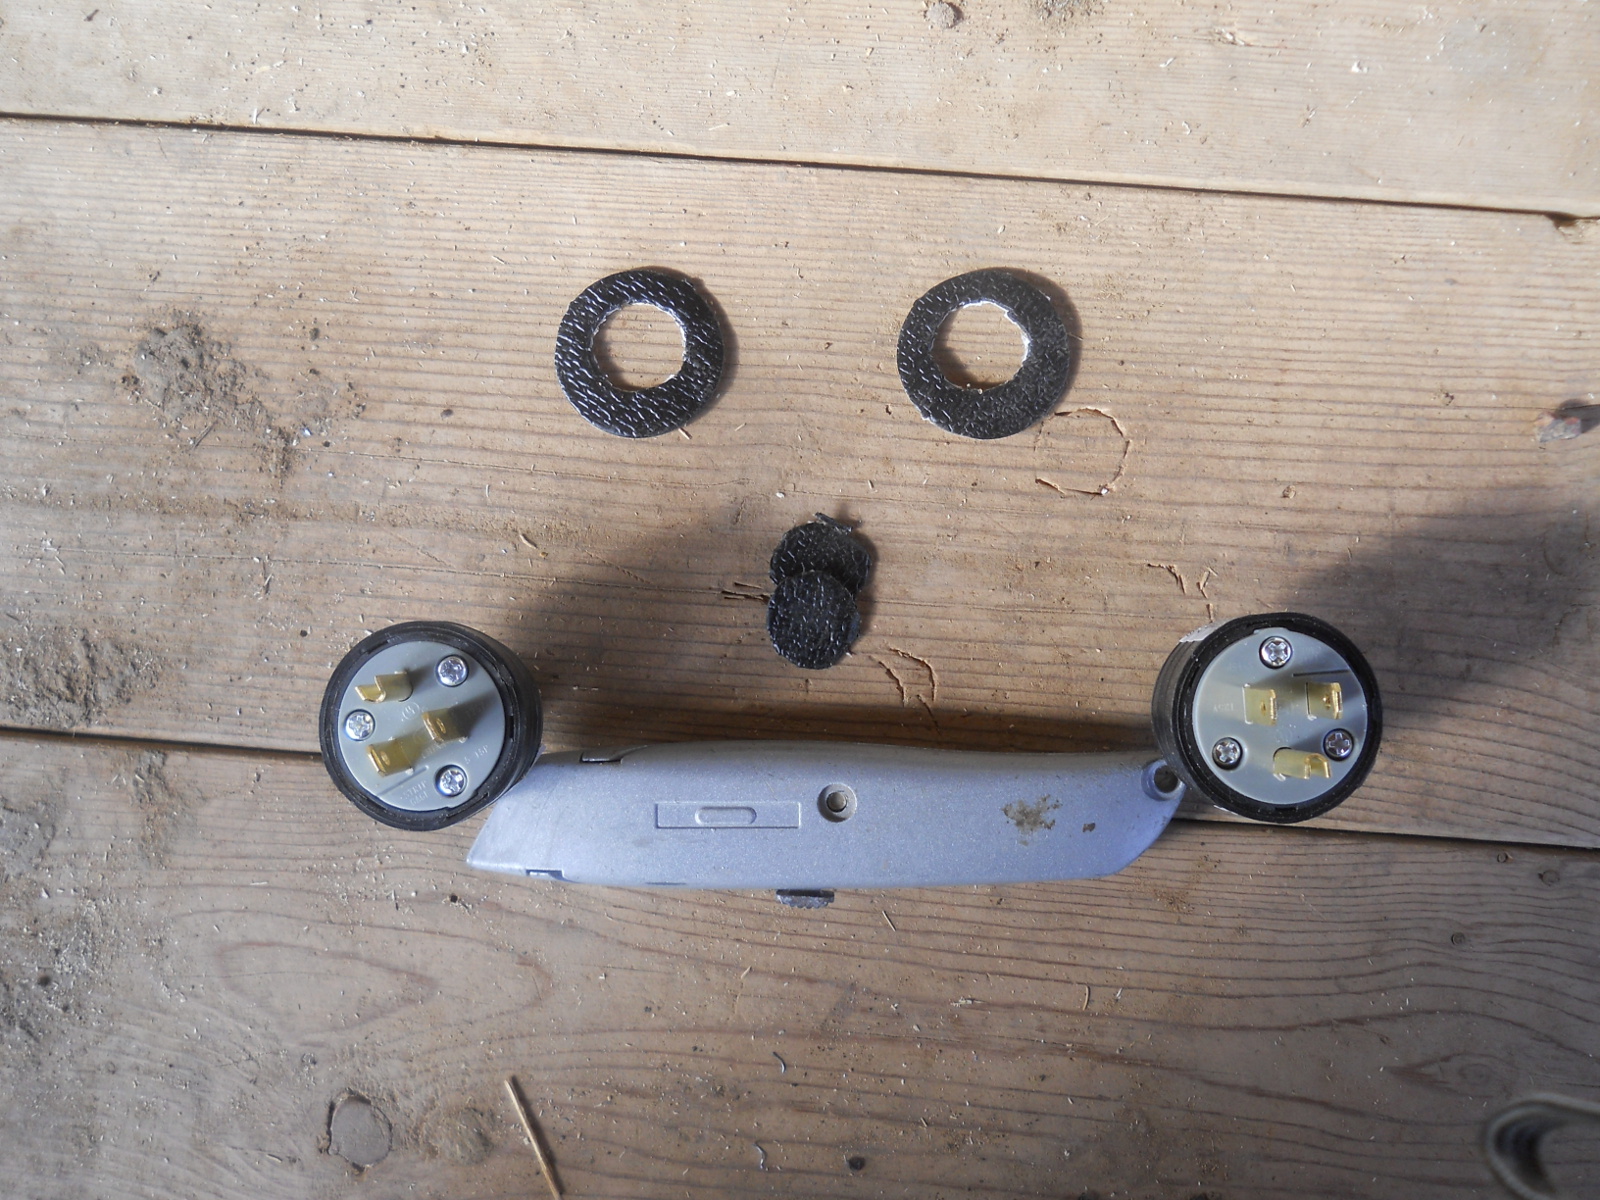
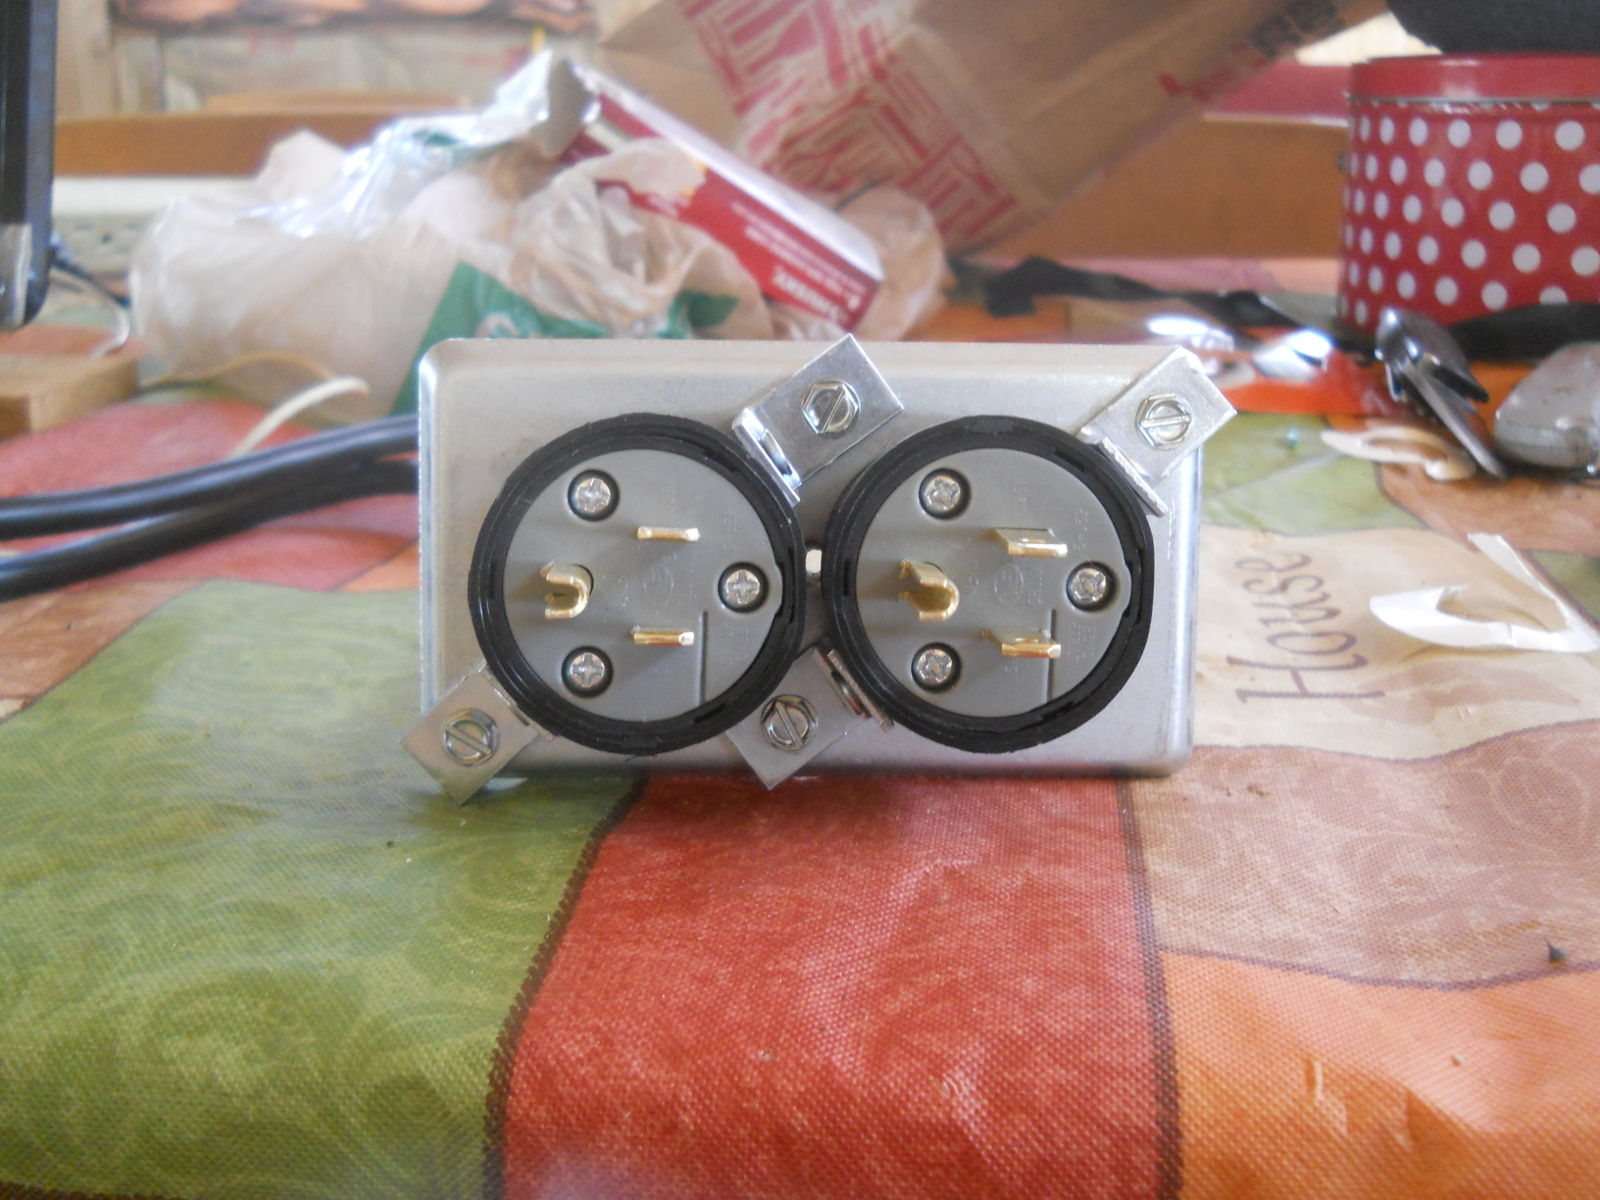
Here are the male receptacles and some foam seals:
And in place on the metal wall plate:
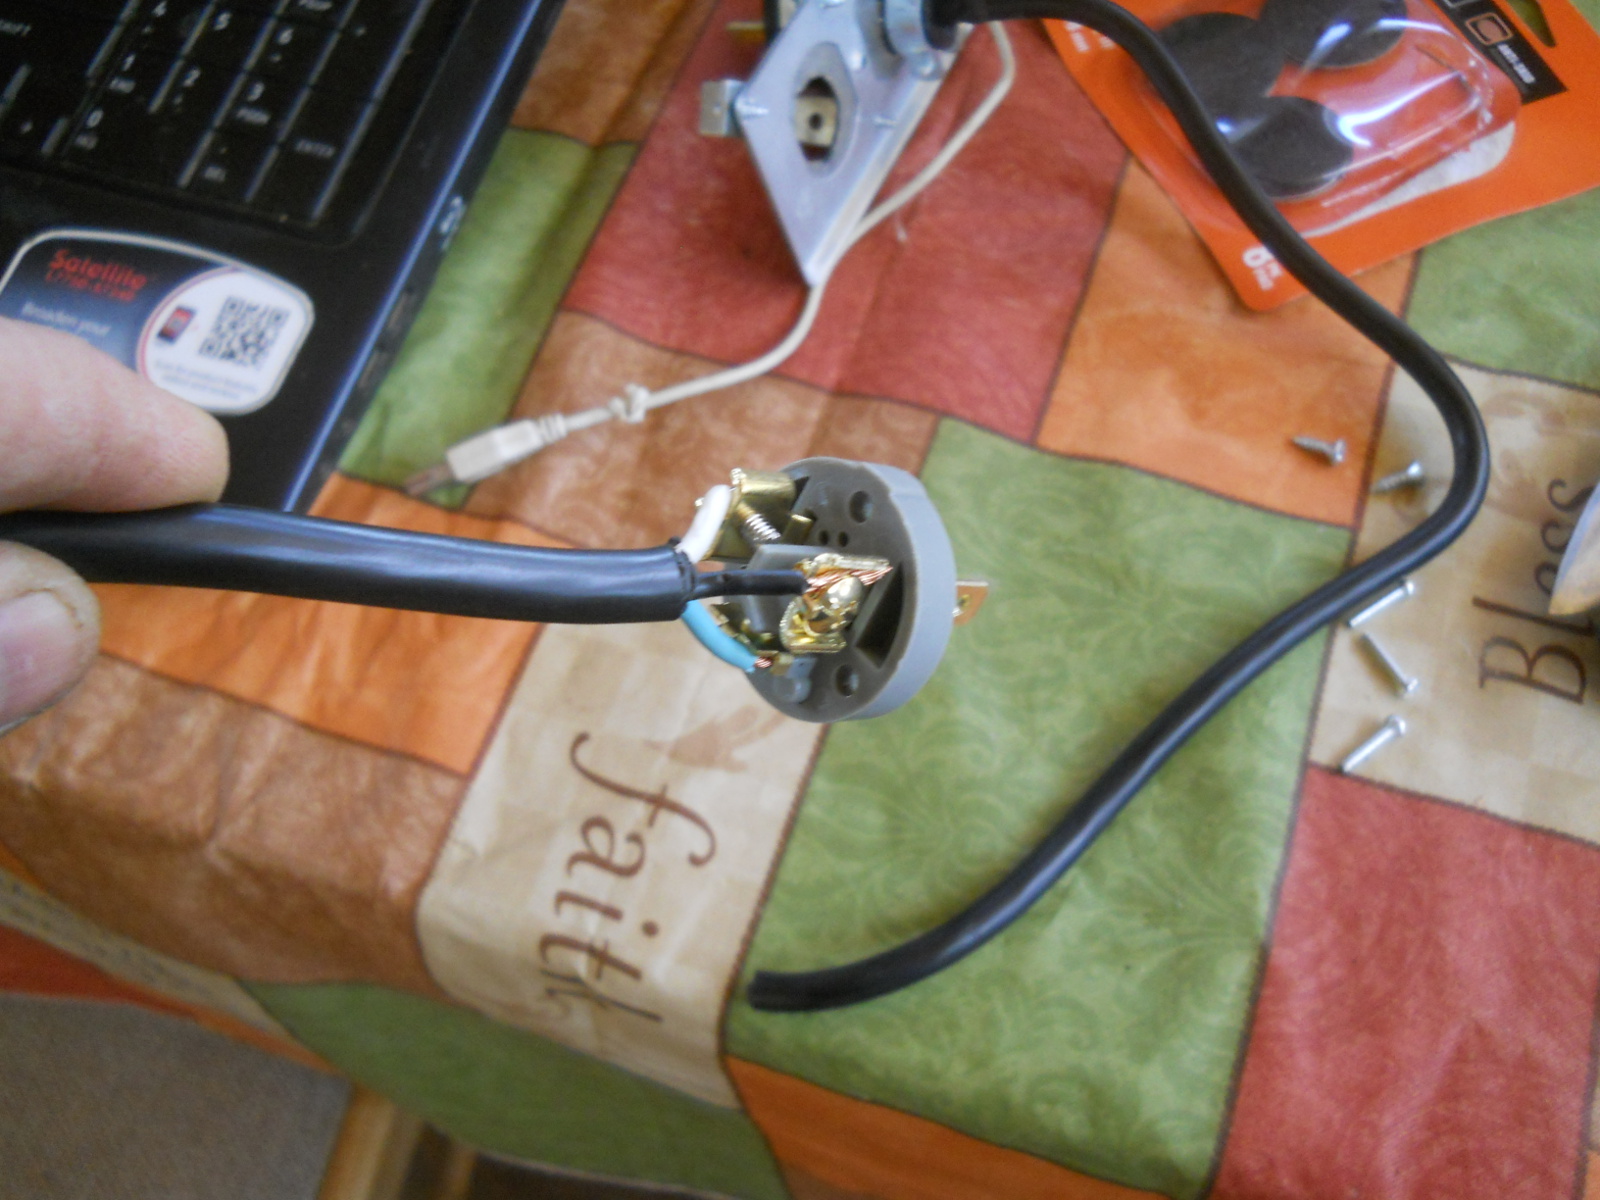
I attached the wire, which was just a 3-wire extension cord I cut a piece from, to the back of the male receptacle:
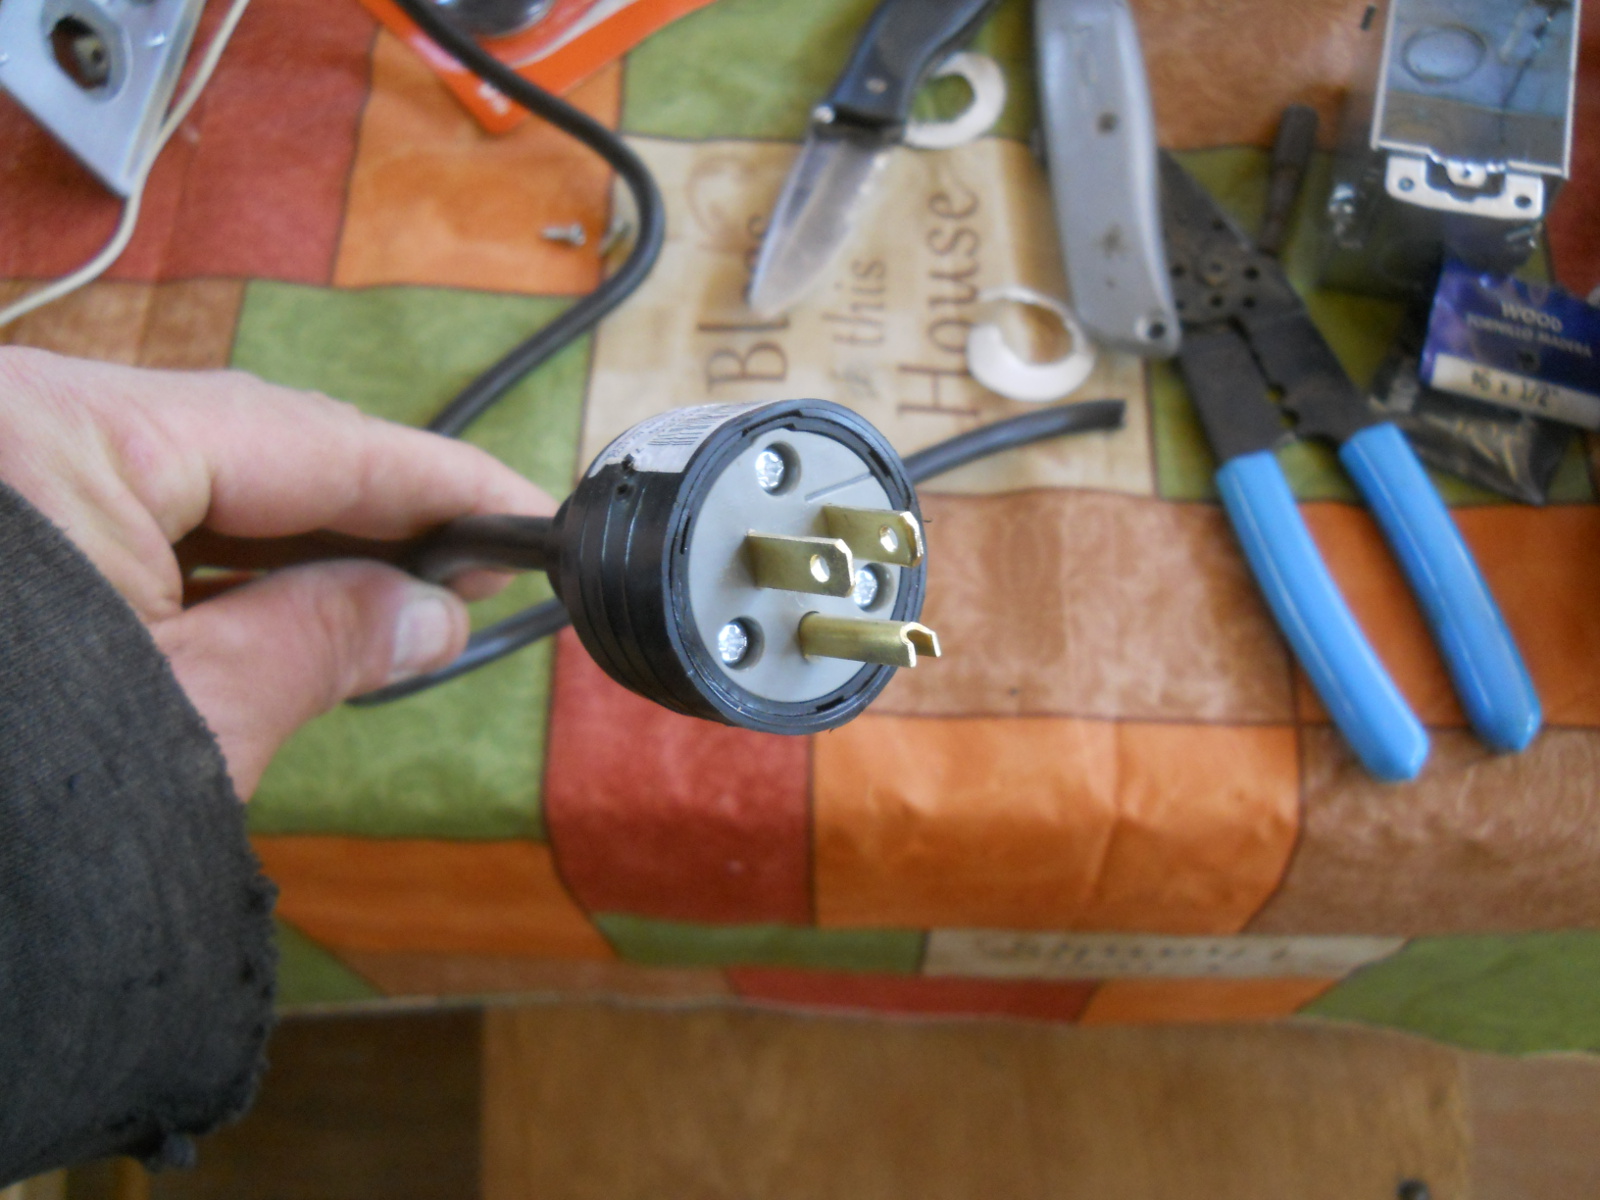
And put the male receptacle back together:
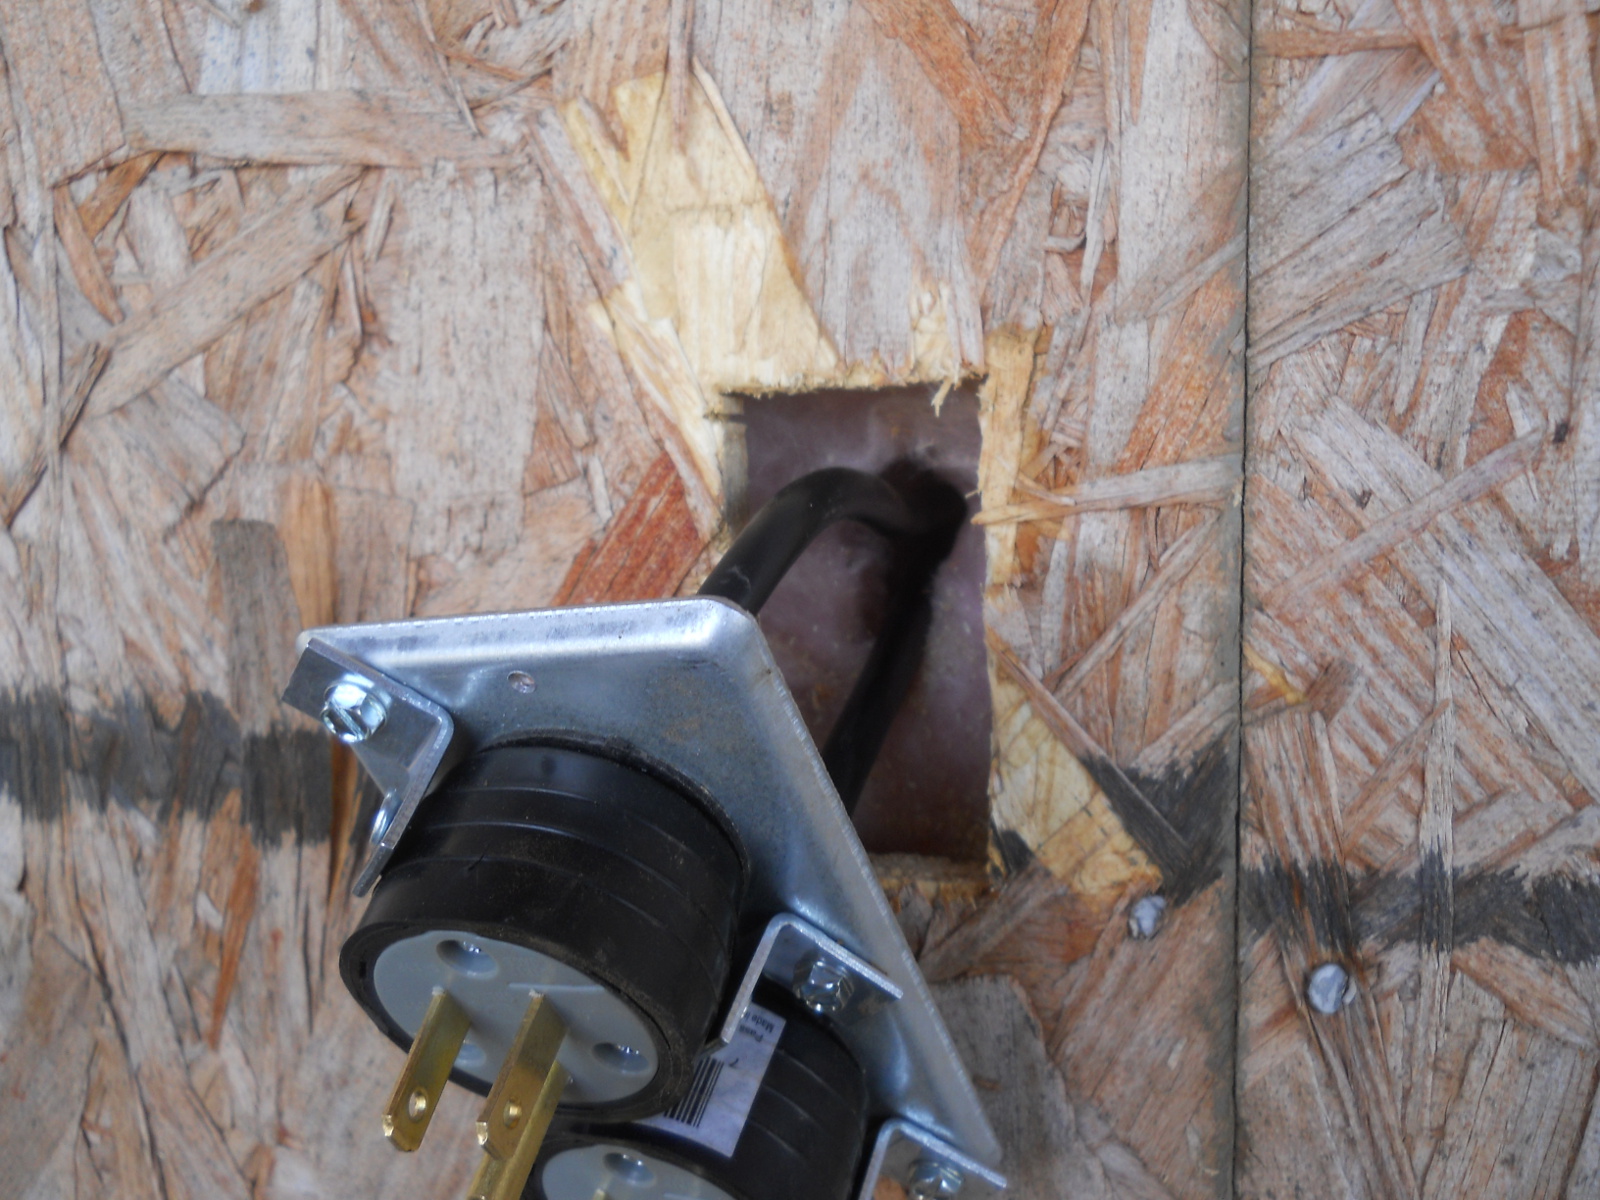
And here is the male end of the passthrough:
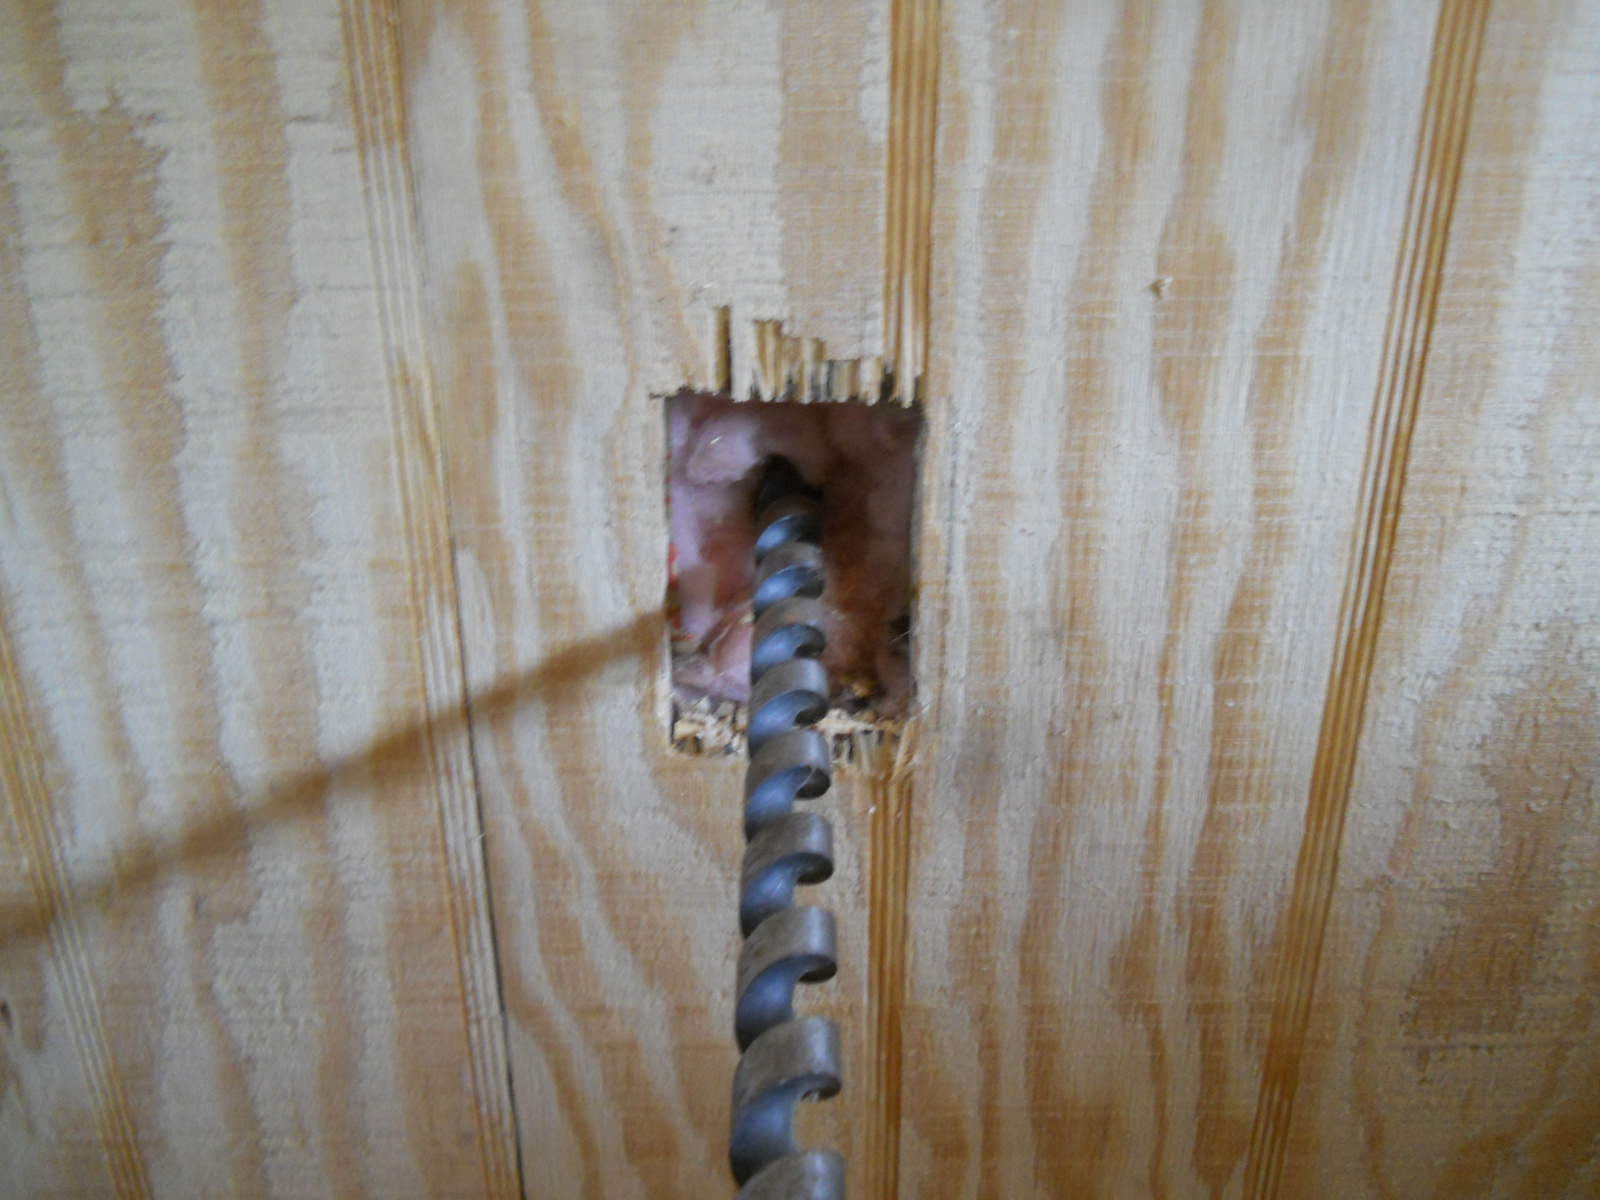
I then cut a hole in the internal siding and cut out a square to fit the electrical bracket box that the female receptacle attaches to:
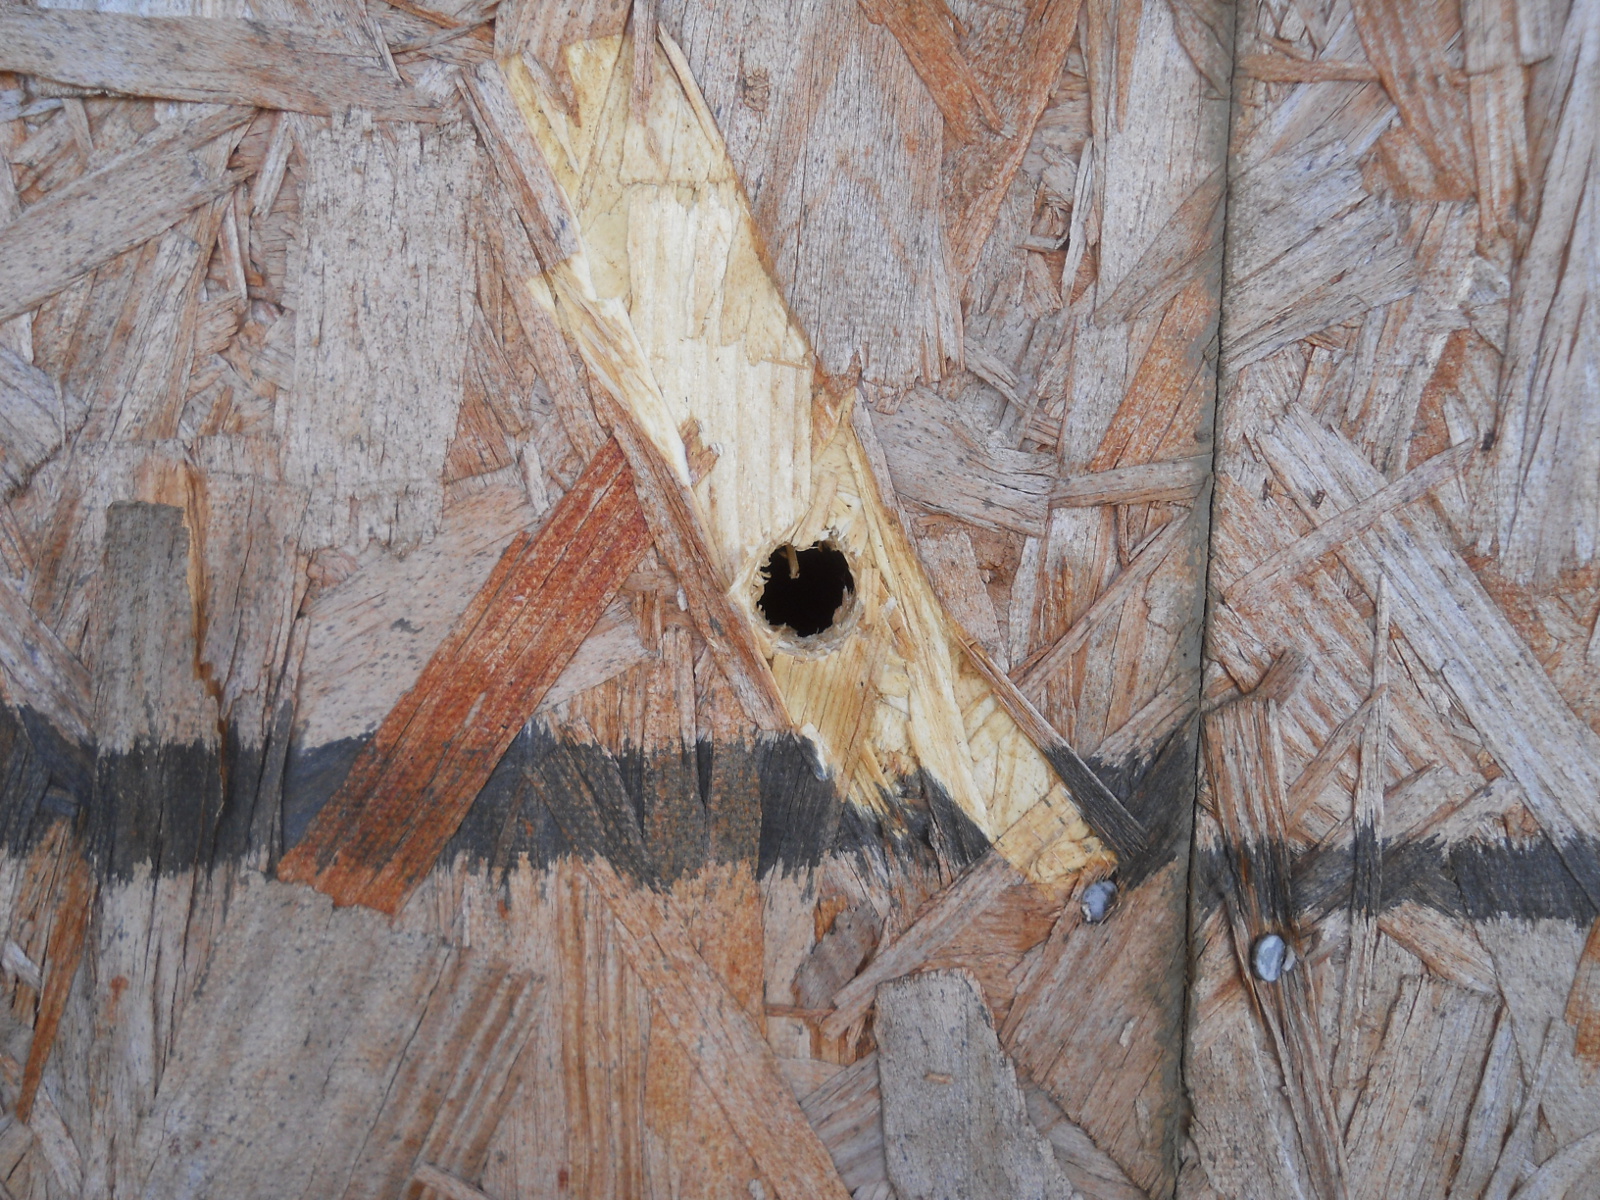
And here is the hole on the external OSB wall:
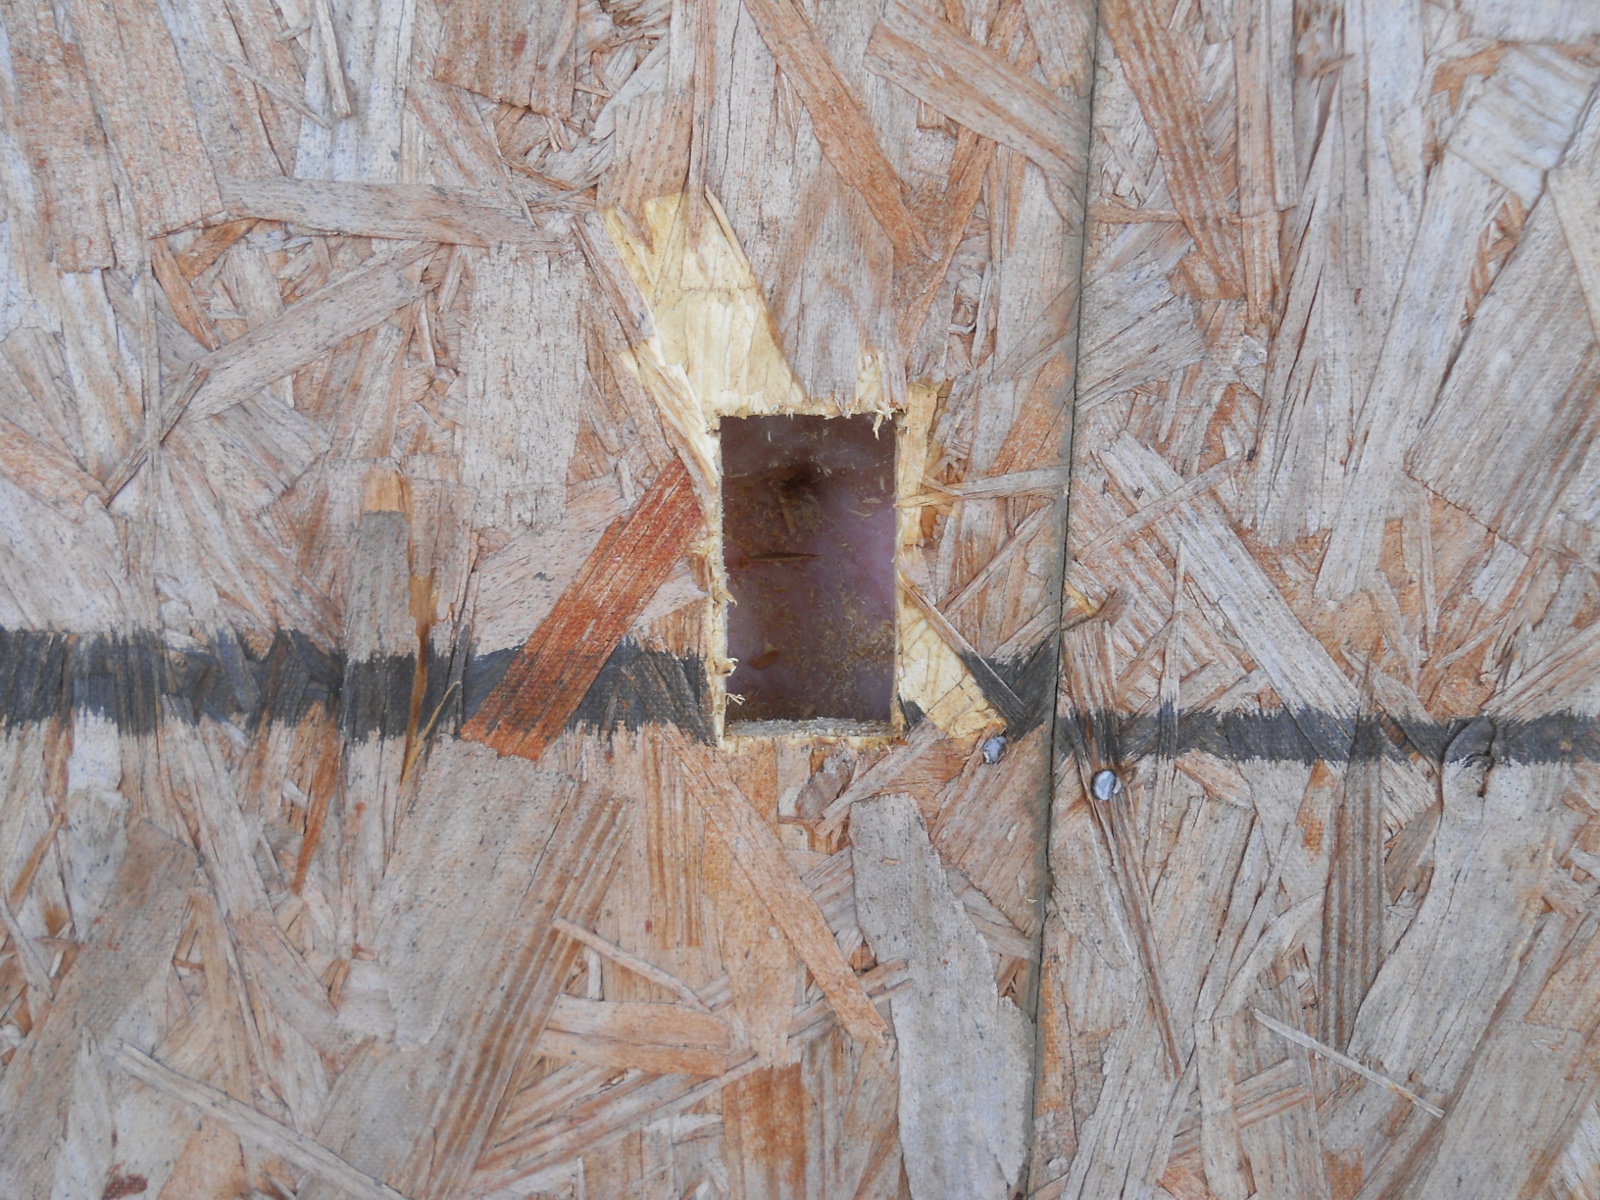
And the square cut out:
And then the male end and wires through the hole:
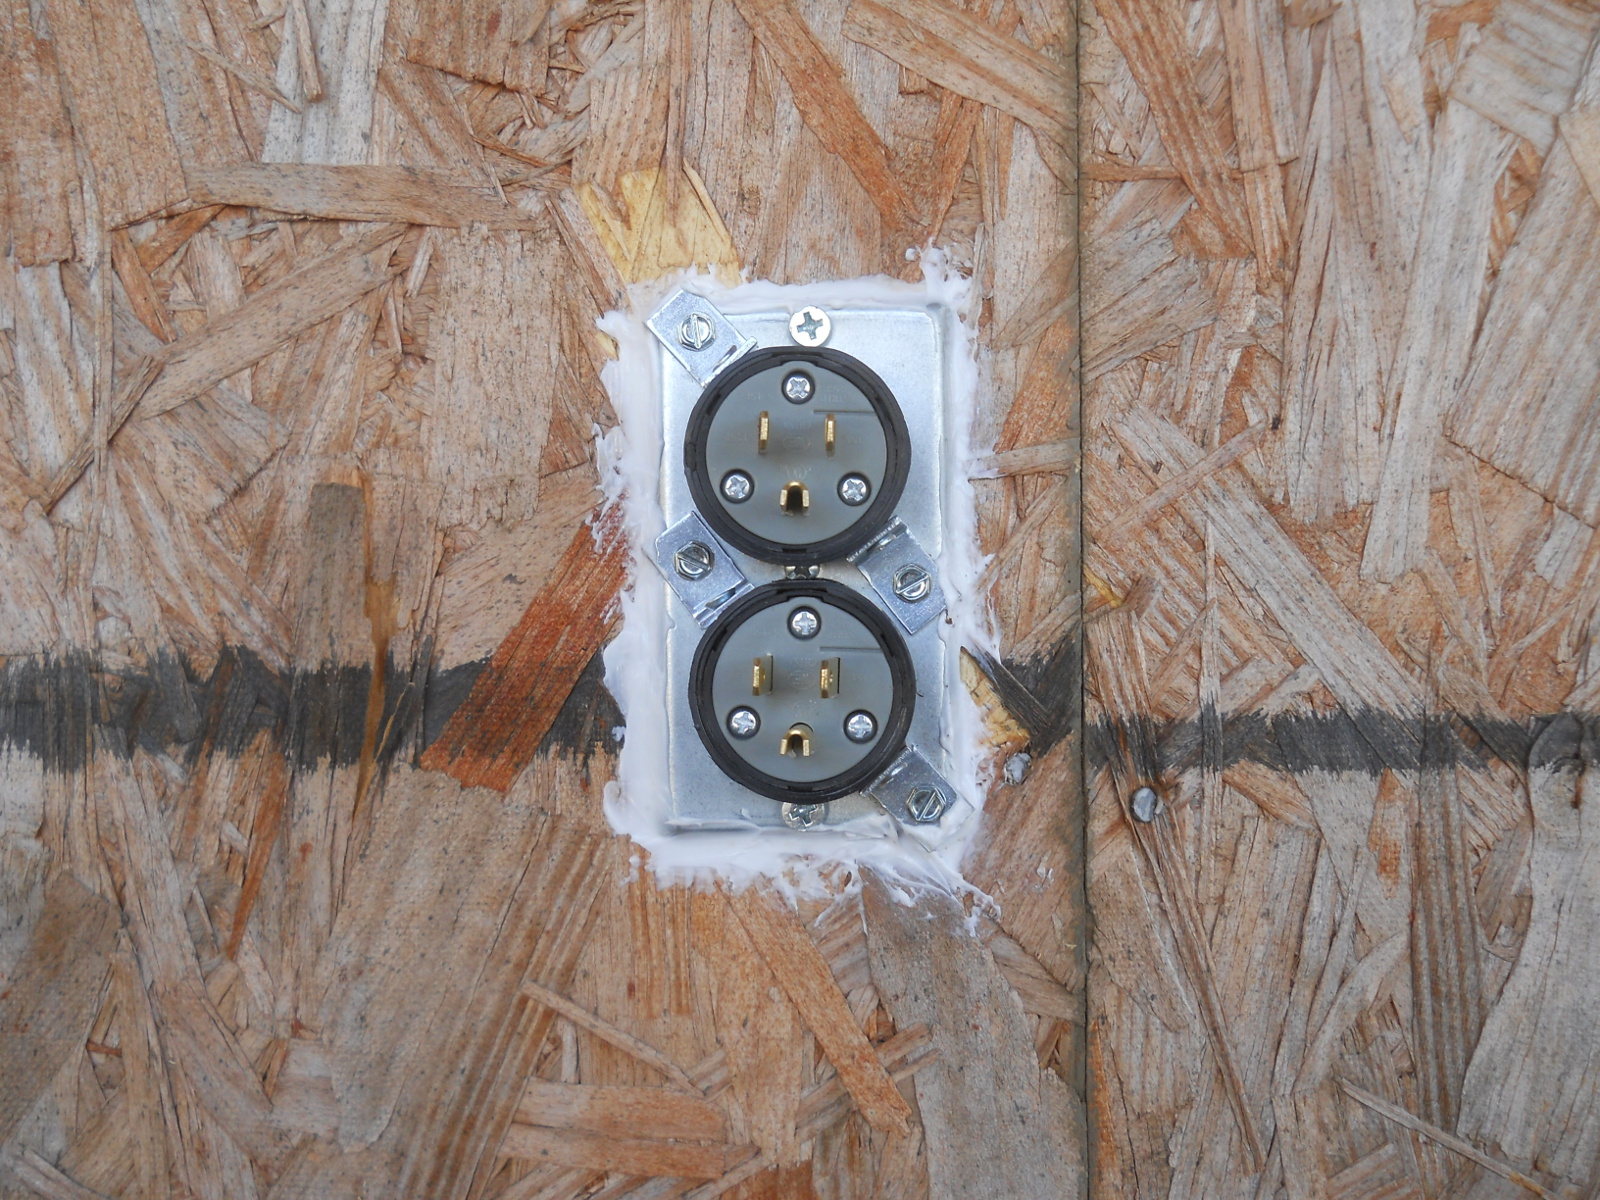
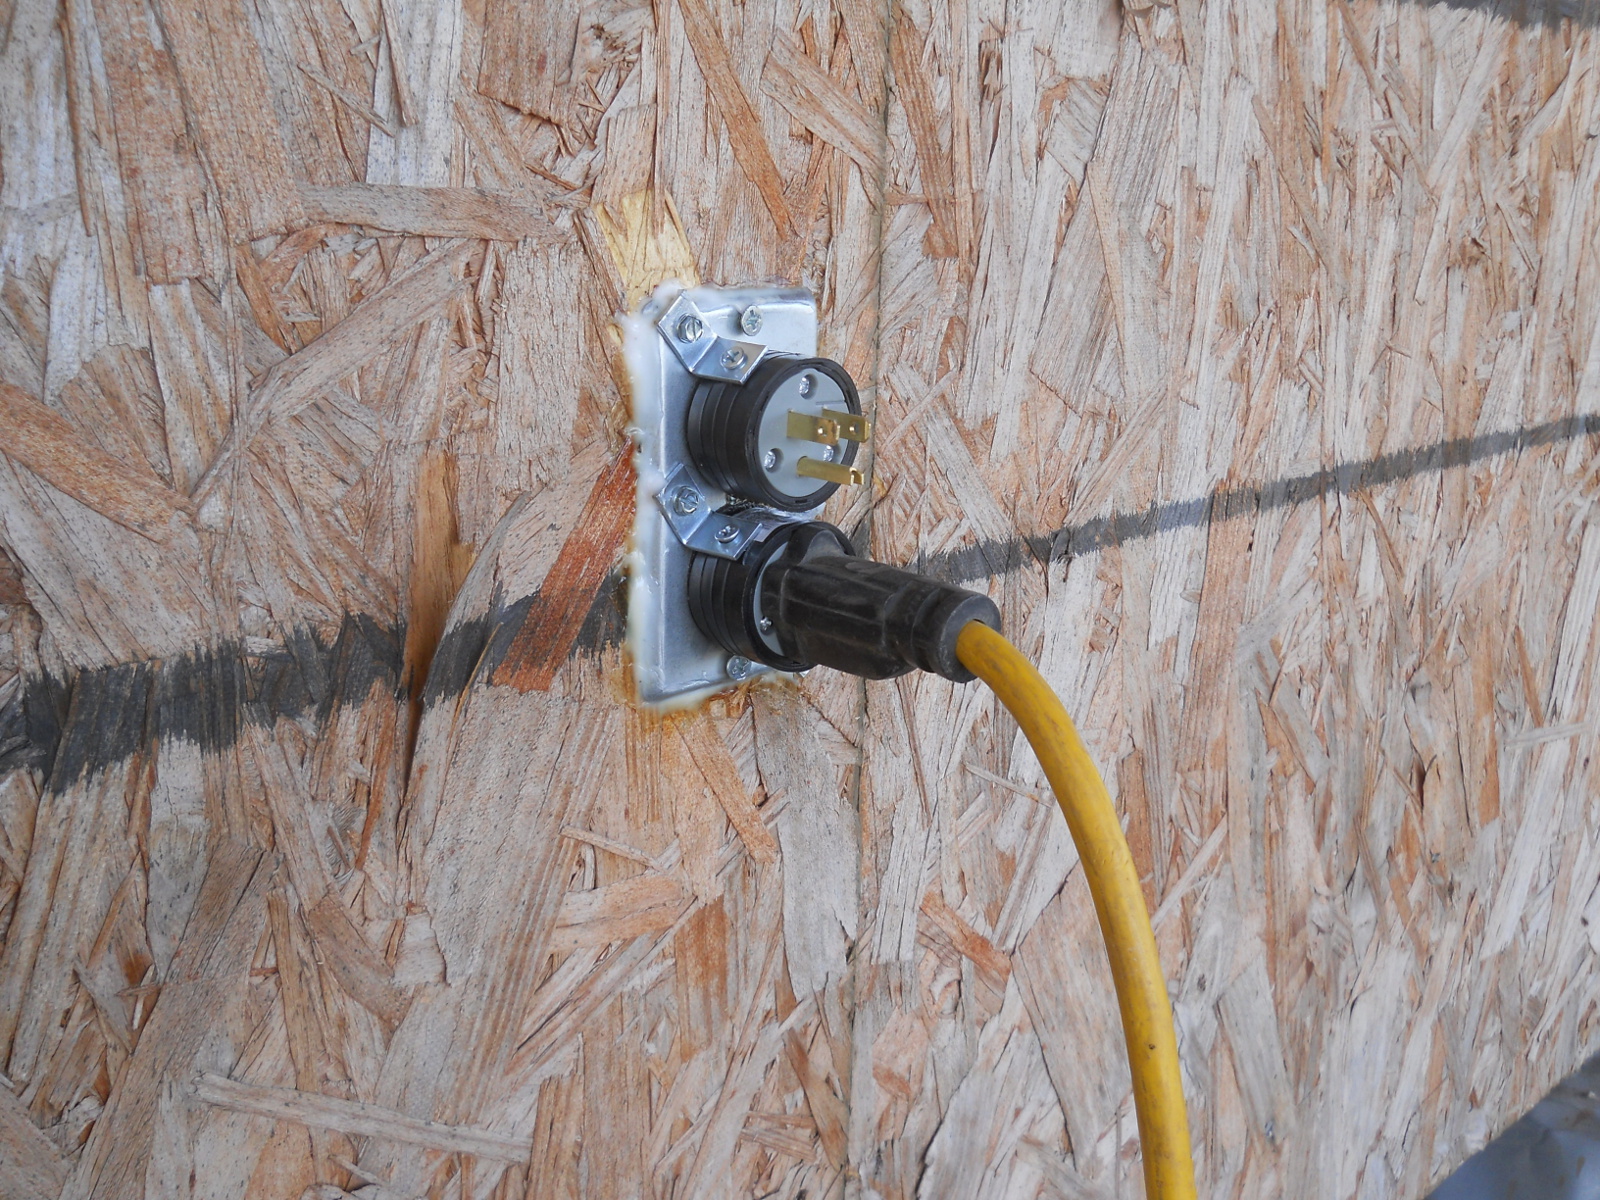
And then the whole male receptacle installed and calked:
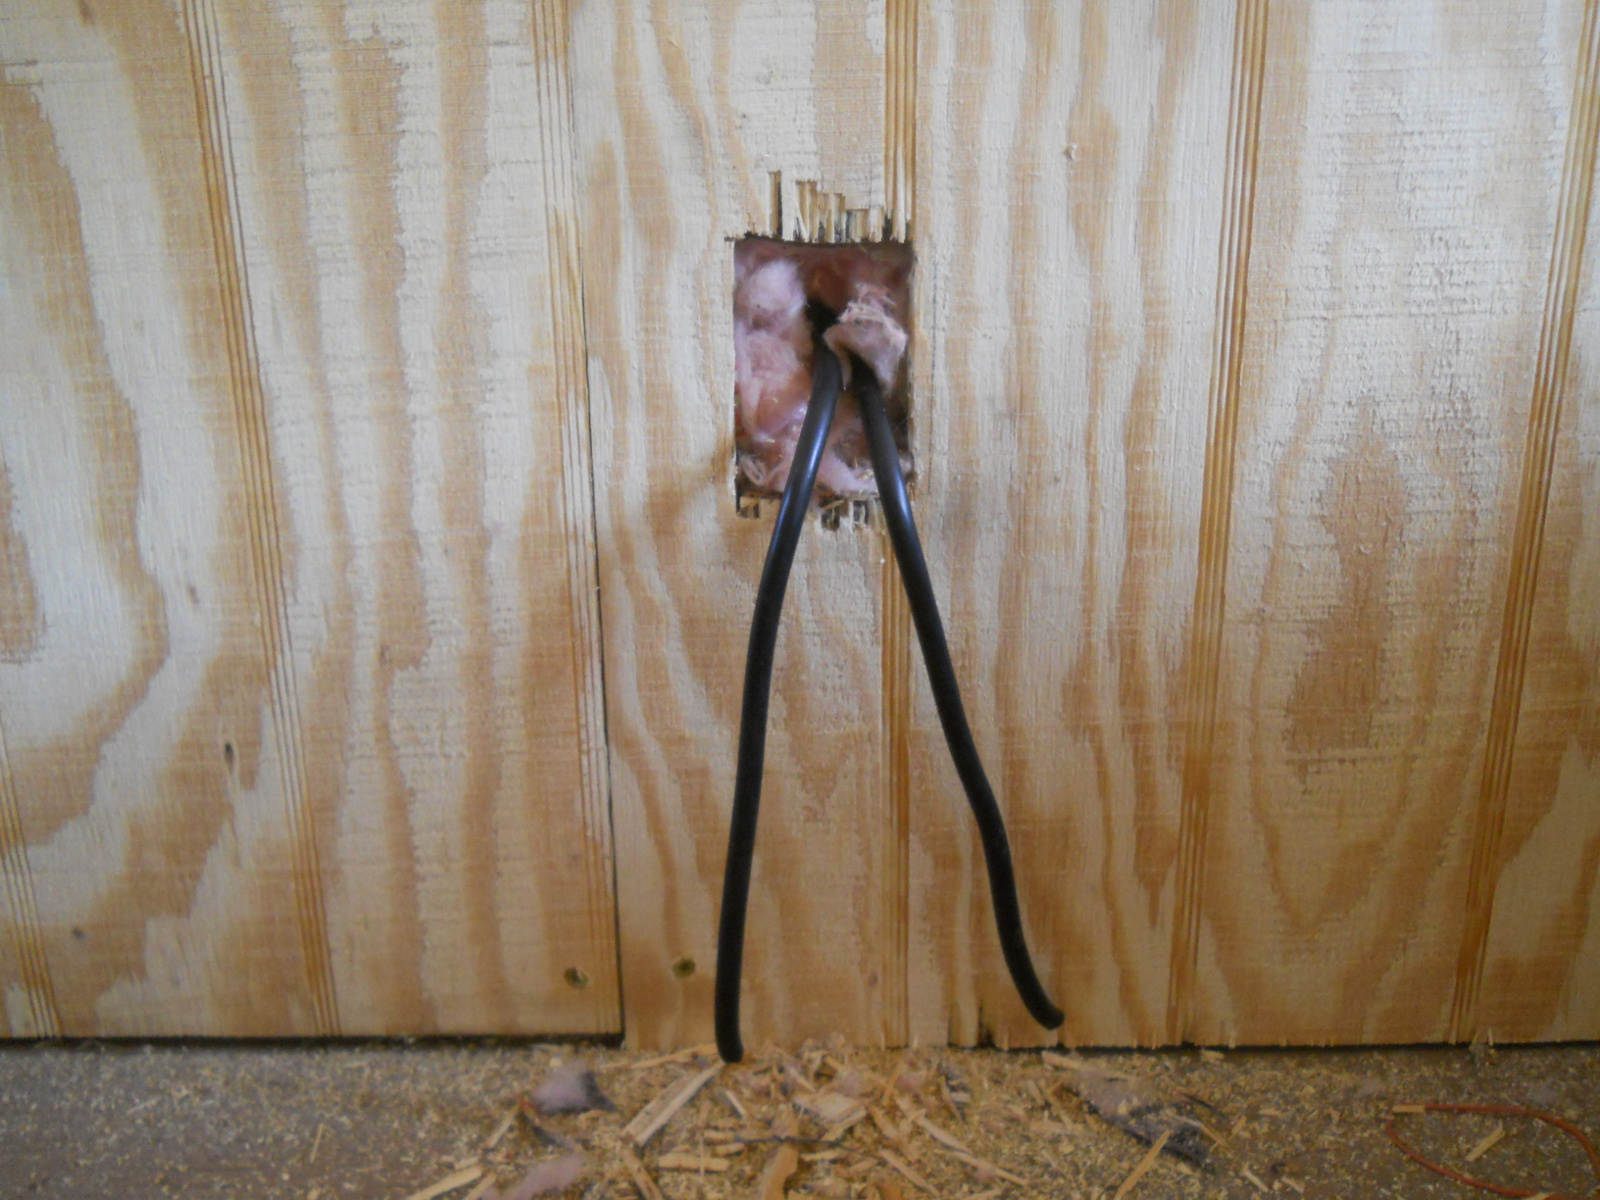
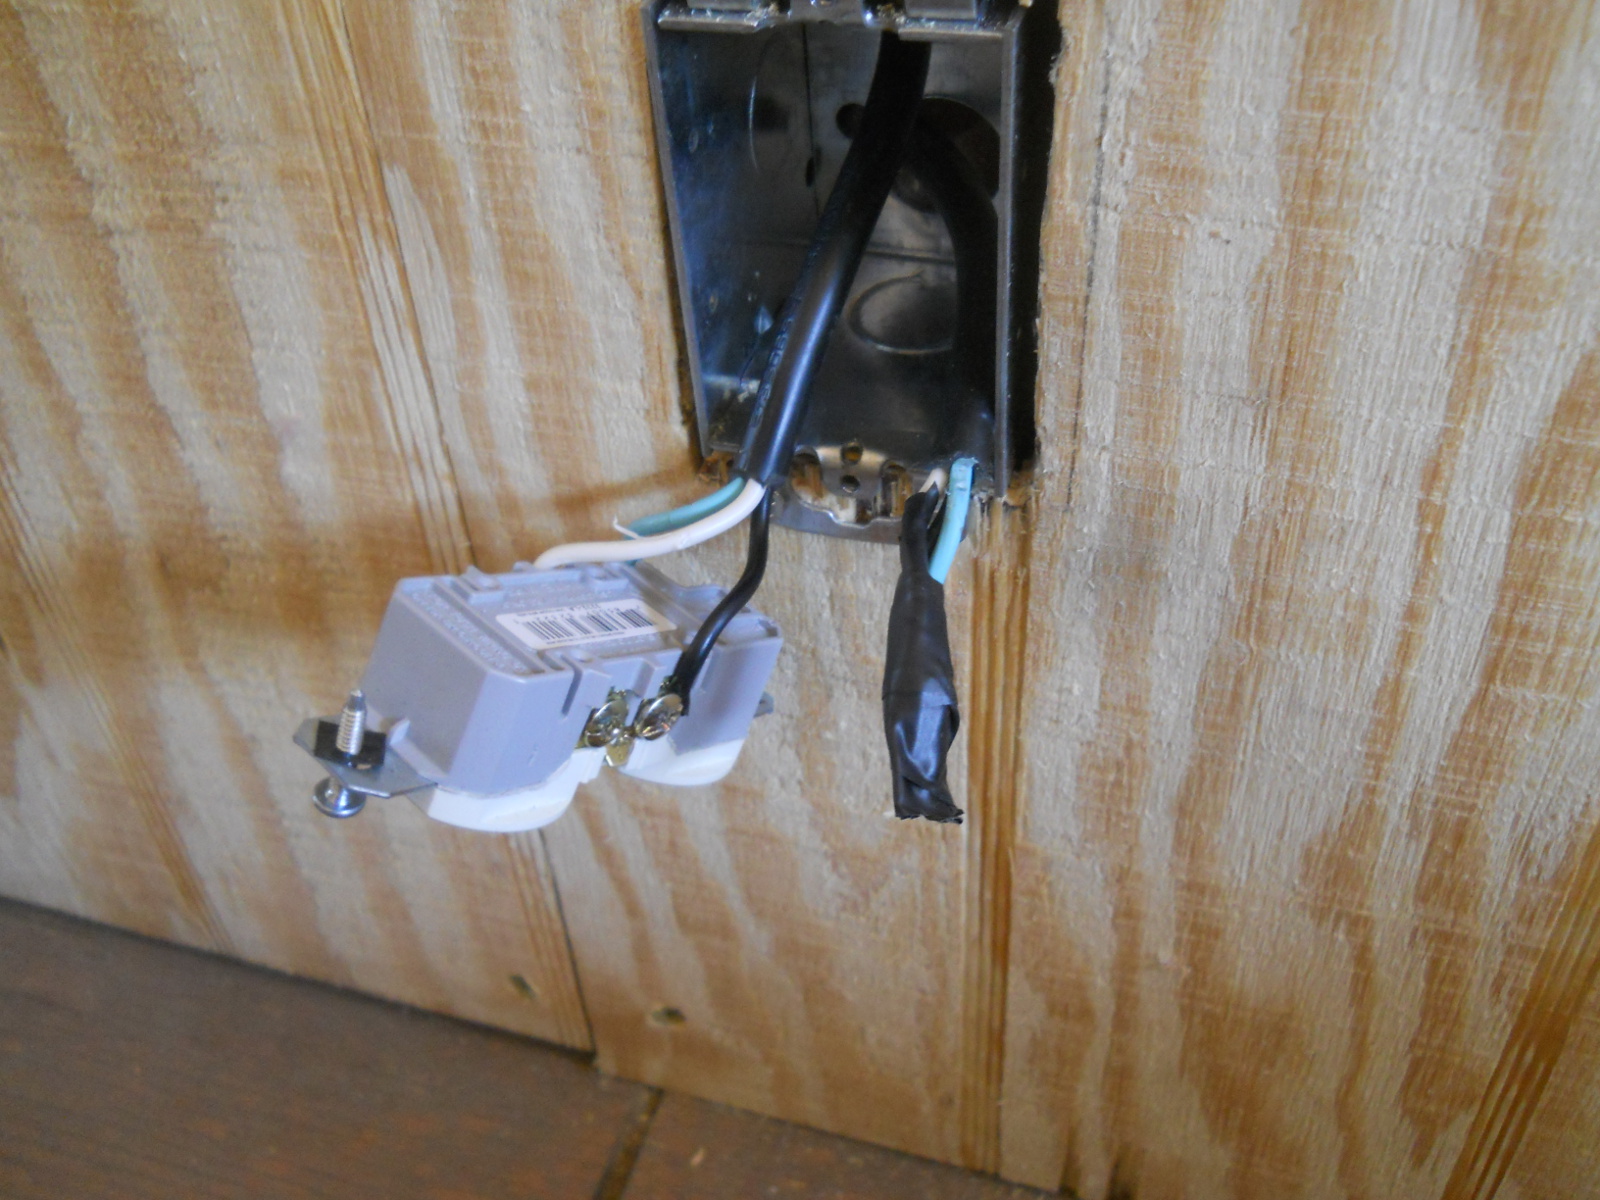
And here are the wires coming through on the inside:
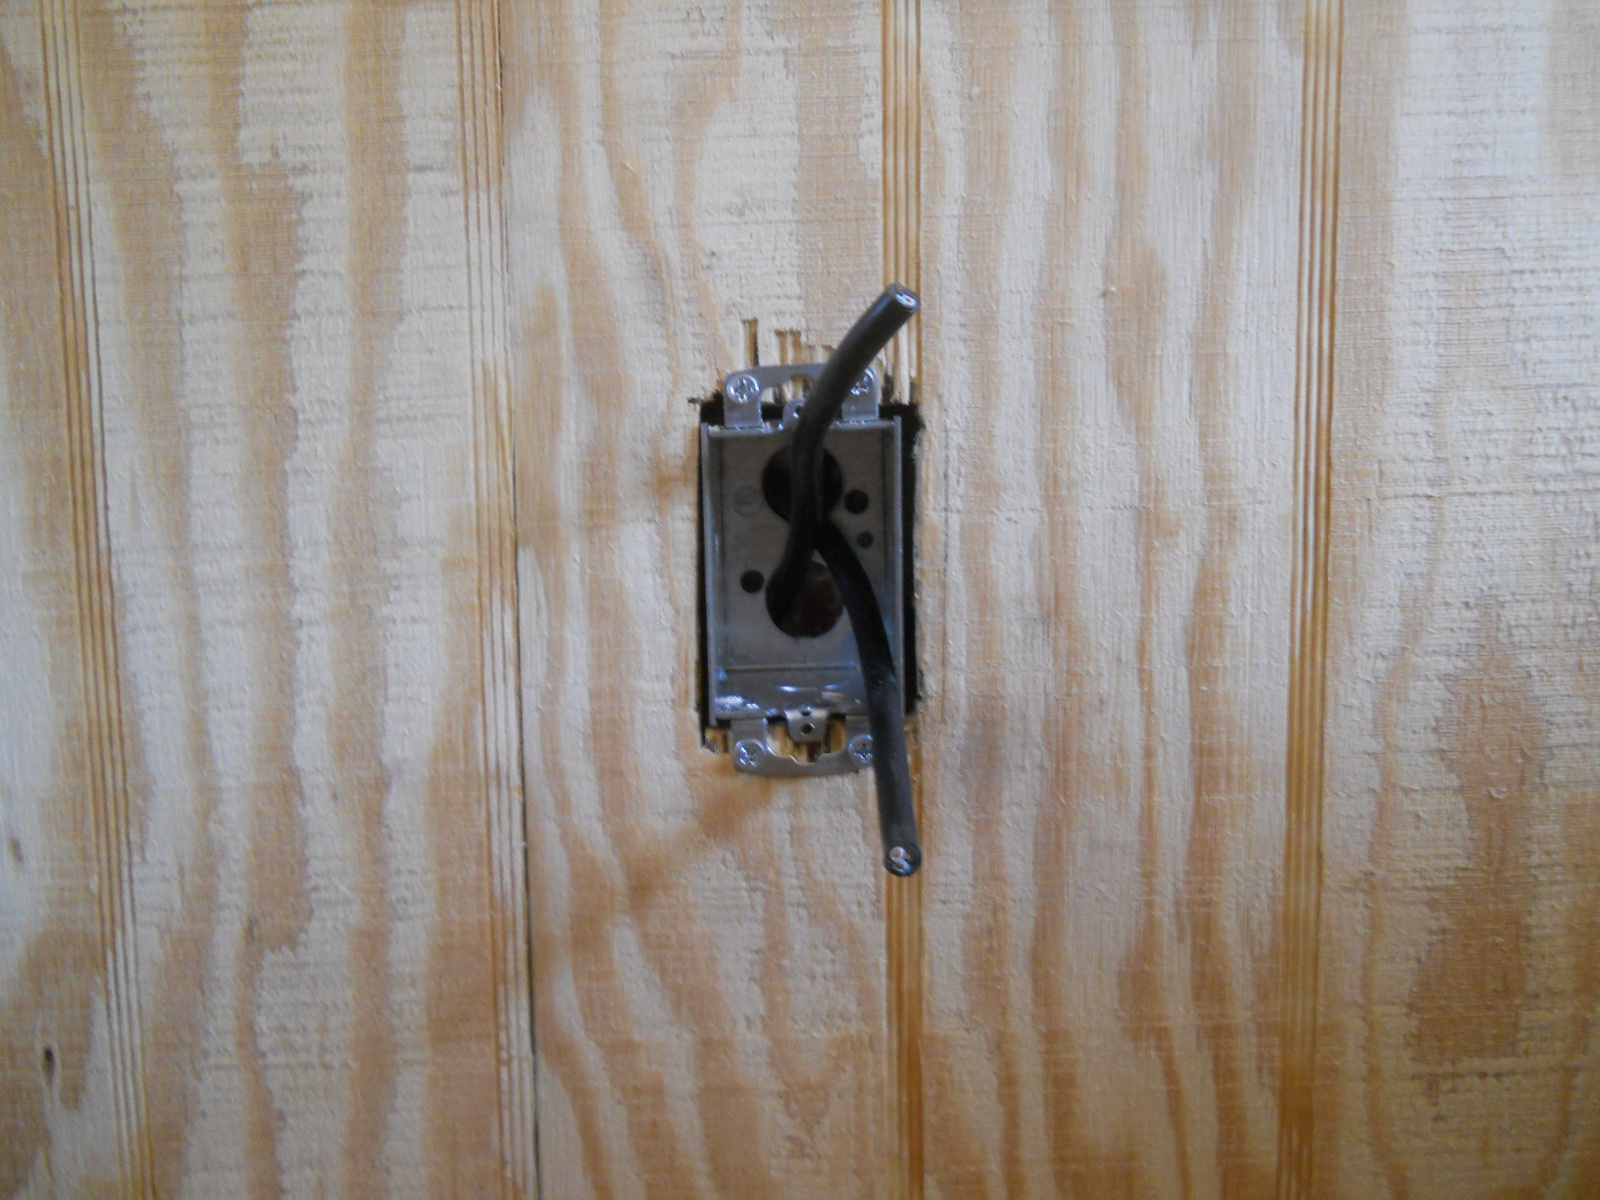
And through the bracket box:
I originally attached the two wire sets to the top and bottom of the female receptacle, but thankfully discovered that without having the current coming directly in the top one but only the bottom one, the top female outlet was still active! Well, that would have been something if I had plugged in another active cord into the top one while the bottom one was plugged in. Thanks to God for letting me find that beforehand. And so, apparently I only needed to wire in the one set of wires to one of the female receptacles to make both outlets active, and then I just taped up the not used wire, keeping it there in case it was ever needed:
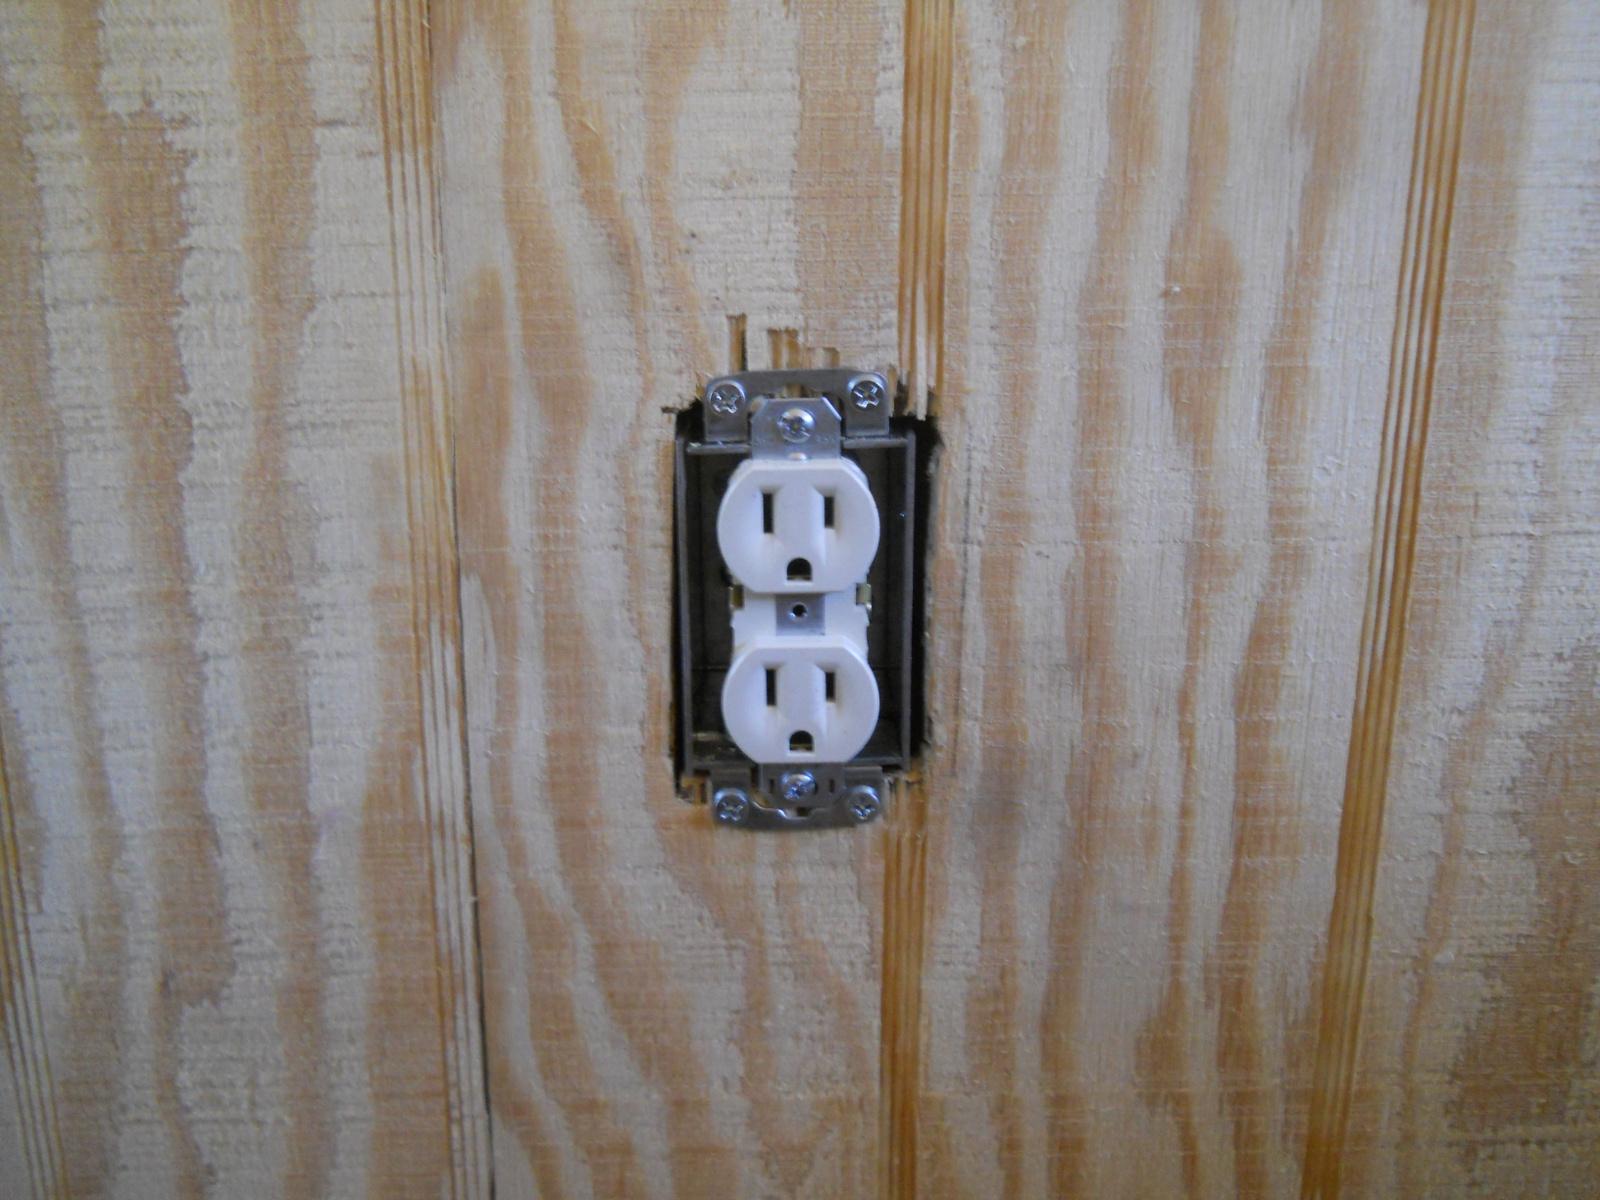
And here is the female receptacle in place:
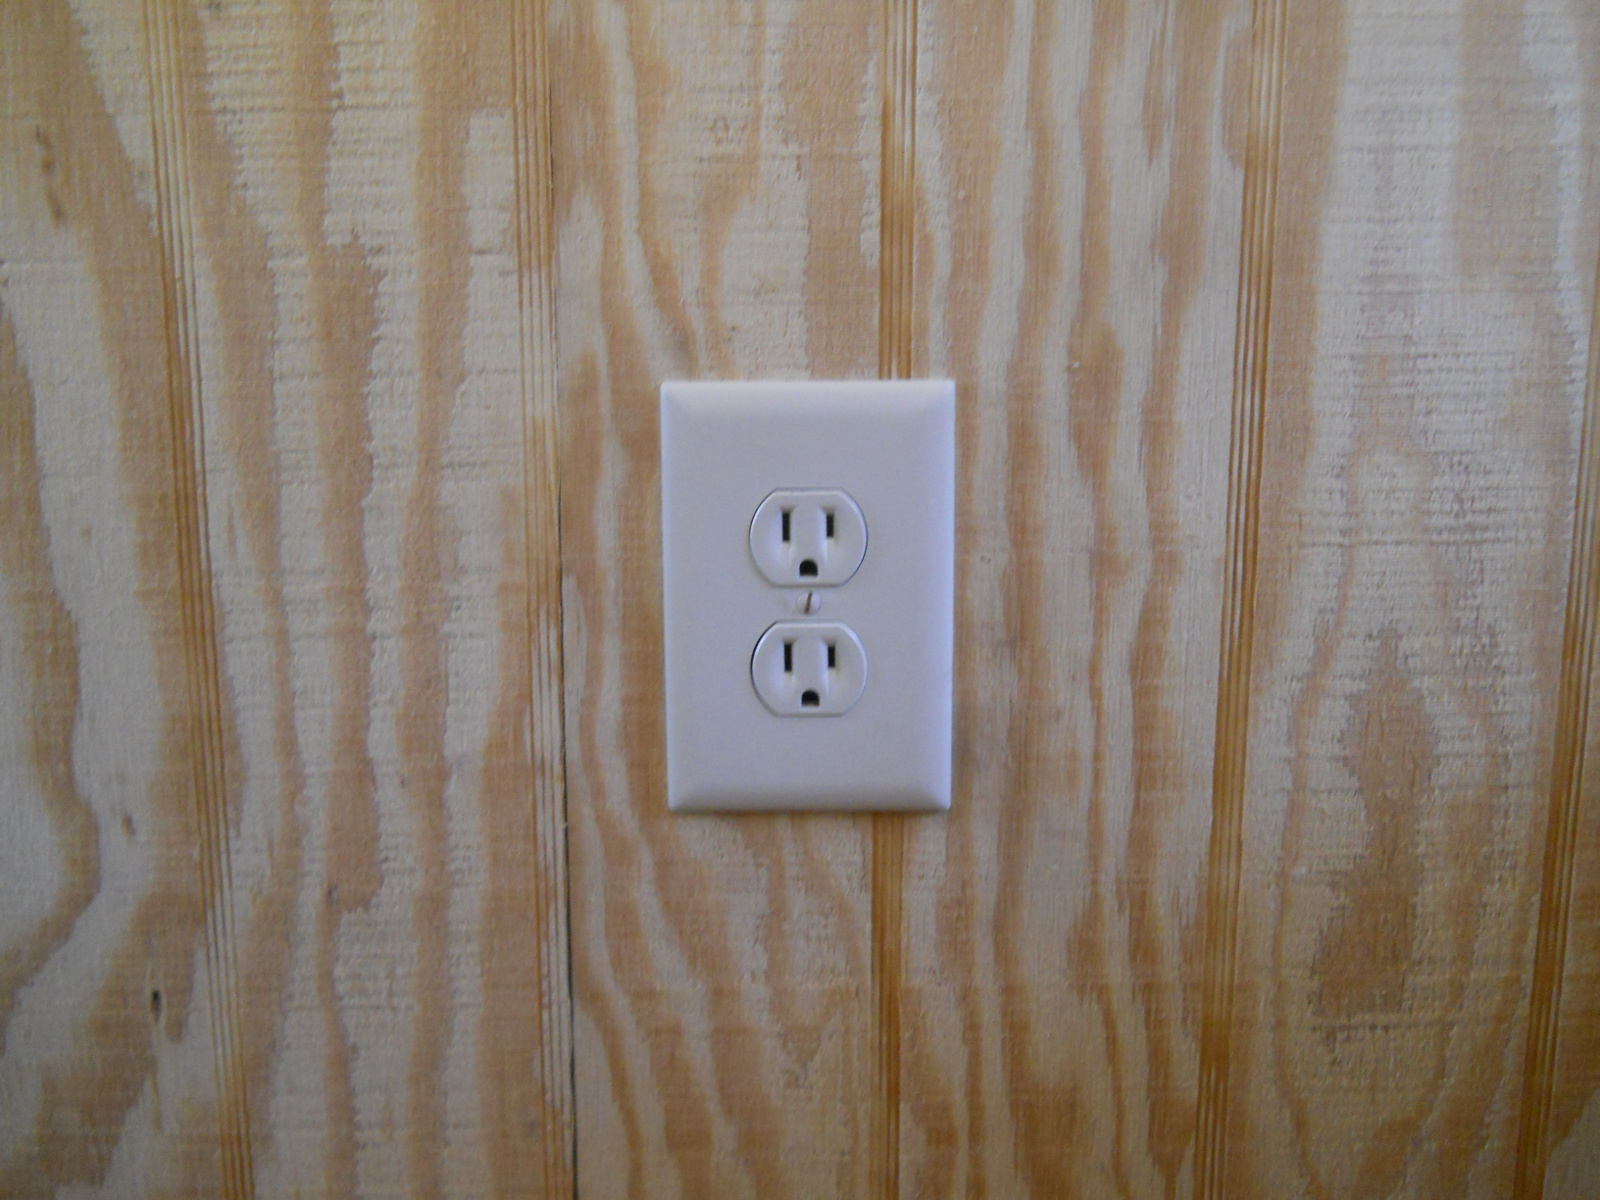
And the cover plate:
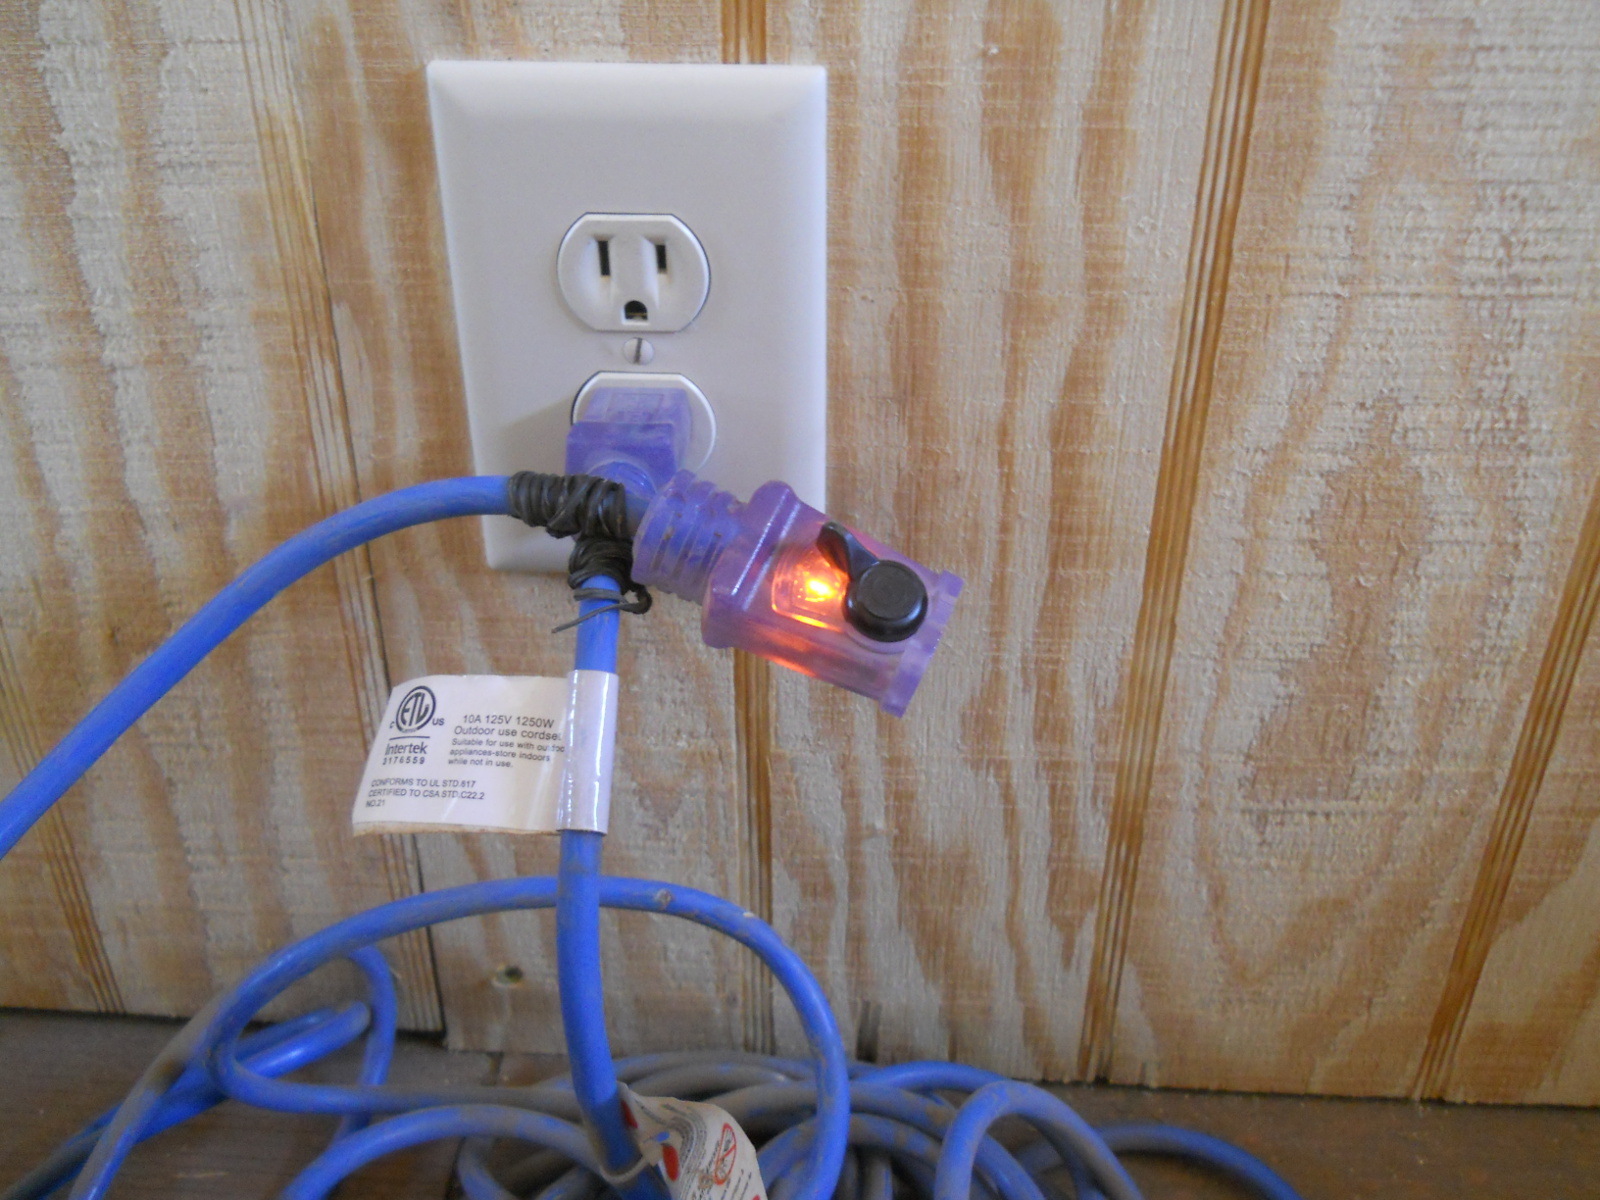
Then, I plugged in the extension cord to the outside:
Et voila! Power on the inside!
And now, we can close both those windows completely to help keep the place warmer.
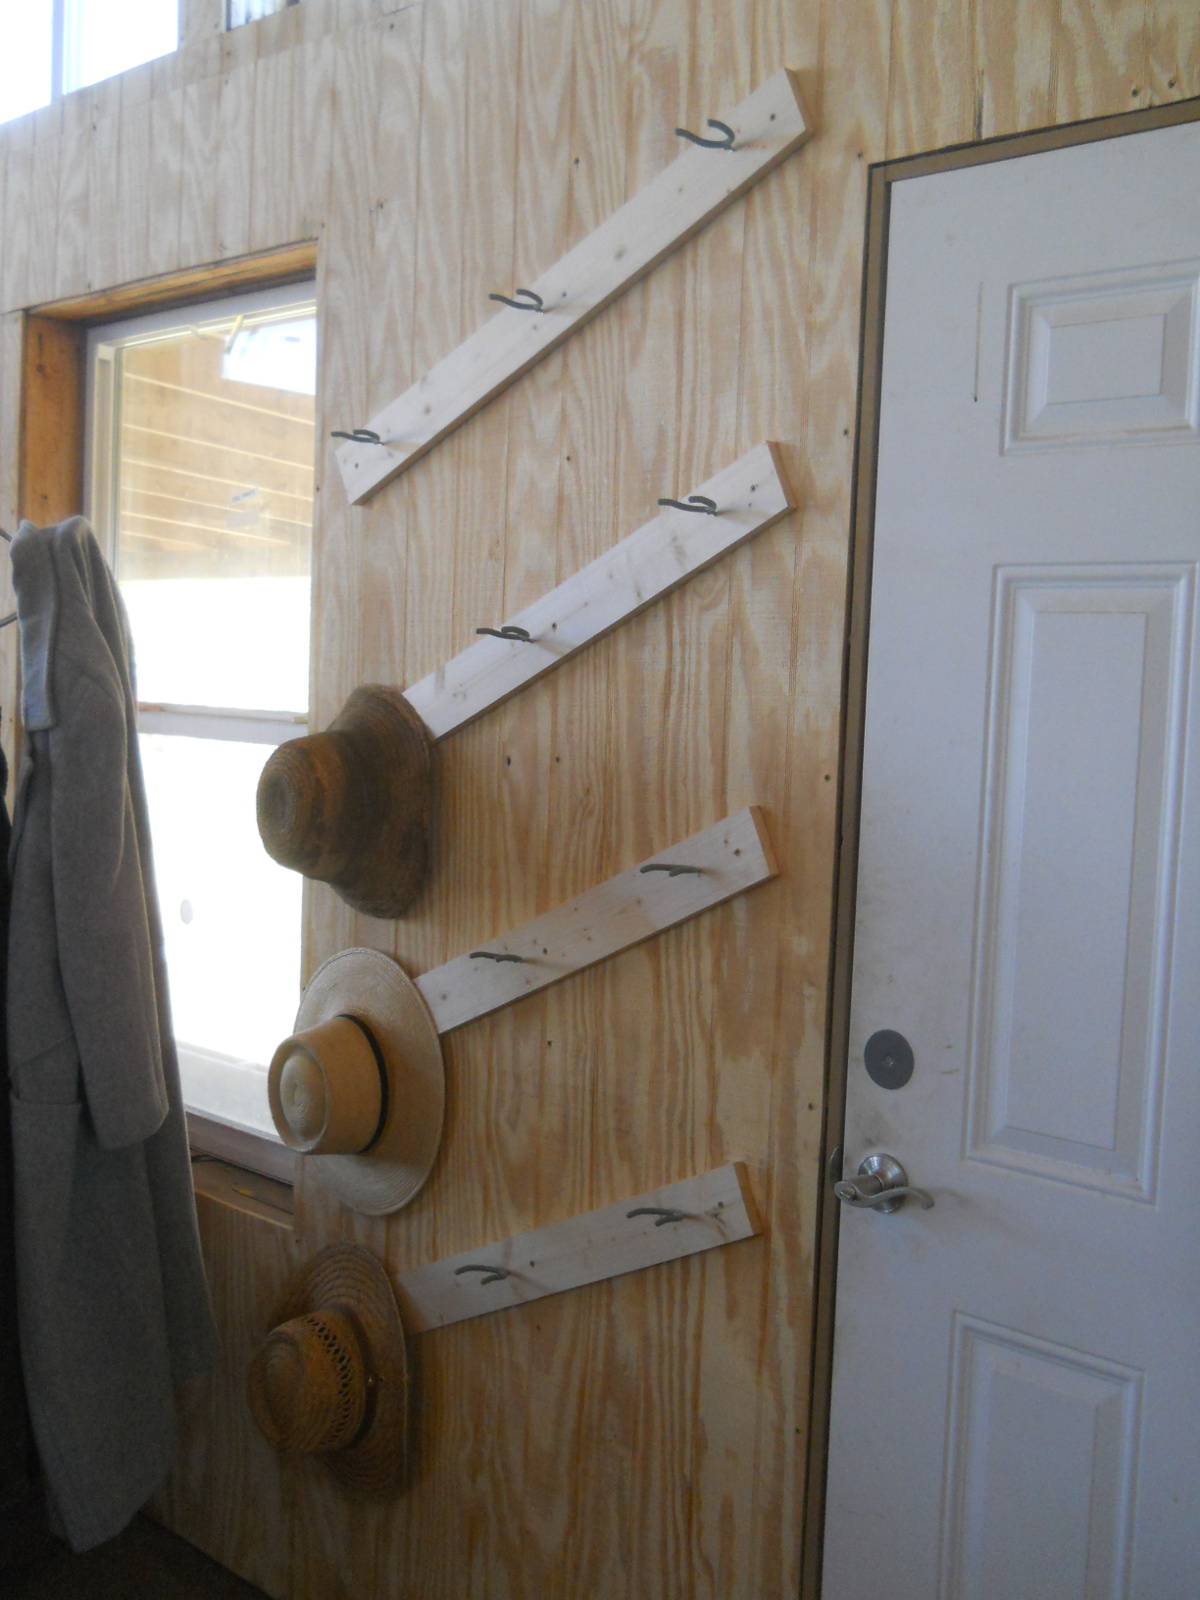
Homemade Amish Hat Rack
With the great room siding done, I really wanted a place for the men to be able to hang their hats when visiting, and so I set out to make something quick but useful for the larger sized Amish hats we wear.
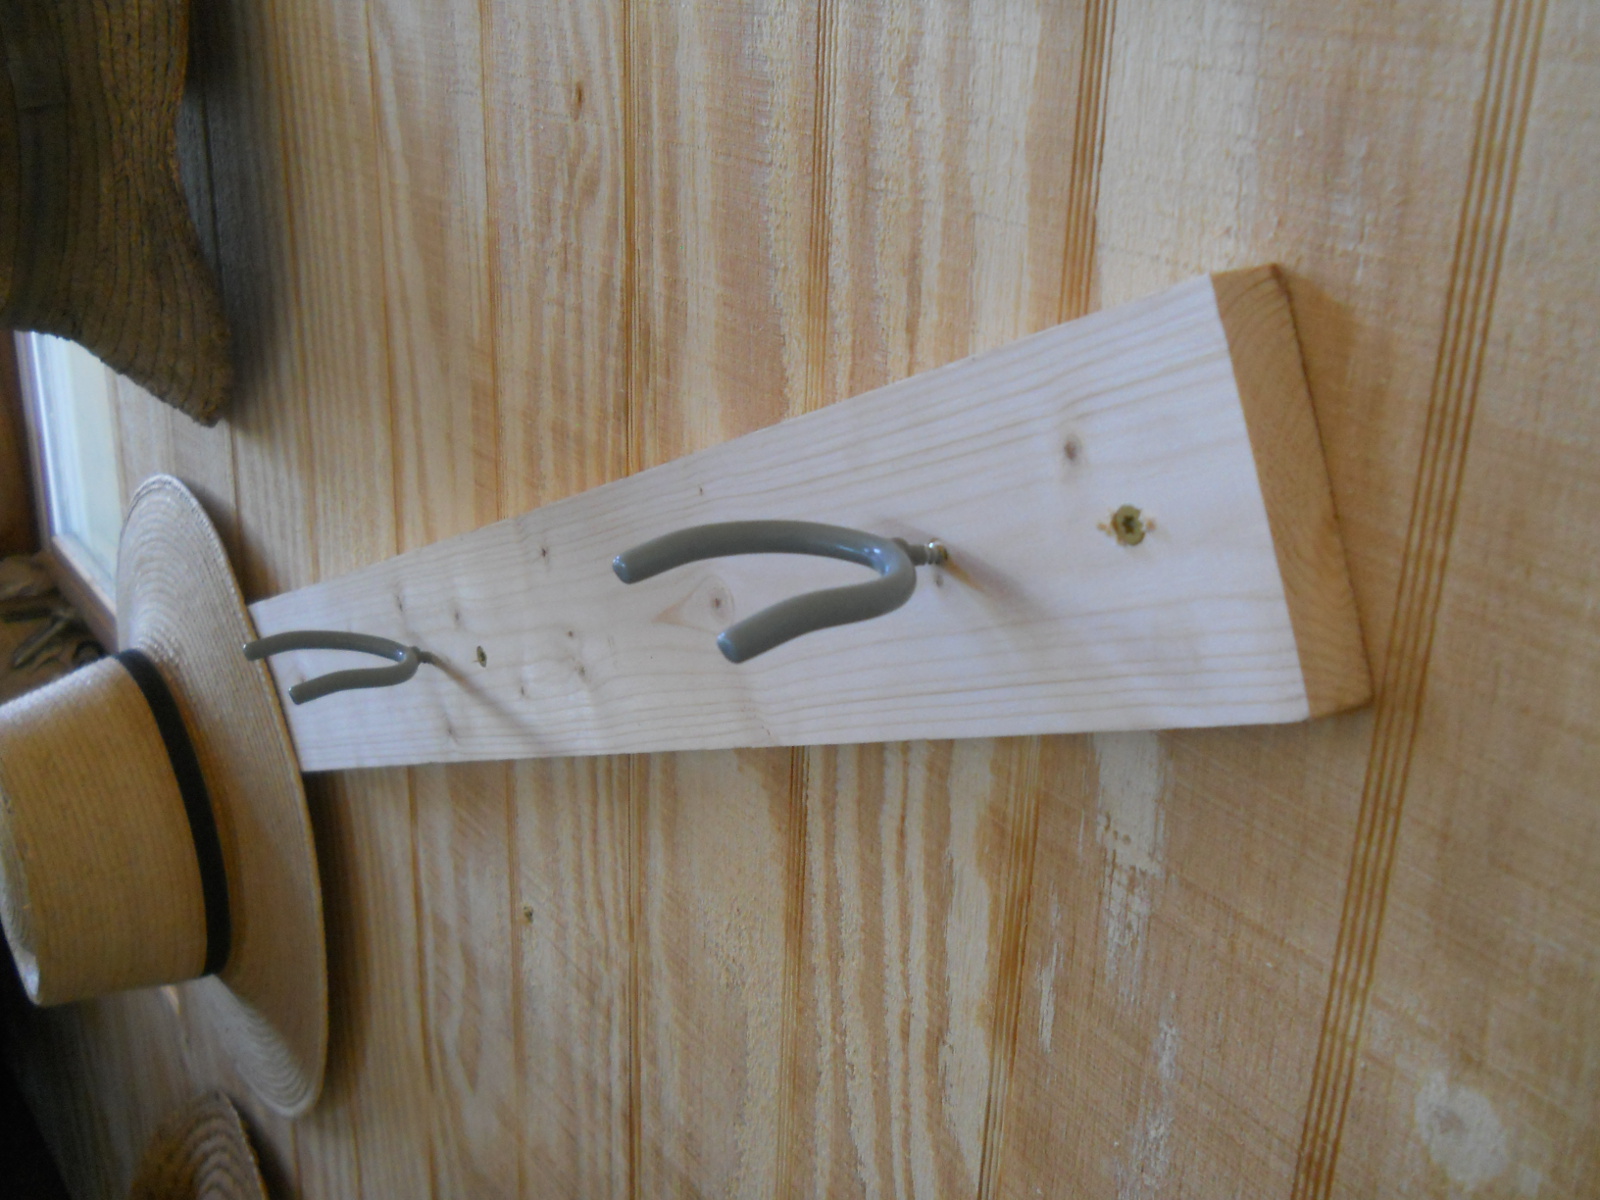
And here’s what I came up with. Had to angle the backings to be able to fit on the wall as I hadn’t measured the wall width beforehand, but it worked not too badly:
Again, we are grateful to the Lord for allowing the continued work on the house!
— David