The Sifford Sojournal

Our journal of what we pray is our sojourn of life along the narrow way, even the old paths, submitting to the Bible as a light unto both.

Page 44 of 93

The Orchard – Fall 2015 – Pecans

That time of year rolled around to where any pecans that were growing were starting to break forth from the green shells in which they grow on the trees. One of our trees has some, but something appeared to get to them as the pecans were eaten out. But the other tree that had pecans was okay, and so it was time to gather them in!

Here are some of them on the tree:

Pecans on Tree

More Pecans on Tree

And then the 2015 haul!

Gathered Pecans

We are always very grateful to the Lord for the least grain of food He provides, as each one is a miracle of providence from Him!

— David
Compressed Paper Bricks

One day when bringing up the YouTube main page, there was a video thumbnail displayed with the title something about unlimited fuel for fires, and showed a bucket. Intrigued, I clicked on it, and it ended up being about a fellow who came up with an inexpensive way to press paper into burnable bricks using Home Depot buckets!

Here’s his video:


Nice! Simple and inexpensive…right up my alley! With all of the feed bags we have, I thought I’d give this a go!

Here’s the drilled out bucket:

Drilled Out Bucket

Then drawing the pressing block on a left-over piece of 2×12:

Drawing Block Circle

And the circle drawn:

Drawn Block Circle

Then being cut:

Cutting the Block

And finally cut out:

Circle Block Cut Out

After putting the drilled out bucket in another bucket, I added water and paper. We’ve been tearing up the feed bags, along with snail-mail waste, and old doctrinally-incorrect books we’ve had laying around 🙂 I’ve been letting it sit all day and over night:

Paper in Water in Bucket

I didn’t think I could make the saw blade device he made, but found a left-over broken goat lead tether we had laying around:

Paper Mulcher Cork Screw

And using that, it actually works pretty well to mulch up the paper:

Mulched Paper

Here the drilled-out bucket is stacked on the other bucket ready for pressing:

Buckets Stacked Ready for Pressing

And here the pressing block is set:

Circle Block in Bucket

Then a third bucket is set on that, and here, in first attempts, a cinder block to try to get it started:

Cinder Block Press

And then me laying on the cinder block:

Laying on Cinder Block to Press the Paper

And here’s the result when I tried to sit on that. Oops 🙂 :

Spilled Buckets & Water

But, coming up with a better way, I put a board across the pressing bucket, and am able to sit on it now no problem:

Sitting on Board to Press the Paper

And then, I tried putting a couple of feed bags on top, which frees me up for most of the pressing process — I just come back later and sit on it a bit to finish it off:

Feed Bags Pressing the Paper

And here’s the result!

Compressed Paper Brick

They fit nicely on the bucket lids, so here are several drying in the sun:

Drying Paper Bricks

And several finished ones:

Dried Paper Bricks

The only thing left is to try them once we get to where we’re using the wood burner this winter. It’ll be fun and interesting to see how they work!

Hopefully they will, and we’re thankful to the Lord for granting this idea to maybe be able to use some of the extra resources we have for good use!

— David
Providence’s Perpetuation Provisions: Surprise Twelfth 2015 Chick Hatching

One afternoon, I was looking east out toward our chicken pen area and saw a hen with some little birds around her. My first thought was that some small wild birds were just hanging around her, but then thought, “Wait a minute….I wonder….” And sure enough, it was a mama hen with three little chicks in tow!

It always amazes me how a hen makes it out in the woods for three weeks sitting on eggs with hazardous critters running around to end up hatching some out. God knows though. 🙂

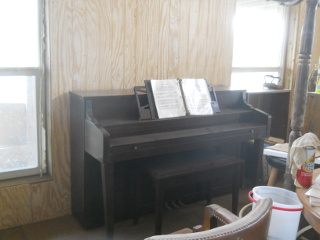
And so, we rounded them up and put them in the piano room, and they’re all three still healthy today!

Here they are:

Surprise Twelfth Hatching of 2015 Chicks

And their video:


We are grateful to the Lord for granting this bonus hatching, His watchful eye on them the three weeks in the wild, and His continued granting of their health and safety!

— David
A House – Update XXXVI – Internal Siding

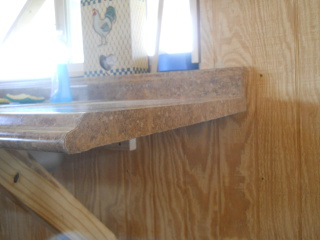
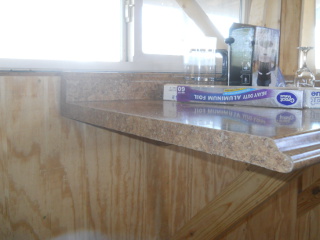
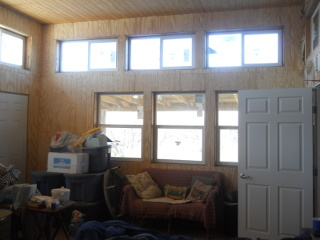
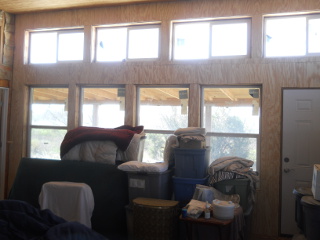
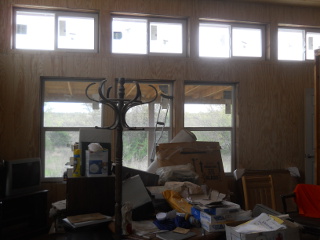
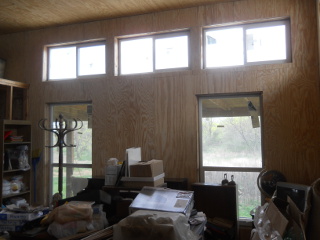
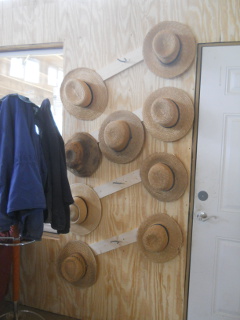
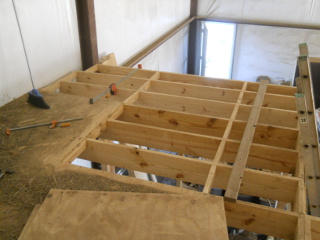
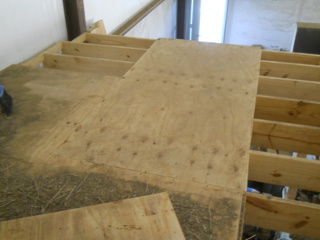
To be able to make things a little more functional for living in the house, we’ve started to put up internal siding in the kitchen area. I really like the T-111 siding we used for the ceiling, with its kind of old-timey wood look, so we are going with that for the internal siding as well.

We have a helper for house projects now too, and here Robert is putting up some of the siding:

House Kitchen Siding

And here is the rest of it for the kitchen area:

House Kitchen Siding, East Wall

House Kitchen Siding, North Wall

House Kitchen Siding, More East Wall

House Kitchen Siding, East Wall Complete

House Kitchen Siding, North Wall Complete

Robert did a good job, and to me it looks nice!

Here’s a firewood rack we picked up too, to try to be a little more tidy with the firewood:

Firewood Rack

We are thankful to the Lord God for the provisions to continue on the house!

— David
The Orchard – Fall 2015 – Pecan Tree Fencing

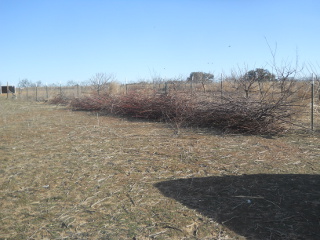
After getting some more permanent fencing around our main orchard area, it was time to starting putting up some around our pecan trees. The hand-pulled method has worked ok, but sometimes the goats still get in them, and recently one of our pecan trees was completely barked by a goat from top to bottom. Bummer.

For this new fencing, I decided for expediency to just use t-post corners, even though they didn’t work well on long fence lines, figuring these were going to have much less pull on them.

Here is one pecan tree before starting, with just the hand-pulled fencing around it:

Pecan Tree Area with Old Hand-Pulled Fencing

After putting in t-posts, it was necessary to sometimes twist them to align better with a fence line or otherwise, so a pipe wrench works great for that:

Turning T-Post with Pipe Wrench

Here is one corner done. After facing the corner t-posts outward on a couple of the other pecan areas, I realized the corner bracket pieces are designed to work more properly facing the t-posts inward:

First T-Post Corners in Place

Here is another corner done:

Another Corner F

And all t-posts in place:

All Fencing T-Posts in Place

Then, it was time to pull the fencing. I decided to pull two directions: one out away from the goat field fence, around the corner, and then perpendicular to the field fencing; and then the other, to close off the last side away from the field fence. Going around the one corner worked ok if I tightened tension on the fencing a little at a time and moved the fencing around the corner after each time of tightening:

Net Wire Fence Puller Ready for Pulling

As before, the truck is used to help pull the fencing:

Come-Along Hooked to Truck and Fence Puller

And here it is pulling:

Pulling Net Wire Fencing

And here is all the fencing complete!

All Fencing Complete

Lastly, I put down about an 8 inch layer of mulch:

Mulch Layer Laid Down

We are grateful to the Lord for granting the growth of the pecan trees, even some from the roots (this one pictured I believe was one of those), and for Him granting provision to be able to continue work on the homestead!

— David
Root Cellar/Storm Shelter – Update III & Community Work Day

In our previous root cellar/storm shelter episode, we added a concrete footer slab all the way around the east side. This worked pretty well, keeping the majority of water out. However, with rain usually coming in from north and west, and there still being some leaking, we needed to do the north side as well (the west side currently has flashing attached to the root cellar wall acting as a footer).

I requested this past Wednesday, our monthly community work day, for the fellows to help with pouring the concrete. In preparation, I dug out the footer, which was 1 foot out, 4 inches deep, and then another 4-6 inches out, 8 inches deep as a trench. I had to start around the previous east footer because I had dug out that trench all the way to the root cellar wall, which wasn’t correct, since water in the trench could just flow up to the root cellar wall and then down it, which defeated the purpose of the trench.

Foreman William apparently had to approve:

Dug Out Root Cellar North Footer
Concrete Anchor Bolt

I put in some concrete anchor bolts to try to help join the new concrete with the old, spaced about 2 feet apart:

Other Side of Dug Out Root Cellar North Footer

And added re-mesh, tying it to the anchor bolts and elevating it off the ground with rocks:

Re-mesh in Dug Out Footer

Then it was time for work day and the pour:

Mixing Concrete by Hand
First Part of Footer Poured
More Mixing Concrete by Hand
Re-mesh in Dug Out Footer

We mixed in some dirt into the concrete to try to help it go a little farther:

Getting Dirt to Mix in Concrete

And here it is all done! It was about 25 feet long, and the guys banged it out in about two hours, 32 bags of 80 pound Quickrete. It seems to be holding ok at this time — I had to spray it down with water all afternoon because even in the shade, it was drying too fast and starting to show cracks:

North Footer Complete
Other Side of Complete North Footer

Since we finished the whole footer in the morning, the guys came back after lunch break and helped with painting a few items around the homestead:

Painting House Facia
Painting Cistern Siding & Summer Kitchen Facia

The ladies did some painting in the morning, along with some preparation on preserving our garden pumpkins, and in the afternoon, Sue continued to work on the pumpkins for final processing, and the ladies worked on sewing:

Ladies Processing Pumpkin & Sewing
More of Ladies Processing Pumpkin & Sewing

And then at the end of community work day, we had our customary taco meal together!

Community Work Day Meal

Here are the pumpkins cut up, and the meat and juice preserved:

Pumpkins Cut Up
More Pumpkins Cut Up
Still More Pumpkins Cut Up
Pumpkin Juice
Canned Pumpkins

And the seeds drying on the solar food dehydrator:

Pumpkin Seeds
Pumpkin Seeds on Solar Food Dehydrator

Thanks again to everyone here for their help on work day! And we are thankful to the Lord for allowing us to be able to work together — we pray He glorifies Himself through these things. And we are thankful to Him for continued progress on the homestead.

— David
Providence’s Perpetuation Provisions: 2015’s Tenth & Eleventh Chick Hatchings

The Lord has continued to grant some more chick hatchings this year, our tenth and eleventh! Both have an interesting story…

For these ones, the mommy sat for two rounds (6 weeks) before some chicks hatched out. We had her in the mini-chicken tractor, but I wondered if it was maybe too hot in there during the summer, so we moved her into the summer kitchen, and thankfully (I was hoping for at least just one so she wouldn’t try to sit another round) she did hatch out some — five in total! And thankfully all five are still going today!

Tenth Hatching of 2015 Chicks

More Tenth Hatching of 2015 Chicks

And here is their video:


For this eleventh group, she hatched out five in the piano room originally, but then one day there were only three left, no bodies. Hm…with this one I thought maybe there was a snake about as we’ve had problems with them in the barn this year with sitting mamas. So, I moved these ones into the mini-tractor, and when I went back into the piano room, sure enough, I found a snake in the corner. Arg.

But, God’s will was we have the three, and all three are also doing well today!

Eleventh Hatching of 2015 Chicks

Eleventh Tenth Hatching of 2015 Chicks

And this is their video:


As always, we are very grateful to God for His continued gracious granting of these farm and food provisions!

— David
« Older posts Newer posts »