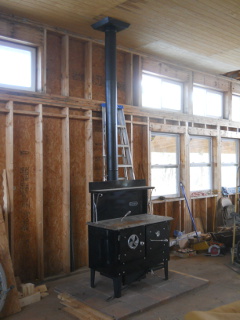
All along we have planned for our main sources of heat, for warmth and cooking, for the house to be wood burning stoves. Graciously, both Sue and my parents have been very supportive of us in our living out here, and in one of the ways from one of our parent sets was an offer to buy our cook stove for us. Wow, what a very nice gift! After much research by Sue, we chose a Kitchen Queen 380.
It has been sitting in the house for quite some time now, but with the ceiling almost complete and winter getting close, it was time for me to get to work getting it installed. And here is the process!
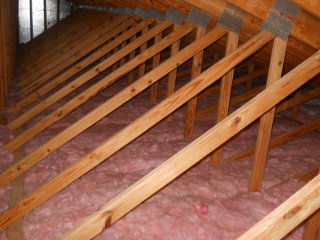
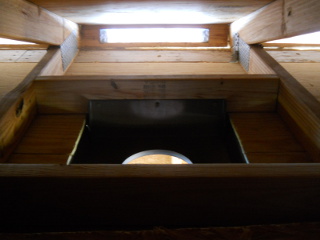
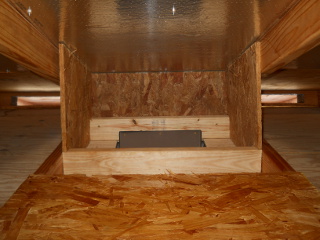
Here is the external pipe base installed in the attic:
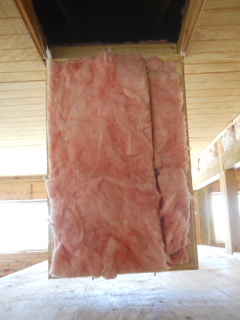
And the back and sides of an insulation barrier. Based on a video I saw on the web, I chose to just put up OSB around it to keep out foreign matter. The front piece, not shown installed, was installed next, which had a little gap at the top to allow for air flow (which I’ll mention more about below with the starter section):
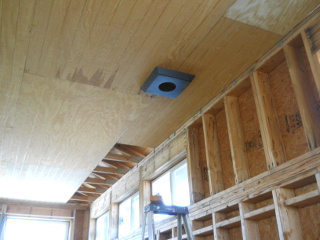
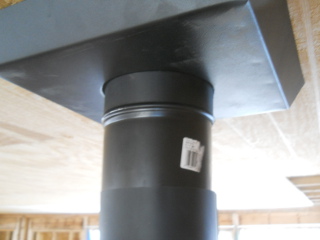
Here is the base installed from inside:
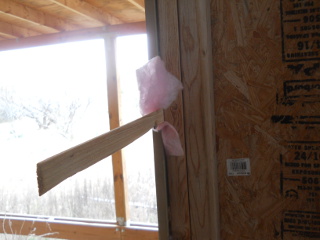
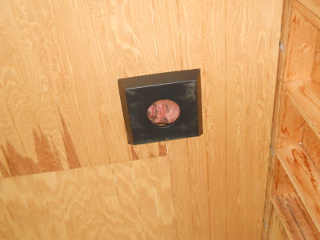
And something someone left up there. I suppose I should go retrieve it. 🙂 :
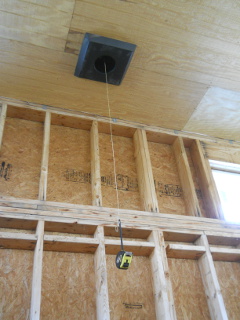
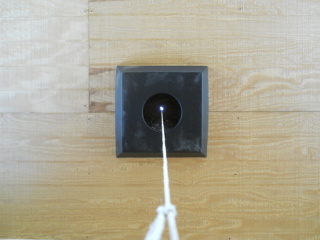
Next was to cut the hole in the roof. Needing to find the center of the hole, and not having a plumb bob, I used a tape measure on a string:
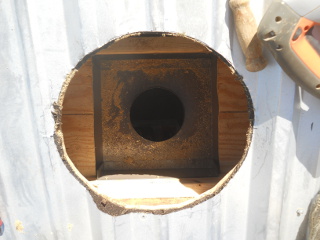
And here is the hole drilled:
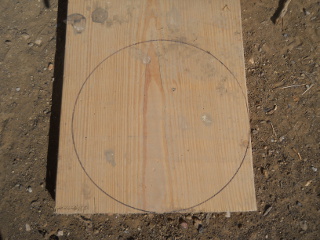
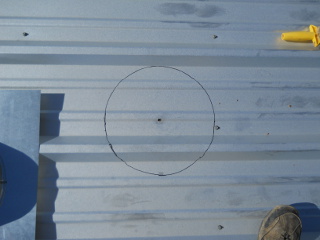
The external stove pipe requires two inches of spacing from combustible material, so I drew the circle appropriately:
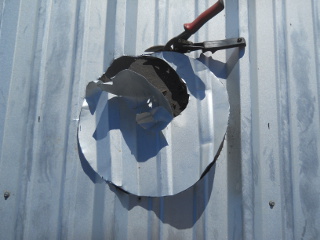
And cut out the metal using tin snips:
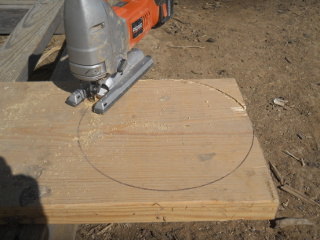
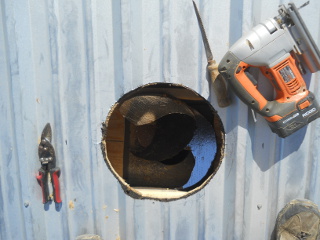
And then used the jig saw to cut through the roof wood:
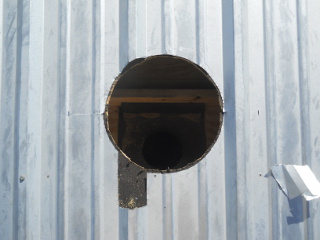
And here is the roof hole ready:
The external stove pipe is held in place with a collar, so I needed to further prepare the roof metal to receive the collar:
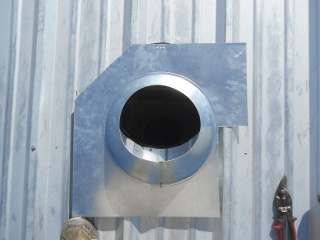
And I had to cut the collar piece to form to be able to slide into place:
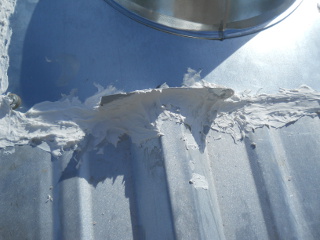
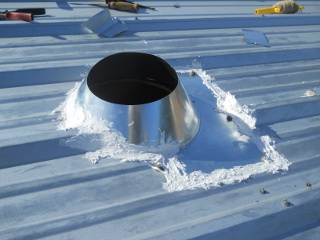
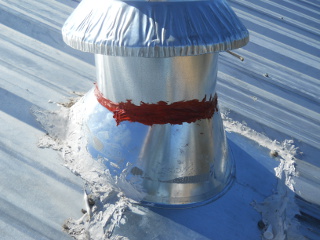
And here is the collar in place and caulked:
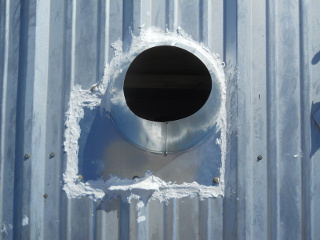
Something needed to be done to cover the hole in the ridge left by the circle cut, and so I took a piece of left-over collar flashing, bent it and placed it, and caulked it in place:
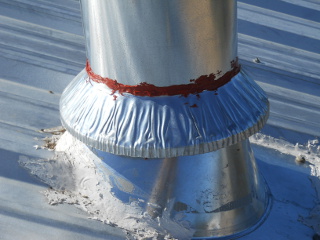
And here is another view of the collar installed:
After getting the collar in place, we had some storms heading through, so I duct-taped a plastic bag to the collar and put a step stone on top, which actually ended up working, even through a severe storm we had which knocked over one of our fruit trees:
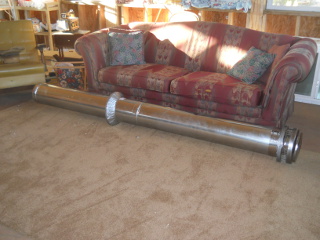
Continuing on to the actual external stove pipe itself, because I’ve worked with it before, and because the base, cap, and collars come in a kit, I went with triple wall for the external pipe; and here are the two main pieces snapped together. I think I calculated I needed seven feet total (it needs to be high enough so it is far enough away from the roof so as to not be disturbed by roof turbulence), and to make it easy, went with two four-foot sections:
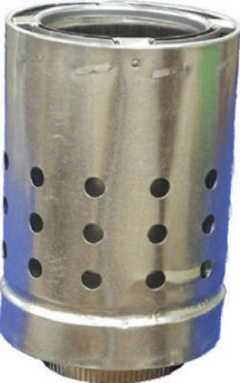
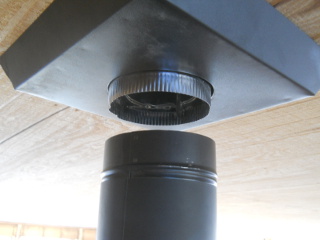
Originally, I was going to skip using the starter piece, because it is very expensive and I thought not really needed for pipe installation; but after doing further research, I discovered the holes in it actually filter air up between the walls of the piping to help keep it cool, so I thought that might be important; and so, we purchased it, and here is a stock photo of it:
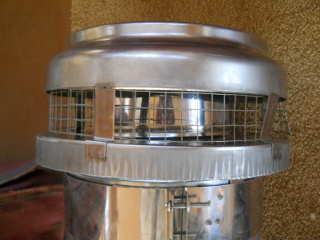
I also added some wire mesh to help keep the birds out of the stove pipe cap:
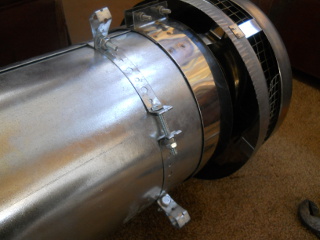
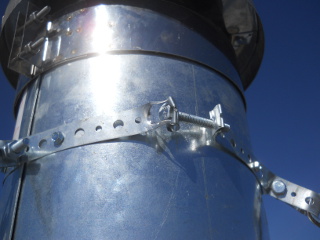
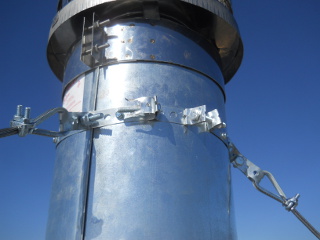
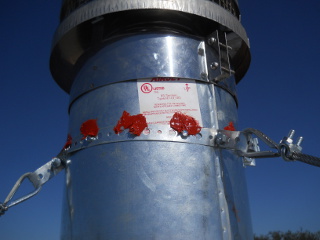
With this much pipe in the air, I figured I needed to secure it to the roof with guy wires, and I thought I would use plumber’s tape to make a “collar” on top, fastened with self-tapping screws:
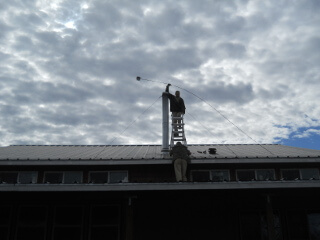
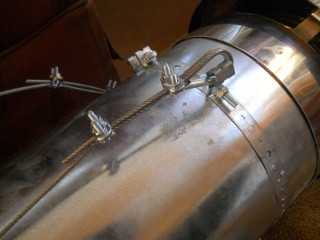
And here are the guy wires attached to the collar:
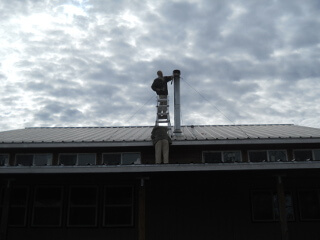
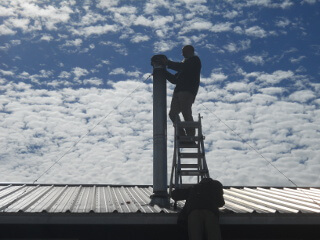
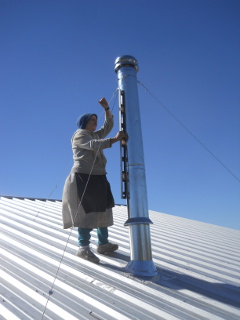
With the stove pipe ready, and the starter piece attached too, I hauled it up to the roof and placed it in the collar, with Sue in the house telling me when the starter piece was set into the base hole. Then Sue joined me on the roof to continue with the installation, and William our cat thought he would join us too (he’s really good at scaling the ladder and hopping up onto the porch roof now — here, I think I helped him get up on the upper roof):
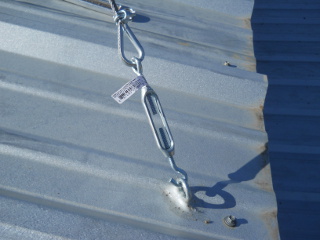
For attaching the guy wires to the roof, I used eye hooks which I tried to make sure got screwed into a truss to hopefully secure them more strongly. And I added adjustable hooks for future changes to guy-wire tension as might be needed:
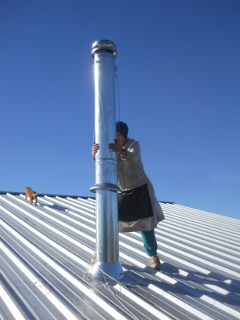
Here Sue is helping level the pipe:
And here it is originally in place:
In tightening down the guy wires, the tension bolt on the plumber’s-tape collar pulled through the plumber’s tape. Hmmmm…hadn’t seen that one coming:
So I repaired it by closing the broken gap (I might have had to add some new plumber’s tape, but I don’t remember) and putting the tension bolt in another place. I added more fastener screws around the collar too:
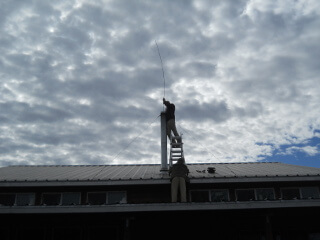
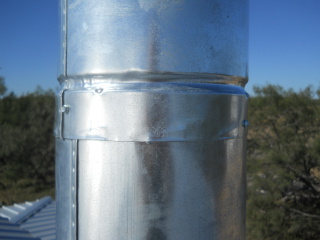
After that, I realized that the stove pipe was kind of jack-knifing at the pipe joint, and so I loosened the tension on the guy wires, straightened the pipe, and added screws to the pipe joint:
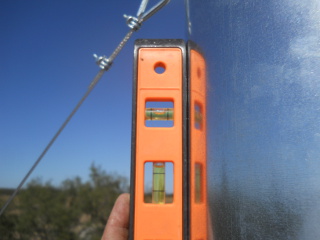
I then re-tightened the guy wires, re-leveling as I went. There’s a running joke out here about not giving David the level, as I have a tendency to spend too much time getting it exactly correct, and I have had to learn to let go of that some, but….. when it is level, it is niiiiiice! 🙂
With the triple wall in place, I needed to caulk the collar, using high-temperature, silicon caulking:
And also caulk the storm collar, slid into position over the collar opening:
And I caulked the screws into the pipe holding the guy wire collar, just in case:
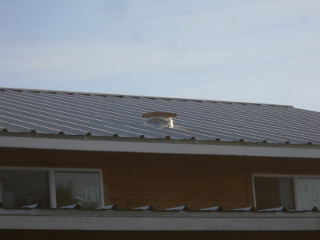
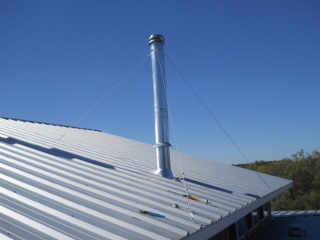
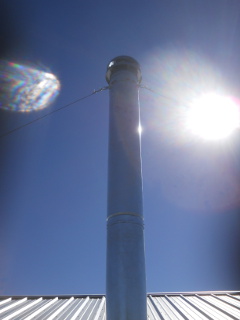
Finally, here it is, reaching up to the sky!
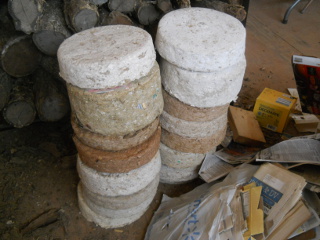
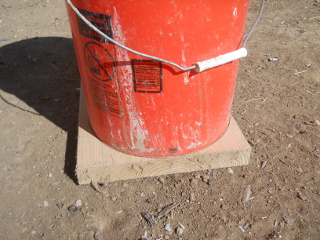
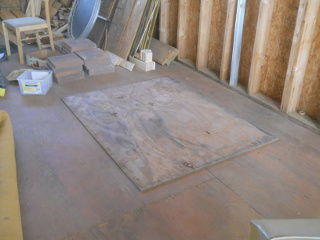
Then, it was time to head on inside. I planned to use step stones under the stove, but wanted to put them on a plywood base to hopefully help disperse the stove weight more evenly across the subfloor and double floor joists I put in this area:
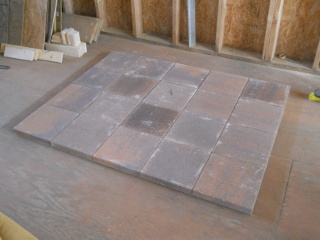
And then I placed the stones:
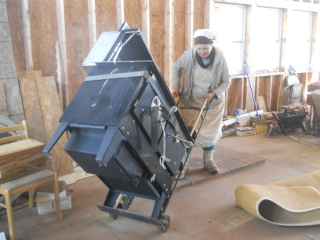
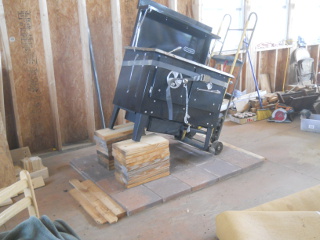
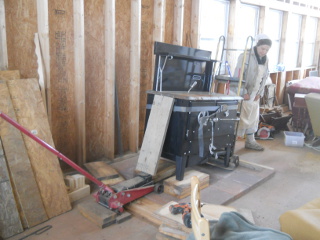
The stove has been hooked up to a dolly since we moved it into the house, and Sue and I were able to get it to tilt back on the dolly so we could move it. I tried pulling the stove up onto the stones using the dolly, but couldn’t get it to roll up them. Here, Sue is maintaining the lean while I do some prep work:
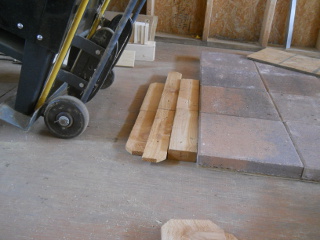
I added 2×4 wood pieces on the far side to keep the stones from sliding, and then made a little ramp, which worked nicely:
And here it is with the free end resting on wood blocks.
After doing some quick tilt back and single block removing maneuvers, so the stove wouldn’t come slamming down onto the stones, we needed a way to gently lower it, and we used the car floor jack, which worked great!
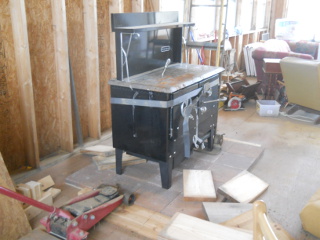
And here it is in position on the stones!
Next was the internal stove pipe, which is installed male end on top sliding into the female end below. At first I thought this would be wrong (after I had installed all of the piping!), but after investigating, it is correct — the smoke doesn’t come out the sides and is actually apparently sucked up the pipe with it this way; plus, it keeps the moisture inside the pipe and not dripping down the outside.
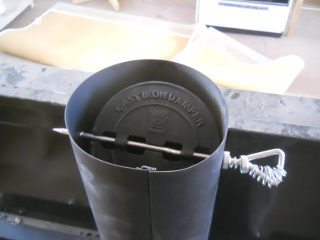
Here, I installed the damper in the first piece above the bread warmer of the stove:
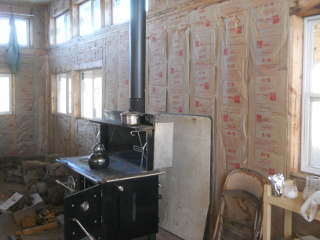
And here is all of the pipe installed:
I used an adjustable section for the top, which slides into the top static piece:
And then adjusts upward around the male end of the starter piece which sticks through the external stove pipe base:
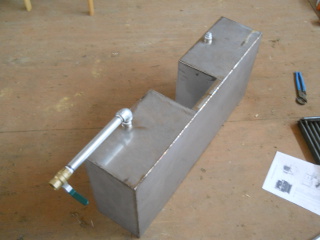
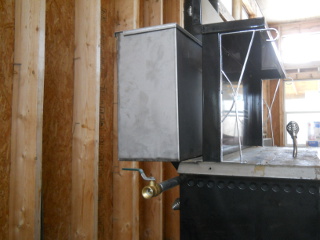
We also received a water warmer for the stove, and here I’ve prepped it with the piping, cap and valve:
And here it is in place:
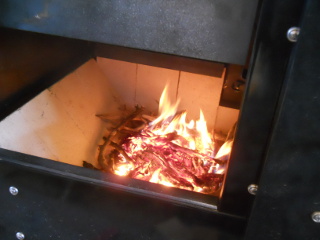
And here is our first fire! Apparently, at least the first time, and some say at the beginning of each season, you’re supposed to light three to five light fires, letting it fully cool in between, to season the cast iron of the stove, which apparently can crack if it gets high heat before doing that:
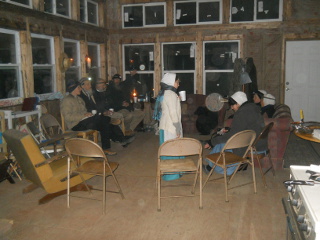
We look forward to eventually having the community over on cold days for meetings! And to maybe be warm during the really cold days around here. We have used a propane Mr. Heater Buddy since about the beginning in our very un-insulated camper, which has got us by, and we are very thankful for that; but maybe we’ll be a little warmer now. 🙂 And it’s hopefully one further step on getting less world-dependent.
We are very grateful to the Lord for Him allowing us a wood burning cook stove and to be able to have it installed now. And thanks much again to the Folks for this gracious gift, and the continued support from all our parents!
— David
