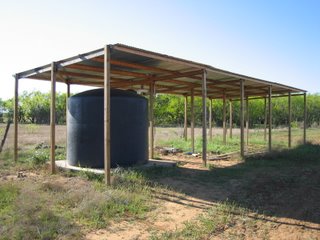
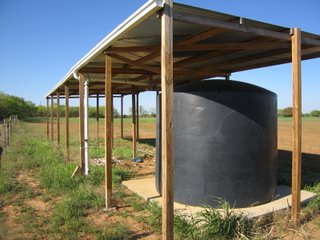
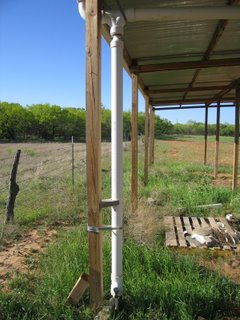
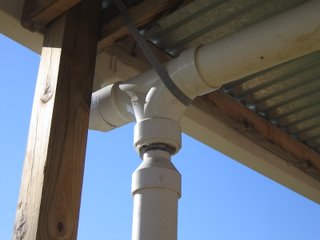
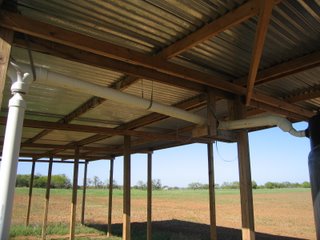
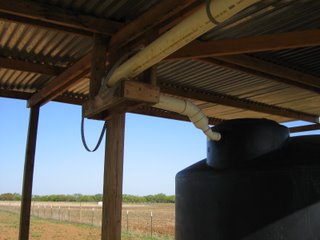
Every time a roof line is erected around here, part of the thought process going into and coming out of building that roof line is where the water “caught” by it will go, because that water falling from the sky and “intercepted” by a roof line is a water provision from God, for which we are thankful. After two droughts in three years here, catching and storing as much as possible has seemed to become imperative.
Along with the barn the Lord graciously allowed us came a pretty big roof line, which translates into a pretty big water “catch” when it rains. And so, we began to plan a catch-water system for the barn, which wasn’t quite simple.
You see, the barn’s roof line theoretically (square feet X .62 per inch of rain) would fill the 2500 gallon black container from our first catch-water roof line in just about one inch of rain, and we are supposed to get around 26 inches per year average. Well, this would mean lining up a whole bunch of black tanks, or finding other means.
We looked at larger tanks, 10,000 gallons or more, and the cost of delivery of them goes way up because they are considered wide loads in transport. And so, I decided we would look into building a water cistern. With it, I was hoping to 1) hold nearly 20,000 gallons; 2) that it would be above ground so that the water would flow out by gravity and not need any electricity for pumping; and 3) that it would last a long time. And so, when we hired the crew to do the root cellar, we hired them to do the cistern as well.
The concrete contractor decided to implement steel reinforced concrete for the walls a foot in width that would connect to a previously poured slab. I also thought it might be a good idea to put a wall in the middle to split the cistern into two sections so that if we ever needed to empty the cistern (for cleaning or otherwise), the worst we would have to do would be to drain only one side. I included in the plans at the bottom of the structure one exit spout in the first section and two in the second section, plus the overflow spout at the top of the second section. Instead of a pipe in between the two sections, the contractor decided to just lower the middle partition an inch and a half to allow for flow from the first section to the second section that way.
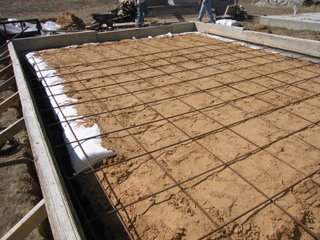
And here is the process. They put sand and sand bags below the bottom slab to help against shifting:
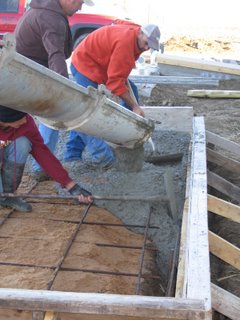
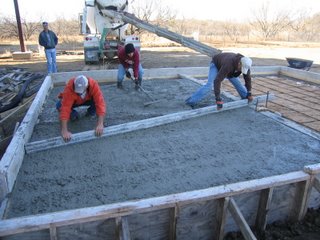
And they poured:
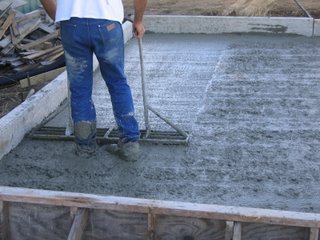
And worked the concrete:
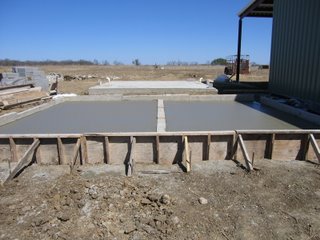
Here is the finished slab:
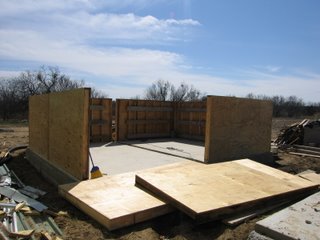
After the slab was poured, they began to set up the wall forms:
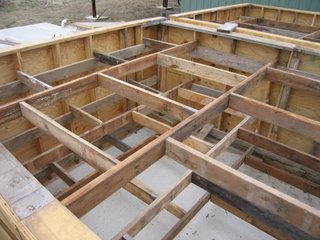
Remembering their root cellar troubles, they built cross-hatch bracing to support the internal form structure:
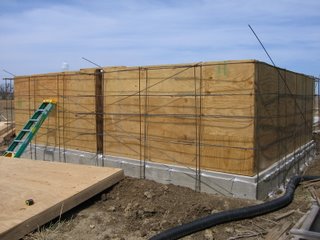
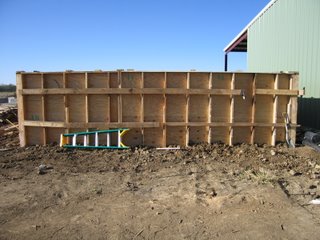
Here are the outside walls before the “kicker” braces are in place:
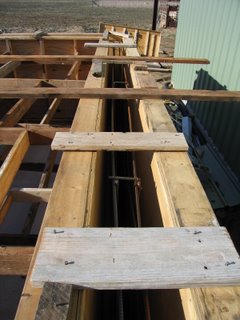
And here is how they braced the internal and external walls to each other:
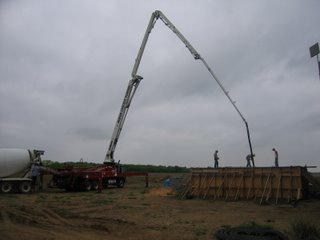
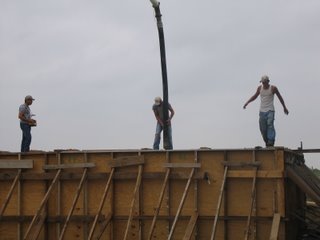
In my design for being able to hold a certain amount of water, I decided to increase the height of the walls so as to accommodate the water storage requirements with using as little of a square area footprint on the ground as possible. Sadly, this ended up necessitating the extra expense of a concrete pump truck in the pouring of the walls. But, here it is in action:
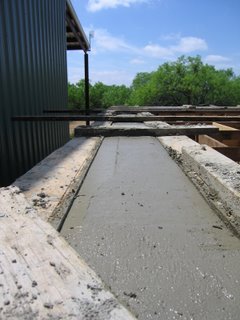
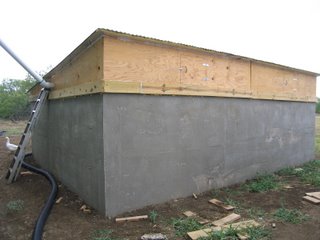
And here is a finished wall:
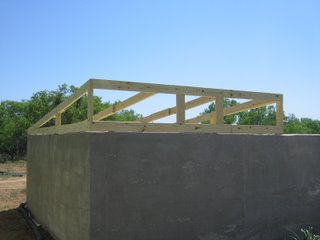
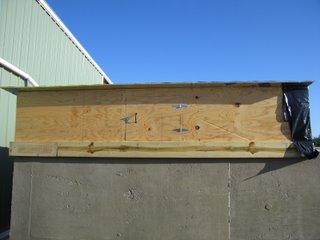
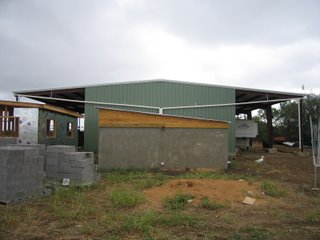
With the concrete poured, some sort of covering was needed to keep bugs out and hide the caught water from the sun (which, when mixed with minerals from dirt and the like, forms algae). Instead of just putting a flat covering on it (like a pool cover), I decided to put a roof line on it to be able to catch that water and funnel it into the cistern as well. Here are a couple of pictures of it:
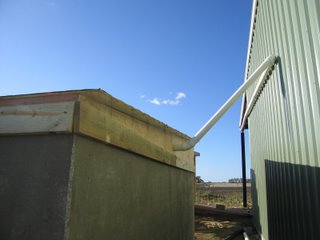
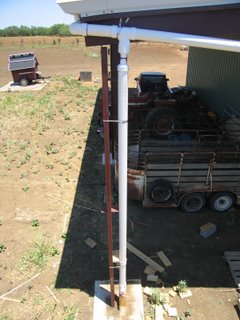
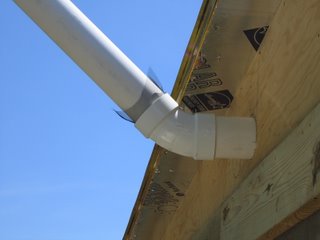
And now with one side of the cistern ready, it was time to install the piping directing the water from the roof into the cistern. Here is a general picture of that:
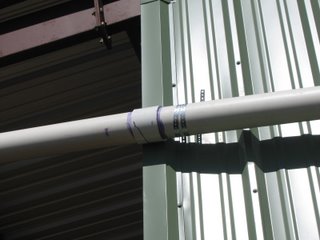
As before mentioned with our shed roof catch-water system, it is often good to install a roof washer, which filters the first several gallons of water coming off of the roof, which are likely to be dirty or have other organic material in them, so as little of that ends up in the water container:
I used metal straps screwed into the purlins or girts (the internal horizontal and vertical steel beams) of the barn to support the piping, thusly attaching it to something more sound than just the barn siding:
Here is a final filter which catches any larger items the roof washer didn’t get. For this I use aluminum window screening:
And here once again are the Lord’s provisions:
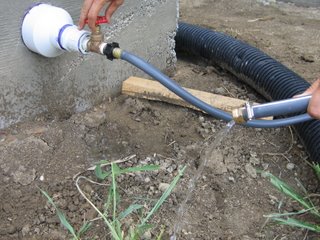
Once the cistern was poured, the contractor came and coated the inside of the cistern’s walls and floor with a potable concrete sealer. He used BASF’s Thoroseal. He missed a few spots, and I have since had to go in a re-coat the walls in places with more of the Thoroseal; but it appears that the sealer works well, and the leaks are slowly disappearing, with none of which we are aware at this time.
I had held off piping in the other side of the barn because of these leaks, but in the past couple of days I’ve been able to completely finish the second side of the cistern’s covering and roof and was able to install the piping for the second side of the barn:
Once again, we are very grateful to God for allowing us this cistern and His water provisions, both spiritual and temporal. May we not be leaky containers, but by His mercies be able to hold His graces and blessings as new containers (Matt 9:17; John Gill’s commentary on this verse).
— David
