In continued efforts to separate from the world, unto God, one of the things that keeps us currently tied to it is how we process the meat after butchering the animal. At this time, we typically fire up the freezer, running off the generator, and then Sue pressure-cans it all. Processing the meat this way has two main problems: 1) running a generator and an electrical appliance, both which require ongoing maintenance and can break; and 2) using a canner, which also can require maintenance, and for us requires propane. Now, one can pressure-can using a wood burner; but it’s apparently not very easy to do correctly; and still, the canner can lose parts or require replacement ones.
And so, how was it all done before there were these things we use today? Or even, how is it done by people today who don’t have them either?
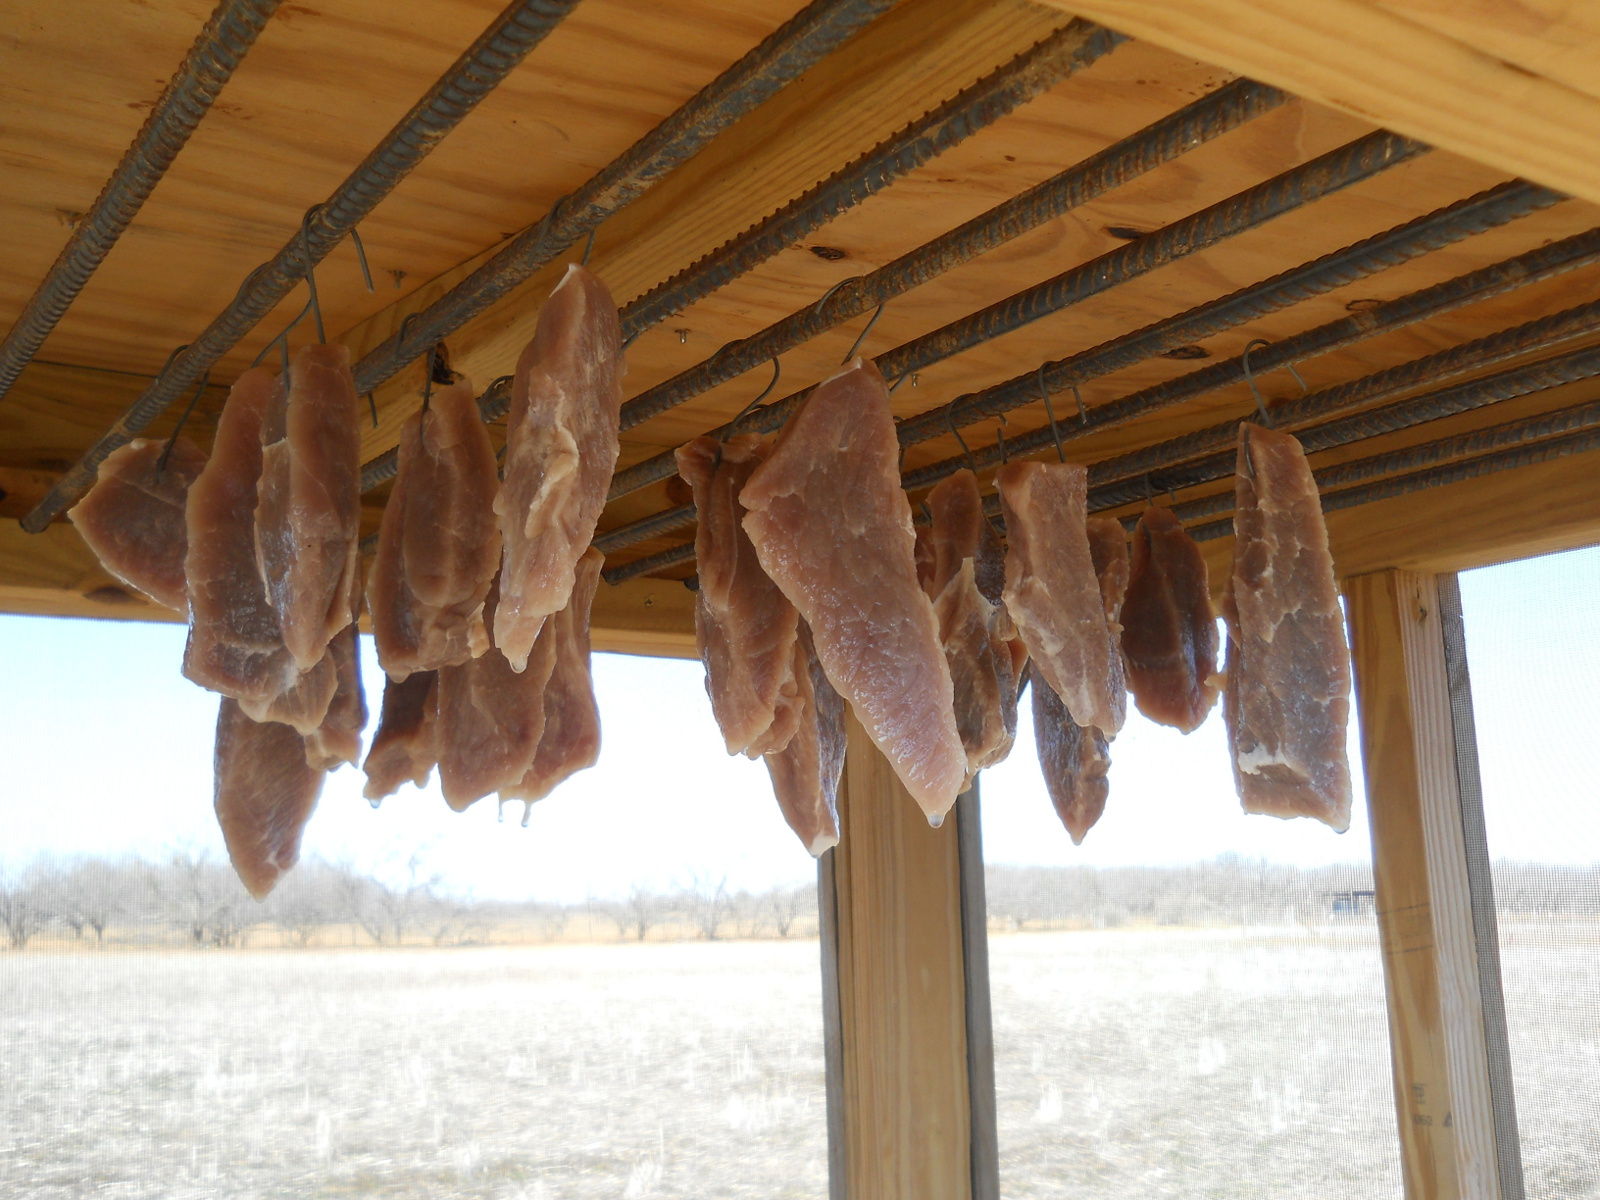
If you’ve studied this at all, you’ll know that salt is typically used for preserving meats; but what do you do with it after that, especially when dealing with larger quantities of meat? Again, with further study, even today, especially in countries where freezers, etc. aren’t available, the meat is hung in the wind to dry — the air helping pull out the moisture — the seed bed of bacteria — out of the meat. And this can be done any time during the year.
Excellent!
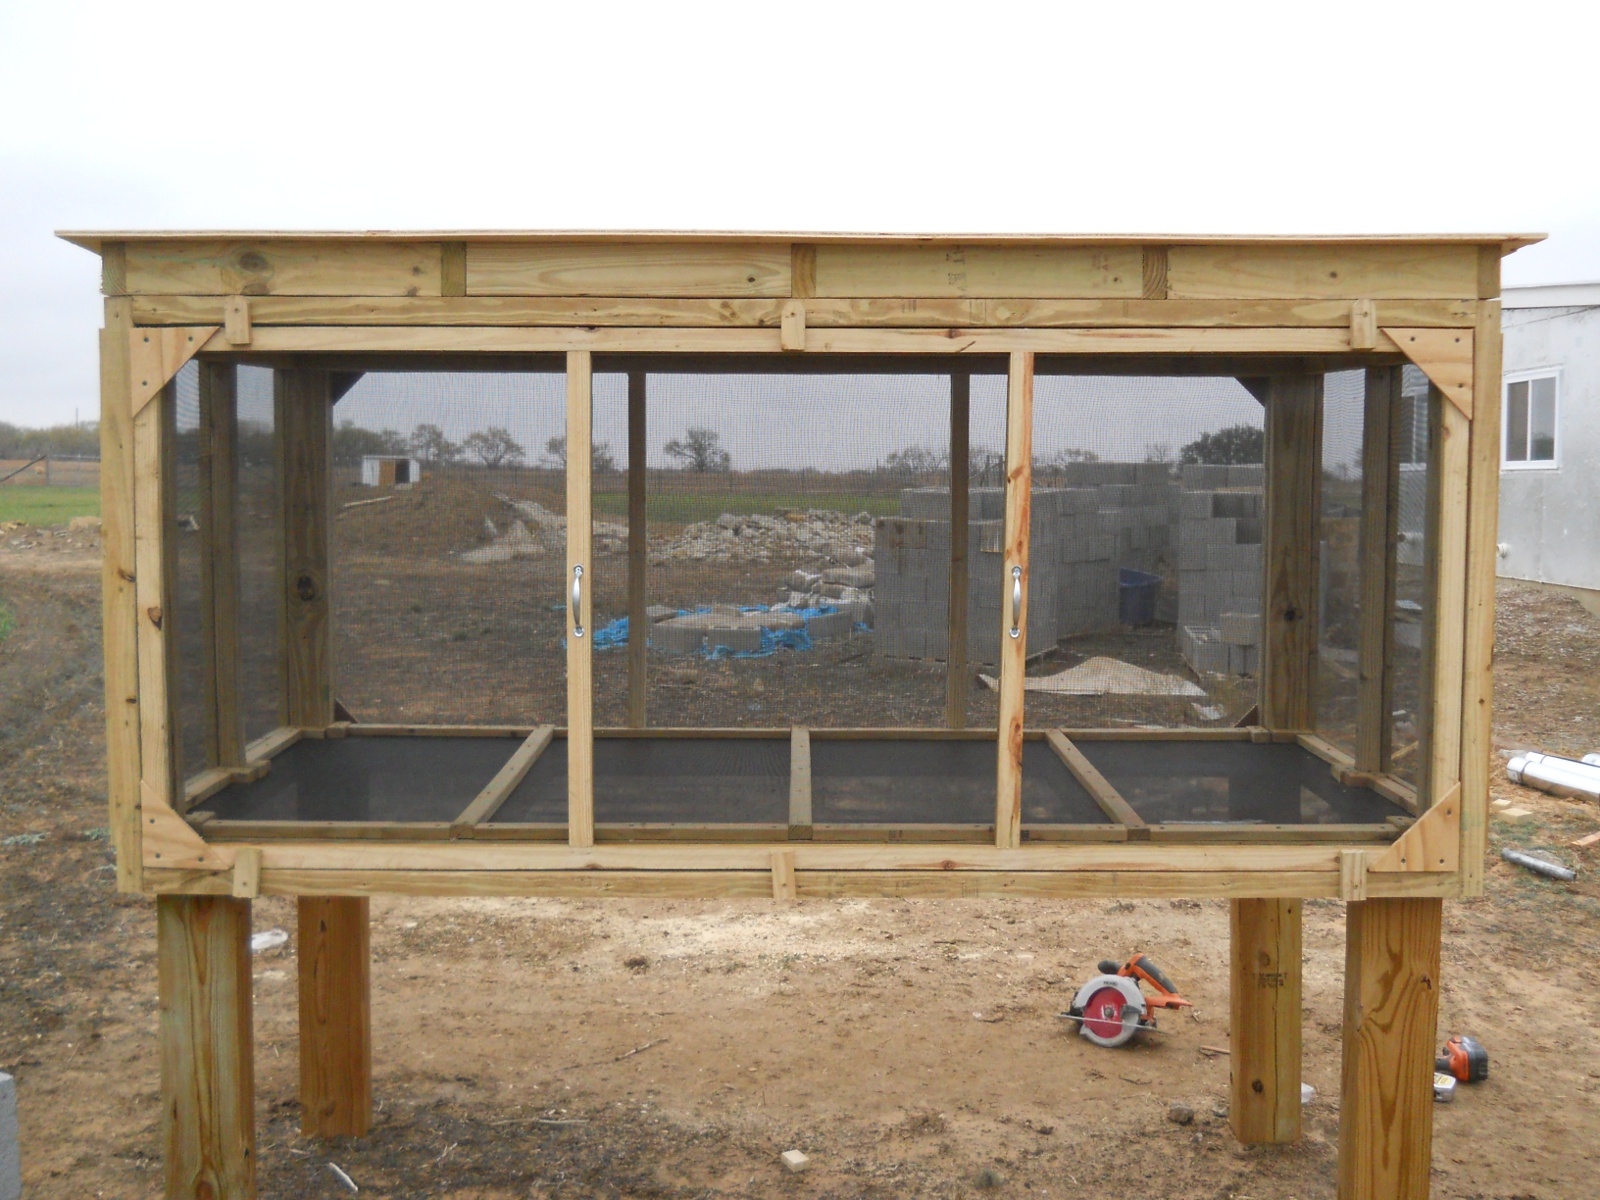
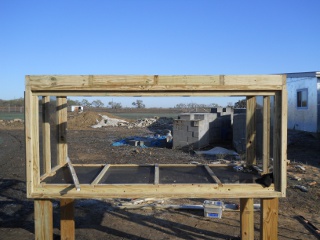
And so, I wanted us to start heading down this direction. With all of the insects we have during the warmer months, I really wanted our place of drying to be enclosed in some way; but in looking for ideas on the Internet, there really weren’t many I could see — it appears in the countries where they process meat like this, they just simply hang it up in the open air. Still not really wanting to do that, I started to try to put a design together myself. And so, the plan was to have something that had removable doors, was screened in, and allowed the hanging of lots of meat of all different lengths.
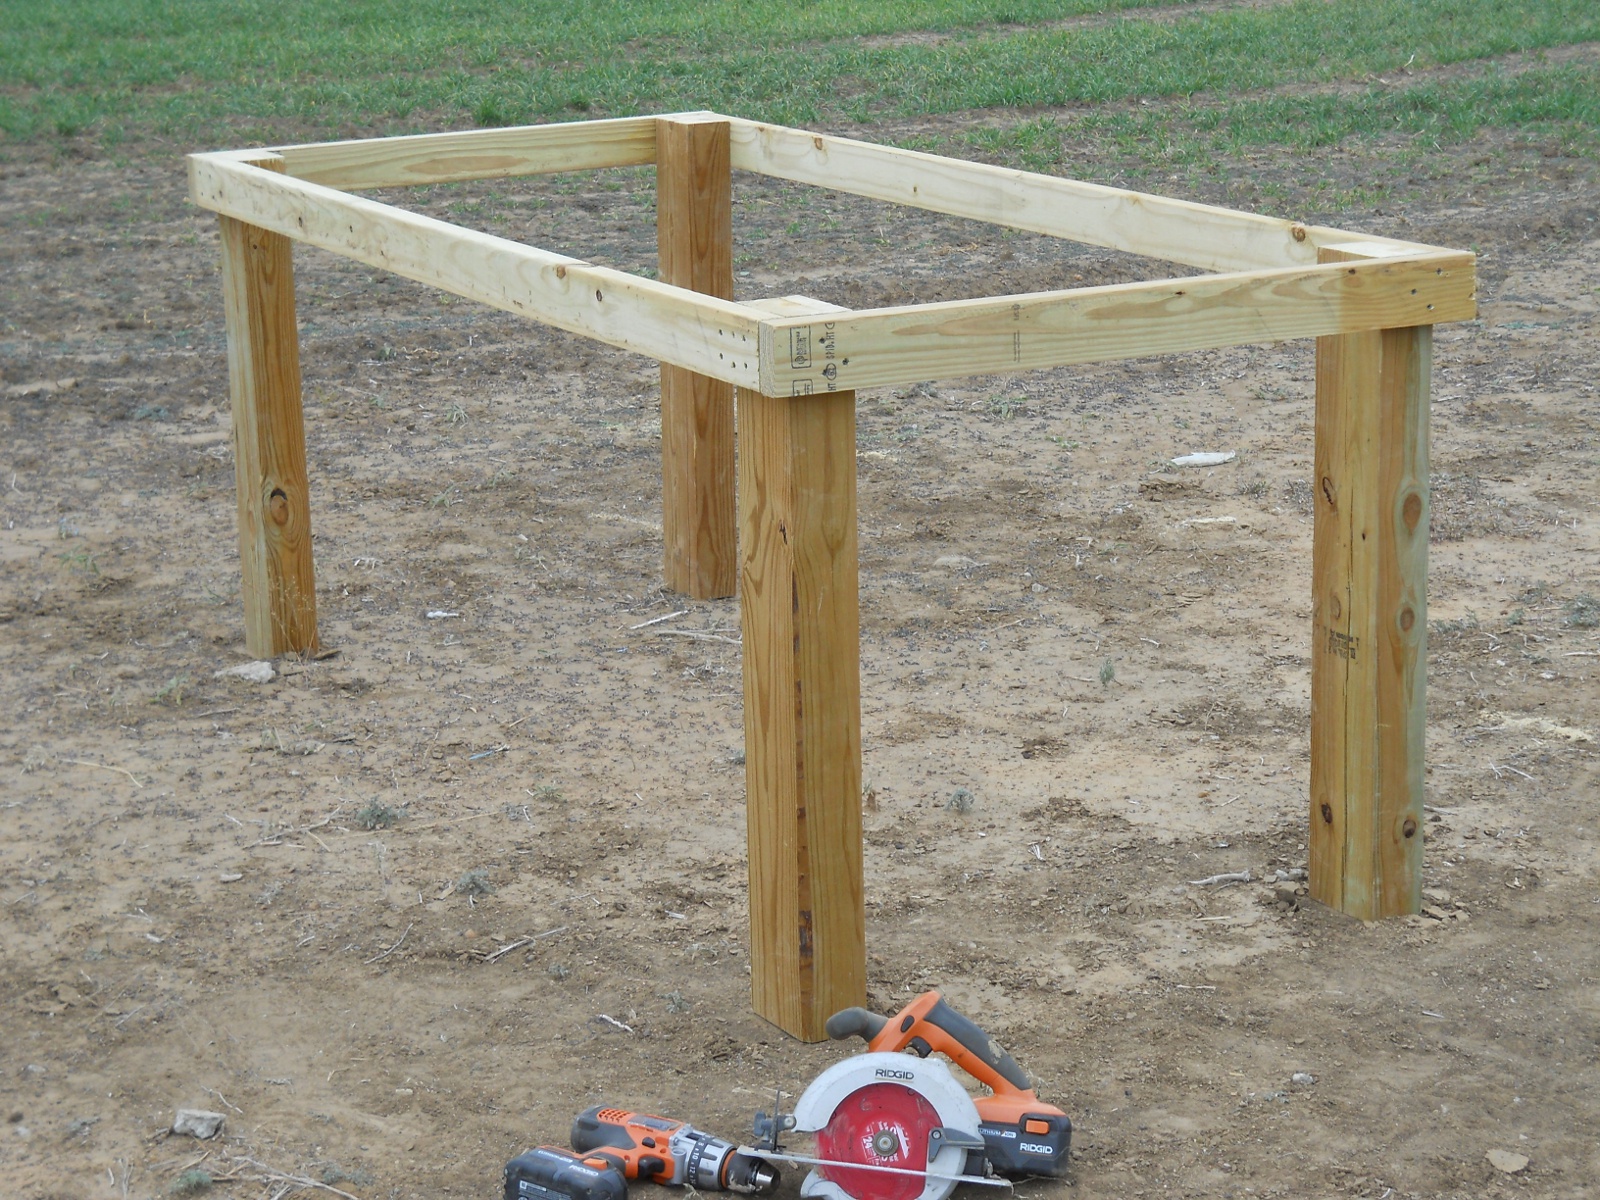
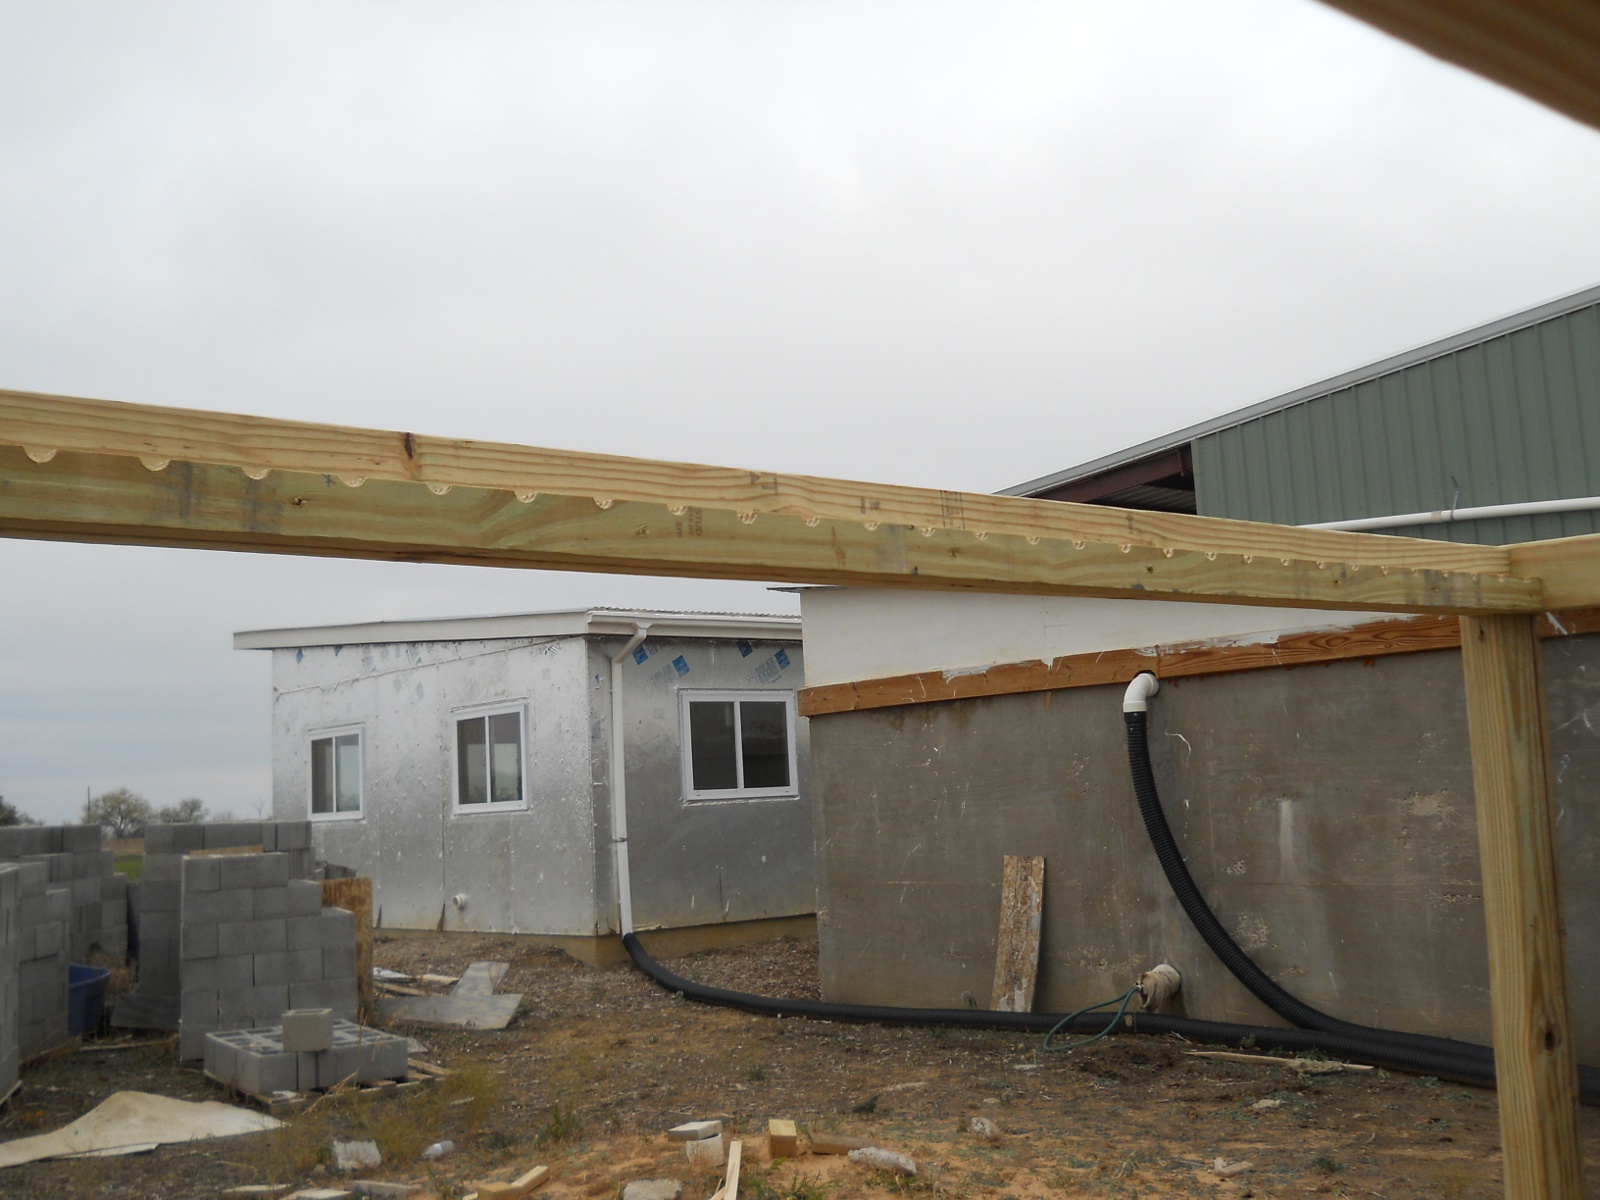
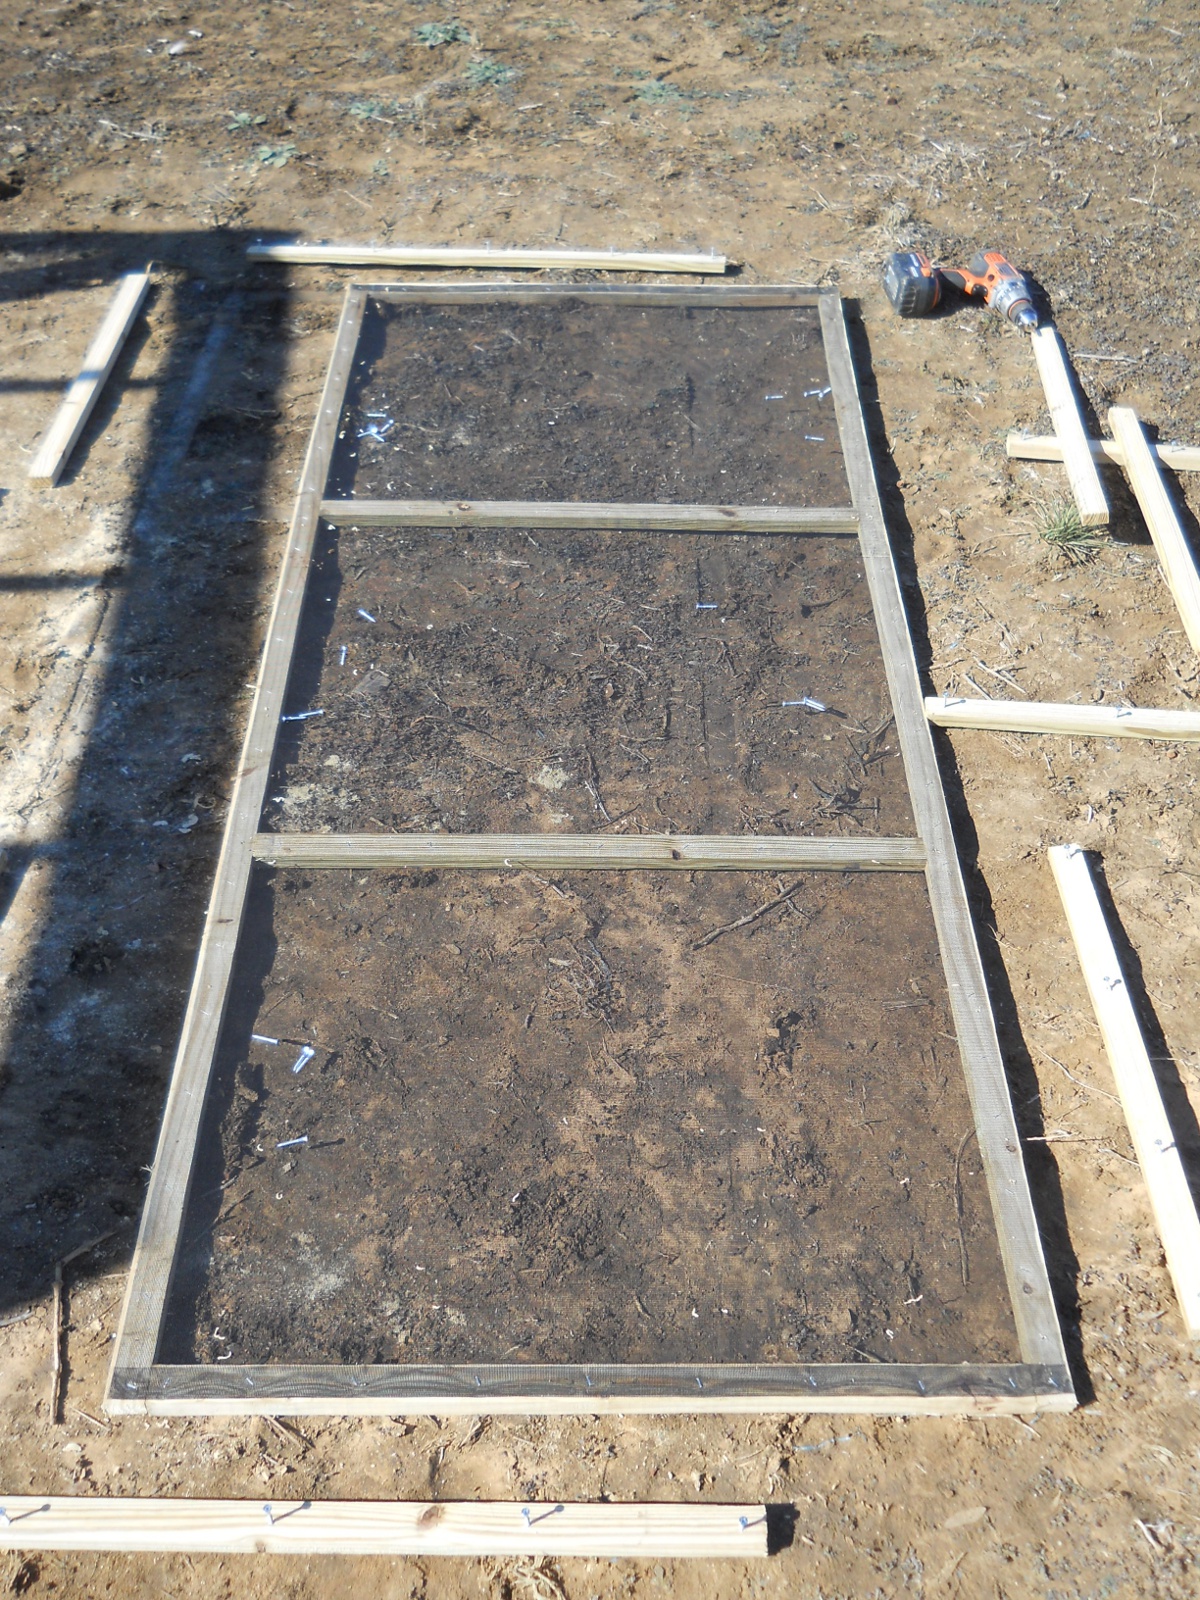
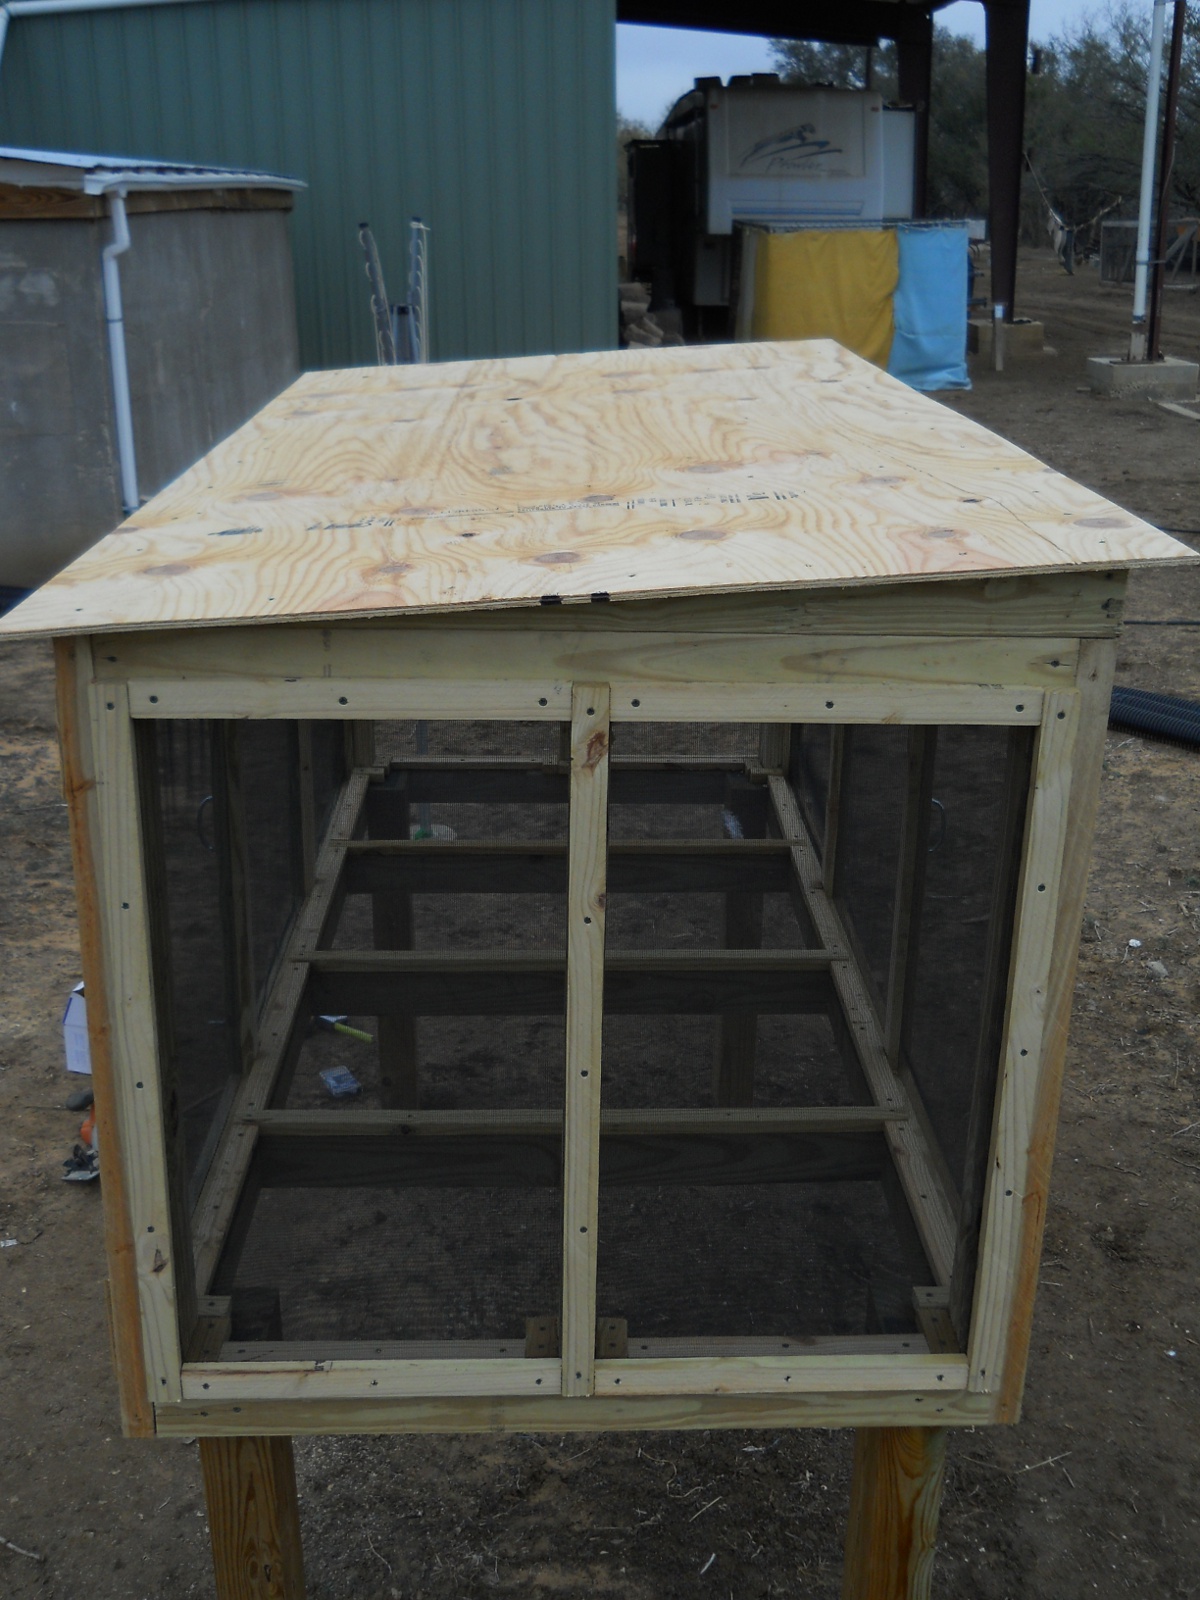
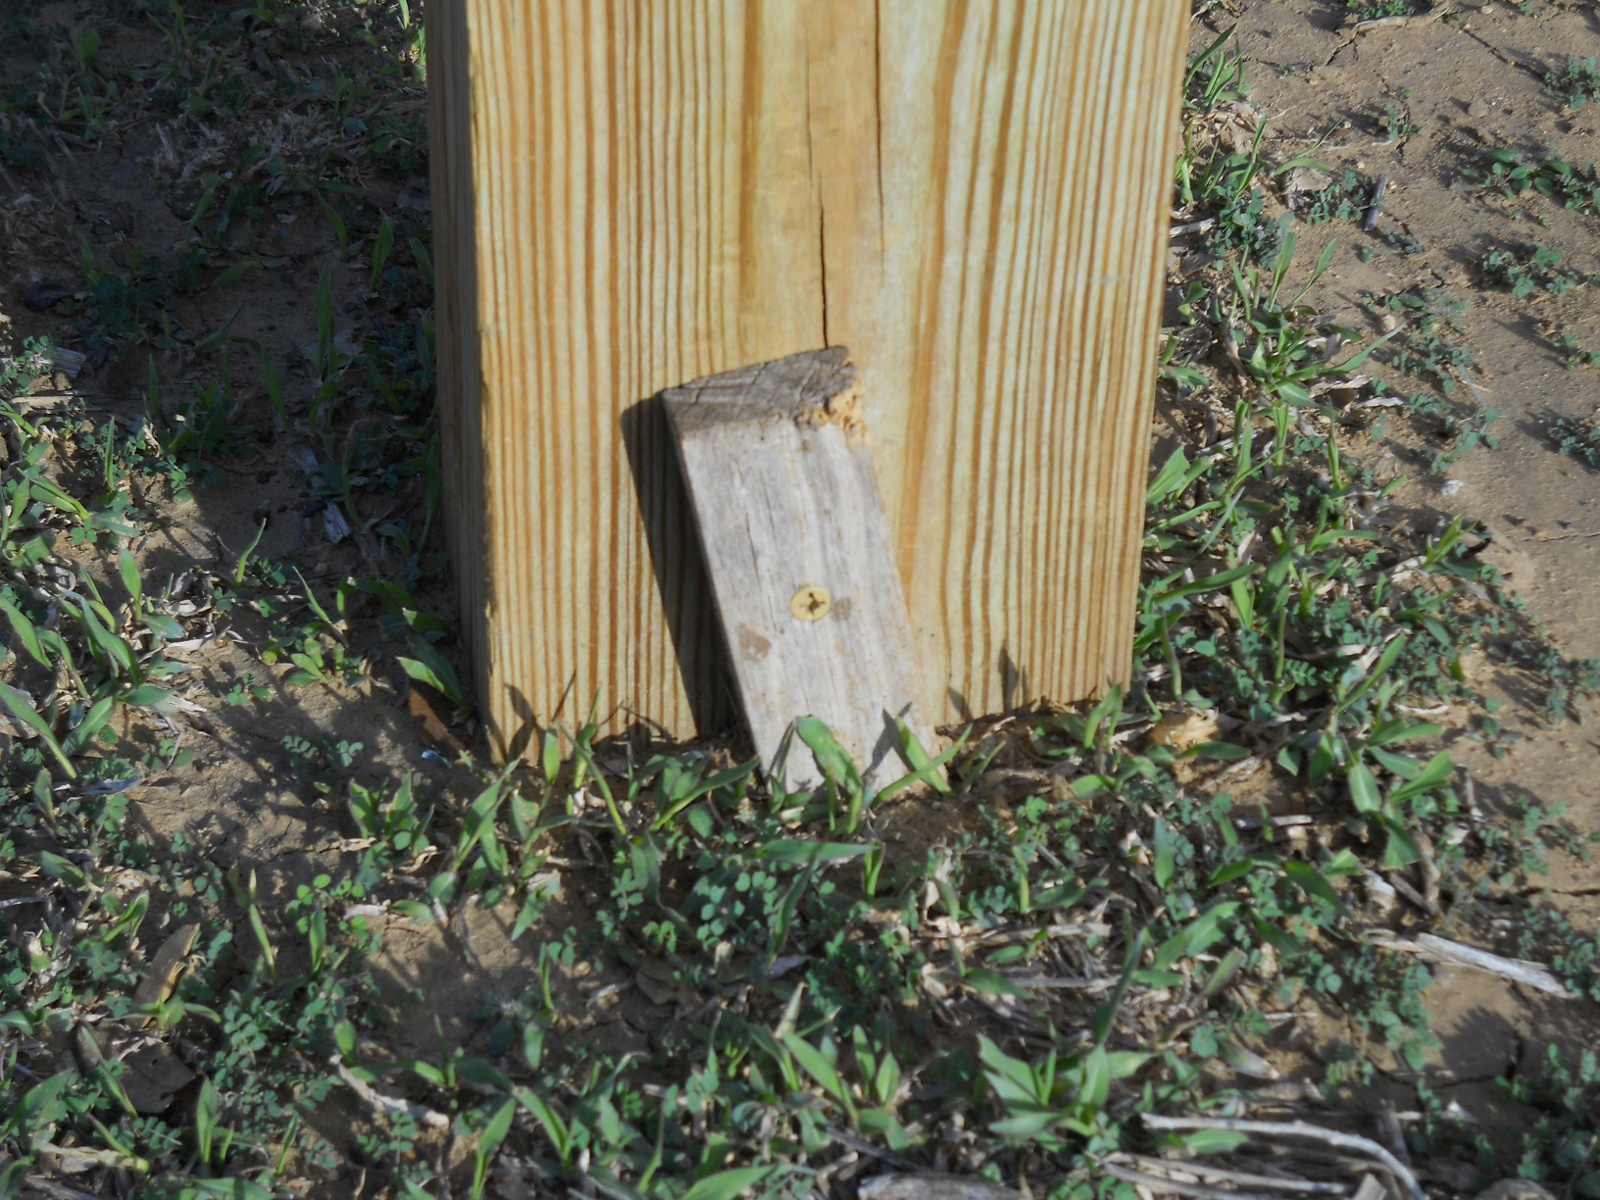
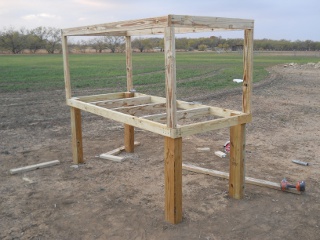
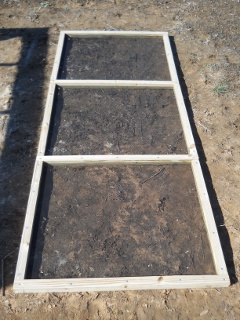
Using left over sections that were cut off from our house porch posts, I made a base frame using them and treated 2x4s. The overall plan was to use as little wood as possible, being able to fit the dryer’s frame under one piece of plywood as a roof, allowing for a little bit of roof overhang all around. I had originally thought about making a large dryer, but then figured I wouldn’t use that many more materials if I made multiple dryers instead as needed, and they would be somewhat portable:

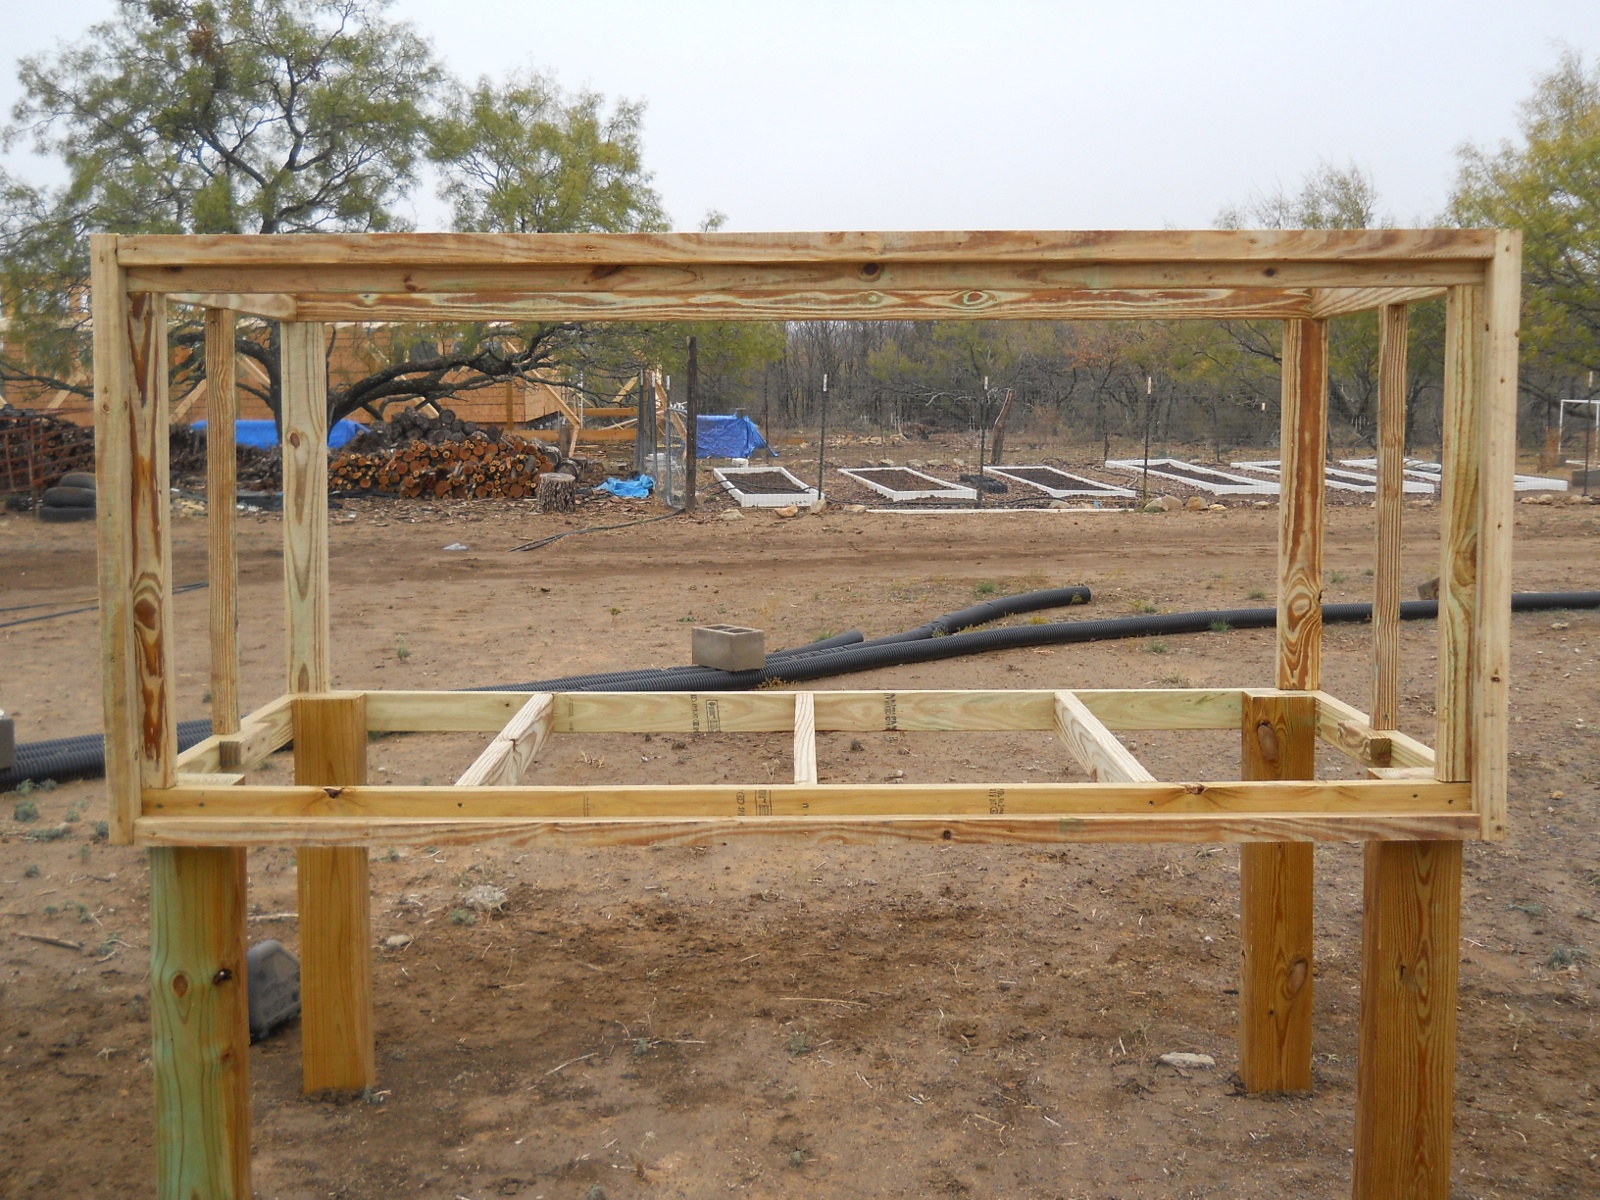
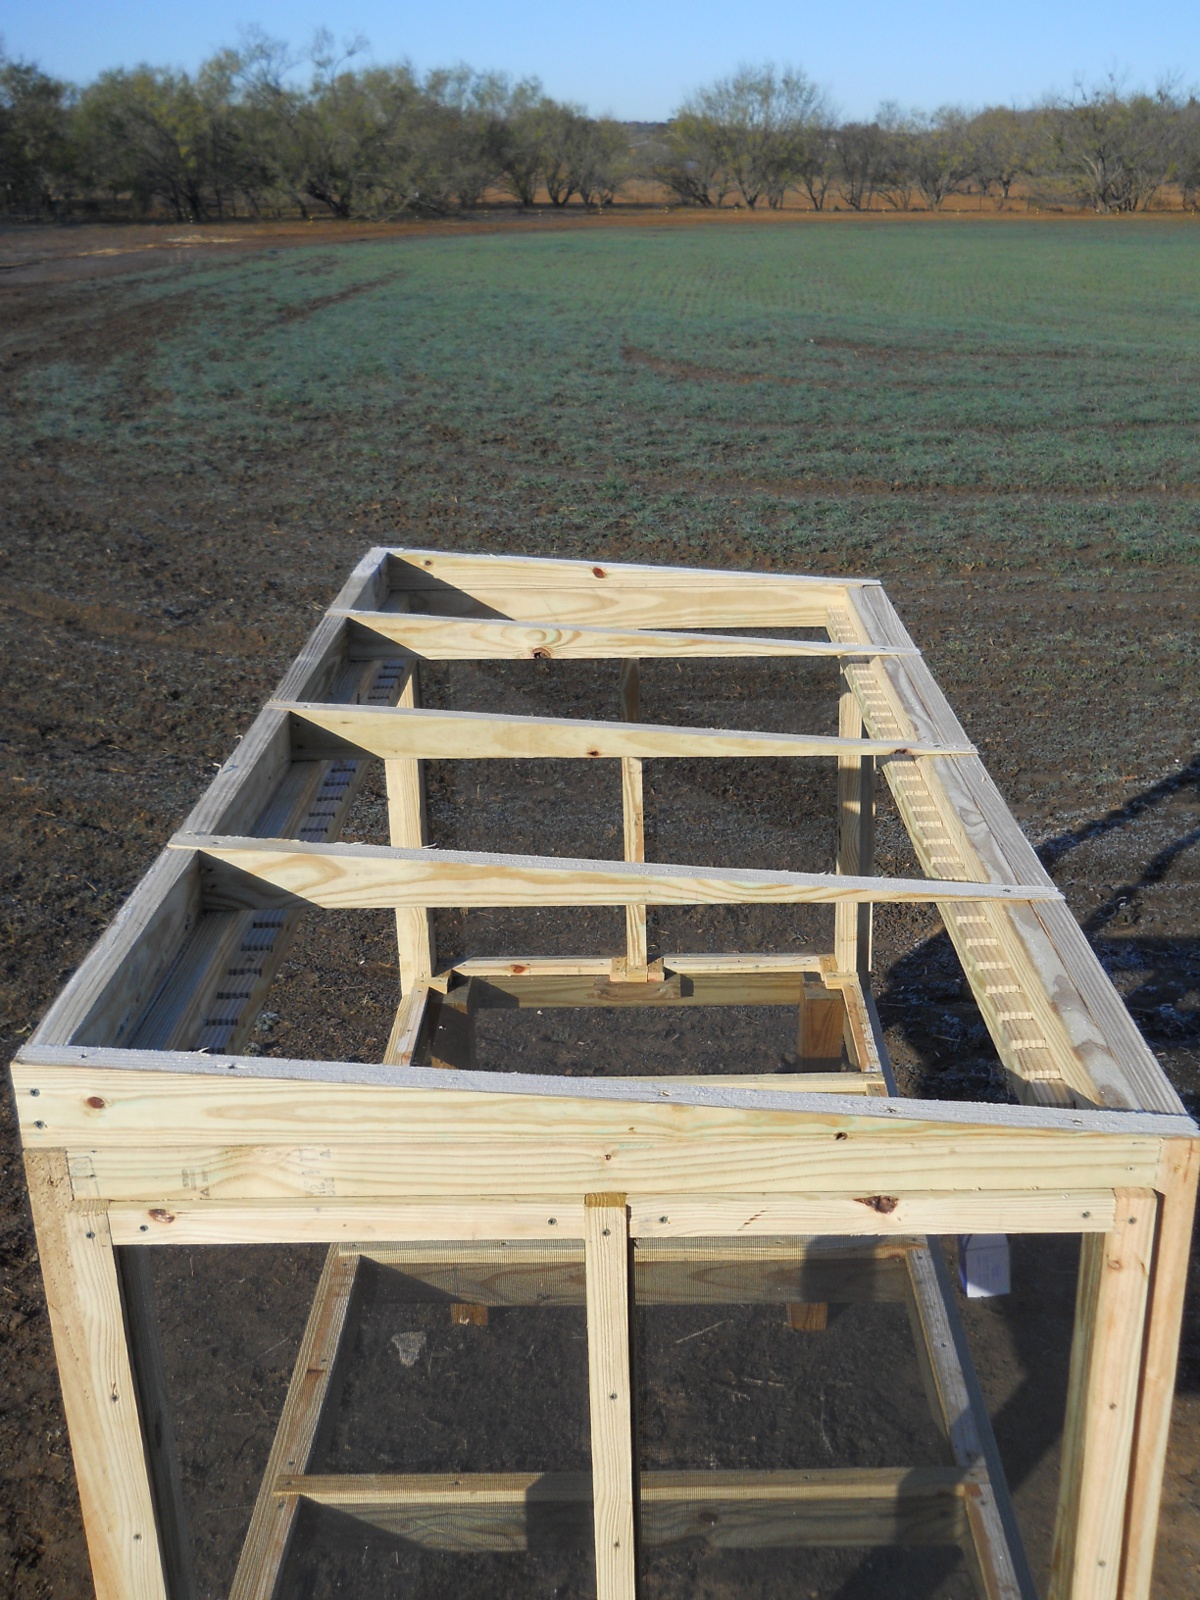
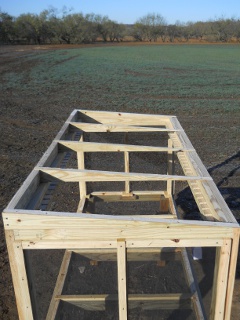
And then added the main frame and bottom frame joists:
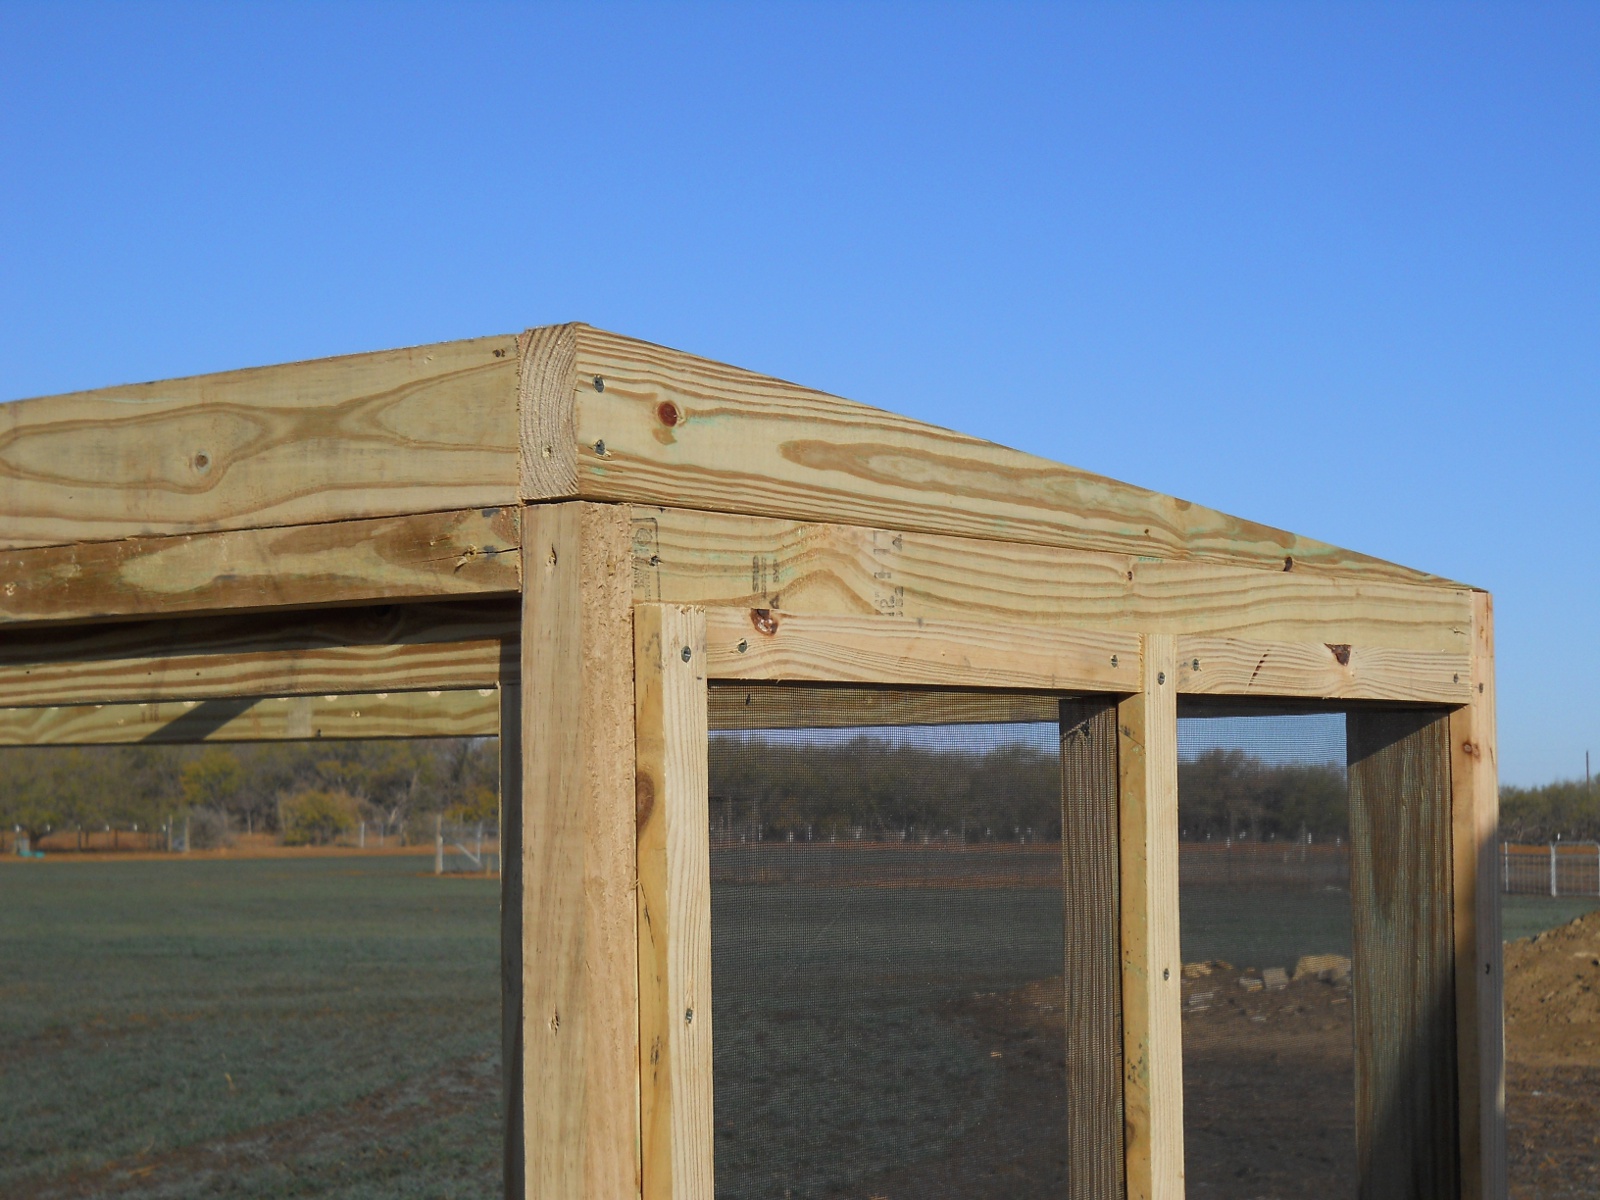
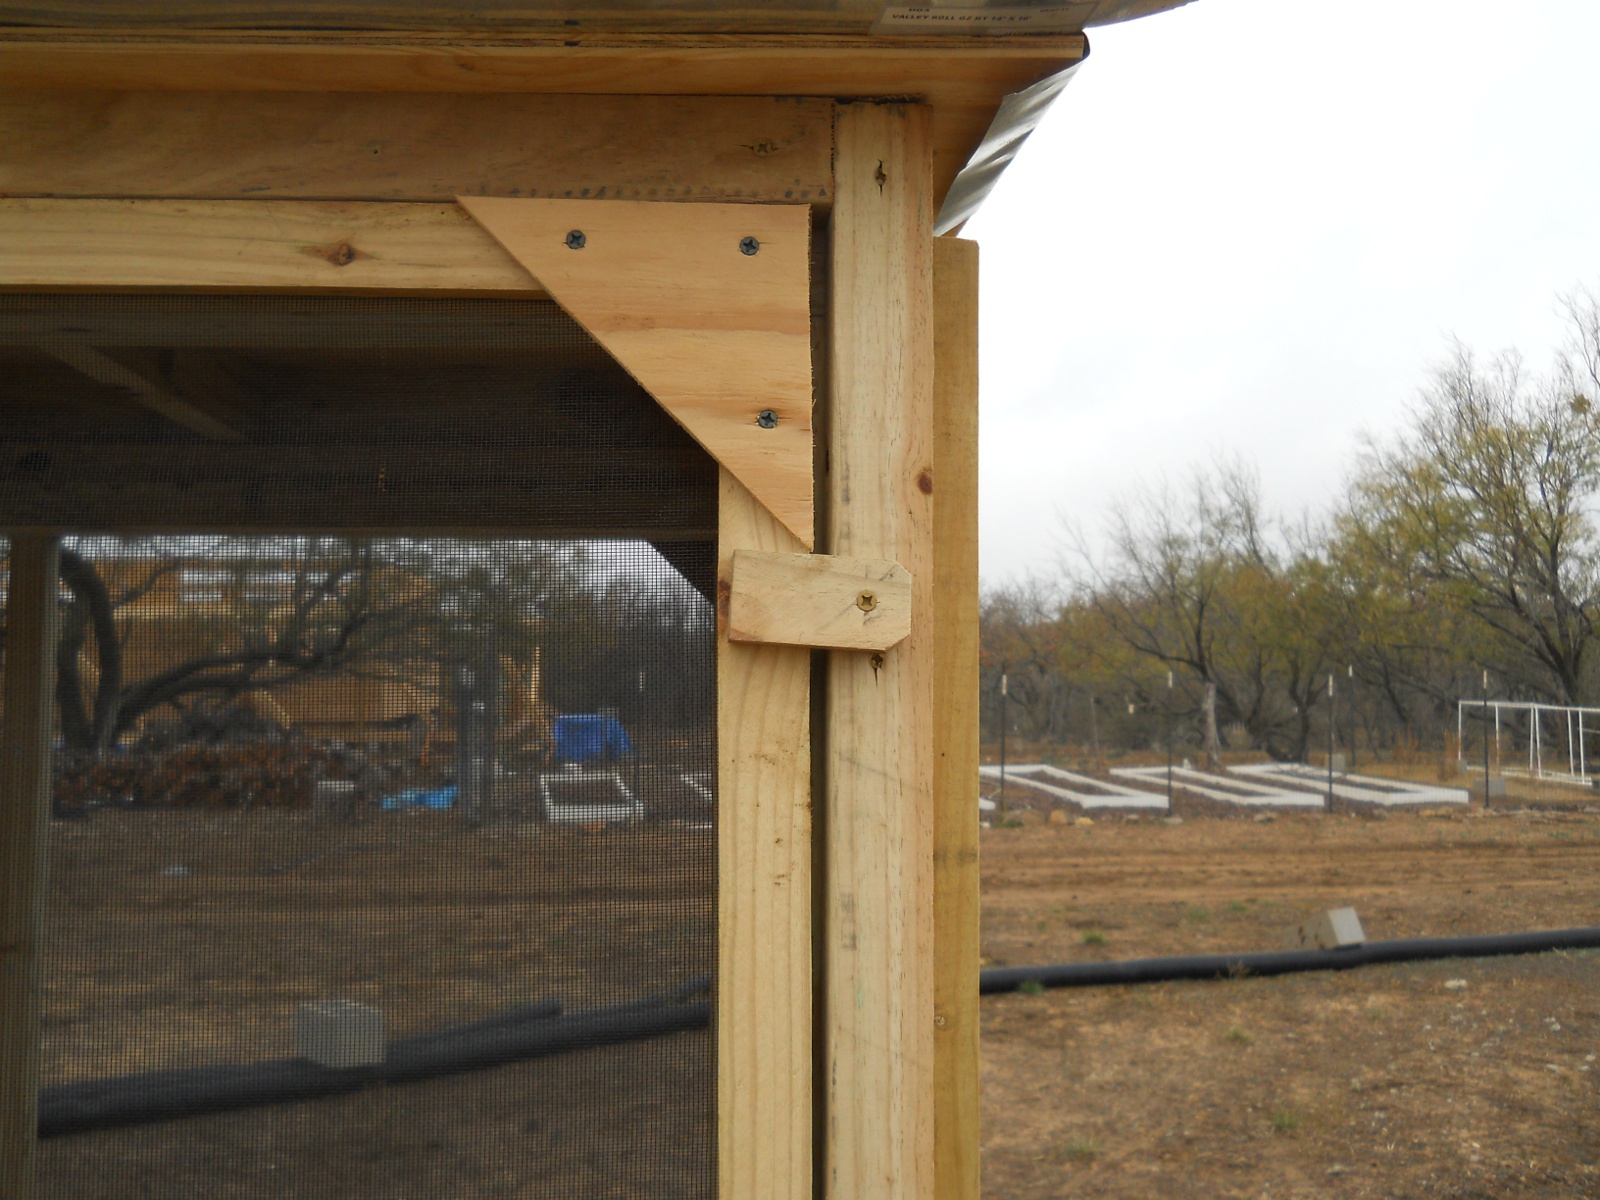
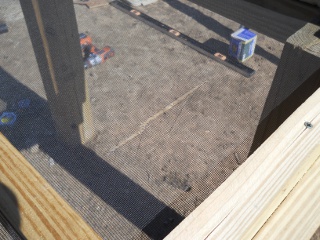
And I planned for the removable doors to fit inside a frame, which is shown here:

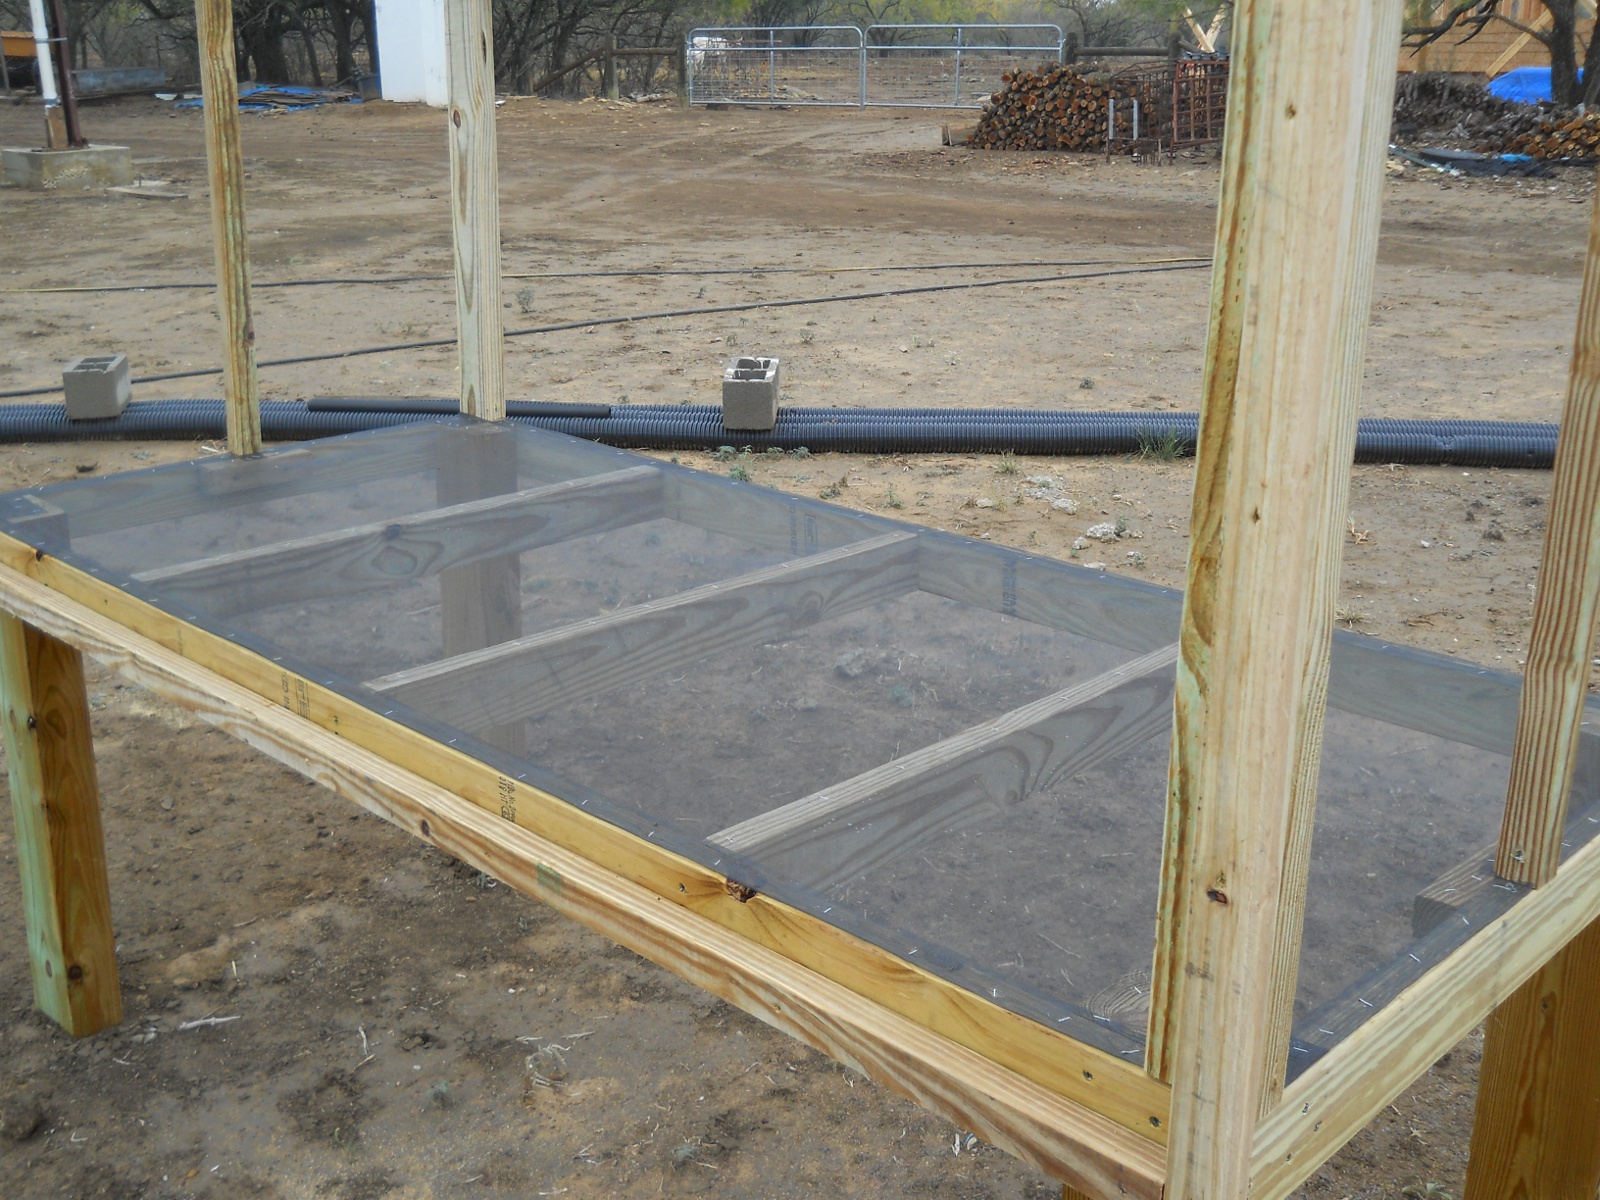
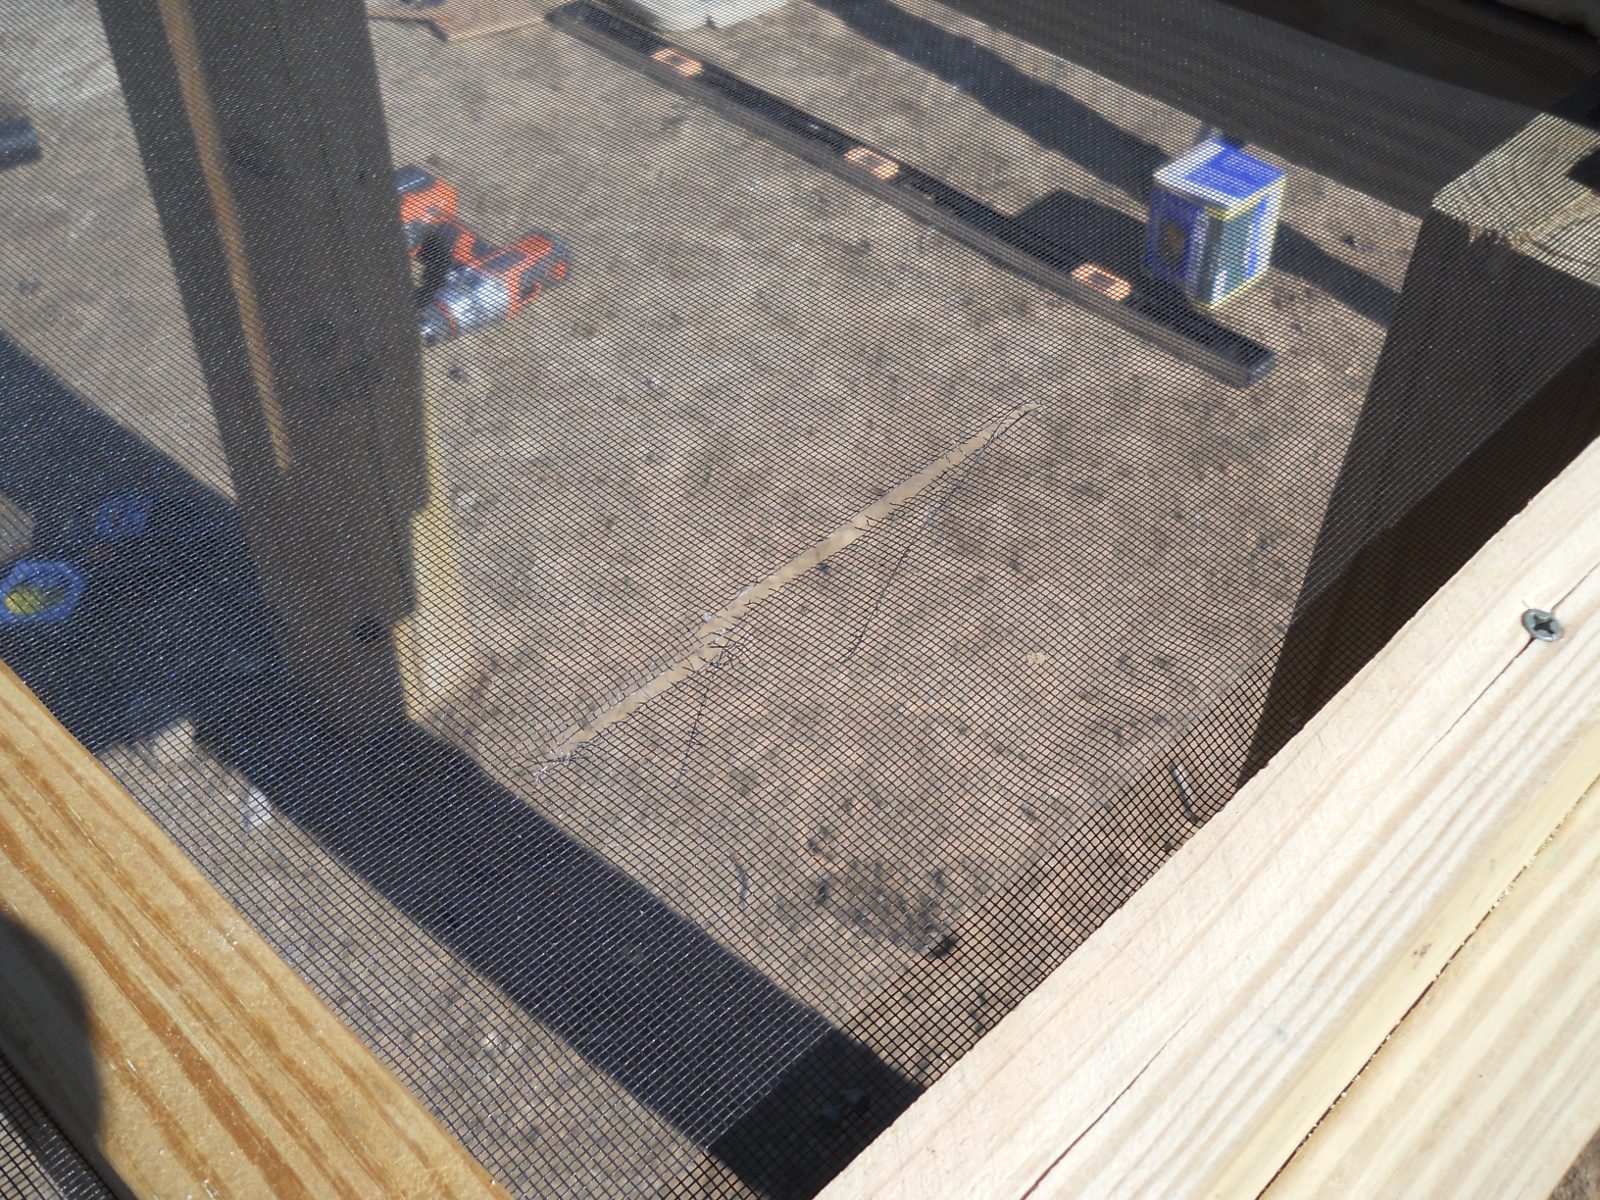
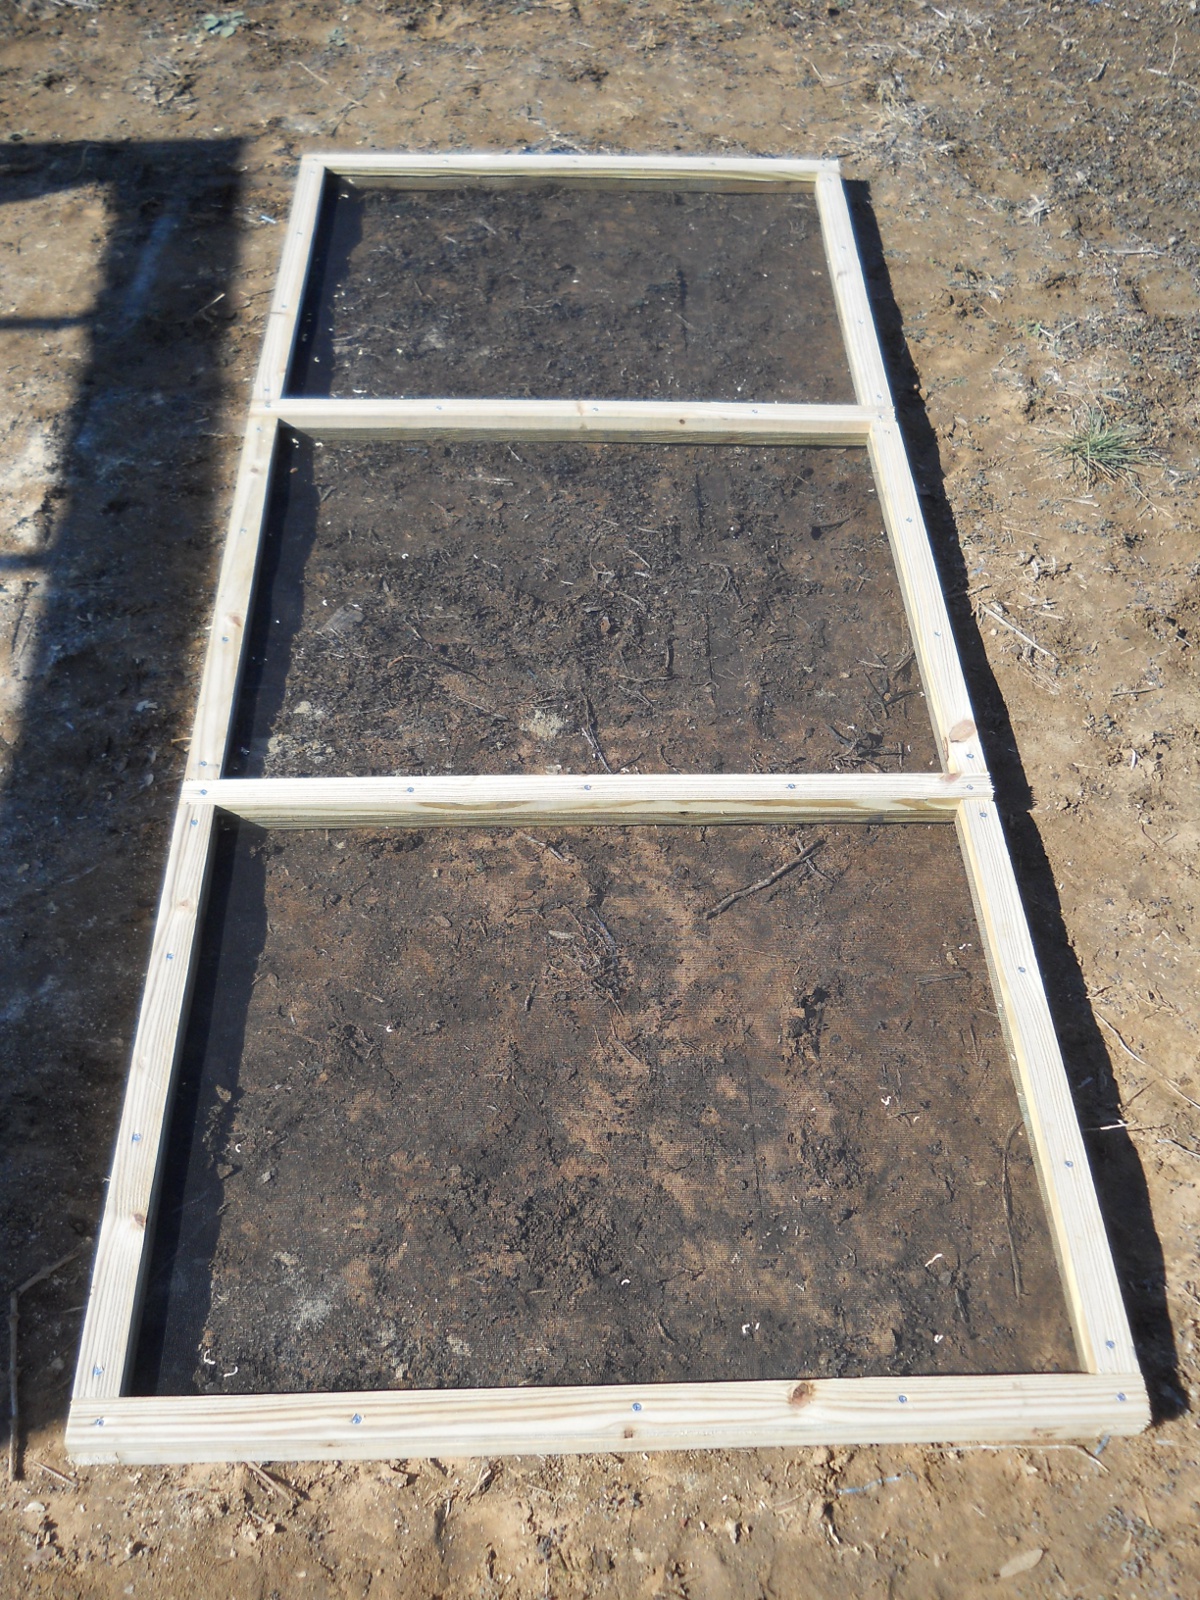
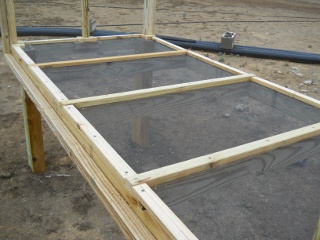
Here is the bottom of the meat dryer with the screening in place:
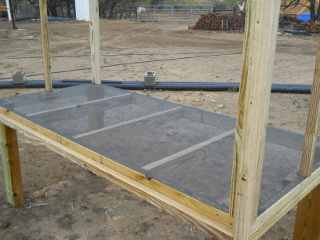
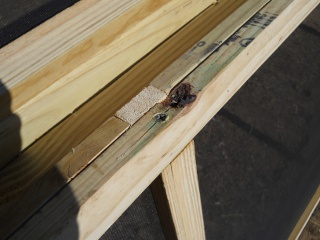
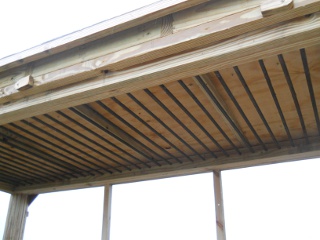
And frame strips in place to hold on the screening. The strips are made by ripping the 2x4s into 4 strips each and then cutting to size. They are held by screws, as I wanted to be able to remove them to replace the screening if necessary. I also cut them to size to run counter to the bottom frame/joists connections (the strip would overlap where the joist butted up to the frame), to make it stronger; but next time, for expediency sake, I may place them in the same directions as the frame and joists:
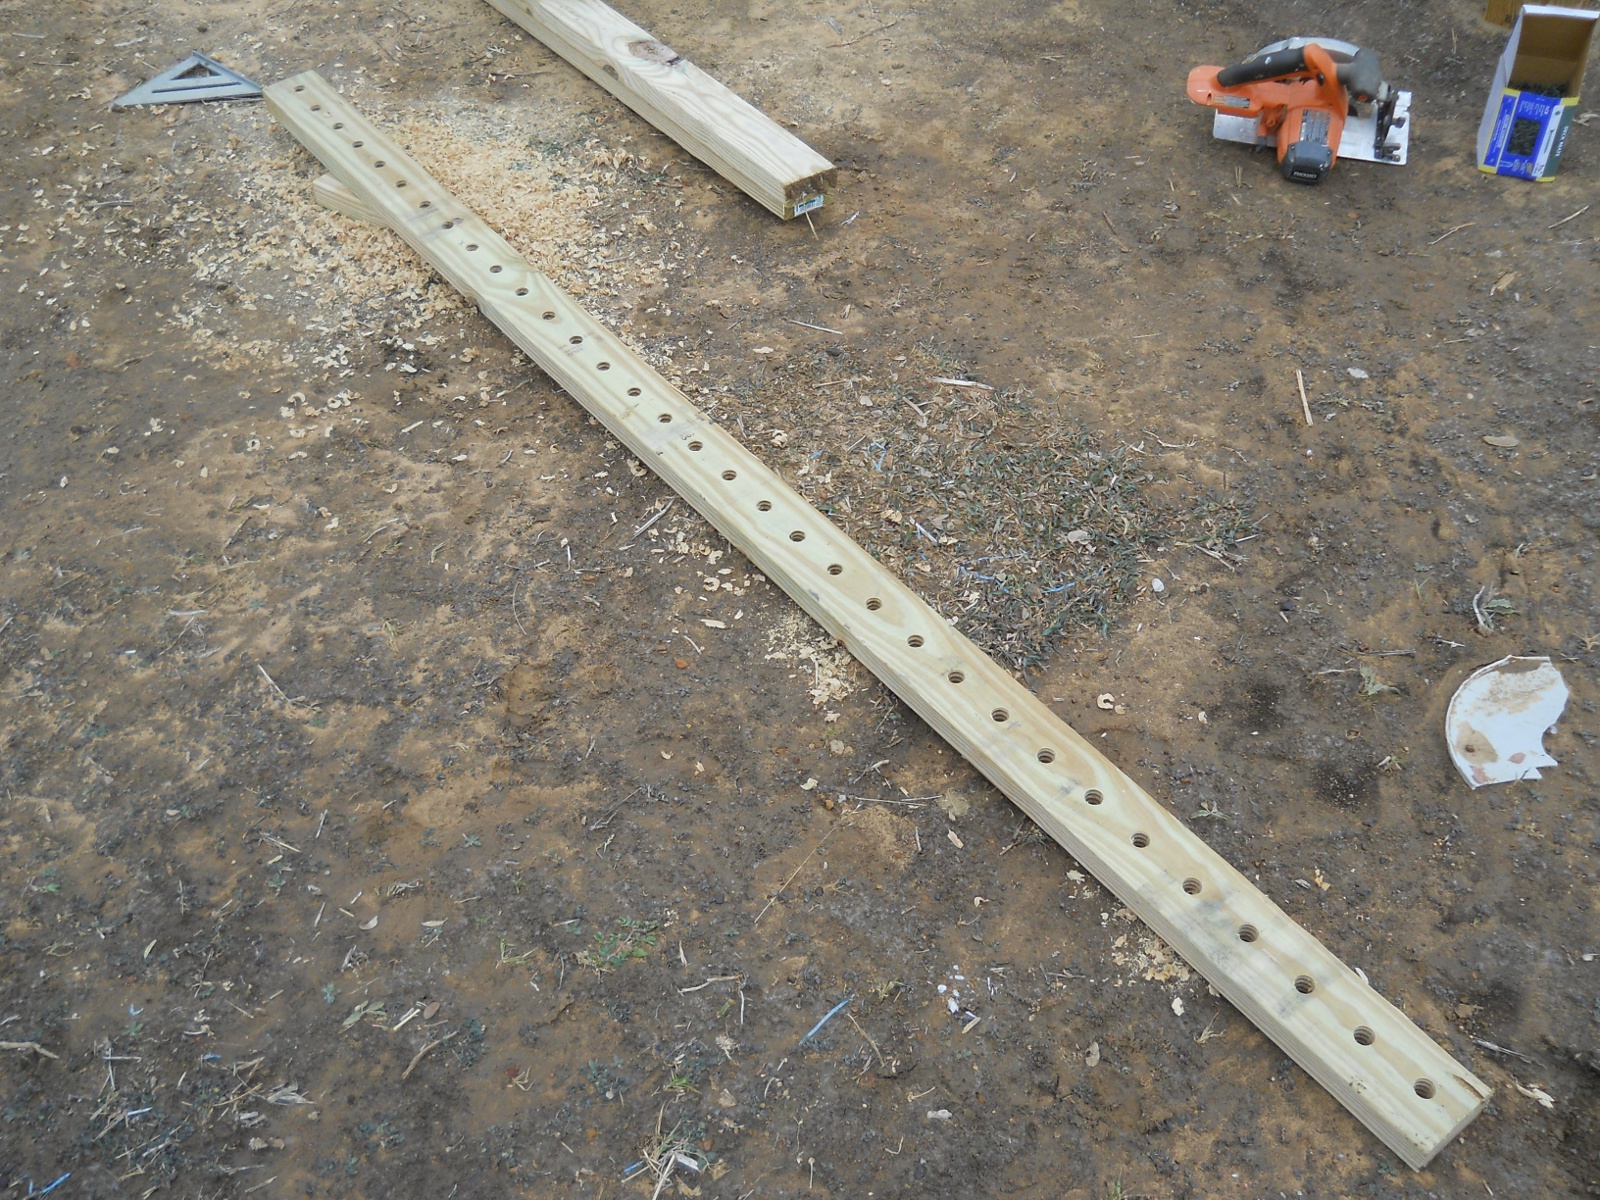
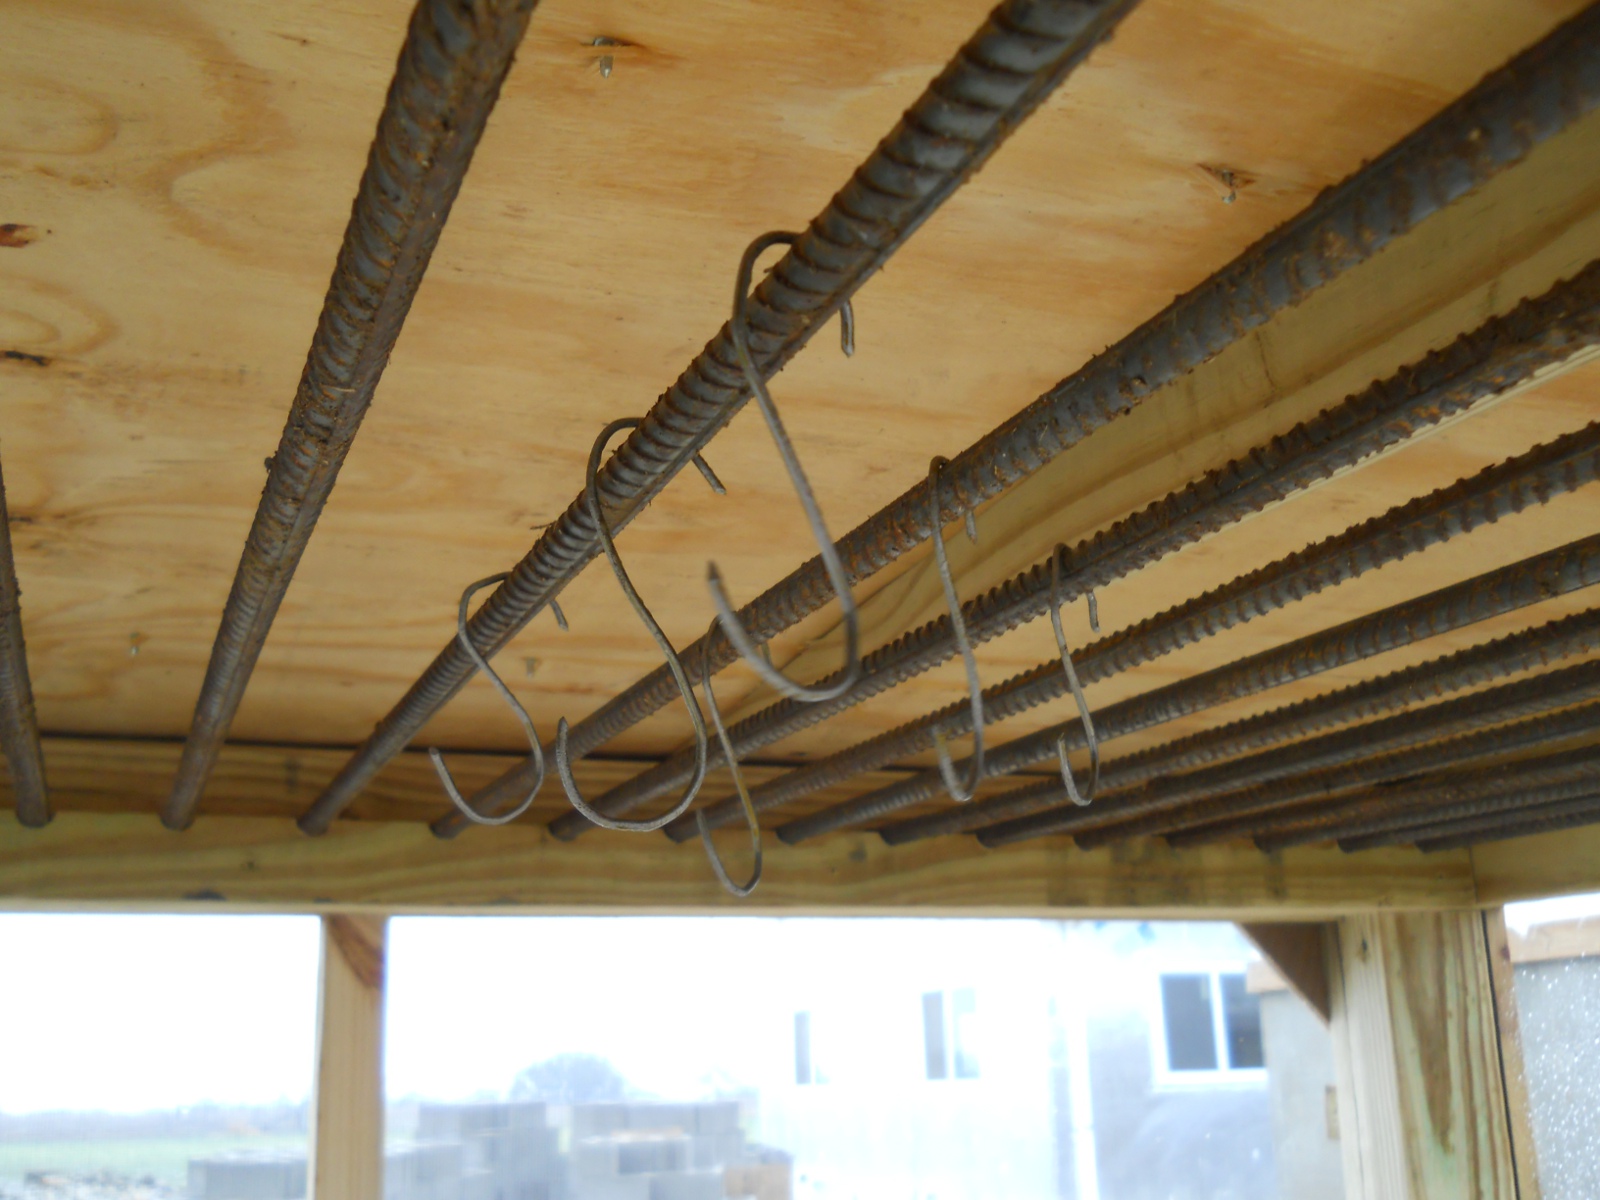
I thought to use rebar on which to hang the meat hooks. I was going to hang rebar from wires that were hanging from the roof rafters; but one of the men here suggested I take a 2×4, drill holes along it, rip it in half, and us the half circles as the rebar holders. Great idea!


Here are the roof rafters and blocks in place:

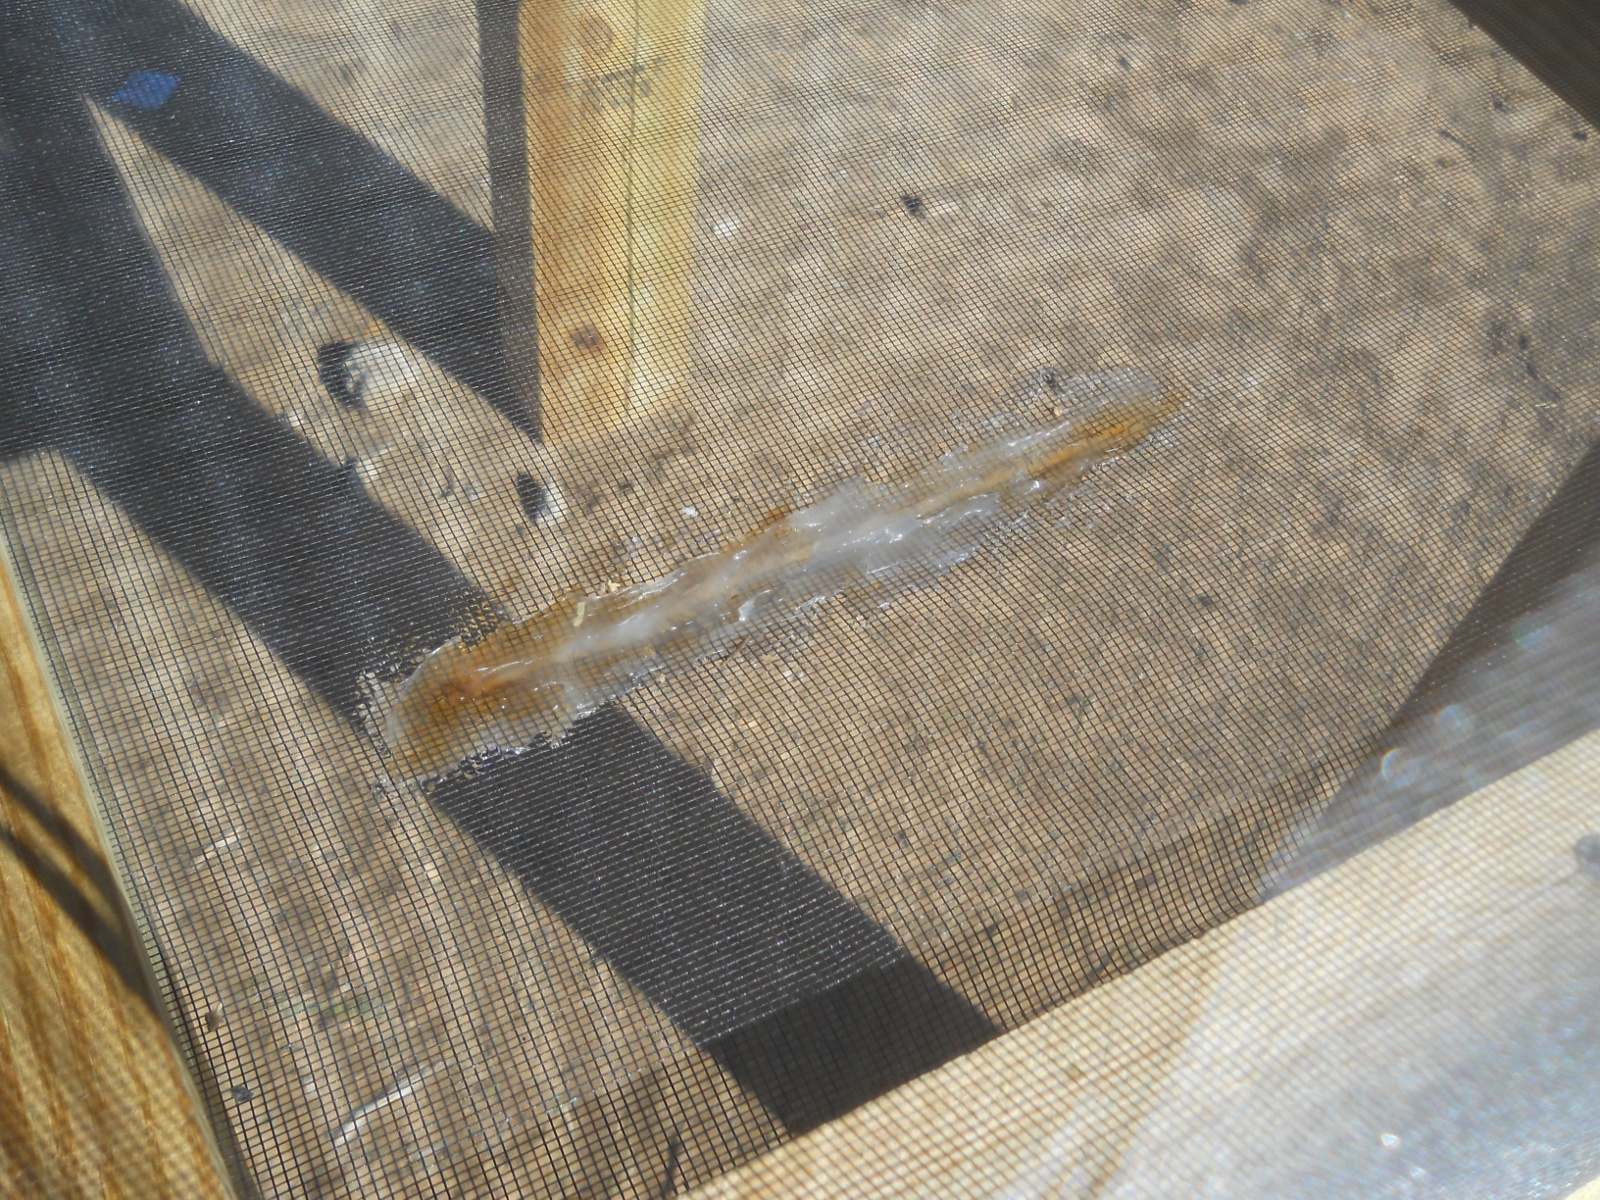
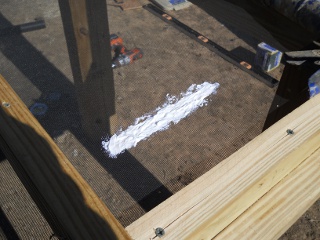
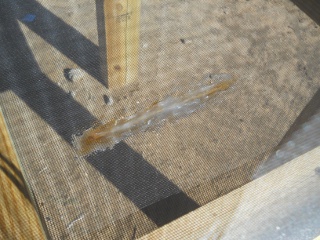
With the bottom screening in place, the one thing I told myself was, “Do not drop anything on it.” Well, that didn’t last too long:
Oops. It was the thin corner of the roof rafter that got away from me. And so, I caulked it:
And here it is pretty much dry. I purposely designed everything (with screws, etc.) so that I could fairly easily replace the screening if I ever need to:
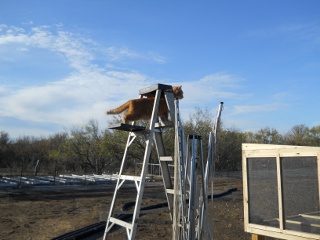
With Gary, the goose we use to have, being gone and no longer able to supervise as foreman, our cat, William, has apparently taken over:
Here is the first frame of the removable screen door with the screening stapled in place:

And then the other frame pieces were placed on top a piece at a time, secured with wood screws, in pilot holes:
Each frame piece was cut to overlap the pieces of the other frame (like the strips over the bottom frame joists):
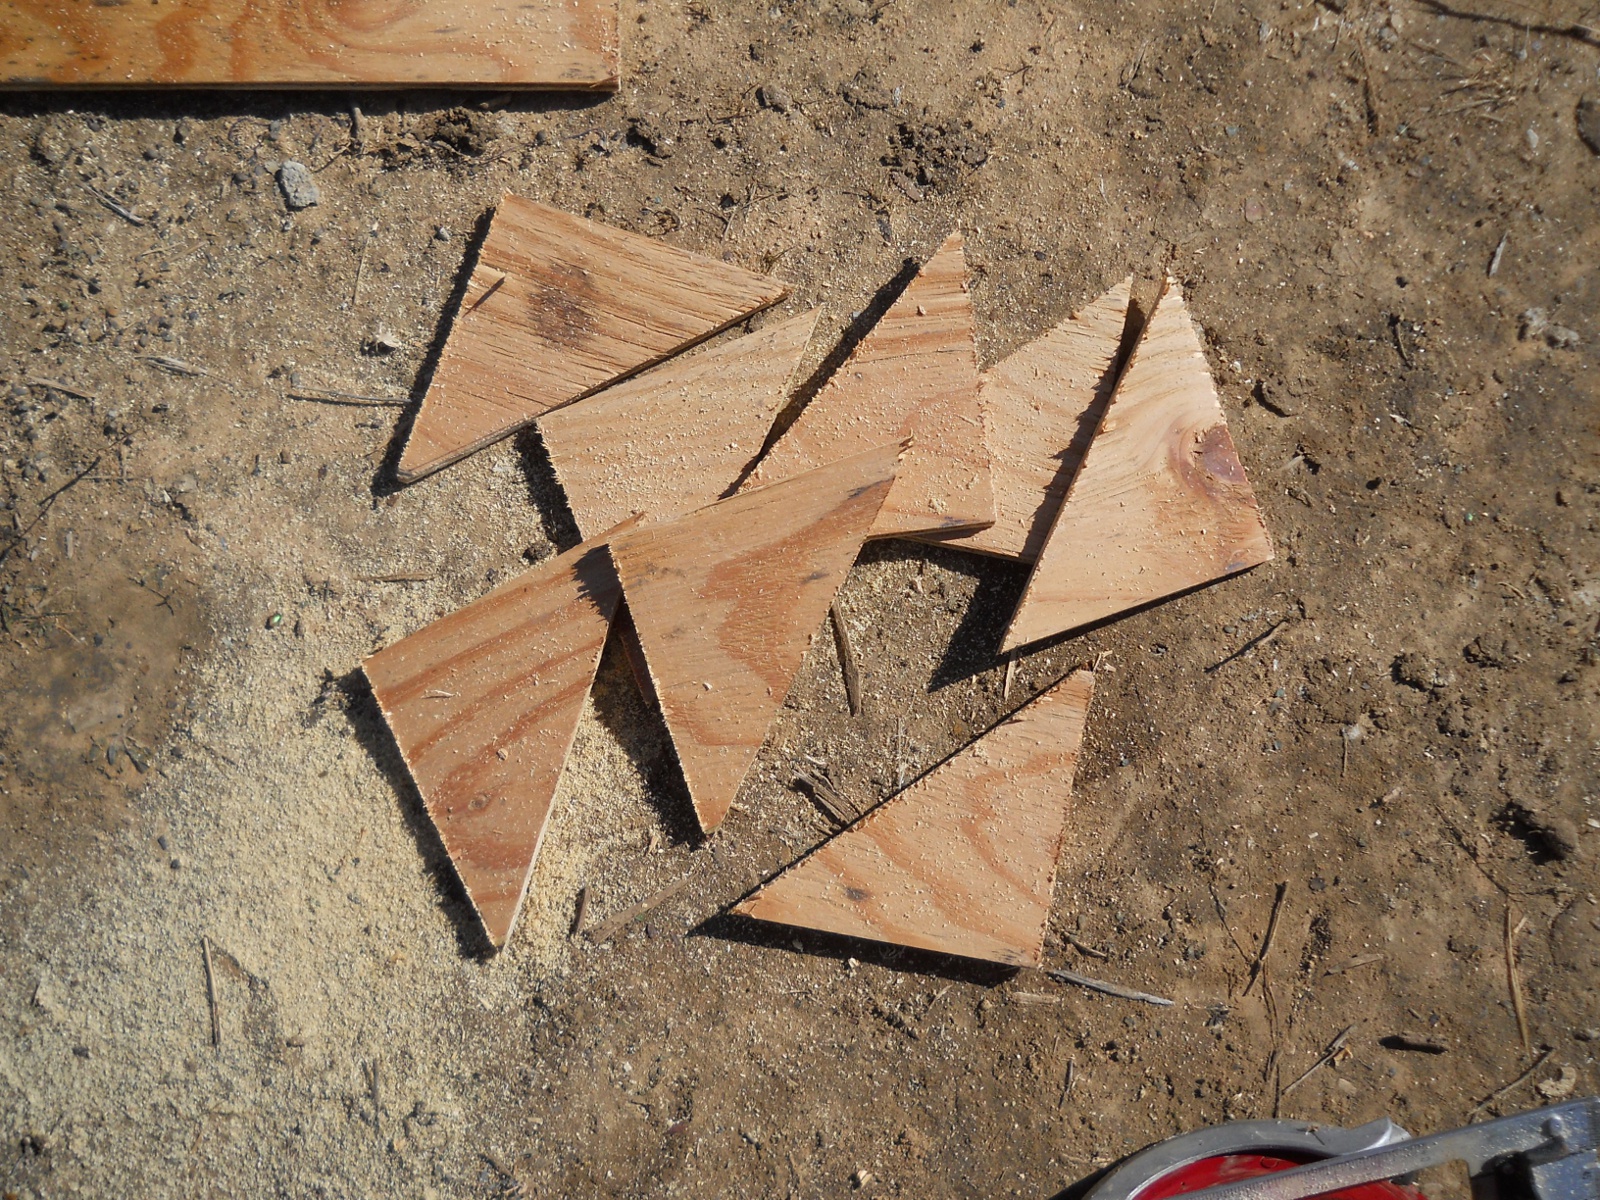
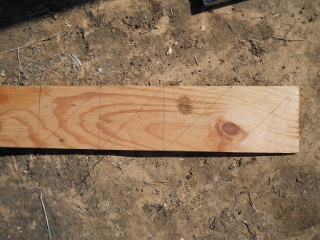
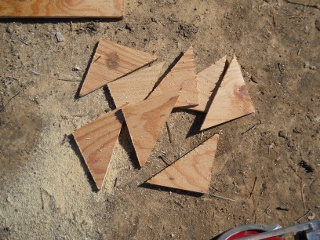
I wanted to make sure the door was fairly square and a little stronger, and so I thought to add plywood corners. Here is a scrap piece of plywood, marked for cutting the corners:
And then with the corners cut:
And here is the removable screen door in place on the dryer, showing the corners attached, handles in place, and wood latches on top and below, holding it in place:

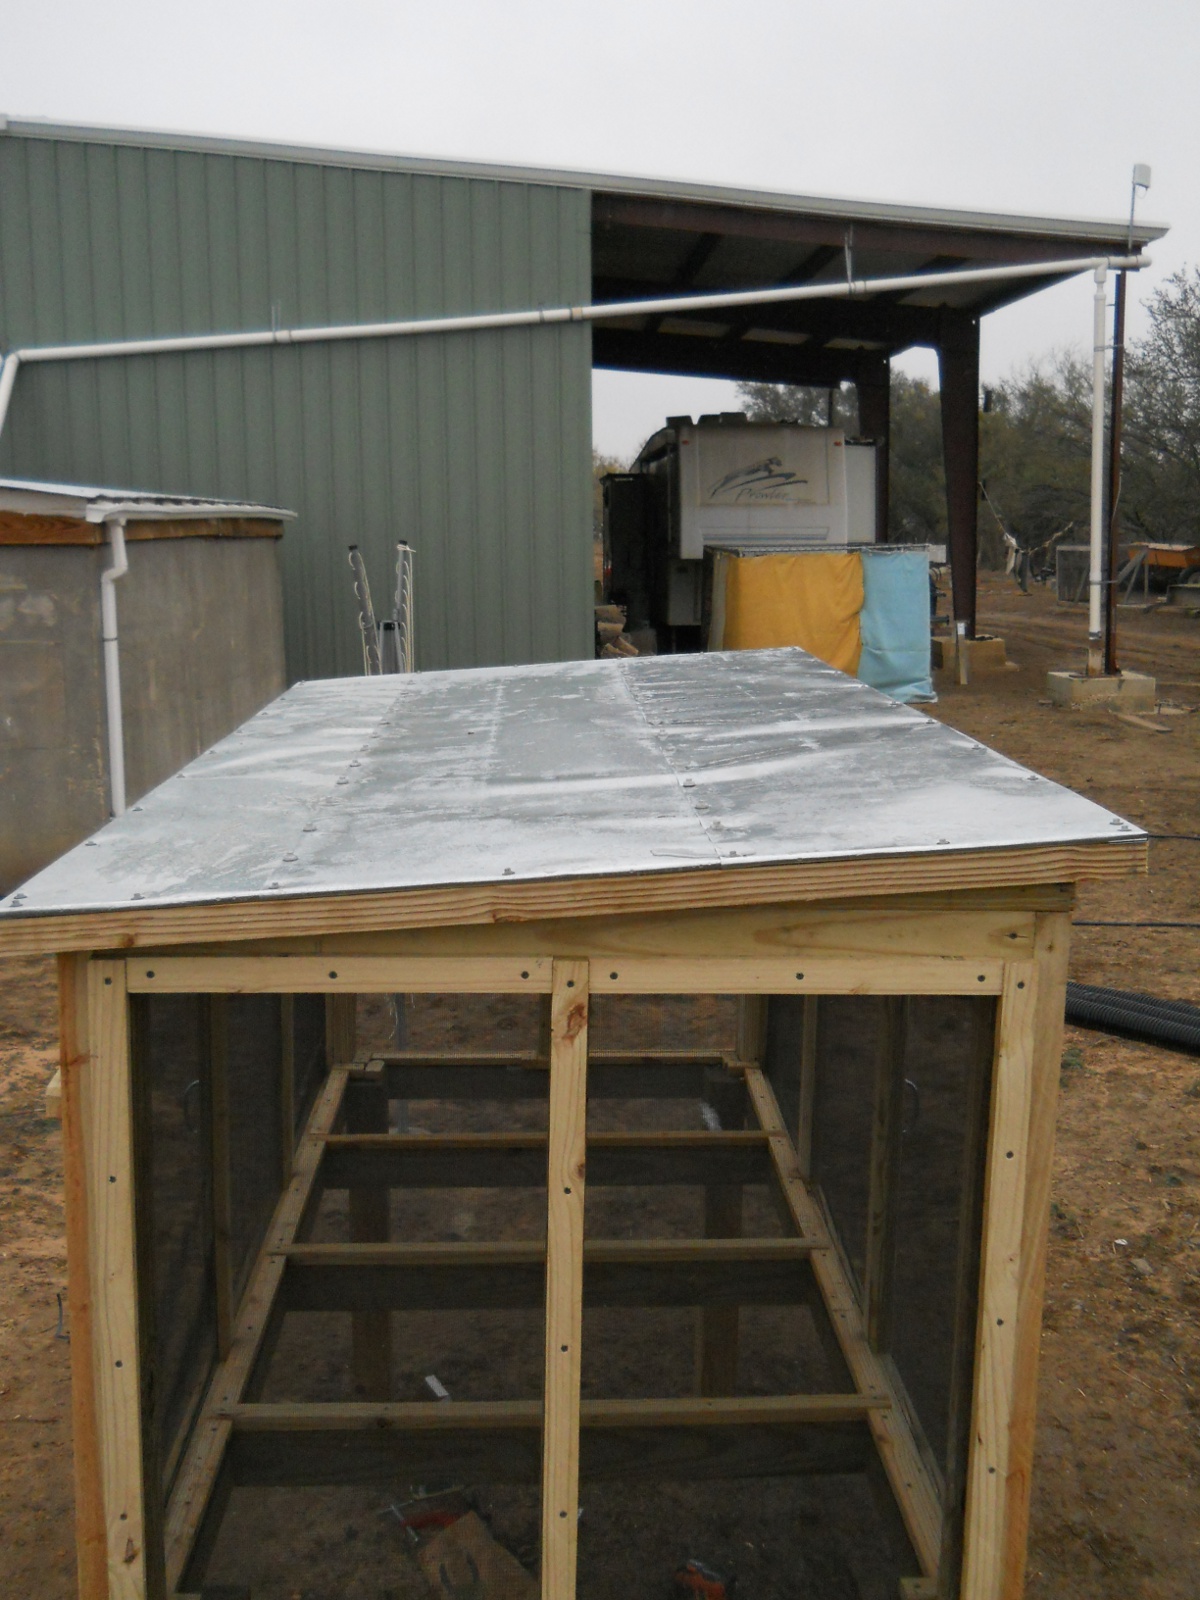
Here’s a picture of the plywood roof in place:

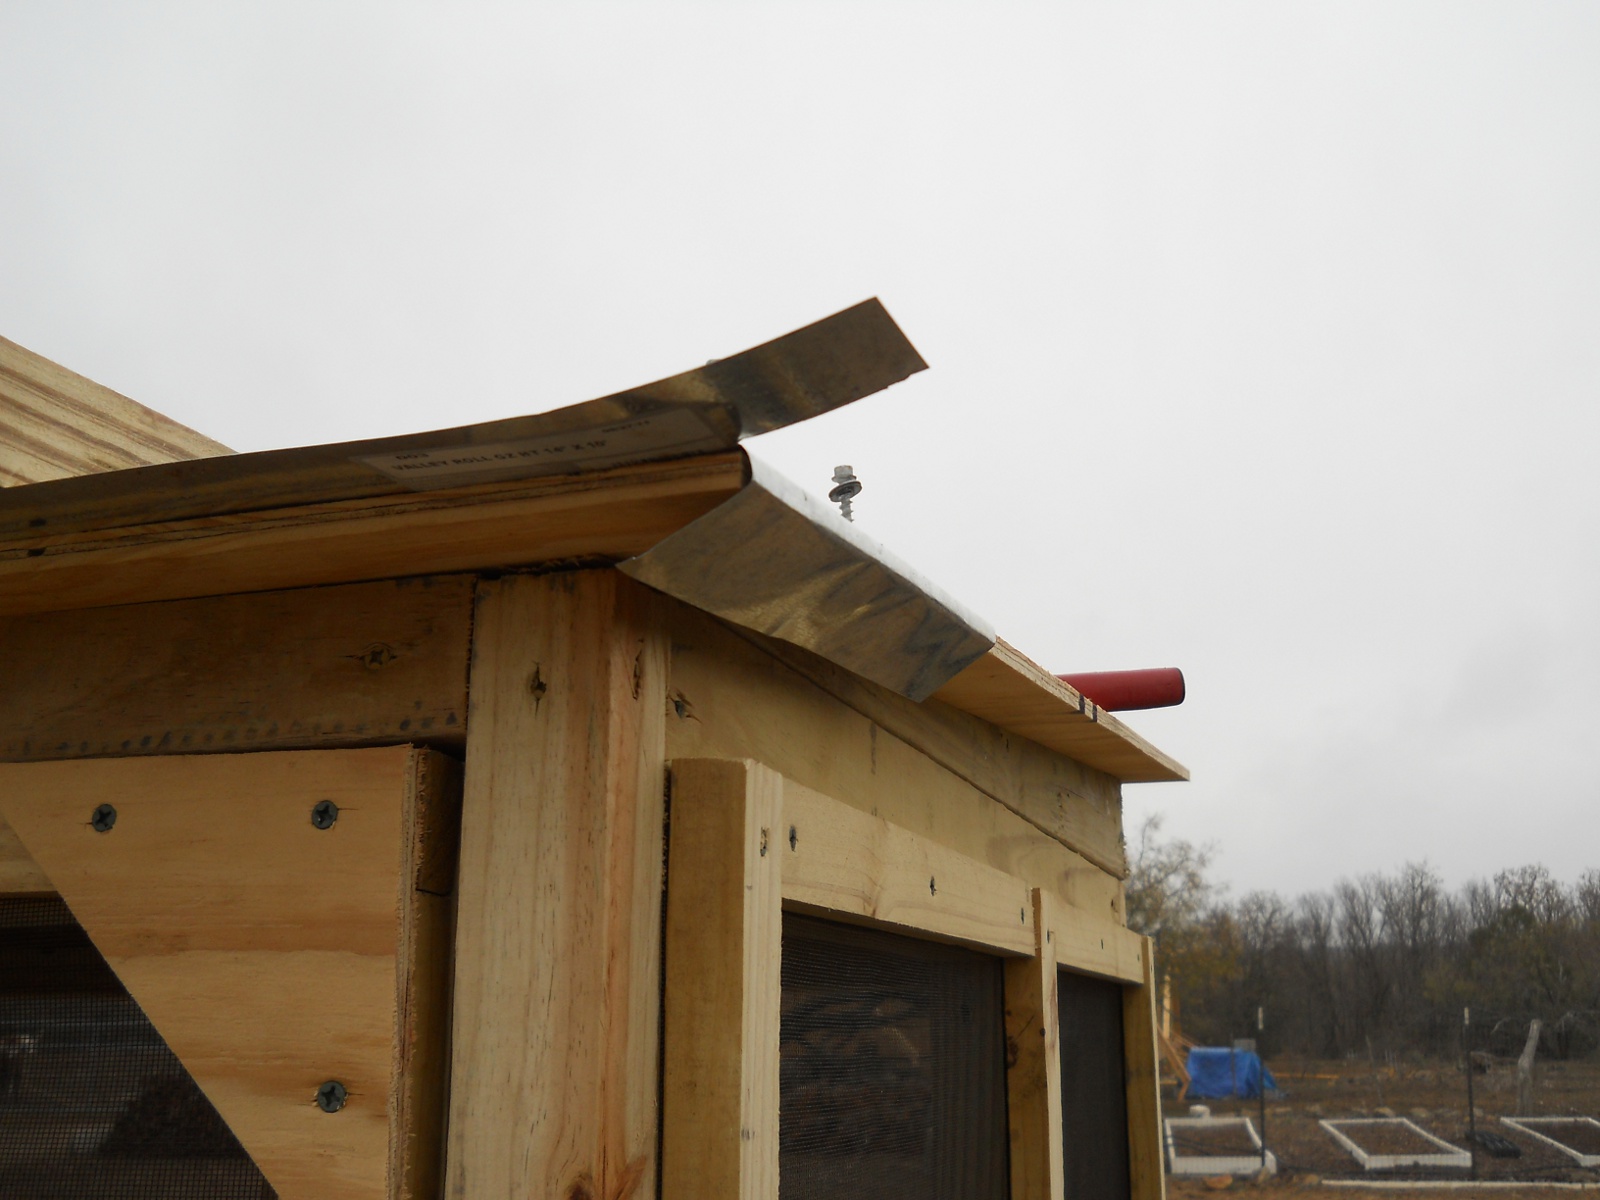
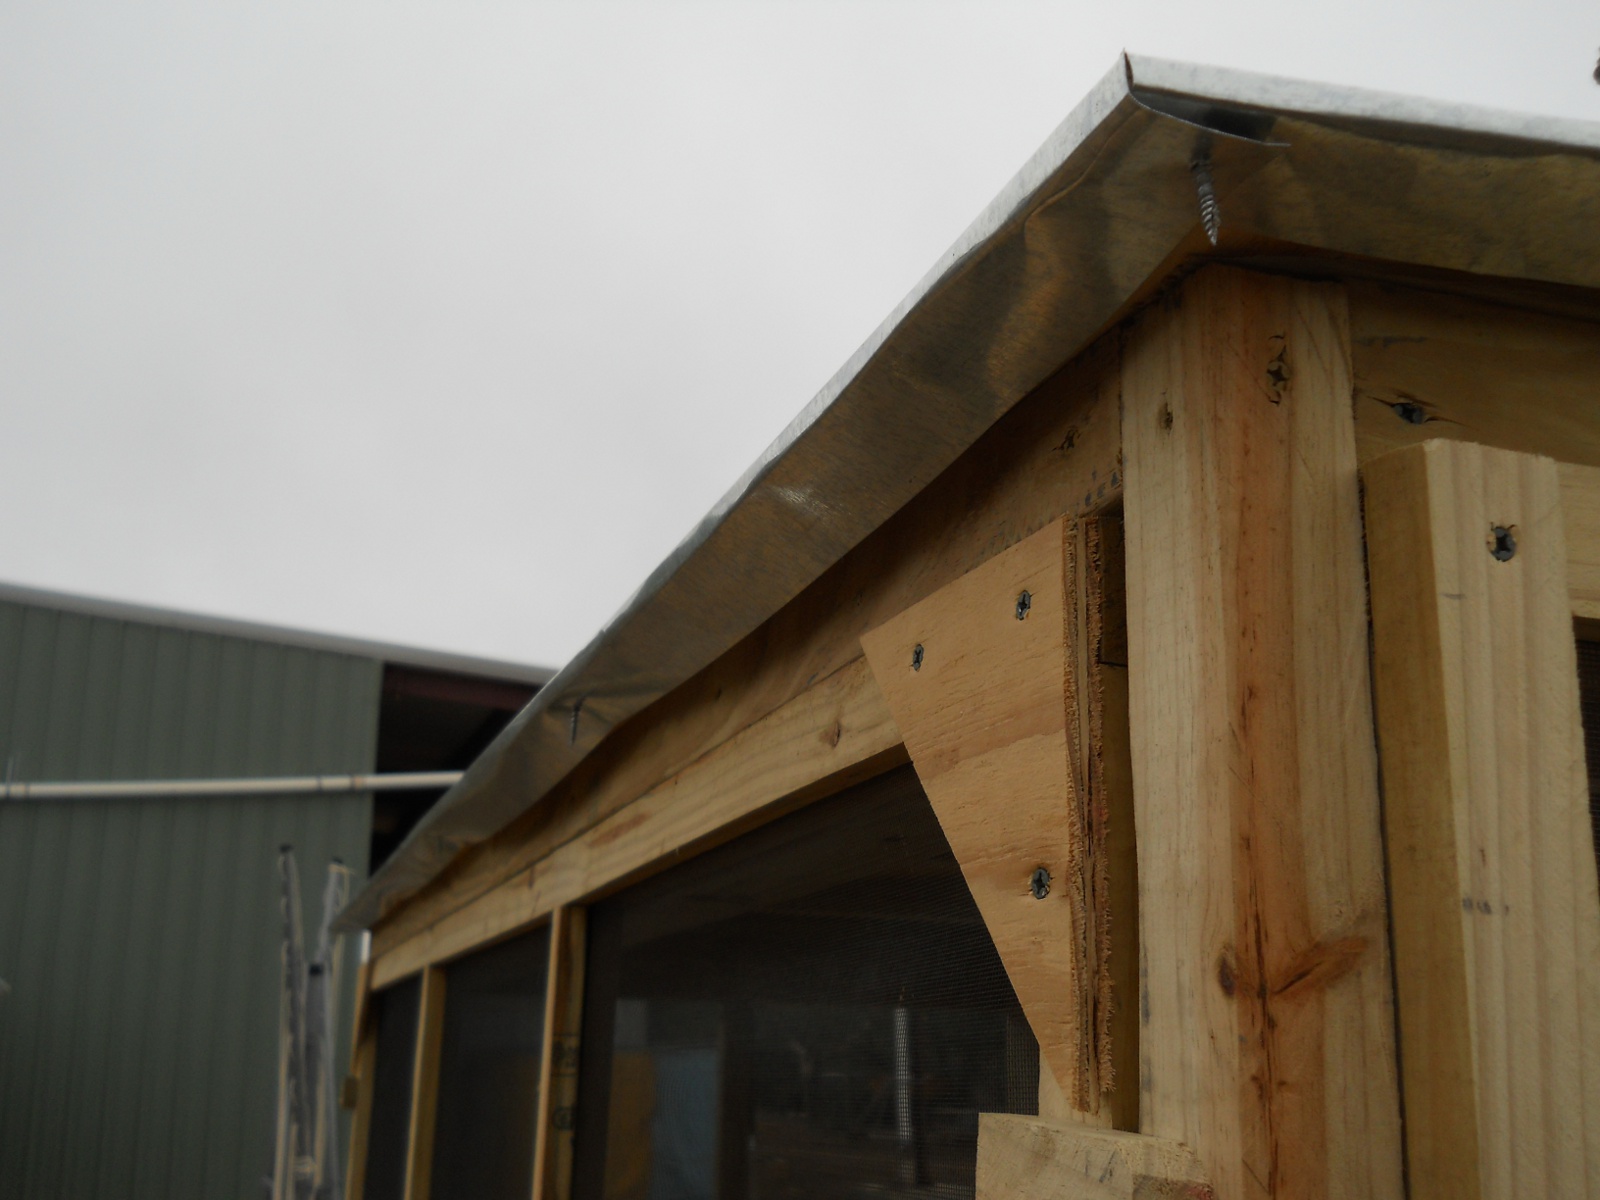
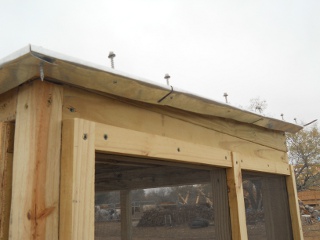
I decided to use flashing for the roof:


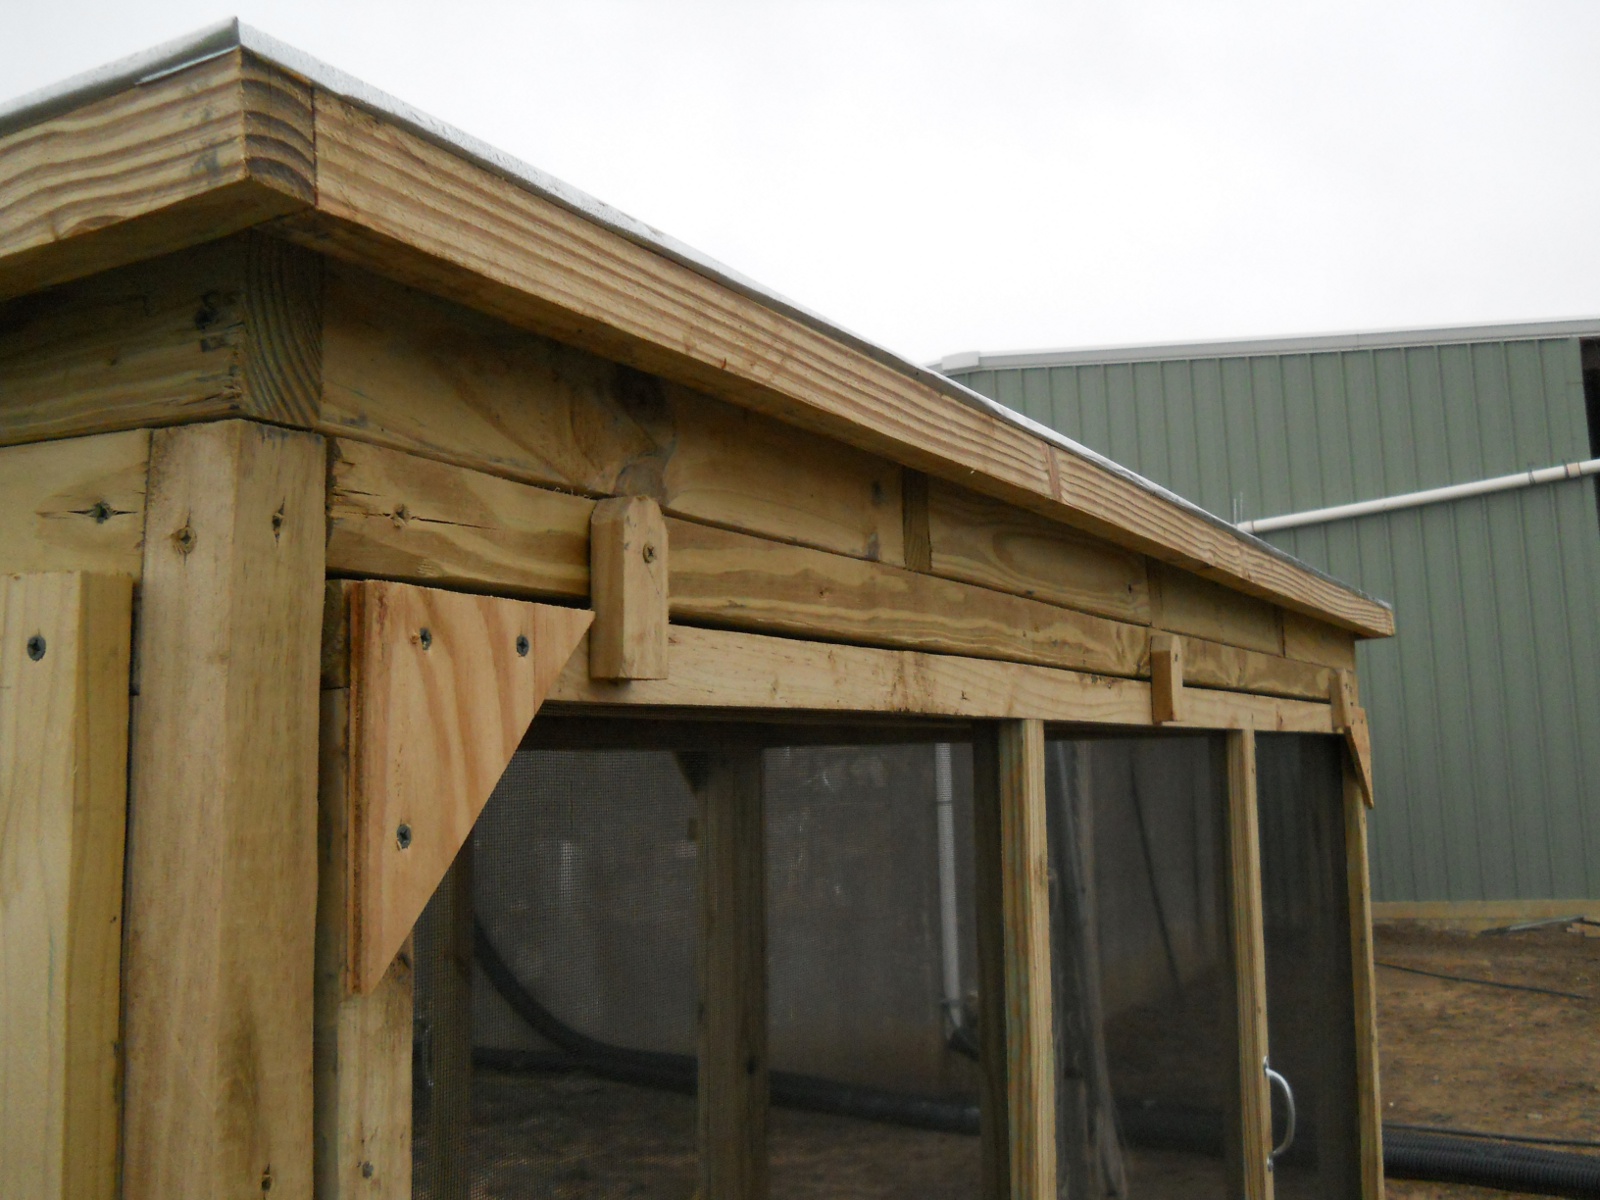
On the low side of the roof, I had to move the screen door latch to the side, because I had planned to attach strips of wood under the overhang that the grommeted screws would attach to (which would also help hide the screws so they wouldn’t become a skin or clothing hazard):

And here is the roof with the flashing installed:

And here are the flashing overhang supports/screw covers:

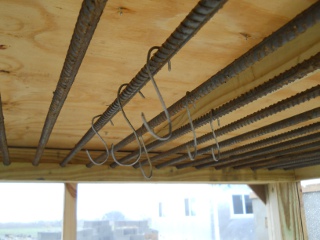
Here are the rebar hangers in place:
And some meat hooks bent in shape. I used a coat hanger, cutting the ends to be pointed, and I sanded the paint off. I needed an extra one after the coat hanger was used, and so I thought to use a piece of galvanized electric wire, because it appeared the coat hanger hooks were rusting some. In the end, I might need to have stainless steel ones:

Here they are hanging from the rebar:
I initially had the meat dryer facing broadside to the north and learned the hard way that the dryer wasn’t very aerodynamic — a strong wind not only tipped it over, but flipped it upside down. Nice. So, I turned it to be long-ways north and south and staked the legs to the ground:
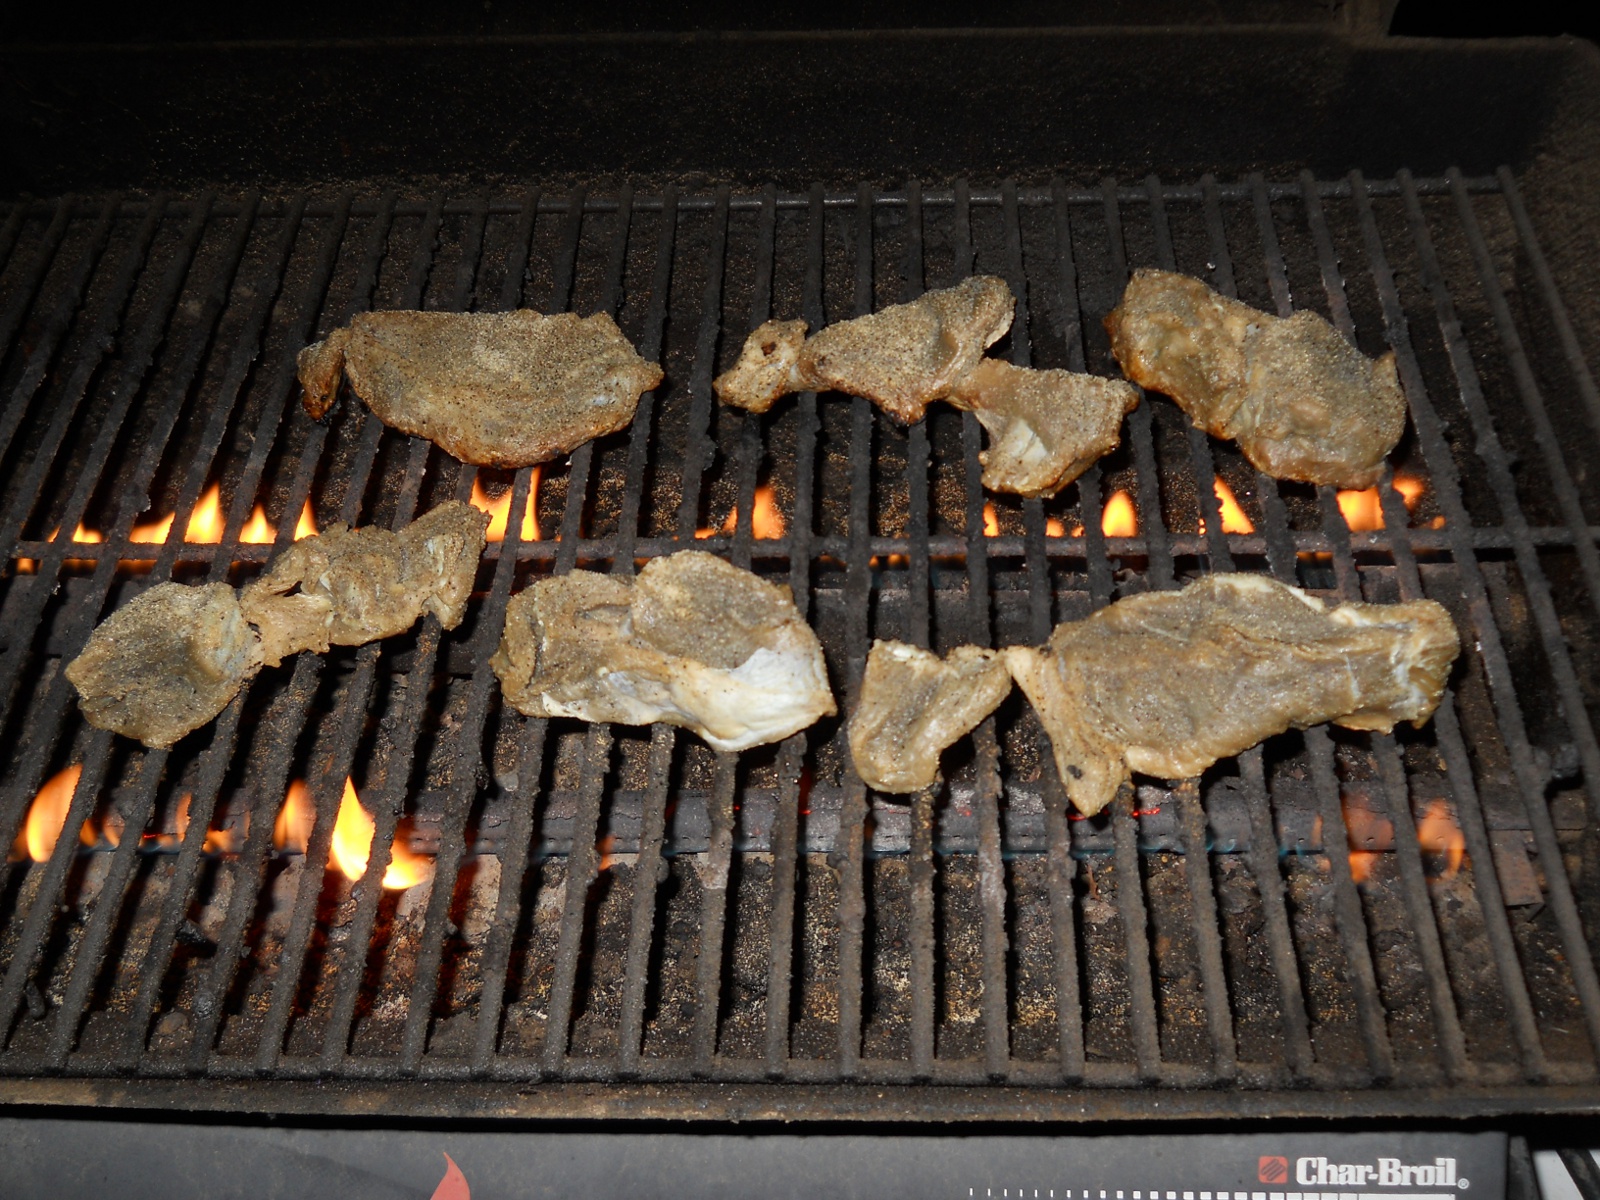
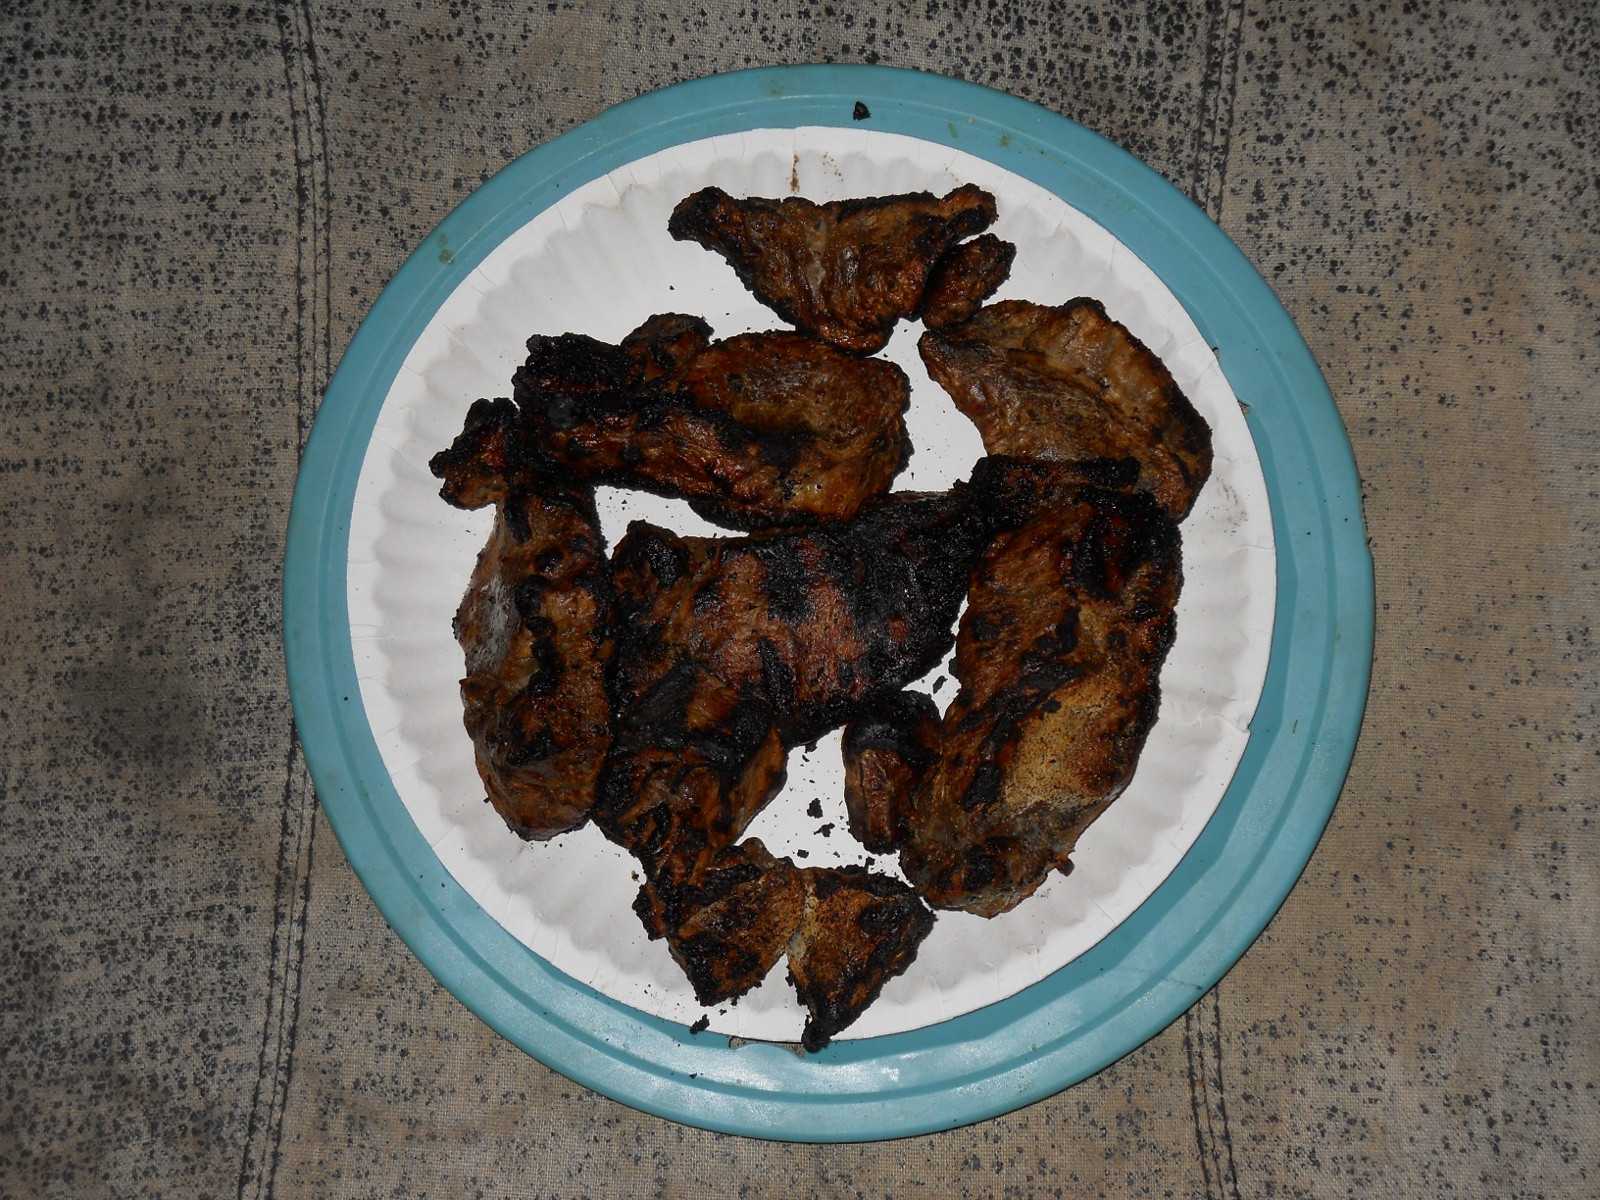
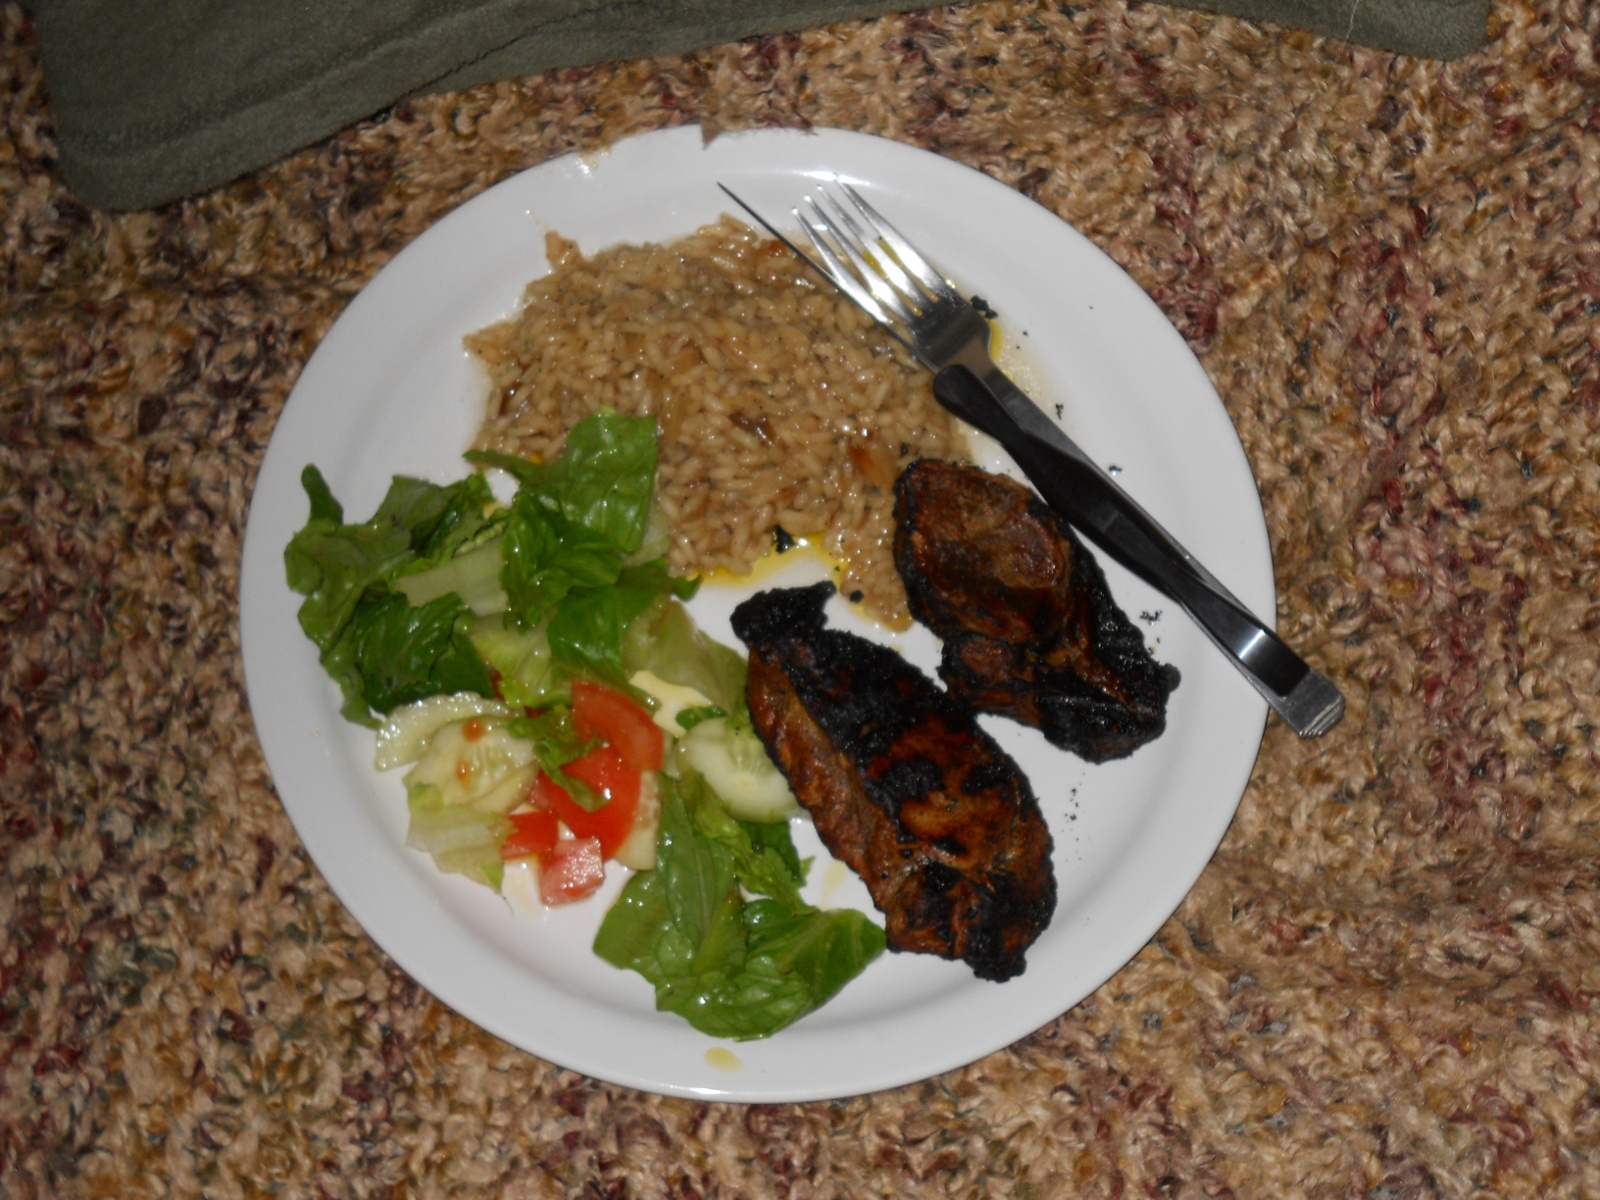
And finally, voila! Brined/spiced meat hanging in the meat dryer!
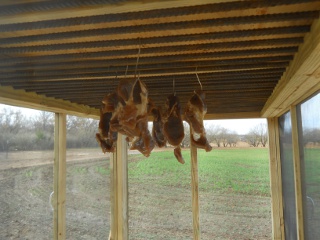
We’re still waiting for it to finish drying; and Lord willing, we’ll report on that process at a later time.
We are grateful to the Lord for His provisions, and showing us how to handle those He’s given us in a way that He has invented (with salt and air) instead of using man’s enslaving methods.
— David