Our journal of what we pray is our sojourn of life along the narrow way, even the old paths, submitting to the Bible as a light unto both.

Category: house (Page 3 of 8)

A House – Update XXXIX – Bedroom Windows & Doors, Great Room/Kitchen Siding, Wall Passthrough Electricity, & Homemade Amish Hat Rack

We’re thankful to the Lord to be able to continue on the house! Thanks again to those who are helping make this possible, and thanks to Robert for his help!

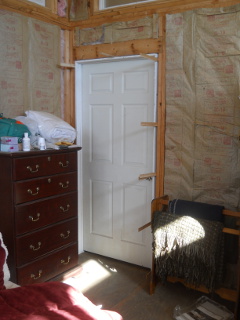
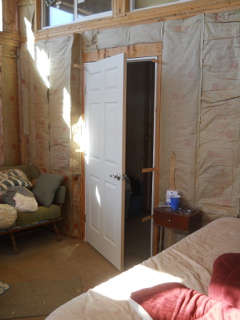
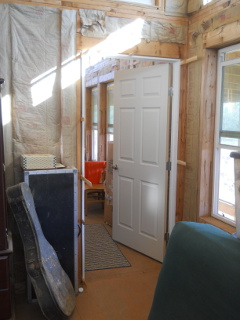
The plan always was to seal in the bedroom so we could run separate heat in there, with the idea of using fewer resources for when we are sleeping, rather than trying to keep the whole house warm just so the bedroom is. And so, we added the doors:

To the library:

Bedroom Library Door

To the closet:

Bedroom Closet Door

And to the bathroom:

Bedroom Bathroom Door

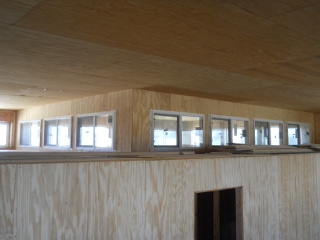
And then we put in the bedroom internal windows:

Bedroom Internal Windows

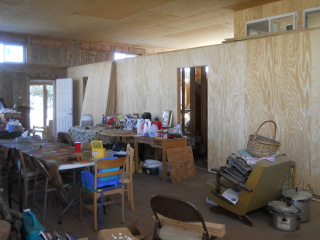
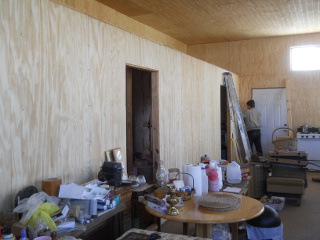
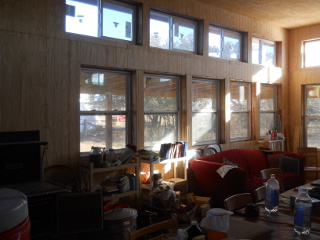
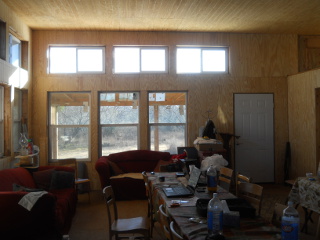
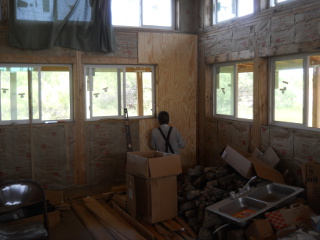
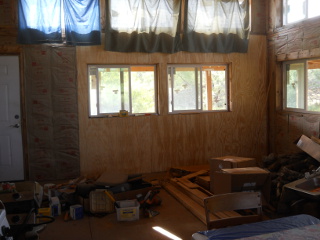
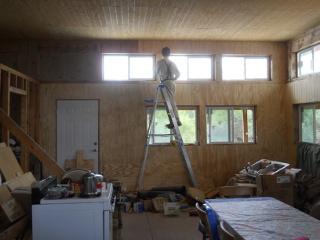
Then, it was more great room/kitchen siding, which are now finished!

Great Room Back Siding

More Great Room Back Siding

Great Room North Siding

Great Room East Siding

Electricity Through the Wall

Up until recently, we’ve had an extension cord running from our camper going through two slightly opened windows wrapped around the wall frame between the two windows, and we’ve had towels tucked in the openings to keep out the weather. Well, we recently discovered cold air was coming in between the sliding and permanent glass in the middle of the two windows. We put some towels there also to try to get by, but only until I could figure a way to pass the electricity through the wall.

In looking online, the only similar male to female things I could find were for RVs and were very expensive. So, I set out to see if I could figure out something a lot less costly…

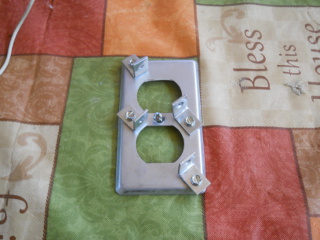
Here is the metal, external wall plate with holes drilled through using the smallest bit I have:

External Electricity Wall Plate

And then L brackets attached, which will hold the male receptacle ends:

External Electricity Wall with L Brackets

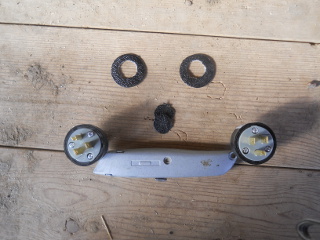
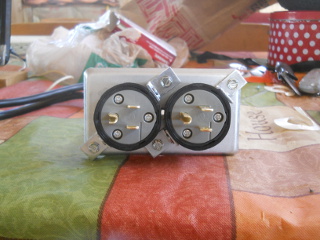
Here are the male receptacles and some foam seals:

Electricity Male Ends with Seals

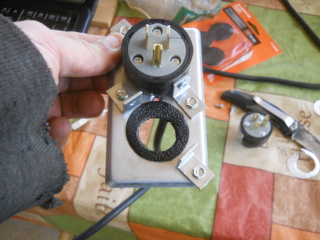
And in place on the metal wall plate:

Electricity Male End on Wall Plate Showing Seal

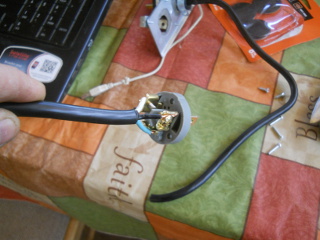
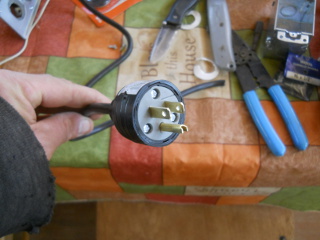
I attached the wire, which was just a 3-wire extension cord I cut a piece from, to the back of the male receptacle:

Wire Attached to Electricity Male End

And put the male receptacle back together:

Electricity Male End Wired

And here is the male end of the passthrough:

External Electricity Male Receptacle Complete

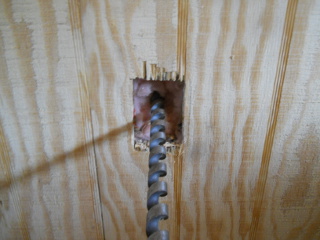
I then cut a hole in the internal siding and cut out a square to fit the electrical bracket box that the female receptacle attaches to:

Drilling Hole Through Wall Through Cut Out Square in Internal Wall

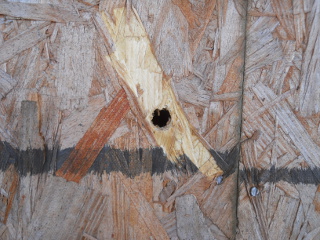
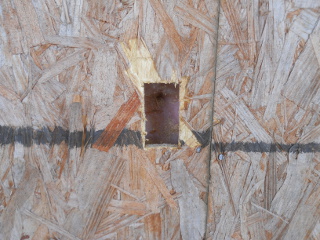
And here is the hole on the external OSB wall:

External Electricity Wall Hole

And the square cut out:

External Electricity Wall Square Cut Out

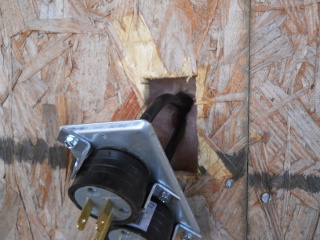
And then the male end and wires through the hole:

Wires Through External Electricity Wall Cut Out

And then the whole male receptacle installed and calked:

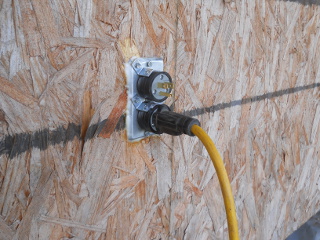
External Electricity Male Receptacle in Place

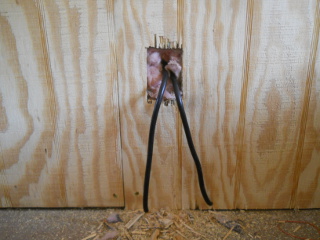
And here are the wires coming through on the inside:

Wires Coming Through the Wall

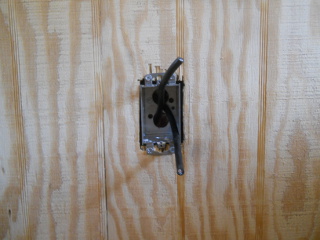
And through the bracket box:

Wires Through Box Bracket

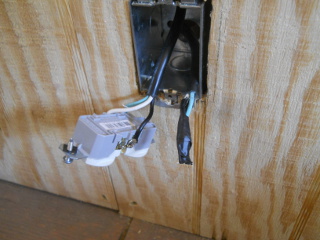
I originally attached the two wire sets to the top and bottom of the female receptacle, but thankfully discovered that without having the current coming directly in the top one but only the bottom one, the top female outlet was still active! Well, that would have been something if I had plugged in another active cord into the top one while the bottom one was plugged in. Thanks to God for letting me find that beforehand. And so, apparently I only needed to wire in the one set of wires to one of the female receptacles to make both outlets active, and then I just taped up the not used wire, keeping it there in case it was ever needed:

Taped Up Not Needed Extra Wire

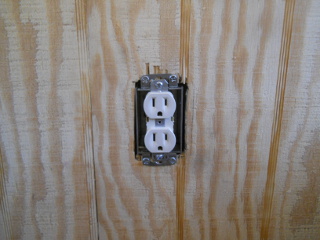
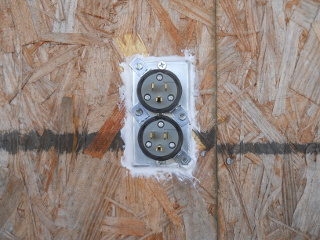
And here is the female receptacle in place:

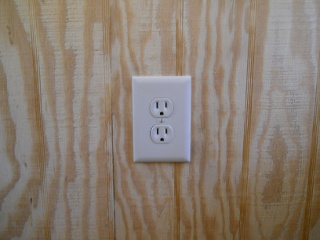
Female Electricity Receptacle in Place

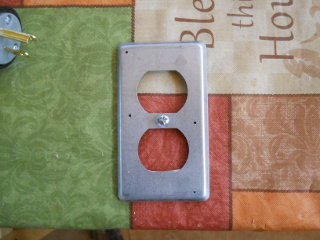
And the cover plate:

Internal Electricity Wall Plate in Place

Then, I plugged in the extension cord to the outside:

External Electricity Plugged In

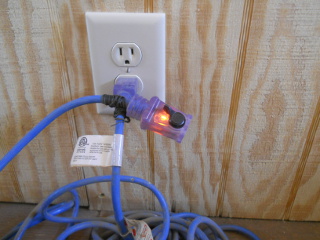
Et voila! Power on the inside!

Extension Cord Inside Showing Power

And now, we can close both those windows completely to help keep the place warmer.

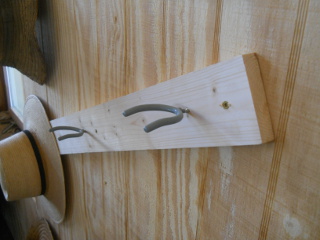
Homemade Amish Hat Rack

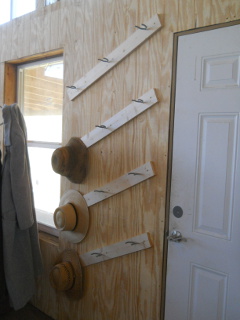
With the great room siding done, I really wanted a place for the men to be able to hang their hats when visiting, and so I set out to make something quick but useful for the larger sized Amish hats we wear.

And here’s what I came up with. Had to angle the backings to be able to fit on the wall as I hadn’t measured the wall width beforehand, but it worked not too badly:

Extension Cord Inside Showing Power

Again, we are grateful to the Lord for allowing the continued work on the house!

— David
A House – Update XXXVIII – Closet Ceiling, Bedroom Windows Internal Siding, Pier Bracket Replacement, & Birdhouse

After some of the great room siding had been done, we’ve been able to continue on the house, with the assistance of Robert.

Closet/Pantry/Bathroom Ceiling

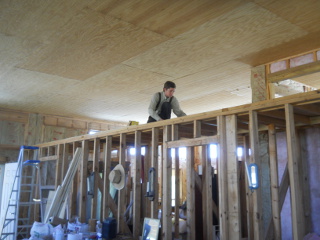
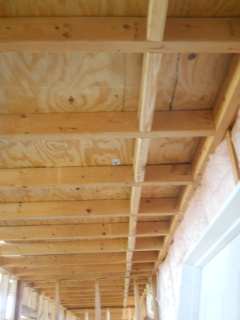
Next job was the closet/pantry room/bathroom ceiling. Here are the cross blocks:

Closet Ceiling Blocks

And Robert working up there:

Robert Putting Plywood Down on Closet Ceiling

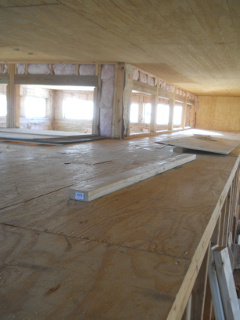
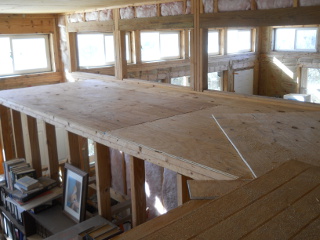
And the ceiling done. We can hopefully even store some things up there now as well:

East-West Closet Ceiling Done

North-South Closet Ceiling Done

Enclosing the Bedroom

We decided to go ahead and try to make the bedroom its own sealed-in room so we could have separate heat in there at some point, and so we needed the siding around the bedroom windows to go up, in preparation for installing the windows:

Bedroom Windows Internal Siding

More Foundation Beam Work

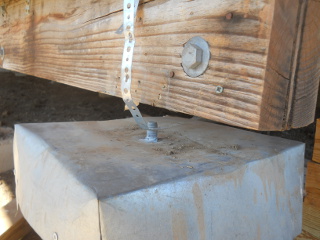
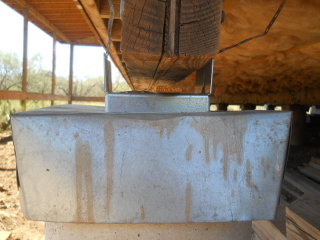
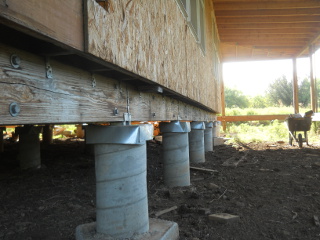
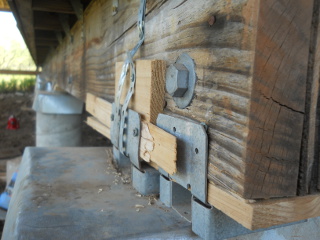
After adding spacers to the south beam to level it some, I didn’t like how the end of the beam was torquing still a little, with the pier being very slightly tipped that way, and so I thought I might try replacing the pier bracket with a wider one so I could set the beam a little bit back on the pier and add a side spacer to help keep the beam a little more vertical. And here is that process…

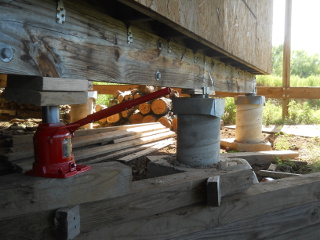
Here the beam is raised:

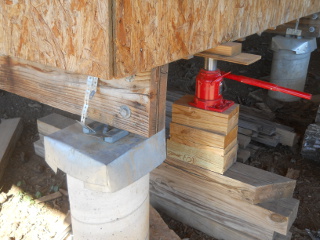
Raising House Beam

And here, loosening and removing the bracket:

Loosening Pier Bracket

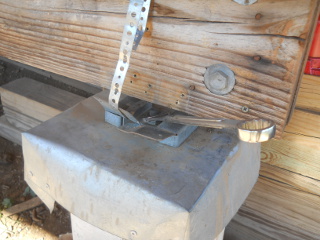
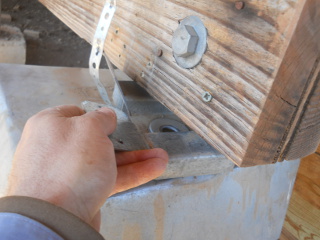
Removing Pier Bracket

This is the bracket removed:

Pier Bracket Removed

And the new one in place:

New Pier Bracket in Place

Again, I used the floor jack to push back the bottom of the beam. I also temporarily removed the hurricane clips from the beam and floor joists to allow it to maybe pivot back a little easier:

Pushing Beam in Place with Floor Jack

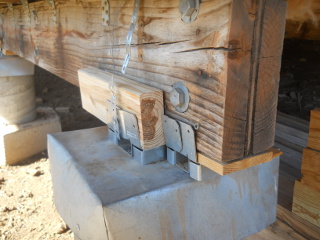
And here the beam is set back down with the 2×4 side spacer in place. Hopefully that will help!

Beam Back in Place on New Pier Bracket

Birdhouse

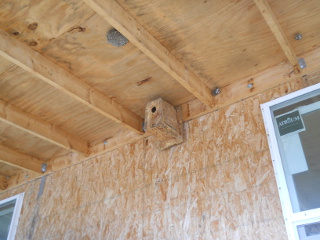
And finally, one other nice touch for this update: young Elijah, one of the Stonger boys, built us a birdhouse, which we put up on the south side of the house! Thanks Elijah, and nice job!

Birdhouse

As always, we are very thankful to the Lord for providing for continued progress on the house!

— David
A House – Update XXXVII – Final Attic Insulation

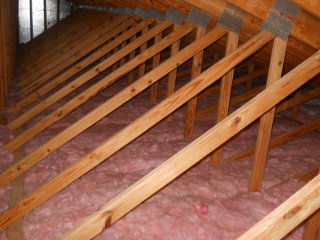
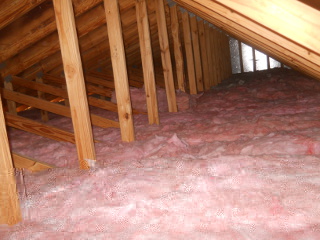
After a couple of years since we started putting insulation in the attic, and after last year laying down 6-8 feet insulation “fingers” coming out from the ends to plug up the gaps between the wall frames and ceiling panels, we’ve recently been able to finish laying down all of the insulation! Hopefully this will make a big difference in being able to maintain heat in the house.

And here are a couple of pictures of it all done:

Attic Insulation

Attic Insulation

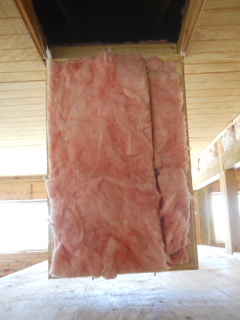
And the attic access door:

Attic Door Insulation

My hope was to have this ready for winter, and the Lord graciously granted that it would be. Thanks to Him, and for those who help to make continued progress on the house possible!

— David

A House – Update XXXVI – Internal Siding

To be able to make things a little more functional for living in the house, we’ve started to put up internal siding in the kitchen area. I really like the T-111 siding we used for the ceiling, with its kind of old-timey wood look, so we are going with that for the internal siding as well.

We have a helper for house projects now too, and here Robert is putting up some of the siding:

House Kitchen Siding

And here is the rest of it for the kitchen area:

House Kitchen Siding, East Wall

House Kitchen Siding, North Wall

House Kitchen Siding, More East Wall

House Kitchen Siding, East Wall Complete

House Kitchen Siding, North Wall Complete

Robert did a good job, and to me it looks nice!

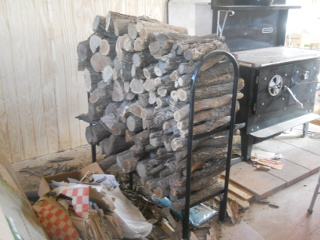
Here’s a firewood rack we picked up too, to try to be a little more tidy with the firewood:

Firewood Rack

We are thankful to the Lord God for the provisions to continue on the house!

— David
A House – Update XXXV – House Lift

Even though most of the piers of our house were built on top of boulder rock underneath the ground surface, apparently on at least a few of the piers, that sadly hasn’t been good enough. One day I was looking longways down the south beam and noticed a distinct sag — at least a couple of the piers had definitely dropped some. Not a bunch, but enough that I figured I had better do something about it. When I was doing the upper south siding, you could see the dip in the roof in that area too.

If you look closely, you can see the dip in the beam around piers two and three from the far end:

Looking Down the Beam

But how to go about leveling the beam?

Well, I researched plastic industrial spacers, but those ended up being fairly expensive. And then I thought I would just use 2×4 yellow pine spacers, since the beam 2x10s are made of yellow pine.

And then, how to lift a house. 🙂 After some quick research there, I found some quite inexpensive 20 ton bottle jacks; and after reading the reviews of people using them to level houses, I figured a couple of those would work well.

Once I received the jacks, it was time to proceed…

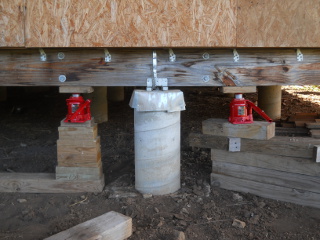
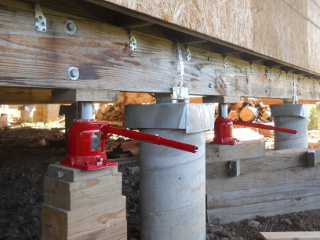
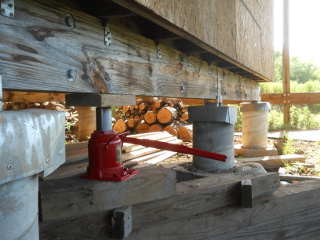
Here they are lifting the beam. The two work just great! It was really weird jacking up a house. 🙂 In the end, I found I could use just one jack, but I also figured it was good to have a backup, so the house wouldn’t come crashing down in case one jack gave way. I found too that plywood on top of the bottle jack held the best with the pressure from the bottle head:

Lifting the Beam

More Lifting the Beam

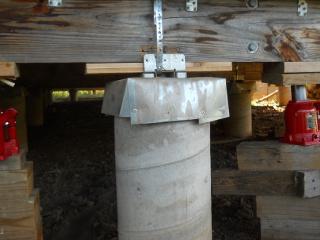
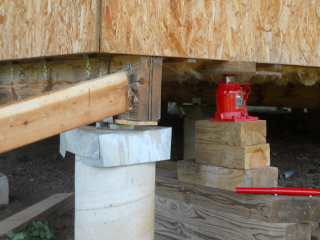
Here you can see the space between the beam and the pier bracket:

View of Space Between Pier and Beam

Once raised, instead of trying to use 2×4 wood, I thought to use leftovers of our cedar siding fence slats, which I figured are going to be fairly durable and hopefully strong enough, being made of cedar; and they’re already 1/2 inch thick, which would work well for the various spaces I needed to fill:

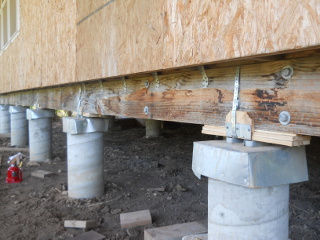
Beam Spacer in Place

More Spacers in Place

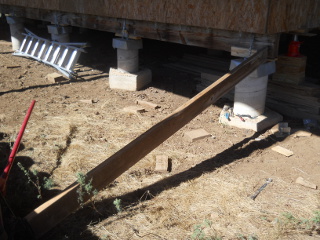
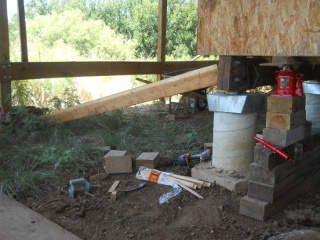
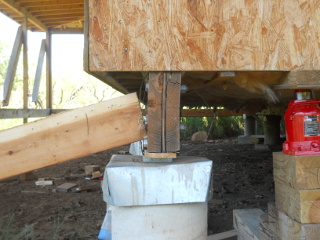
Oddly, once lowered, the beam on that end wanted to torque outward, away from the house, in order to be set in the middle of the pier bracket. That I assume isn’t great, as it appears the pier is maybe dipping on one side. Hopefully it’s done. But I needed a way to push the beam back to a more vertical position, so I used a floor jack and 2×6 board:

Pushing Beam Vertically with Floor Jack

More Pushing Beam Vertically with Floor Jack

Still More Pushing Beam Vertically with Floor Jack

And I needed something to hold it in its new place on the pier bracket, so I used cedar slats again and shims:

Beam Side Spacers in Place

But, it all seemed to work for now; I pray things don’t move any more. And here is everything in place. The worst sag ended up being 1 inch, with others at 1/2 inch, and I ended up lifting piers one and four as well:

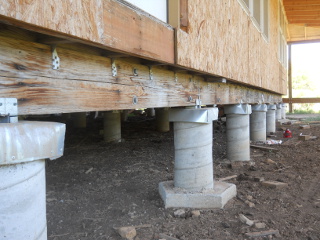
View of Beam with Spacers Set

And a view down the beam again, this time more level:

View of More Level Beam

Again, we pray things don’t get any worse; but we are thankful to the Lord for allowing this to be successful, for the safety and ideas He granted during this process, that the house hasn’t toppled over by now 🙂 , and for the continued progress on the house.

— David

A House – Update XXXIV – External Siding – Update III

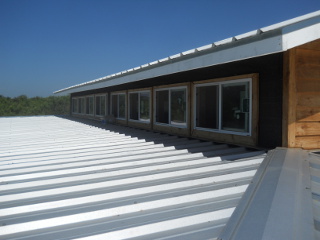
It has been almost two years since I took the first pictures of work on the external siding of the upper west section of the house, and after the upper east side was completed, I was able to just the other week finish the upper south side of the cedar fence slat lap siding, and thus wrap up the external siding of the entire upper part of the house!

Here is the tar paper, which Sue helps me put up, and window frames in place:

House Upper South Siding Window Frames in Place

And the rest of it done:

House Upper South Siding Done

South Side of the House

Whew! Now just to paint it with the wood protector I’ve been using on the other sides.

Thanks to the Lord for the provisions to continue on this, the strength to even perform the building duties, safety while working up there, and continued progress on the house!

— David
A House – Update XXXIII – Wood-Burning Cook Stove – Update I – Baking & Hot Water

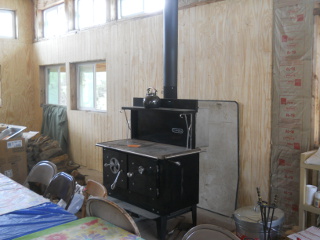
With our wood burning cook stove in place, it was time to try it out on things other than just keeping the house warm.

It has a water trough on the back to heat water, and David will talk about that in the second part of the blog post, but it also has an oven, and we thought Susan could take you along for the ride of her first foray into baking with it! …..

“Go Ahead, Bake My Day”

I had grown fairly comfortable with cooking and heating things on our newly functioning wood burning stove top, but the oven seemed like this intimidating metal monster with its steely stare saying “Do you feel ‘lucky’ punk? Go ahead, bake my day.” Well, I figured I didn’t have much to lose in that our propane oven had been broken for a time, so I overcame my hesitancy with this opportunity to bake again. And if it was edible – bonus!! I couldn’t go “too” far wrong with simple cookies, right?

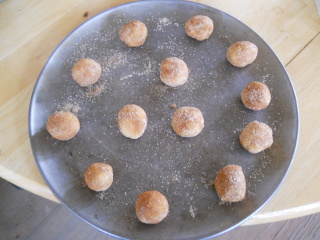
Cookies Ready for Wood Burning Cook Stove Oven

So, while I still had the courage, I hurriedly prepared my snickerdoodle cookie dough, took a deep breath, walked ten paces towards the oven, nervously opened the door, quickly slid our inaugural cookies onto the baking shelf and closed the door yelling “Bake THAT!”

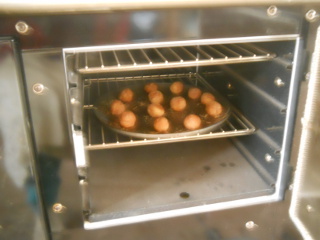
Cookies in the Wood Burning Stove Oven

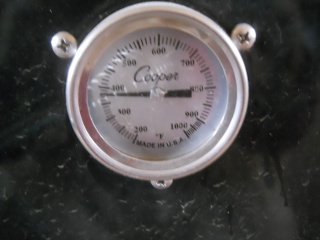
Well, we soon found that 375 degrees F are not the same in different ovens, according to how quickly these were baking:

Wood Burning Stove Oven Almost 400 Degrees

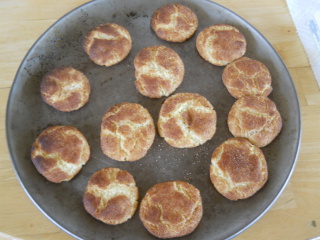
I’m still not sure which oven has the correct temperature, but I was thrilled something had actually gone from soft and doughy to hard and crunchy! Practice makes perfect, so I attempted to disarm the metal monster by singing “Getting to Know You” to it…..

First Plate of Wood Burning Stove Oven-Cooked Cookies

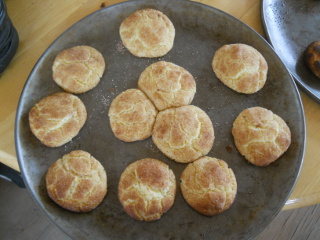
My attempt at making a new friend must have had some impact. Here is my second batch after adjusting the temperature and baking time. Much better!

Second Plate of Cookies

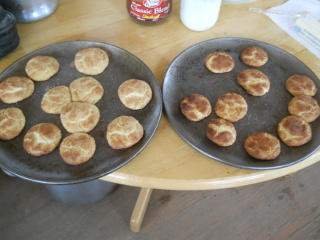
I don’t have to tell you which batch is which. 😉 They were all very tasty, though! (Clarification: I didn’t personally eat them all, but I did take the liberty of sampling the heck out of them):

First Two Plates of Wood Burning Oven-Cooked Cookies

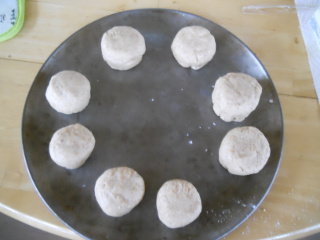
I figured I’d keep going and strike while the oven was hot, so I made up some dinner rolls and shoved them into the metal monster’s mouth, as well:

First Biscuits Ready for Wood Burning Cook Stove Oven

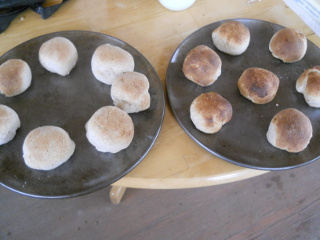
You’d think I would have learned from the cookies, but I still needed to fine-tune these batches. I’ll let you guess which was batch number one. 🙂 But it was all edible, thanks to God! Another monster slayed; another friend made! Hopefully, my baking in this new stove will get better over time. Thankfully, I have a wonderfully understanding, patient and supportive husband:

First Two Batches of Biscuits Cooked in Wood Burning Stove Oven

We are so thankful to have this method of baking that doesn’t rely on anything we need to buy. I realize women have been baking this way for hundreds of years, but now I’m one of them!! With God’s help, if He wills it, I hope to continue to improve in my baking and utilize this stove for many years to come.

Susan

Wood, Ashes and the Hot Water Trough

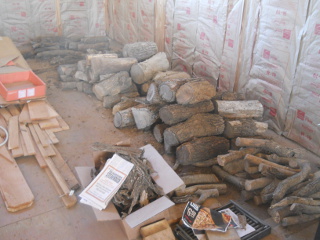
We’re still a little unorganized with our wood piles, but here is some of it stacked inside where the kitchen counter will, Lord willing, go one day. I do plan to build an indoor wood pile stacker:

Cook Stove Wood Pile Inside

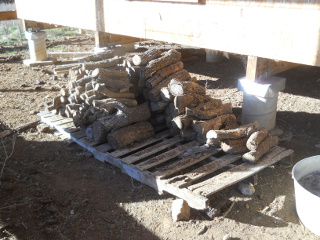
And here is the staging area outside next the house entrance:

Cook Stove Wood Pile Outside

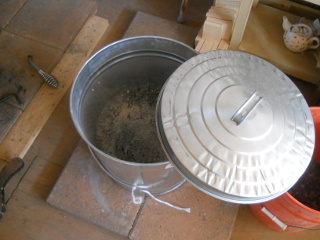
This is where we’re collecting our ashes. This fairly large, handy galvanized pail works great!

Collected Cook Stove Ashes

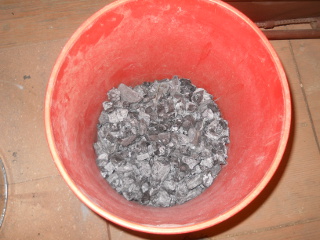
In our first wood-burning attempts, we didn’t really know how to get the ashes to burn all the way down, so some charcoal was left over. I’m thinking after wiping off any ash these could be crushed up and used as activated charcoal:

Cook Stove Charcoal

And here is a video of the hot water coming out of the water trough. It works great! Not that the water is really potable, but I figure the animals’ health won’t really be compromised by using the hot water once in a while when their water is thickly frozen on top and it dilutes with the water already there:


We are thankful once again to the Lord for granting the provisions of the wood burning cook stove and some successful oven and hot water trough usage!

— David
« Older posts Newer posts »