Our journal of what we pray is our sojourn of life along the narrow way, even the old paths, submitting to the Bible as a light unto both.

Category: homestead (Page 9 of 13)

Poor-Man’s Net-Wire Fencing

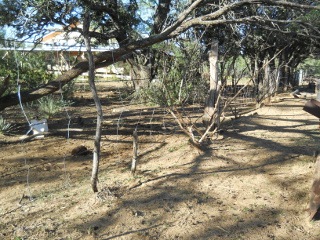
Our main working area is about 6 acres or so, where our barn, the pig pen, the chicken tractor and pen, the orchard, the goat pens, and a field area for crops are. To the south and west are barbed-wire fences.

One of the things we have hoped to be able to do is allow the cows and goats to roam in our main working area, eating either weeds or the left-overs from the crops. This saves costs and allows them to forage more, which is more natural to them. However, you find out really fast that 1) they prefer fruit and nut trees and hay bales first, and 2) what’s available on the inside of a fence is apparently not as enticing as what’s on the other side (regardless of what that is).

In the past, hoping this would be good enough, I had hand pulled net-wire fencing across t-posts around the orchard and pecan trees. Well, that alone proved to be a little less than successful as the goats would just go right through the barbed-wire fence to the south, and the cows decided to hop the orchard fencing to get to hay bales we had been storing in that area.

Arg.

And so, in order to allow our animals to be able to graze/browse this area, we needed to first stop the goats from getting through that south fence. This usually means putting up some form of net-wire fencing, which, besides the cost of the fencing, would mean I would have to basically re-do the whole south fence, which would mean the fence would be down for some time as I fixed or put in new posts and pulled the fencing, which would defeat the purpose of having an enclosed (ie. protected from the cows) area.

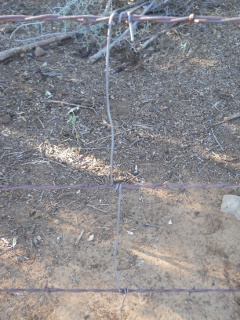
When we fix barbed-wire fences around here, often we add wire stays in certain places on dilapidated areas to keep the cows from going between barbed-wire strands. And then it struck me that I might be able to actually just do that for a whole fence line, mimicking a net wire fence. It would be kind of a tedious, time-consuming process; but to me, it was better than re-doing the whole fence.

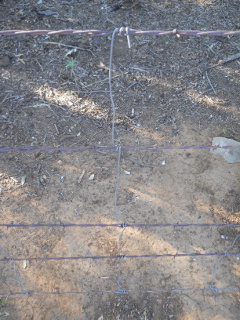
And so I began. For the stays themselves, I have found that galvanized electric fence wire is relatively inexpensive and pliable yet sturdy, and so I chose to use that. When placing the stays, I decided to put them about 10 inches apart — hopefully far apart enough to save on wire usage, but close enough to keep the goats from trying to get through it. At first, I started just trying to do a few stays each day. But that was going a little slowly, so on some days when I had time, I would do several sections (a section being between two wood posts), but generally got into the groove of doing a section a day.

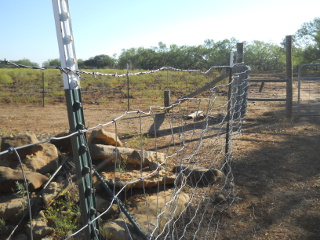
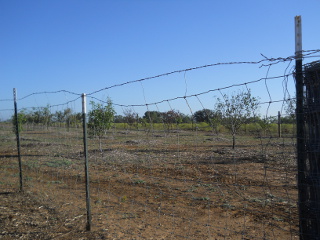
And here are the results!

Barbed-Wire Fence Turned into a New-Wire Fence Small Section
Barbed-Wire Fence Turned into a New-Wire Fence Larger Section

Here are some pictures as to how I wrapped the wire — starting at the top, two loops around each barbed-wire strand, alternating starting from the front or back of the wire as I went down each strand. Once wrapped, I would take my wire pliers and “crush” each set of loops down onto the barbed wire to keep them from sliding:

Barbed Wire Wire Stay Close Up
Full Barbed Wire Wire Stay from the Top
Full Barbed Wire Wire Stay from the Side

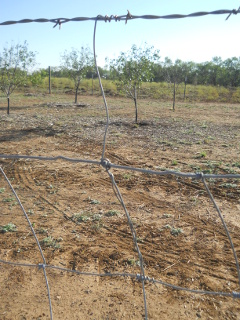
Besides turning the south fence’s barbed wire into net wire, I needed to do something about keeping the cows from jumping the orchard fence. What we normally do for a fence is add a strand of barbed wire above the fencing, but I certainly couldn’t stretch barbed wire on a hand-pull, t-post-only fence. But, I thought I might be able to use wire stays here as well to elevate the barbed wire, thus at least causing a visually higher fence for the cows, which hopefully they would not attempt to jump.

And here is how I wrapped the stays to do that:

Wire Stays to Elevate Barbed-Wire Strand Above Hand Pulled Fence
Wire Stay to Elevate Barbed-Wire Strand Above Hand Pulled Fence Close Up

And here is a close up. I did some extra wrapping of the wire down the net-wire fencing to hopefully make it a little more sturdy:

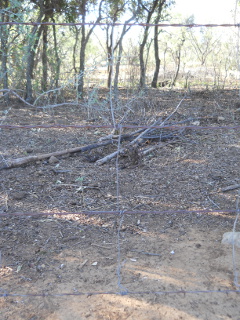
And lo and behold, it actually worked! Thanks to the Lord! The cows stopped jumping the fence; and when we started letting the goats out into the field after the cows had finished with what they were going to do with it, the goats couldn’t get through the south fence!

I was worried though they would try to do that on the west fence, but thankfully they never did, although I did add a barbed-wire strand along the bottom of that fence line because in some places the soil had eroded, and it seemed at least some of them could have fairly easily gone under it.

Our littlest doe from this year would sometimes go under the new “net-wire” fence to the south, and we’d have to shoo her back in, but being separated from the herd, she wanted back in (and would audibly let us know that!), and then eventually figured out how to get back herself. (We had one other doe figure out some way to the other side too, but it was only a few times, and she would want back in as well).

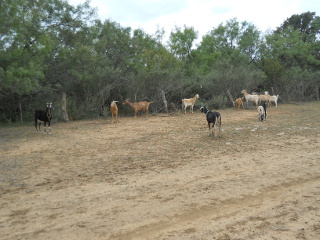
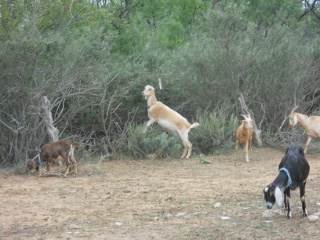
Here are goats, kept in by the “new” fencing:

I had to shore up the orchard and nut-tree fencing, adding a few t-posts, as the goats and cows would push on the fencing or lean over it to try to get to the trees (I didn’t add a barbed wire strand to the nut tree fencing); but all in all, this has worked well enough to be able to allow the animals access to some more, previously unavailable, grazing land.

We are thankful to the Lord for this idea and for allowing it to work, for the land He’s granted us all out here, and for the opportunity to further separate from dependence on the world to more dependence on Him and His direct provisions.

— David
A House – Update XIX – External Windows and Doors

After the porch roofing was complete, it was on to the windows and doors! Since our cooling and heating is through conventional means, I decided to go with double-paned, LowE windows.

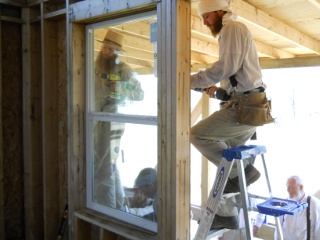
For this part of the house, I was definitely going to need some help; and so during a couple of our first Wednesday of the month community work days, the guys came over, and we started installing.

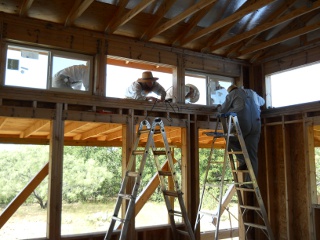
The most important windows were the pony wall windows above the porch roof, because once those were in, we could be generally rain-free inside the house. Each window was caulked, and we used deck screws on every other hole in the window frame’s “flares” that attach to the wall:

House Installing Pony Wall Windows
House Installing Pony Wall Windows from The Porch Roof

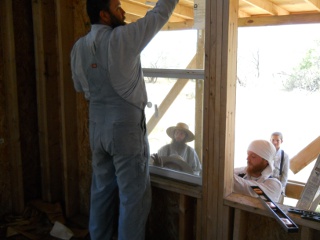
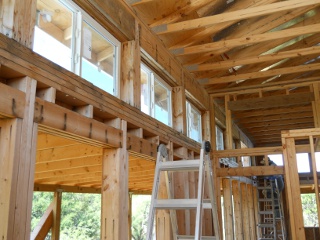
And then we worked on the lower floor windows:

House Installing Main Floor Windows
House More Installing Main Floor Windows

And here are the windows installed! The pony wall windows:

House Pony Wall Windows Installed

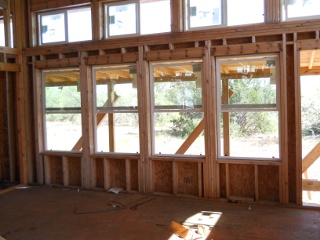
And the south bedroom windows:

House Bedroom Windows Installed

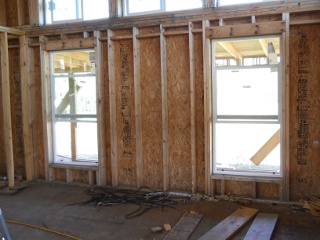
And the east library windows:

House Library Windows Installed

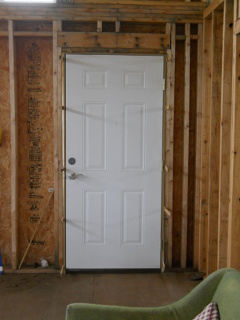
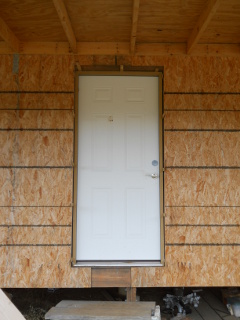
Once the windows were done, we worked on the doors. Those are always interesting to do, because you have various things to try to maintain as you get the door into place — that it’s at least somewhat level, that it’s plumb, square, and not torqued or twisted, using shims to accomplish and hold the door in place in the door frame. Interestingly, the first door we did went in without having to work very hard; but it ended up that we should have installed the door knob and hardware first, because when I did that after, the door latches didn’t match, and I had to re-do that entire door. 🙂 Arg…but, lesson learned!

House Front Door from the Inside
House Front Door from the Outside

We’re once again very thankful to the Lord for granting that we be able to progress on the house, and we are grateful to God and to the brethren for the help in this process.

— David
A Mulching We Will Go – Update I

I have come to believe that about the only way to semi-win the temporal war of the weeds around here is to mulch them. Cutting them with a lawn mower endlessly just isn’t a long-term solution. Applying the mulch under the north lean-to of our barn has worked really well, and the mulch we get from the landfill has a lot of fine compost dust, which seems to really kill plant-type material (I have found that you have to be careful not to get it on leaves of plants you want to keep, because it seems to cause them to wither and even die); and so I am hoping, Lord willing, to mulch just about everywhere around buildings, the garden areas, etc. where I would like to control the weeds.

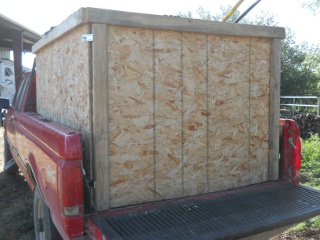
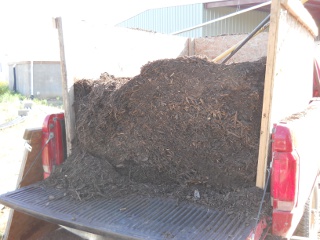
When we started adding heavy layers of mulch to the gardens, I had made a mulch carrier for our truck. With the way I originally built it, I had to heave all of the mulch over the sides. Someone asked why I didn’t have a removable back for it. Wow, brilliant! And so, I changed the carrier to have that.

Here it is with the removable back in place. I used latches that don’t spin and key hooks to keep them latched, which was a little cheaper way to go instead of using twisting latches:

Truck Bed Mulch Carrier with Removable Back

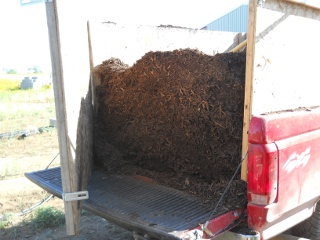
Here is the back door swung open;

Truck Bed Mulch Carrier with Removable Back Swung Open

And then completely removed. It works pretty well, and is less messy on my person, especially when it’s windy:

Truck Bed Mulch Carrier with Removable Back Removed

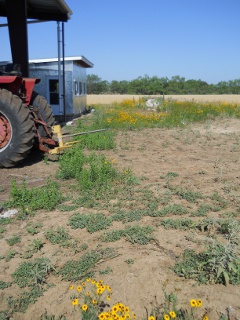
With the new carrier ready, for this round, I thought I’d continue north of the barn, filling in the whole area from where we left off last time to the water berm about 20 feet away. Here it is before the mulch, before being mowed:

Mulch Area with Weeds Before Mowing and Mulching

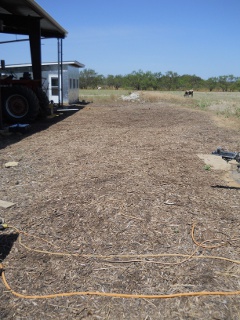
And here is the same area, two and a half months later, after laying down about a three to four inch layer. I picked the weeds one time, and it’s holding pretty well. It has to be weeded, but the weeds often come out fairly easily, and it seems over time, fewer and fewer weeds appear:

Mulch Area with Few Weeds After Mulching

Again, this whole mulching idea seems to work pretty well. We’re thankful to the Lord for this idea and the resources to implement it, and we pray God by His Spirit keep the gardens of our hearts weed-free.

— David
A House – Update XVIII – Porch Roof – Update I

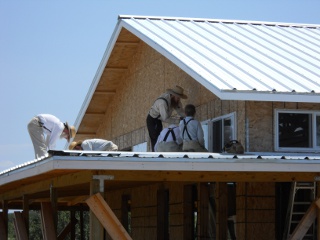
With the metal completed on the main roof of the house, it was on to finishing the porch roof.

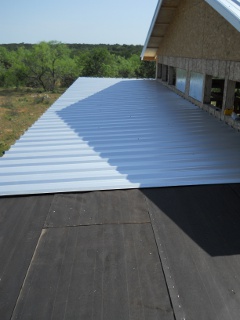
Here is the beginning of one side, with the #30 tar paper (asphalt felt) in place:

House Porch Roof Metal on Tar Paper

And a completed side:

House Porch Roof Metal Side Complete

Here are the beginnings of the hip corner. The person helping us just used a metal blade on a circular saw to make the cuts (with face protection in place!):

House Porch Roof Metal Hip Roof Complete

And then the hip corner complete:

House Porch Roof Metal Hip Roof

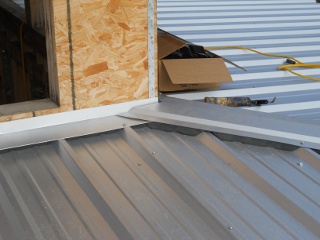
This is the upper flashing on the right porch side, the top part of the flashing to go underneath the siding, and includes fitted foam underneath. The bottom drip edge we did like we did for the main roof:

House Porch Roof Metal Top Flashing

Here is the hip ridge cap installed. It too has special angle-cut fitted foam under it:

House Porch Roof Metal Hip Roof Ridge Cap

And here is what it looks like against the corner of the house:

House Porch Roof Metal Hip Roof Ridge Cap Corner Against the House

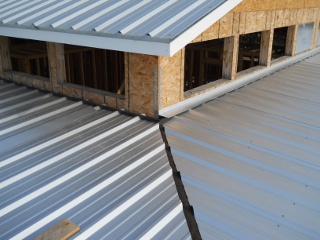
And here it all is with the metal, flashing and hip ridge caps in place, and with the fascia plates painted:

House Porch Roof Metal Complete

We are very thankful to the Lord for Him granting continued progress on the house.

— David
A House – Update XVII – Main Roof – Update I

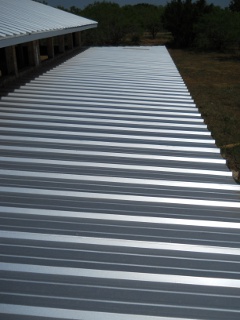
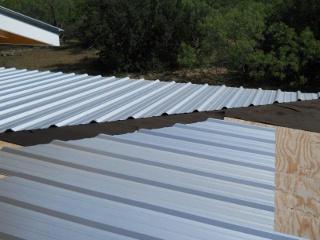
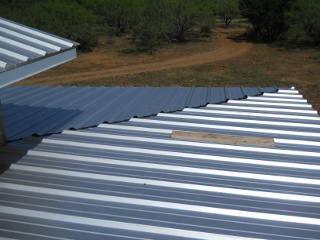
With the house internal walls framed, it was time to finish on the roof. I decided to go with metal roofing, for its longevity.

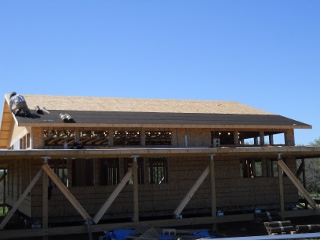
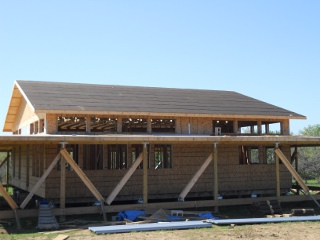
First, the tar paper (roof felt) was installed with a hammer stapler:

House Roof Tar Paper/Roof Felt Being Installed
House Roof Tar Paper/Roof Felt Finished

And we painted the face-plates:

House Roof Face Plate Painted

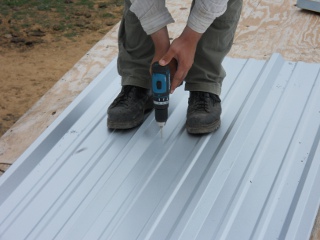
Then it was time to put up the metal. First, we pre-drilled the holes where the grommeted screws were to be put. I chose to do them 2 feet apart up the metal pieces:

Pre-Drilling Holes in Roofing Metal

And here is the first piece installed:

First Piece of Roofing Metal Installed

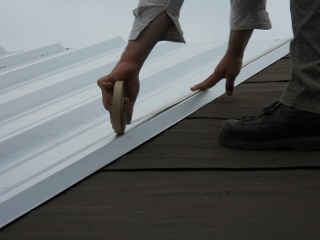
Between each piece of metal, we laid down “tacky tape” where the next metal piece would overlap:

Laying Down Roof Metal Tacky Tape

And we installed metal edging with the fitted foam on top underneath the roof metal. We found that putting the foam on first and placing the edging in place before laying down the metal piece worked best:

Metal Edging with Roof Metal Fitted Foam

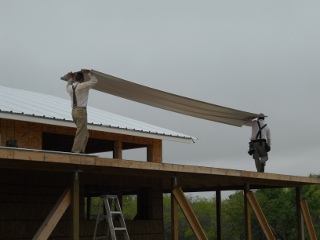
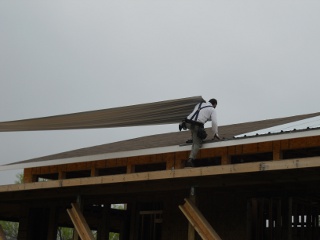
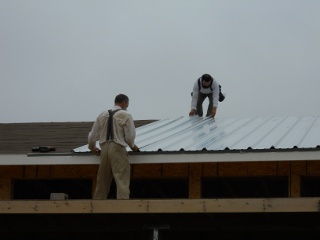
For these long pieces, we really needed two people to put up the roofing:

Carrying the Roof Metal on the Porch Roof
Carrying the Roof Metal onto the Roof
Placing the Roof Metal on the Roof

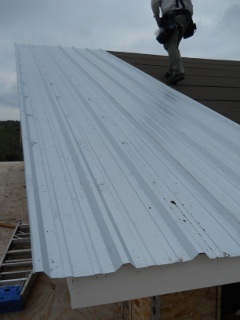
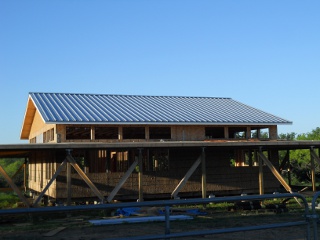
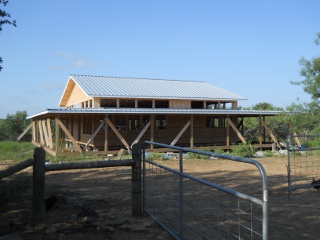
And here is the roof with all of the metal in place, including the ridge cap:

Roof Metal Complete

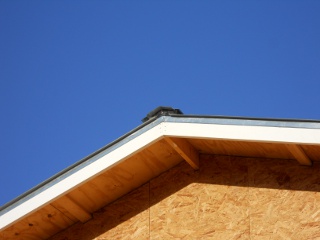
We put metal edging on the gabled end of the roof as well:

Roof Gabled End with Metal Edging

And here is a closer view of the end of the ridge cap. Mr. Gurau thought to stuff fitted foam in the ends, and with that and some caulking, that seemed to work pretty well without having to buy the typical metal roof trim and end caps. Hopefully what we did will be ok in the long-run:

Metal Roof Fitted Foam in Ridge Cap end

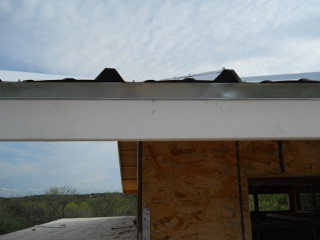
Since we don’t have air conditioning, air flow is everything, in trying to vent out the air that is heated in the attic space. Rather than buy the typical ridge vents, I decided to try a vented foam that simply is installed under the ridge cap: it’s less expensive and is supposed to vent very well:

Ridge Cap Vented Foam

And finally, here is a look up at the ridge cap with it and the vented foam installed:

Inside View of Ridge Cap Installed

Once again, we are grateful to the Lord for allowing continued progress on the home, and thank Him for the resources to do so.

— David
A House – Update XVI – Internal Walls – Update I

Once the main roof of the house was covered, it was time to finish the internal walls.

Here’s the last main wall that needed to be completed, before it was raised:

House Internal Wall Frame Before Raising

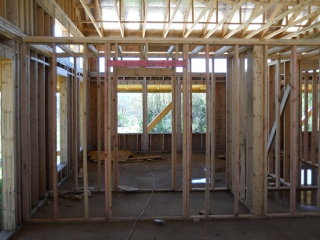
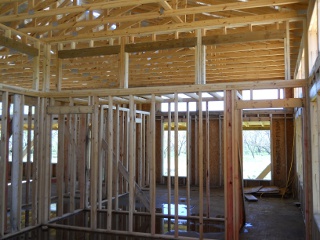
And the following pictures are how the walls look now all up and tied together. This is from the great room facing the library, showing the closet space in between:

House Internal Walls In Great Room Facing the Library

And a picture of the door to the pantry, which is next to that closet:

House Internal Walls Pantry Door

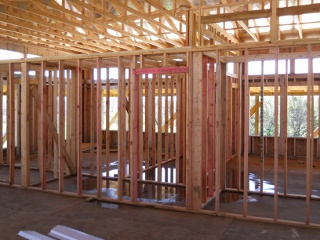
Here is the bedroom from the kitchen area with the bathroom in between:

House Internal Walls In Kitchen Facing the Bedroom

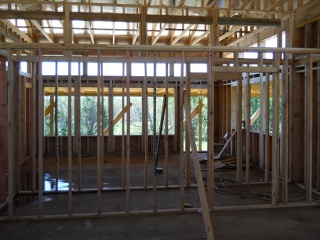
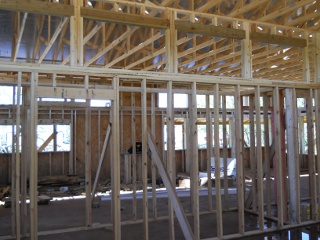
And here is from inside the bedroom facing the library:

House Internal Walls In Bedroom Facing the Library

And then facing the kitchen area. The bedroom is the only room that we plan to enclose with windows to be able to keep heat in during the winter while still allowing for air flow during the summer:

House Internal Walls In Bedroom Facing the Kitchen

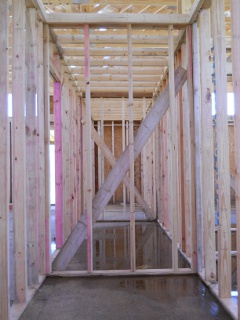
And here is a look down the pantry and closet from the bathroom:

House Internal Walls Looking Down the Pantry and Closet from the Bathroom

We are thankful once again to God for His provisions to allow us to continue progress on the house.

— David
A House – Update XV – Main Roof

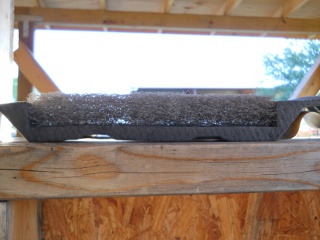
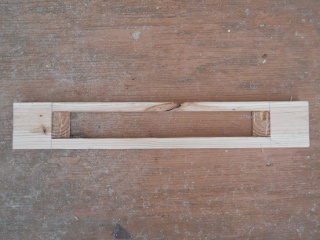
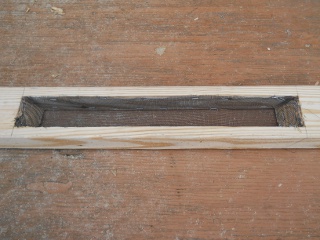
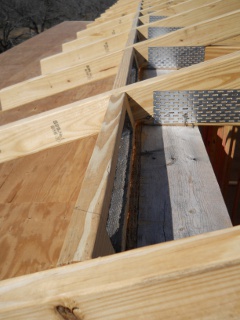
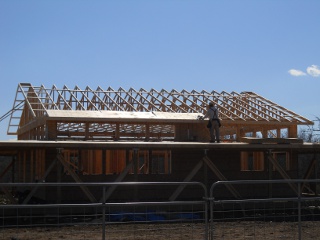
Once the house trusses were installed, it was time to start covering the roof. In order to allow maximum air flow in the attic area, I decided to add vented blocks to each space between the trusses. Here is how our house-building helper designed them, cutting them and chipping them out with a chisel. This is the back side:

House Roof Vented Block Back Side

And this is the back side with the screening in place. We used aluminum window screening:

House Roof Vented Block Back Side with Screening

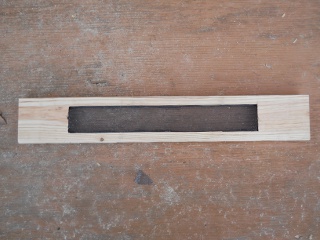
And here is the front side:

House Roof Vented Block Front Side with Screening

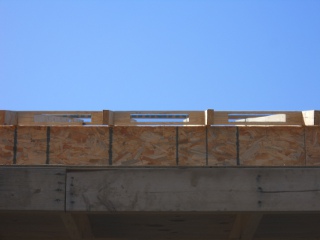
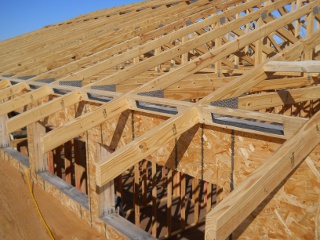
And here are the vented blocks installed:

House Roof Vented Blocks Installed Front View
House Roof Vented Blocks Installed Diagonal View
House Roof Vented Blocks Installed Inline View

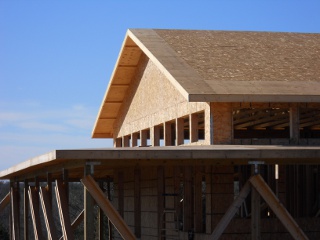
Then, it was time to add the gabled-side overhang, which was for two feet overhang. First, the 2×4 braces were added by cutting into the top of the trusses notches to hold them; and then the 2×4 braces were installed:

House Roof Gabled Overhang Braces Long View
House Roof Gabled Overhang Braces Diagonal View

And here is the overhang fascia added:

House Roof Gabled Overhang Braces with Fascia

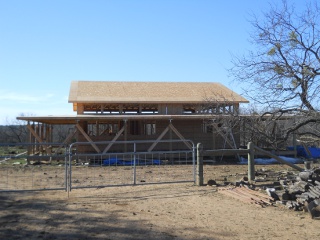
Then, it was time to add the covering surface that would go under the main roofing material. The plan was to have radiant barrier OSB (OSB that has aluminum foil on one side), which helps reflect heat, for most of the roof area, but use CDX plywood for the exposed overhang places:

House Roof Overhang Plywood

And here it is complete:

House Roof Plywood/OSB Covering Complete

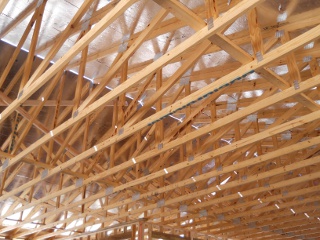
This is what the roof looks like from the inside of the house:

House Roof Plywood/OSB Covering Inside View

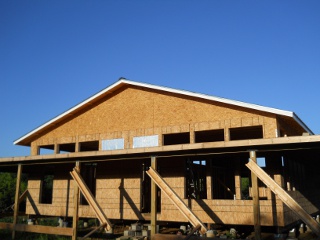
Finally, the gabled end trusses needed their underneath siding, which again were covered with radiant barrier OSB:

House Roof Gables Trusses Siding

And here is the inside look at that:

House Roof Gables Trusses Siding Inside View

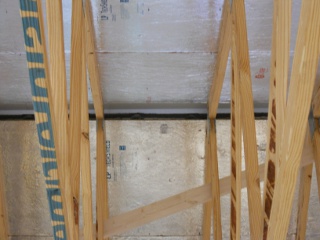
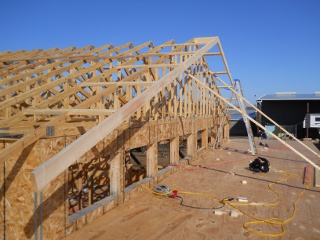
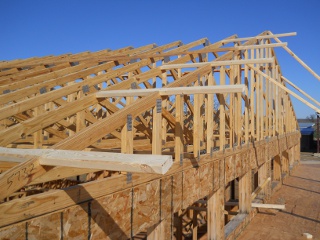
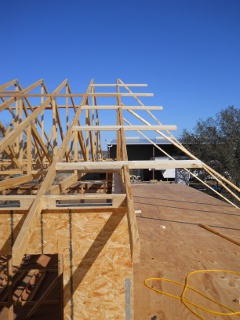
Finally, thanks to one of the kind listeners to our teacher teacher’s Internet radio show helping us out with some truss bracing information, in order to prevent them from “racking” (where the trusses basically can domino over) we added X-braces along the center posts of the trusses, on one side running from the high end of the gabled truss to the lower part of the internal trusses, attaching to each truss as it goes, and on the other side running low to high; and this was done for both gabled ends:

House Roof Trusses X Bracing

We are thankful again to the Lord for His provisions for the house, and for the continued progress.

— David
« Older posts Newer posts »