Our journal of what we pray is our sojourn of life along the narrow way, even the old paths, submitting to the Bible as a light unto both.

Category: homestead (Page 8 of 13)

A House – Update XXV – External Siding – Update I

Well, after putting on the siding for the upper west side of the house, I decided to try to knock out the upper north side, given it was during Winter, which is from where most of the rains come, and that the water running off the main roof has a tendency to bounce back toward the house — something I hadn’t considered in the design. I guess the worst part is having to close the north and south upper windows if it rains, which is only a minor inconvenience.

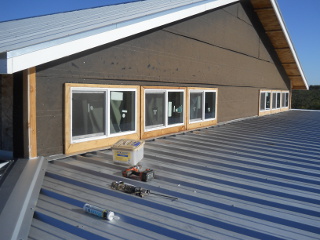
First was the tar paper, which Sue and I are able to do:

House Upper North Side Tar Paper

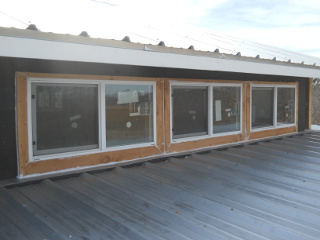
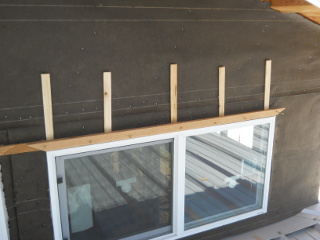
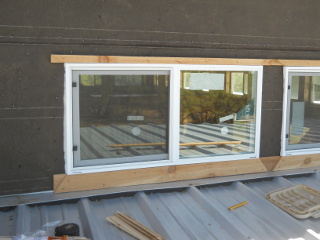
And then the window trim. Once again, we’re using cedar fence slats for the siding, for aesthetics and durability:

House Upper North Side Window Trim

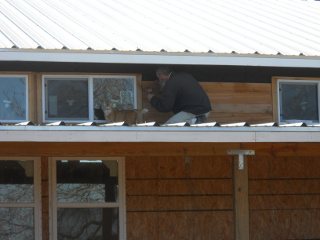
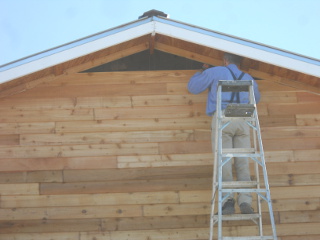
And then the main courses for the siding. After climbing the ladder himself, here is foreman William, our cat, making sure I do a good job on things:

William Our Cat Supervising Putting on the Siding

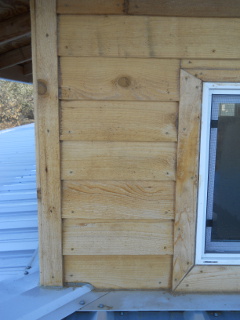
And here is some of the siding complete:

Cedar Fence Slat Siding Partially Done

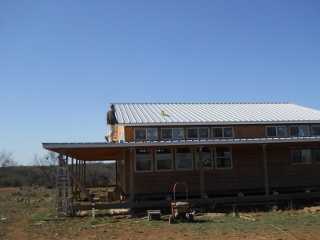
Here’s supervisor William up on the roof again with me. He had tried to jump up to the main roof, but didn’t quite make it; so I set him up there, and he went and took a look around:

William Our Cat Supervising from the Upper Roof

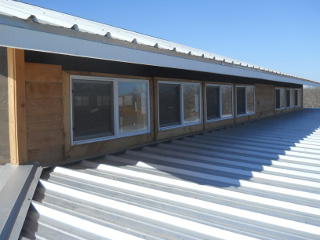
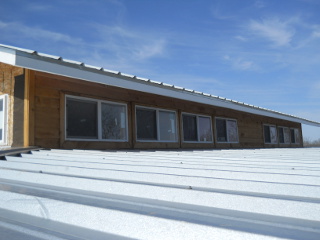
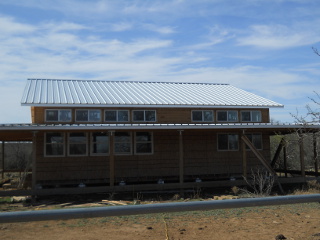
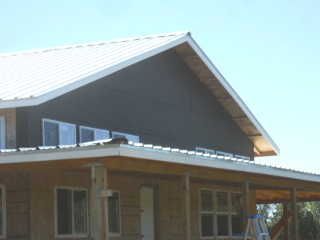
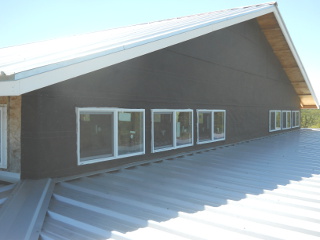
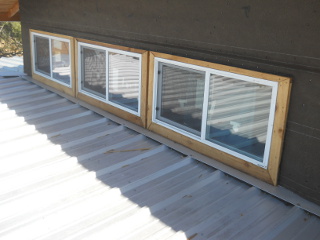
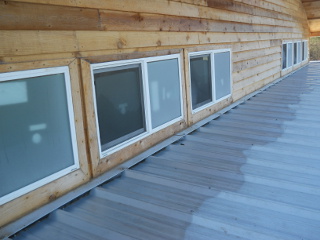
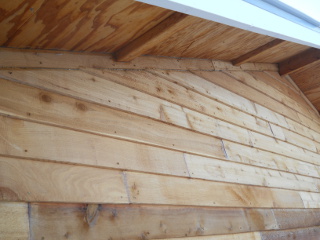
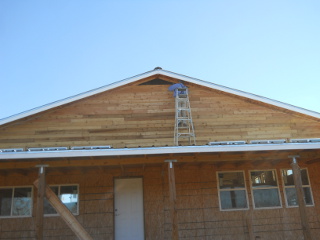
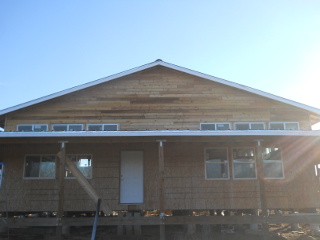
And here is the upper north siding complete!

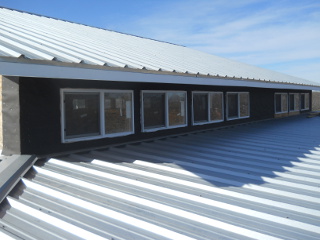
House Upper North Side Cedar Fence Slat Siding Complete
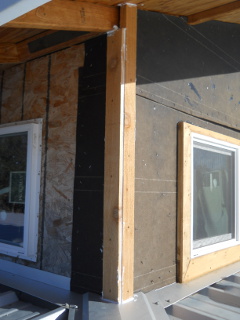
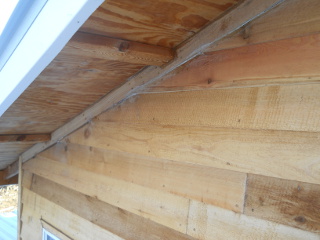
Another View of the Completed Siding of Upper North Side

So that’s two upper sides done now, both of which I’m starting to paint with wood preserver.

We are once again very grateful to the Lord for granting the provisions to continue on the house, and safety while we are up there.

— David

A House – Update XXIV – External Siding

The Lord has graciously supplied resources via help from others to be able to work on the external siding of our house. We’re very thankful to God and them to be able to begin to protect the most exposed under-siding areas, as the OSB only lasts so long in the elements.

First was the tar paper that Sue and I put up using a hammer stapler. We were told we should have put the windows in after the tar paper, but I guess it was a little late for that now. I suppose I should have applied some special tape to secure the tar paper to the window — perhaps I’ll plan to do that on the next ones:

House External Upper West Siding Tar Paper Installed
More External Upper West Siding Tar Paper Installed

I wanted siding that was durable, hopefully without having to paint it all of the time, but that could be used as lap siding because I like the look, and was not too expensive; and so I thought cedar fence slats just might accomplish the task. I also decided on using tan Deckmate screws, so if we needed to remove pieces easily we could, and because the tan color matches the boards nicely.

First was the window trim. For the bottom and top, I just ripped a slat (cut it length-wise) to fit the bottom, and then just used what was left on top, to try to save on slat usage. The trim is two boards thick — the under board corners are cut square to fit, and the top ones are miter-cut at angles for aesthetics, although with the funny (non-45 degree) angles, they didn’t end up joining together too nicely, but hopefully I’ll get better at that as I go. Because of the shape of the screws, I found I needed to drill pilot holes slightly using a 3/8 inch bit, so the screw head would sit nicely and not split the board; and I used 5 screws per full board, probably about 3/4 inch up from the bottom of the slat.

And because the window “flares” (the part that holds the window to the wall) stick out, and the top trim was so thin, I used shims to push the top of the trim piece a little more vertically level:

Upper Window Trim Top & Bottom with Shims

Here is the trim with the shims cropped:

Upper Window Trim Top & Bottom

And the window trim complete. All throughout the siding I tried to use copious amounts of clear silicone caulking:

Upper Windows Trim Complete

With the corner trim, I ripped the outer boards in a way so as to be able to cover the overlapping of the under boards:

Upper Corner Trim

And here are the windows and corners done:

Upper Window Trim & Corners Complete

Here is the corner to window siding. I initially thought I would run a string all of the way across to try to keep each course level, but with the distance of 40 feet, the string sagged; and so I figured once I got above the windows, I could even things out as I went, making sure the first course above the windows was generally the same height on one end of the house and the other. I was also able to follow the line on the tar paper on this first course, which helped set things fairly straight:

Corner to Window Siding

Because I worried that the slats might shrink some over time, I wanted to have a decent overlap, and ended up going with 5 inches of each course visible (the slats are around 5 1/2 inches wide). Each board-join I bevel-cut at 45 degree angles to overlap each join, hopefully helping to keep more moisture out, and I caulked each join as well. Given some of the slats would have arcs in their width, I’d have to try to press them flat when running the sliding chop saw through them:

Several Rows of Siding

Here is the roofline trim. At one point in this area, I started caulking and realized I was using white caulking instead of clear. Arg. I tried to wipe it off with wet cloths as much as possible, but some is still there, although at least I did it in a place that’s somewhat generally hidden:

Roofline Trim
More Roofline Trim

Here I am getting close to the top:

Installing Siding Near the Roof
More Installing Siding Near the Roof

And here is the first side complete! We plan to paint it with clear wood protector, once the colors settle, since it appears some of the red tinting in the boards seems to fade away over time; and we might paint the trim a different color, just so it stands out a little. It’s an amateur job, but I’m an amateur. 🙂

House External West Siding Complete

Because of time restrictions, it took several months to do this, but we are very thankful again to the Lord for granting this progress on the house!

— David

A House – Update XXIII – Front Screen Door, Bedroom Ceiling Insulation, Beam Brackets & Drapes

Just a little update on a few things we’ve been able to continue on with the house, by God’s graces.

Front Screen Door

We’ve had these for some time (bought them with the windows and doors, and with the heat of summer, I wanted to at least try to get the front door screen installed.

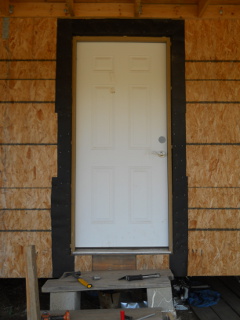
Here’s the tar paper installed:

Front Screen Door Tar Paper

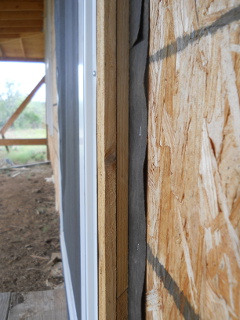
And for the frame, I decided to use cedar fence slats because of the longevity of cedar and the inexpensiveness of the slats. Since we’re planning on a form of lap siding for the house siding, with the fence slats being 1/2 inch thick, I needed to build out the frame by double stacking them (making the frame 1 inch thick).

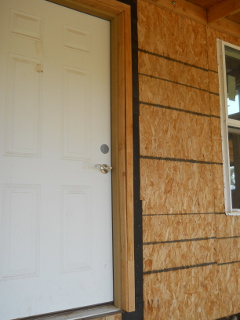
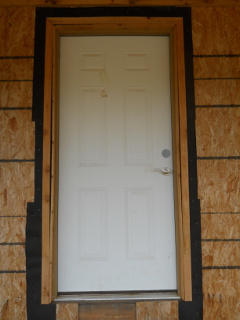
Here’s the inner frame. I used tan deck screws to hold the pieces in place:

Front Screen Door Inner Frame
Front Screen Door Inner Frame Side View

After putting up the entire outer frame, I checked the width measurements of the screen door, and discovered the frame on the inside of the door, being an inch thick, was going to make the screen door frame too small. After trying to fit the screen door in place, I found out I was correct…bummer. So, I took the outer frame pieces off from inside the door frame, and ripped them vertically on the table saw to slice them in half, making them about 1/4 inch thick instead. This ended up leaving table saw burn marks, which I had to belt-sand off, and made them thin, so they ended up splitting some when putting them back in place, even with pilot holes.

I believe for future ones, I would plan to just get 1-by cedar boards, which are going to be 3/4 inch thick, which is what I ended up needing.

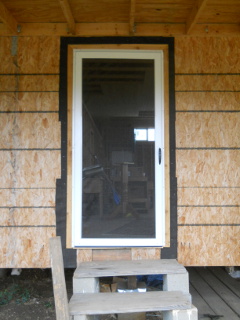
And here is the screen door in place. We have found in other structures that when a partial screen door is wide open, it still allows much more air flow then when it’s closed, even if half of it is a screen; so I wanted something that was full-length screen. The screen is removable and can be replaced with a glass frame instead:

Front Screen Door Installed

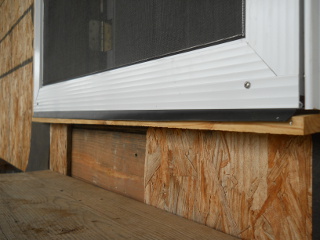
Here’s a look at the screen door frame:

Side View of Screen Door Frame

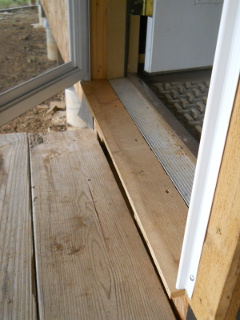
And the base plate:

Front Screen Door Base Plate

And the door sweep:

Front Screen Door Sweep

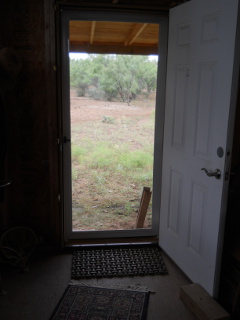
And the nice view from the inside!

Front Screen Door From Inside

We’re thankful to the Lord for these screen doors, and for the air flow they allow.

Bedroom Ceiling Insulation

In trying to continue with the bedroom, in hopes of being able to at least sleep there during the winter, and since we had the ceiling panels in place, it was time to start getting some ceiling insulation in place.

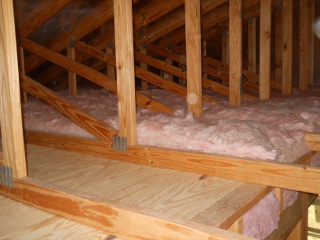
Here is some of the R30 rolled out. Maneuvering the big rolls of insulation in the trusses while trying to make sure to only walk on the trusses, and having to lay down to get the insulation in place at the low end of the trusses, was a little more difficult that anticipated. Some of the grommeted screws from the roof metal got my shirt and the top of my head 🙂 :

House Bedroom Ceiling Insulation

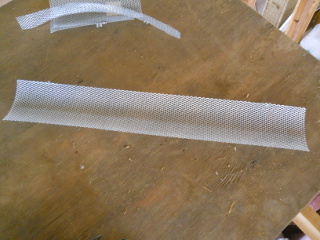
Since the truss-end blocks are vented, we needed a way to push the 9-inch or so insulation down, so the vents wouldn’t be blocked. They have these foam baffles, but they just seemed so flimsy that they wouldn’t press the insulation down enough. While in that area of Home Depot, trying to figure out what I was going to do, I found some metal leaf guards for rain gutters that sort of have a lattice pattern; and in looking at them, their flexibility and tensile strength, I thought maybe they might work:

Metal Gutter Leaf Guard

I tried cutting one at 1-inch wide, but that wasn’t strong enough to keep the insulation pressed down. And so I tried just cutting the 6-inch guards in half, about 22 1/2 inches long (after trying 24 and 23 1/4 inches), basically cutting off 6 half-lattice sections back; and after cupping them from end to end, I found they would keep the insulation pressed down:

Metal Gutter Leaf Guard Cut in Half and Formed into Stay

Getting far enough out the low end of the trusses to be able to place the insulation stays was interesting. I used a small OSB board to lay on across the trusses, and while laying there, with the roof so close above that I could barely turn my head, I had to reach out arms length to press the metal stay in place. It sometimes took some messing with, and sometimes pulling it out and re-shaping the the stays, but I was able to get them to hold:

Metal Insulation Stay Installed

With the the insulation right by the vent held down, I needed it to be pressed down just a bit more, a little farther back, so I took these left-over OSB strips and just slid them all the way to the corner of the horizontal and angled truss boards:

OSB Strip Insulation Stays
OSB Strip Insulation Stay Installed

Thanks again to the Lord for the insulation and the stays idea.

Extra Foundation Beam Support Brackets

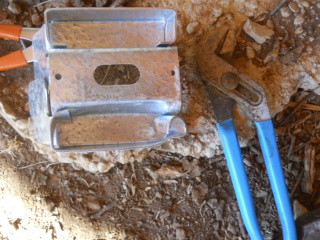
For some time, given how I designed the foundation beams and the weight of the house, I’ve been a little worried about the overhang of the beams over the piers. I have tried to think back as to why I did that, not putting the pier right under the beam end, and I think I had felt I needed to have the whole pier under the floor footprint, I think because I thought a barrier would need to extend from the wall straight down to the ground, but that wouldn’t have worked anyway, given that some of the wide bases of the concrete piers were above ground. At any rate, I had been trying to think of how to support underneath the beam overhangs, and then in struck me one day that I could probably slide into place another bracket like the ones bolted to the piers, just the 4×4 ones instead of the 4×6 I had already used. And so, over time, I’ve been trying to collect them, and slowly install them under each overhang, starting with the corners, which I figured were the most critical and most load-bearing.

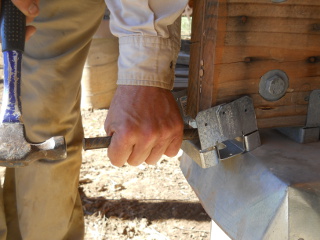
To get them to slide in, I had to sometimes chisel out a little of the bottom of the beam, and then often would have to hammer them into place using a piece of 1/2-inch re-bar:

Using Rebar to Hammer into Place a Foundation Beam Overhang Support Bracket

Sometimes the bracket would get caught on some uneven concrete under the termite shield, and I’d have to hammer it back out:

Uneven Pier Concrete Under Termite Shield

And sometimes it would end up contorted, so I’d have to re-shape it:

Contorted Foundation Beam Bracket

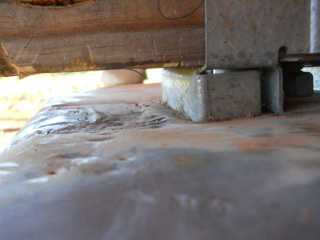
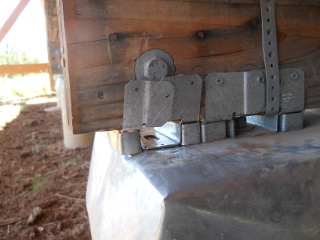
But finally, on this one, after chiseling out some of the wood, I was actually able to slide it into place by hand:

Foundation Beam Overhang Support Bracket Installed

Hopefully these brackets will help any potential beam overhang problem, and not cause any unforeseen problems, and I’m thankful to God for the idea.

First Drapes

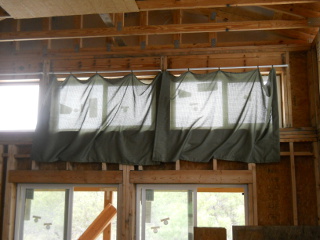
With the sun slowly moving south as we head out of summer, it started shining into the house on our working table, and so Sue took some pieces of drapery-type material we had been given, hooked on some drape-rod rings, and we put up some light drapes that at least cast some shade. These are only temporary, but did seem to help against some of the heat from the direct sunlight:

First Upper Window Drapes

And we thank the Lord for this quick and inexpensive thing we could do.

Once again, we are very grateful to God for allowing the resources and strength to continue this progress on the house!

— David
A House – Update XXII – Great Room Ceiling, Floor Insulation and Some Move In

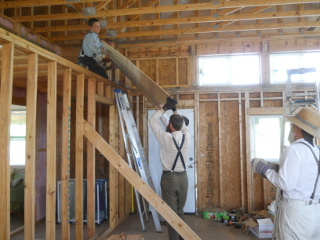
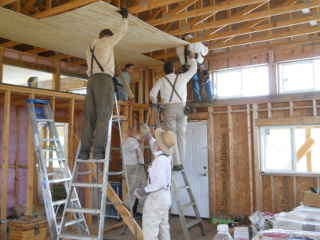
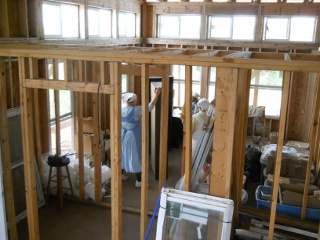
This past first Wednesday of the month for community work day, the group graciously worked at our place to help continue with some things on the house we’re building. In preparation for being able to install a wood burning stove for the kitchen, we needed to get the ceiling paneling over to that area. As we did when the group helped put up ceiling in the bedroom, I wanted to start in the middle of the house instead of on one side, so that if the side we started on was “off” compared to the other side, we could end up with squaring problems. And so, we needed just enough panels to get from the middle of the house over to where the stove is planned to be. Running them offset by half, I figured two per row would hopefully allow us to keep the next row’s panels fairly square on the previous row’s panels.

And here’s the crew helping do just that:

House Putting Up Great Room Ceiling Panels
House Putting Up More Great Room Ceiling Panels

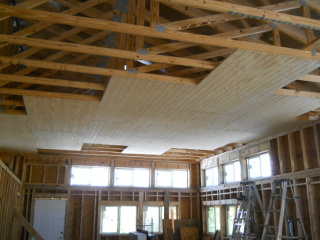
And here are all of them in place. The stove is planned to go over there on the right near the wall where there aren’t any windows:

House Some Great Room Ceiling Panels in Place

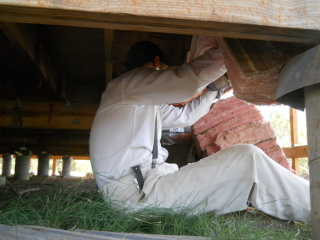
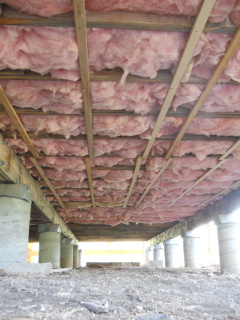
A very long time ago, probably when we bought the wood for the floor, I had bought the floor insulation, and it had been sitting in our barn for years. Recently though, with the roof on, we moved the insulation into the house, and I had started to install it. On this last workday, with the ceiling panels going up fairly quickly, and with the time left over, the men helped continue and finish installing the insulation:

House Floor Installing Insulation

Sue had been in town at one point fairly recently, and I had asked her to stop off at the hardware store to try to find these insulation holder-type things that slide between the joists and apparently help keep up the insulation. I guess the store didn’t have them, and someone there said people often use chicken wire, but that can be expensive for this type of application. Someone else suggested using wood-strip runners, which I thought was a pretty good idea, since we had the left-over 2x6s we were using as braces to twist the porch posts, and so I took them and starting ripping some of them into runners for the insulation. For a 2×6, I found that setting the guide on the rip saw at 23/32s (1/16 past 5/8 + half of the next 16th) worked just about right to evenly rip the board into 7 pieces:

House Floor Installing Insulation Runners

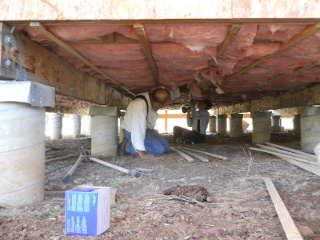
And here’s a picture showing them installed:

House Floor Insulation & Runners in Place

After this work day, thanks to the help, all of the floor insulation is in place, and I only have the runners to finish for the last two sections.

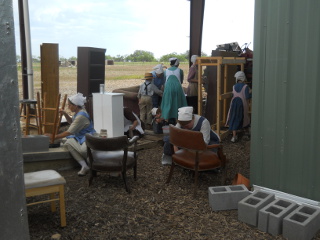
The ladies helped us with some things on workday as well. They helped clean up some of our furniture that’s been in the barn since we moved everything in there, and we were able to move a lot of it into the house.

Here the ladies are helping clean:

House Furniture Cleaning
More House Furniture Cleaning

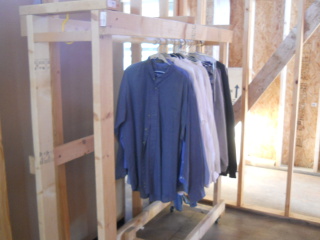
And here is the wardrobe I had built when we had first moved here now in the bedroom closet:

House Bedroom Closet Wardrobe

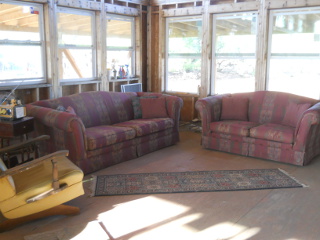
Here’s the living room:

House Living Room

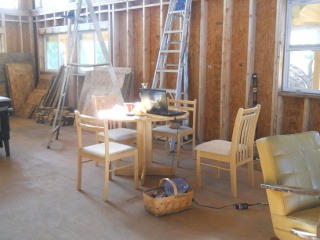
And toward the kitchen:

House Living Room Toward the Kitchen

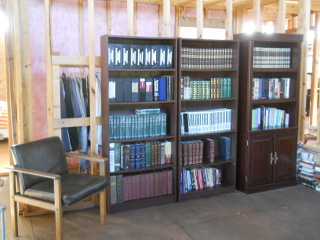
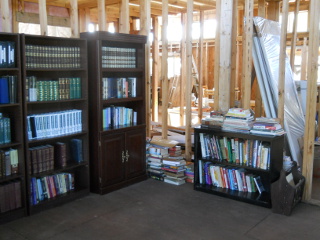
And here are book shelves, where we’ve finally been able to unload many of our books from the tubs we had them in from our move to Texas:

House Library Books in Shelves
More House Library Books in Shelves

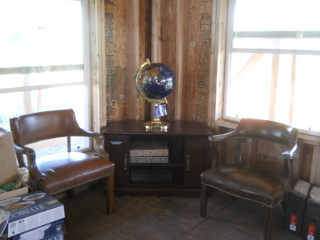
And this globe was a nice gift, which we finally get to put up:

House Library Globe

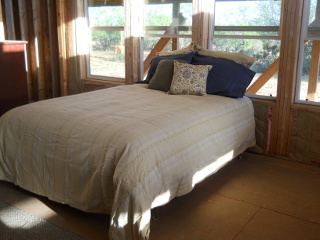
Finally, with the heat of summer already starting, and with our camper getting very hot during those times, with very little ventilation, a few weeks ago, we decided to set up our bed that’s also been in the barn since we moved everything into it. The plan was to be able to position ourselves right in front of the window screens while we slept, so hopefully any breeze would keep us a bit cooler, and thankfully, it has worked pretty well.

The bedspread and other accoutrements we were able to get using gift certificates we had received for our wedding back in 2003! We had been saving them for things for the house, and we’re grateful to be able to finally use them:

House Bedroom Bed Made Up

As always, we are very thankful to the Lord for His continued provisions, and allowing progress on the house. And we thank Him and the folks here for the help and service from this workday to be able to get some of these things done.

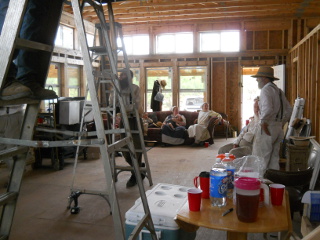
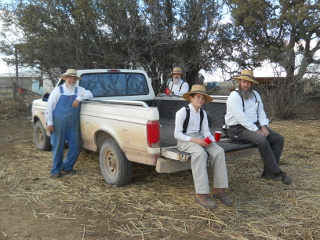
Here was a moment of relaxing:

House Workday Fellowship

We pray the Lord glorified Himself during our activities on workday, and that He grants a blessing on the group here for their help, and that He grants us growth in service to Him and each other.

— David
The Barn – Update I – The Loft

Part of the original plan for our barn was to have a U-shaped loft inside, where the entire back 20 feet would have a loft, and then moving forward in the barn, the loft would extend 10-12 feet from the side walls for another 20 feet or so of depth.

Well, over a year ago, I was able to start on this process, with the idea of building one half of the back section at a time. At the time, I figured I would have that section done by now, but it was not meant to be; however, I thought I’d show the progress in pieces, starting with where it is today.

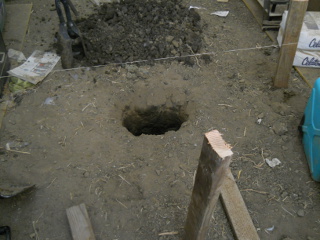
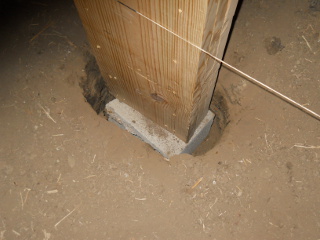
Here is the first post hole:

Barn Loft First Post Hole

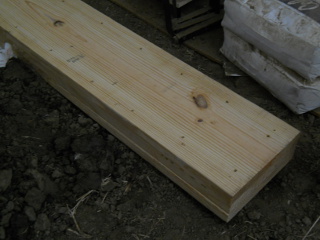
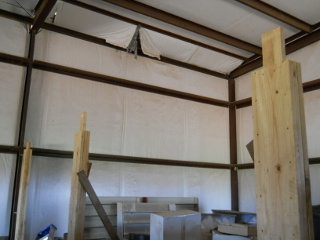
And here is part of the first post. I decided to use triple 2×12 inch built-up posts, using deck screws to tie the boards together, for the farther internal one, 2×10 inch boards for the center post between the barn-middle post and the barn wall, and 2×8 inch boards for the posts that would sit on the barn side’s concrete footer. I chose to make them this hefty because of potential weight we might have up there one day, like grains, etc., Lord willing:

Barn Loft Built-Up Post

I didn’t calculate the height of the first posts correctly when I bought the wood, and so I needed to elevate the post some. I used a cinder block for that, and string to align the posts:

Barn Loft Post on Cinder Block in Hole

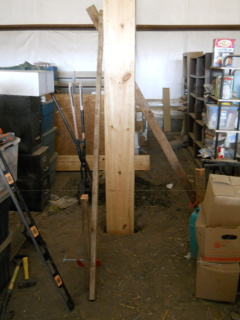
And here is the post braced:

Barn Loft Post Braced

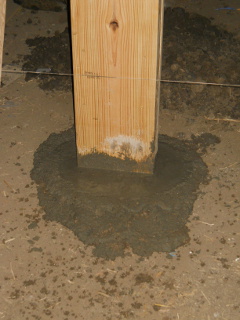
And then in concrete:

Barn Loft Post in Concrete

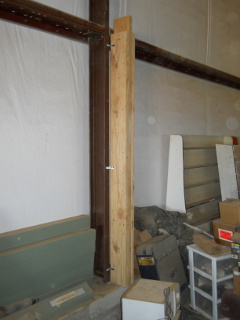
Here is a post next to the barn structure, attached to the metal barn post, using L-brackets and self-tapping screws:

Barn Loft Post on Barn Footer Attached to Metal Post

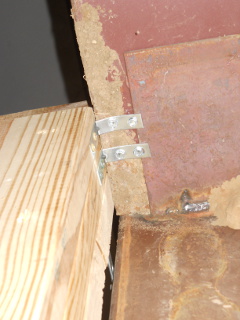
And here is one attached to one of the metal purlins, looking from behind the post:

Barn Loft Post Attached to Metal Purlin

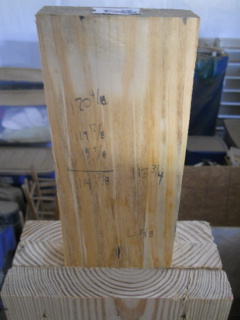
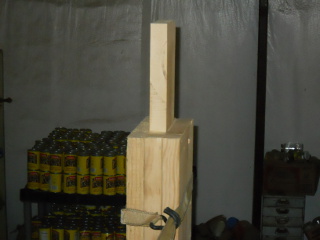
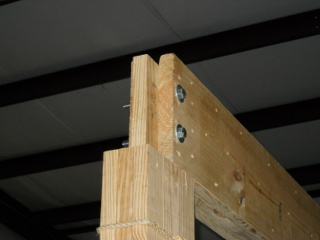
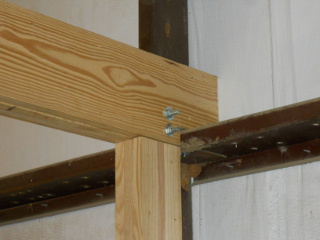
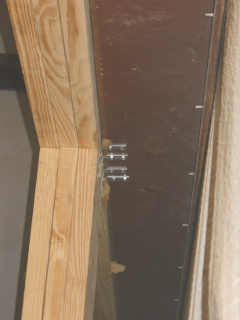
I cut away the top of the posts all around the center board to allow the cross beams to be attached with bolts and allow for the center boards of the cross beams to have something to sit on:

Barn Loft Post Top Cutaways Front View
Barn Loft Post Top Cutaways Side View

And here is the first row of posts:

Barn Loft Three Posts Complete

Here is one end of the cross beam. I used 5/8 inch bolts to secure the cross beam to the post:

Barn Loft Cross Beam End

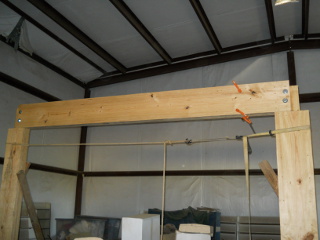
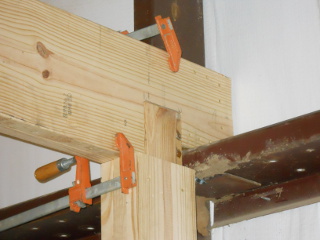
And the first cross beam in place. I used ratchet straps to vertically level the posts and bar clamps to squeeze together the cross beam boards as I screwed in the deck screws:

Barn Loft Cross Beam Installed

Here’s how the first two boards looked installed on the post attached to the barn structure, which required some overhang to cross the purlin to fill in the space all the way to the barn wall:

Barn Loft Cross Beam Barn End Design

And that same end complete:

Barn Loft Cross Beam Barn End Complete

Here is how I attached the back cross beam to the back purlin (some of these L-brackets I would have to install on the post before raising it because of lack of space issues for getting tools in there to install them after the fact):

Barn Loft Back Cross Beam Attached to Purlin

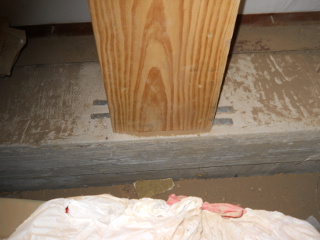
And here is how I attached the posts sitting on the barn’s concrete footer, using concrete screws for this:

Barn Loft Post on Barn Footer Attached to the Concrete

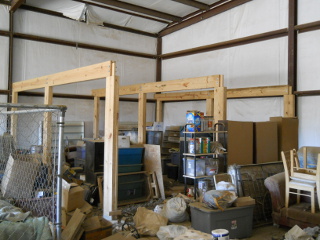
And here are all the beams in place!

Barn Loft Posts and Cross Beams Complete

It’s been like this for some time, but we are grateful to the Lord for granting that we be able to begin constructing the barn loft. We look forward one day, if the Lord wills, to be able to begin installing the floor, even if it’s one sheet at a time.

— David
A House – Update XXI – The Bedroom

In continuing with our house we’re working on, back in the fall, I was hoping to be able to start working on finishing the bedroom so that we could be at least sleeping in there for the winter, with maybe even a small wood burner in place that we plan to have in there. But, resources didn’t really allow for that to come about, although we are grateful to the Lord for allowing us start to make some progress on the bedroom.

I believe it was back in the fall when I was able to get the insulation required for the walls, and here it all is installed:

This is the south wall:

House Bedroom Insulation South Wall

And the west wall:

House Bedroom Insulation West Wall

The north wall:

House Bedroom Insulation North Wall

And the east wall:

House Bedroom Insulation East Wall

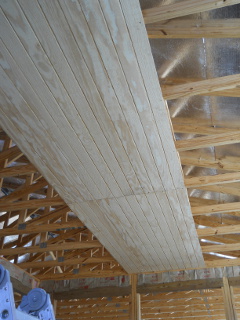
And then, just this last community work day (which are the first Wednesdays of each month), the men came over to help put up the ceiling material, which was next on the agenda. I spent some time trying to price out the best deal that also might look kind of nice, and that could be installed fairly quickly; and so, I decided to go with what’s called “rough shod” plywood, which is a less expensive form of “T1-11”-looking siding.

It took three of us on ladders, with two helping below to hand us the plywood and screws (I decided on tan-colored Deck Mate screws, so that they would hopefully hold better than nails and would also blend in color-wise).

Here is the first row done. We decided to starting in the middle and work our way toward each side, in hopes any error in the squareness of the room would show less than if we started on one side, which might cause gaps between sheets and between sheets and walls to become cumulative as we went along. It’s actually kind of hard work holding up that sheet while trying to place it properly:

House Bedroom Ceiling First Row

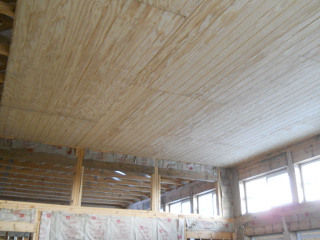
And here is the ceiling after the day’s work, facing southeast. You can see that we got everything done except that last row to the left:

House Ceiling Facing Southeast

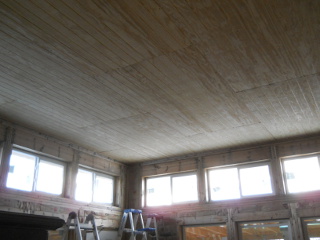
And facing southwest:

House Ceiling Facing Southwest

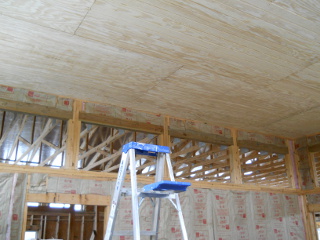
And then one of the men graciously offered his time on the next Lord’s Day community visitation day to help me put up the last row (which included much smaller pieces width-wise, so just the two of us were able to handle it):

House Ceiling Complete

Much gratitude to the community work day ceiling crew!

House Ceiling Community Work Day Crew

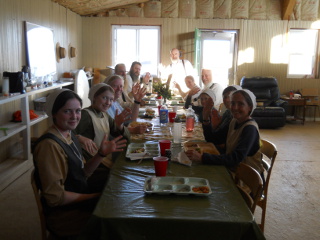
And then it was time for the community work day fellowship meal. Everyone says “hello”, by the way: 🙂

Community Work Day Fellowship Meal

We are once again very thankful to God for granting progress on the house. He’s gracious and merciful in allowing it to continue, and for allowing us the fellowship of the brethren here, in general, in serving one another. It is Sue and my prayer that she and I especially (and of course all of us) grow more in servanthood to Christ and His people.

— David
A House – Update XX – Keeping a Lid On It

With the external windows and doors installed, and with winter coming upon us, I figured it was time to secure the various roof lines as planned, to help against any snow loads we might have and any high north winds as can often happen with those cold fronts that run through.

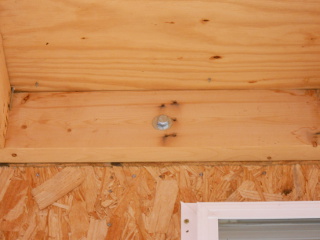
For roof load of the porch, I still needed to tie the rafter header board to the house, and for this I used 4×1/2 inch lag screws with a washer, drilling a 3/8 inch pilot hole into wall studs, placing them 4 feet apart or so:

Porch Roof Header Board Bolted to Wall Studs

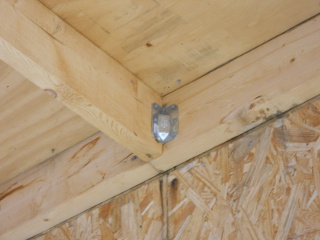
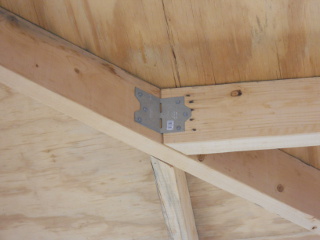
I also added ties for the rafters to the header board. These were the less expensive ones but also had a gusset to help keep them from bending and thus hopefully keep the rafters more tightly against the header board. I used 1 1/2 inch 9 gauge exterior galvanized joint hanger nails to attach them, and for now, I decided to at least get one in place for every other rafter, hopefully to someday put on on each:

Porch Rafter Header Joint Ties

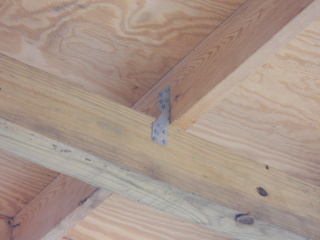
And I added some angled ties to the rafters that join at the hip rafter:

Porch Roof Hip Rafter Joint Ties

As for the winds, I used hurricane clips for the porch roof rafters, tying them to the cross posts:

Porch Roof Rafter Cross Beam Hurricane Clips

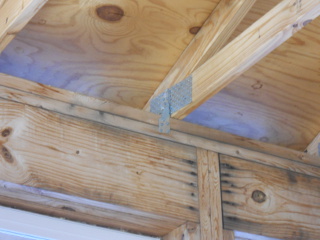
And inside, on the main roof, tying the trusses to the pony wall top plates. To make sure the tie twist was hidden in the roof area, I put them on the left side. I started by hammering one nail into the bottom part, then placed all the nails in the top part, and then finished by filling in the bottom. Also, the top part of the tie was right where the truss metal gussets are, and so I had to hold the nail with my right hand trying to bend the top of the tie back, and then hammer through the gusset with my left hand, and being right-handed, that sometimes had some quite painful results. 🙂 :

Roof Truss Hurricane Clips to Interior Wall

Hopefully these will help against most of the weather issues we might face, as the Lord wills.

We are thankful once again to God for allowing us to continue progress on the house.

— David
« Older posts Newer posts »