Our journal of what we pray is our sojourn of life along the narrow way, even the old paths, submitting to the Bible as a light unto both.

Category: homestead (Page 5 of 13)

A House – Update XLI – Kitchen Counter Endcaps, Bedroom/Library Internal Siding & Fellowship Hats

Kitchen Counter Endcaps

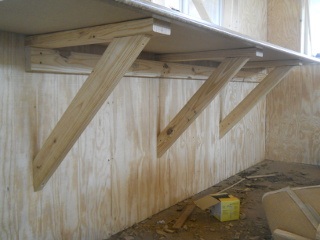
After the kitchen counter top was in place, I still needed to finish the endcaps.

They come in a kit, with a couple of wood pieces to attach to fill out the side, and then the laminate pieces with some kind of heat-activated glue on them.

I attached the wood pieces with a finish nailer:

Kitchen Counter Top Endcap Build Up Wood Pieces

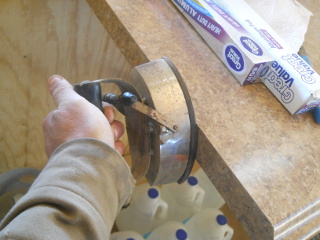
And then you’re supposed to iron on the laminate pieces, keeping the iron at a certain temperature…a little difficult when the iron you have has to be heated up on a stove. 🙂 :

Ironing on Kitchen Counter Top Endcap

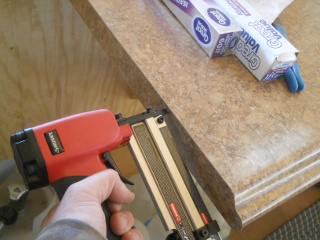
Unable to get a good temperature, I think even too hot to where the glue wouldn’t stick, I ended up just tacking them down with pin nails, which at least for me, I can’t even see:

Pin Nailing Kitchen Counter Top Endcap

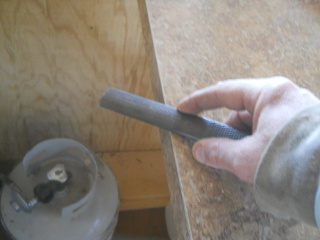
Then, you’re supposed to file down the edges flush to the counter top:

Filing Edges of Kitchen Counter Top Endcap

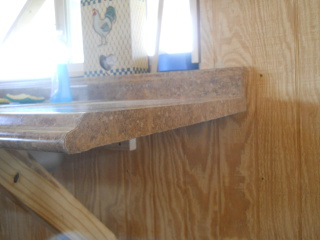
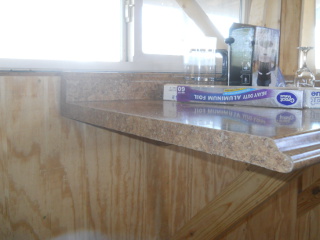
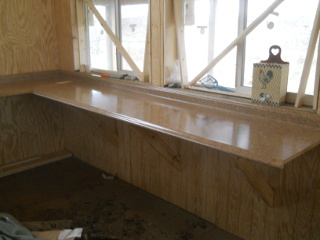
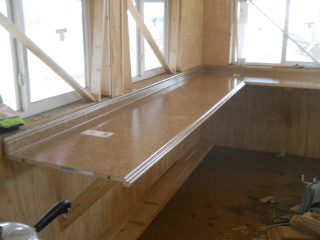
And here they are done! I also caulked around the edges just to make sure moisture is kept out as much as possible:

Kitchen Counter Top Endcap

Another Kitchen Counter Top Endcap

Bedroom/Library Internal Siding

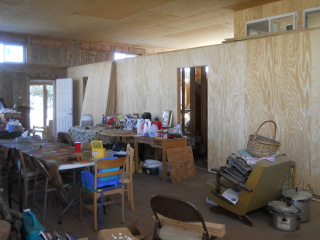
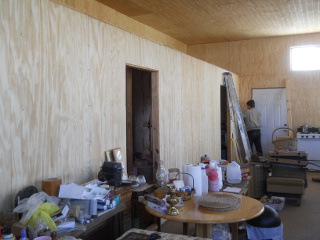
We’ve also been able to continue with the internal siding. On to the bedroom:

Bedroom Internal Siding West External Wall

Bedroom Internal Siding South External Wall

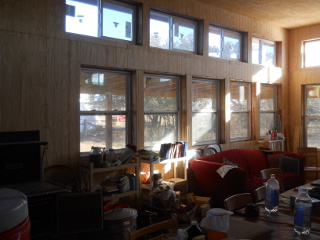
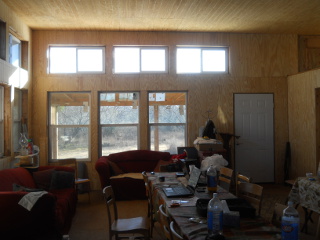
And then the library:

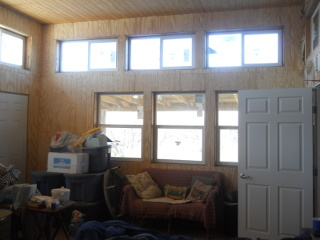
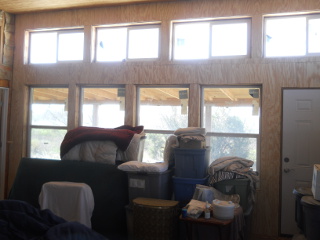
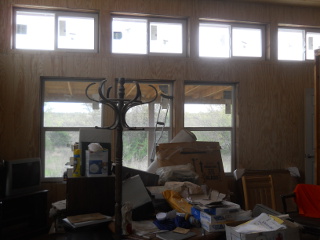
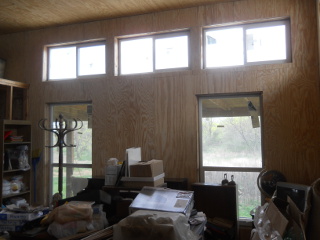
Library Internal Siding South External Wall

Library Internal Siding East External Wall

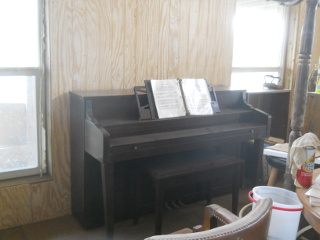
We’ve also found a new place for the piano: out of the summer kitchen and into the library — hopefully it will be a better temperature environment for it, and hopefully fewer mice will make it a home now 🙂 :

Piano in Library

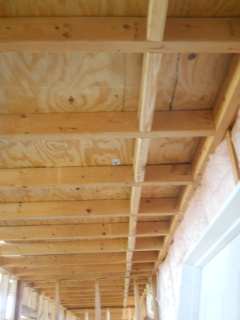
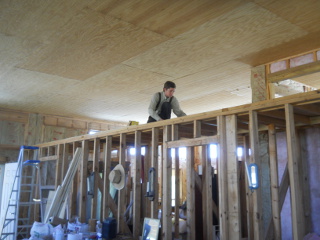
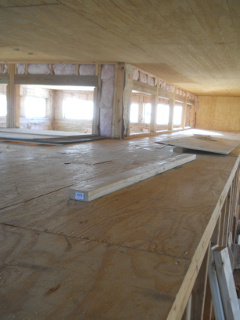
And now, all of the internal siding on the external walls, except for the two closets, are done!

Fellowship Hats

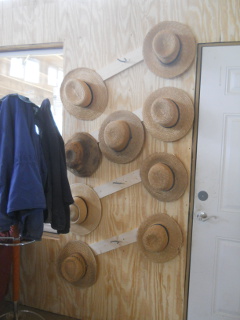
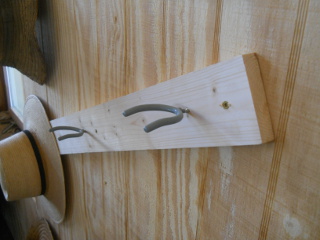
And finally, one of the major reasons we are out here is for the close Christian fellowship. Here is a pleasing sign of one of those times, as we’re gathered together, and we are honored to be able to have those times here:

Hats on Homemade Amish Hat Rack During Fellowship Time

We are always very grateful to the Lord for granting continued progress on the house, and thanks again to those who make that possible, and we are most thankful to be able to live amongst people who seek Christ and desire to be full of His graces!

— David

A House – Update XL – Kitchen Counter & Sink, & Birdhouse 2

With the kitchen siding in place, it was time to install the kitchen counter and sink.

Kitchen Counter Top

I decided to go with a pre-formed laminate one as it was going to be easier, more cost effective, and I believed better quality than if I were to try to make one myself.

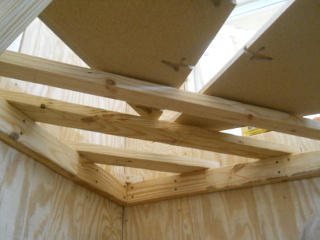
Sue had decided she didn’t want permanent cupboards below the counter top, so my plan was to build bracing that attached to the wall studs, and this is what I came up with. There is a cross 2×4 attached to the wall studs, then the counter top braces extending from the wall on top of that, and then diagonal braces from the top brace to the wall stud:

Kitchen Counter Bracing

For the corner, I just put braces across from back board to back board:

Kitchen Counter Corner Bracing

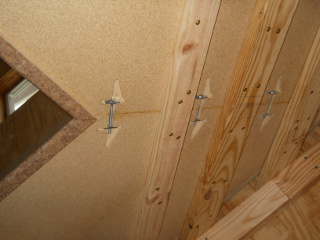
Once the bracing was completed, I tied the corners together with glue and the provided nuts and bolts in the pre-cut areas:

Kitchen Counter Corner Tied Together with Bolts

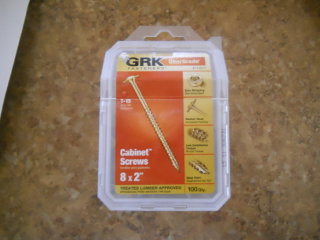
Here are the screws I decided to use to tie down the counter top to the top braces. They have a larger, flat head that I hoped would help pull the counter to the brace:

Screws to Tie Down Kitchen Counter to Bracing

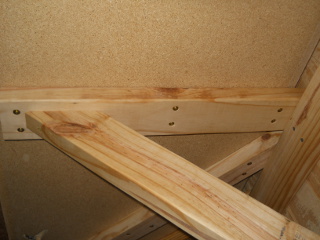
I had Sue sit on the counter and push down to get the counter to set against the top braces while I screwed it down, and here is the counter tied down to a brace:

Kitchen Counter Tied Down to Bracing

And here is the counter top installed!

Kitchen Counter Right Side

Kitchen Counter Left Side

Kitchen Sink

We decided to go with a stainless steel kitchen sink, to be placed between two braces. When I initially measured, it appeared it was going to fit nicely, but I eventually ran into some issues…

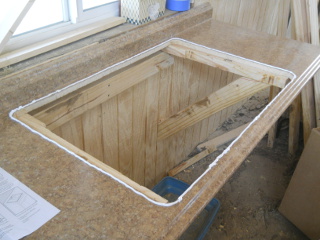
When cutting on a laminate top, you’re apparently supposed to put tape down to help keep the laminate from cracking as you cut:

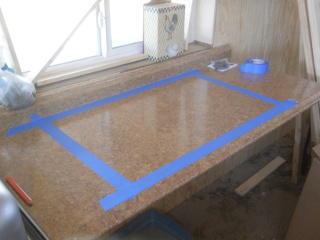
Tape Laid Out for Kitchen Sink

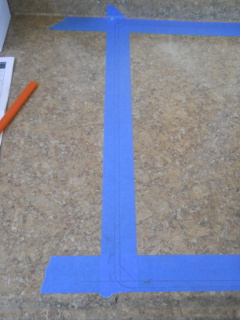
Then, you lay the sink down upside down, trace around it, then draw a cut line inside the trace line, the width according to the instructions that come with the sink:

Kitchen Sink Cutting Marks on Tape

I used a jig saw with laminate blade to cut out the main section:

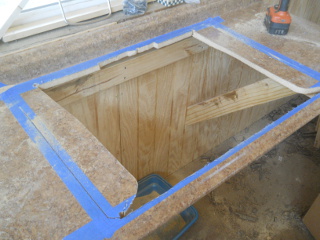
Kitchen Sink Main Cutout

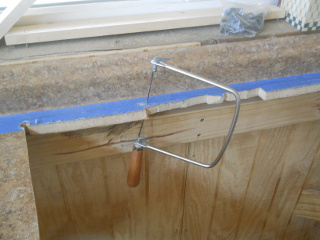
Then used a coping saw for the back part as I couldn’t get close enough with the jig saw to the back cut line:

Coping Saw Cutting Back of Kitchen Sink Cutout

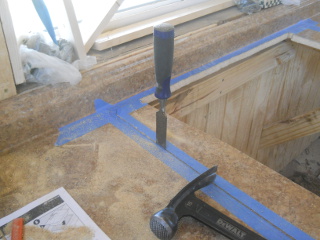
One issue I ran into was the sides of the hole ended up going over the bracing, and so I used a skill saw set to counter-top depth to make the initial cut of the sides, and then needed to chisel out the rest:

Chiseling Out Kitchen Counter on Top of Bracking

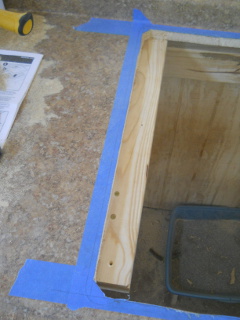
And here is a side completed:

Kitchen Sink Side Chiseled Out

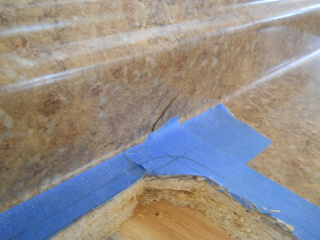
Sadly though, on the right side, I apparently didn’t chisel down far enough in the corner, and it slightly cracked up the laminate. I ended up just gluing it and caulking it, which appears to have worked ok:

Laminate Crack

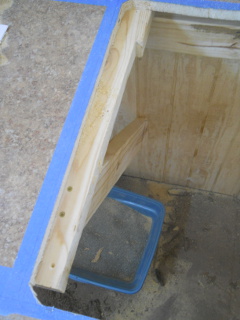
Another problem I ran into was that the sink tubs wouldn’t fit completely between the braces, so I needed to cut off a little of the brace siding:

Kitchen Counter Trimmed Bracing

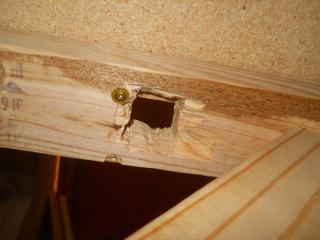
And then, another issue was how to clamp the sides of the sink to the counter top. For that, I drilled holes and chiseled out a hole in the brace, and enough underneath to reveal some of the counter top so the clamp would have something to grab on to. You can see here at the top of the hole a little of the counter top exposed. Given the design of the brace, I could only really use one clamp on the sides even though you’re supposed to use two — I just hope that ends up being enough 🙂 :

Kitchen Sink Clamp Cutout in Counter Brace

Once all cutting, etc. was complete, I put down the caulk bead:

Kitchen Sink Caulk Bead

And then placed the sink in place, and clamped it down in a star-like pattern, starting from the inside clamps outward according to the directions:

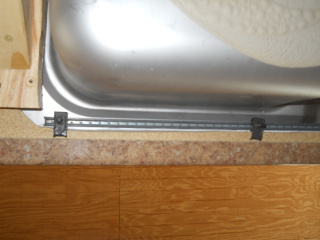
Kitchen Sink Counter Clamps

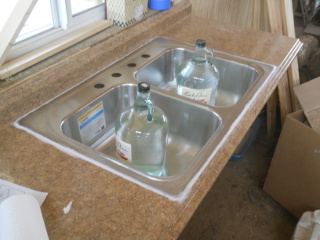
And then I added more caulking from the outside, stuffing it under any slight gaps between the sink and counter top, and then tried to smooth it all out. And I put a couple of jugs of water to try to help keep pressing it down with the caulking cures:

Kitchen Sink Installed

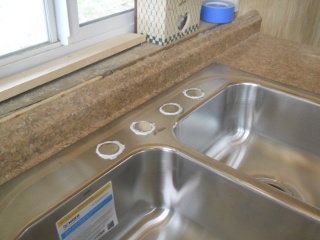
To finish, I put in caps with caulking to plug the faucet holes:

Kitchen Sink Installed

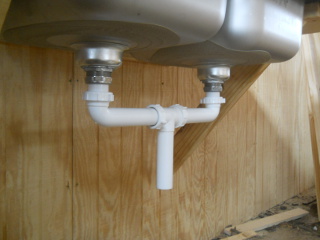
And added the plumbing, which we plan to run into a bucket, at least for now:

Kitchen Sink Installed

So far after several days of the caulk around the sink curing, without using it yet, it seems to have sealed up. I guess we’ll know more over time and usage. 🙂

Birdhouse 2

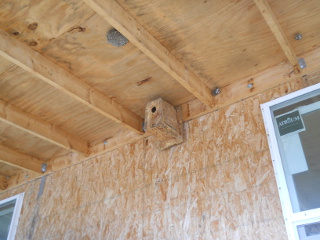
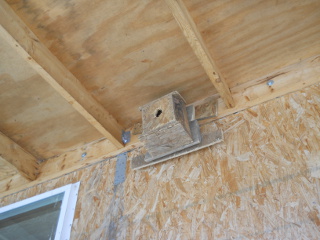
Last but not least, young Abram Stonger made us another birdhouse, and here it is in place. Thanks to you, Abram, and a fine job!

New Birdhouse

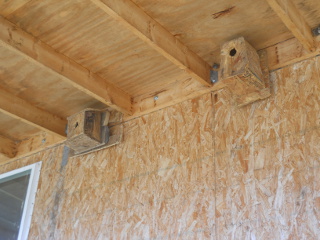
And both birdhouses from the boys:

Both Birdhouses

As always, we are grateful to the Lord for granting the resources, designs and abilities to continue to work on the house! We always pray our place will be one of worship to Him!

— David
The Barn – Update V – The Loft – Update III

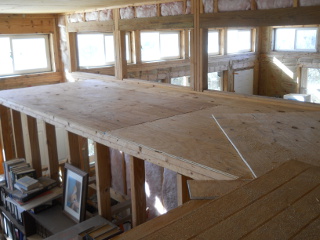
We were able to gather some more materials and make a little more progress on the barn loft!

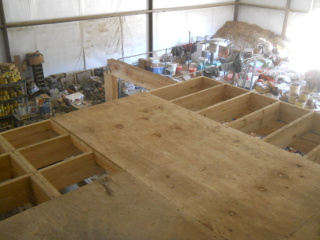
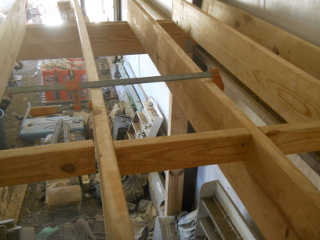
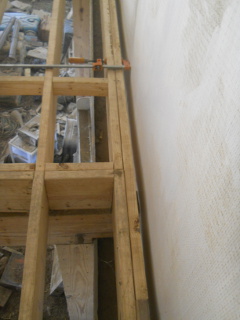
I decided to extend the back section to the end so we could continue laying down plywood from that end. After adding the three new joists and cross pieces, and clamping the joists together, I attached an 8 foot 2×4 to help hold them in place, and then clamped the other side:

More Barn Loft Floor Joists on Back Section

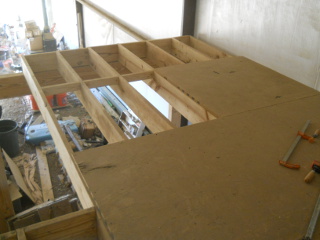
And laid down a new plywood sheet in that area:

Another Piece of Flooring on Back Section

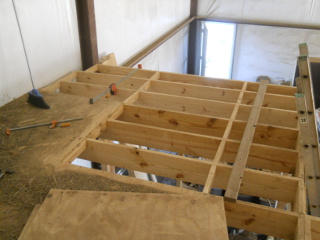
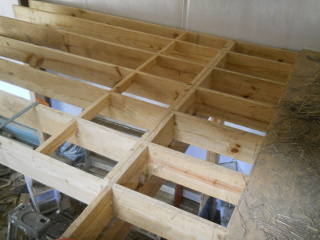
Then the same thing in the front section, adding three new joists:

More Barn Loft Floor Joists on Front Section

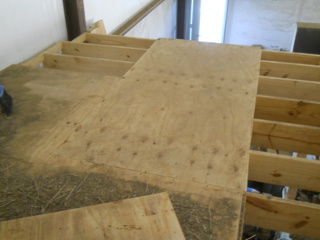
And a new sheet there:

Another Piece of Flooring on Front Section

Getting closer! 🙂

We are grateful to the Lord for granting the supplies, and the physical ability to work!

— David
The Barn – Update IV – The Loft – Update II

It’s been some time since I’ve done some work on the barn loft, and I had new materials waiting in the wings for 8-10 months, but finally, I recently started adding a new section!

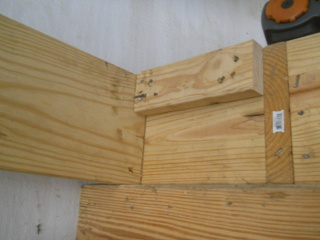
Since the end of the previous section had full 2×10 inch (the size of the joists) cross blocks in place, the plan was to use 2×4 inch boards to cross block new sections next to the full-sized cross blocks:

Barn Loft Next Joist and Cross Block

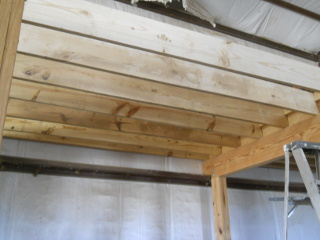
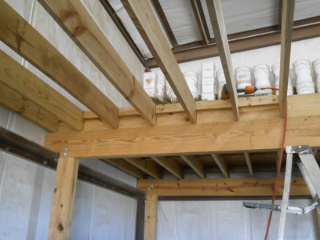
And here are the next seven joists in place:

Barn Loft Next Floor Joists in Place

Another View of Barn Loft Next Floor Joists in Place

I thought it best to work my way out from the previously-built section without blocking and attaching the far end of the new joists so that I could square the joists with the plywood flooring as I went. Also, I used a bar clamp to pull together and straighten the torqued joists:

Adding Barn Loft Floor Joist Cross Pieces Using a Clamp

And here’s the first line of cross blocks:

First New Barn Loft Cross Pieces in Place

I also added an extra 2×4 board behind the first joist to just give a little more support under plywood that would extend past the joist next to the barn wall:

Extra Barn Loft Back Joist Suporrt

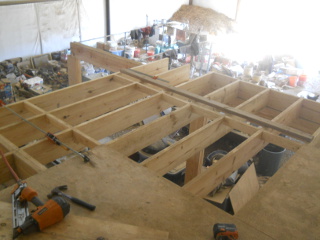
And here is the section completed with the materials I had, including the second line of 2×4 cross blocks and the far 2×10 cross blocks in place. I decided not to attach that far end to the beam yet to continue to try to make sure the floor stays square as I Lord willing add more plywood over time. This is where our new guest Trina spends the nights 🙂 :

Next Barn Loft 8 Foot Section in Place with Plywood Flooring

As always, we are thankful to God for granting provisions to continue on the homestead!

— David
BarnBNB – Trina the Turkey

One day, what we thought was probably a wild turkey just showed up around the homestead. It just started hanging out like it had always been here…moved into the barn at night, and ended up staying around. We didn’t really know what to make of it.

Well, after some research, we believe it’s a she, and that she is a Black Turkey — a heritage breed, which makes sense because of its friendliness. Where it came from we don’t know, but unless we discover an owner, we’ve decided to keep her, as there is a person in the general area that has what we think are the same breed, and so we’re planning on looking into seeing if we can get her a mate!

And, we decided to call her Trina…Trina the Turkey. 🙂

Here is a video of our story thus far with her, from introduction day to various times of her interaction with the homestead!


We’re thankful for the new visitor, and we pray the Lord direct us as to what He would have for us with her, if anything.

— David
A House – Update XXXIX – Bedroom Windows & Doors, Great Room/Kitchen Siding, Wall Passthrough Electricity, & Homemade Amish Hat Rack

We’re thankful to the Lord to be able to continue on the house! Thanks again to those who are helping make this possible, and thanks to Robert for his help!

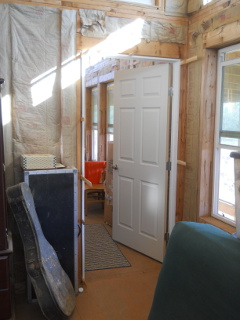
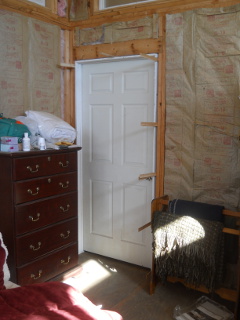
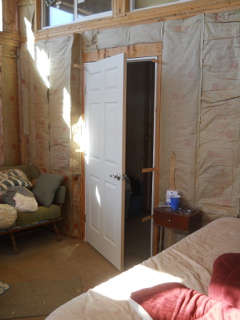
The plan always was to seal in the bedroom so we could run separate heat in there, with the idea of using fewer resources for when we are sleeping, rather than trying to keep the whole house warm just so the bedroom is. And so, we added the doors:

To the library:

Bedroom Library Door

To the closet:

Bedroom Closet Door

And to the bathroom:

Bedroom Bathroom Door

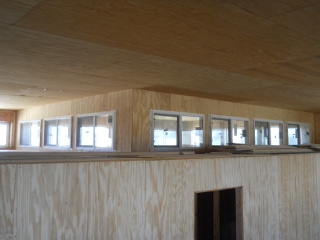
And then we put in the bedroom internal windows:

Bedroom Internal Windows

Then, it was more great room/kitchen siding, which are now finished!

Great Room Back Siding

More Great Room Back Siding

Great Room North Siding

Great Room East Siding

Electricity Through the Wall

Up until recently, we’ve had an extension cord running from our camper going through two slightly opened windows wrapped around the wall frame between the two windows, and we’ve had towels tucked in the openings to keep out the weather. Well, we recently discovered cold air was coming in between the sliding and permanent glass in the middle of the two windows. We put some towels there also to try to get by, but only until I could figure a way to pass the electricity through the wall.

In looking online, the only similar male to female things I could find were for RVs and were very expensive. So, I set out to see if I could figure out something a lot less costly…

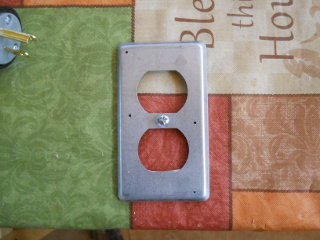
Here is the metal, external wall plate with holes drilled through using the smallest bit I have:

External Electricity Wall Plate

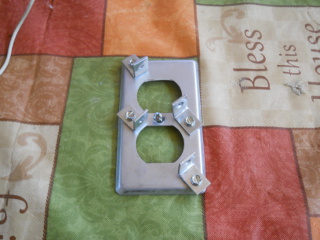
And then L brackets attached, which will hold the male receptacle ends:

External Electricity Wall with L Brackets

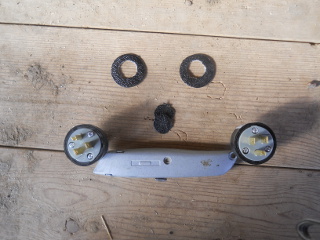
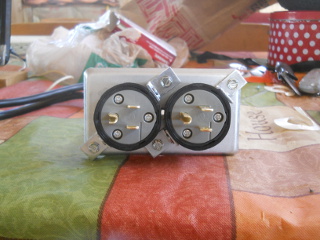
Here are the male receptacles and some foam seals:

Electricity Male Ends with Seals

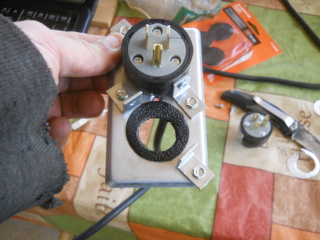
And in place on the metal wall plate:

Electricity Male End on Wall Plate Showing Seal

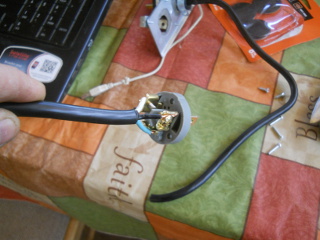
I attached the wire, which was just a 3-wire extension cord I cut a piece from, to the back of the male receptacle:

Wire Attached to Electricity Male End

And put the male receptacle back together:

Electricity Male End Wired

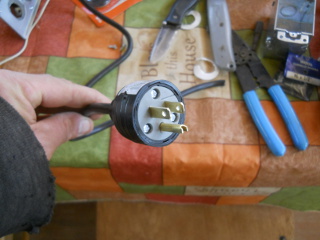
And here is the male end of the passthrough:

External Electricity Male Receptacle Complete

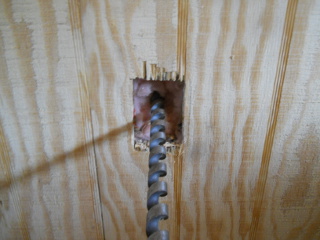
I then cut a hole in the internal siding and cut out a square to fit the electrical bracket box that the female receptacle attaches to:

Drilling Hole Through Wall Through Cut Out Square in Internal Wall

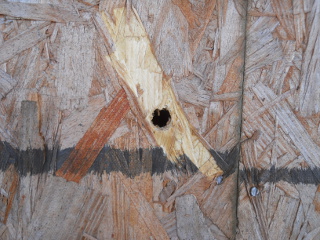
And here is the hole on the external OSB wall:

External Electricity Wall Hole

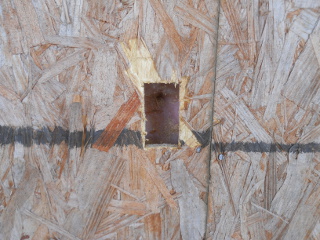
And the square cut out:

External Electricity Wall Square Cut Out

And then the male end and wires through the hole:

Wires Through External Electricity Wall Cut Out

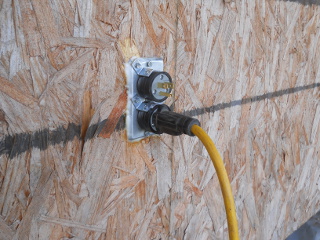
And then the whole male receptacle installed and calked:

External Electricity Male Receptacle in Place

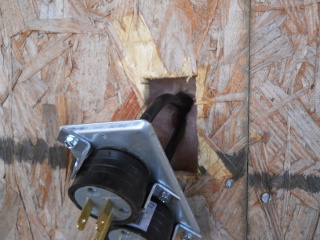
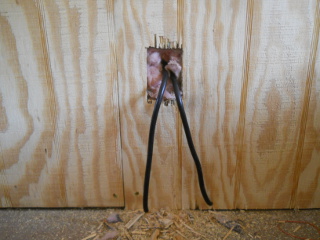
And here are the wires coming through on the inside:

Wires Coming Through the Wall

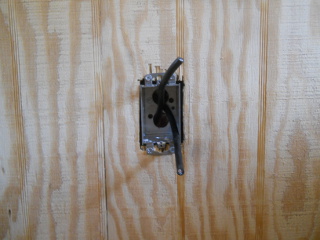
And through the bracket box:

Wires Through Box Bracket

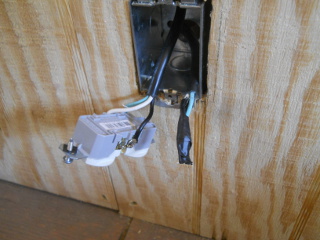
I originally attached the two wire sets to the top and bottom of the female receptacle, but thankfully discovered that without having the current coming directly in the top one but only the bottom one, the top female outlet was still active! Well, that would have been something if I had plugged in another active cord into the top one while the bottom one was plugged in. Thanks to God for letting me find that beforehand. And so, apparently I only needed to wire in the one set of wires to one of the female receptacles to make both outlets active, and then I just taped up the not used wire, keeping it there in case it was ever needed:

Taped Up Not Needed Extra Wire

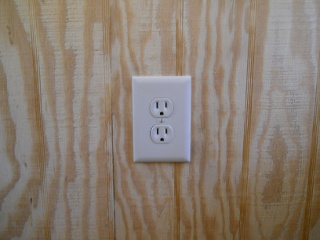
And here is the female receptacle in place:

Female Electricity Receptacle in Place

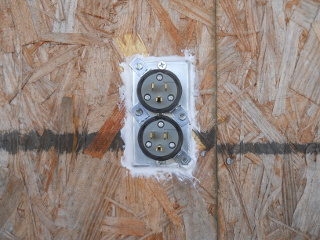
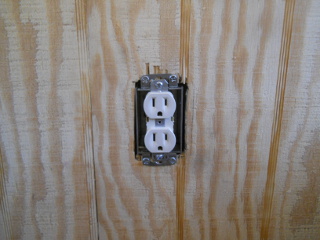
And the cover plate:

Internal Electricity Wall Plate in Place

Then, I plugged in the extension cord to the outside:

External Electricity Plugged In

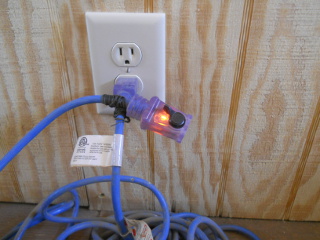
Et voila! Power on the inside!

Extension Cord Inside Showing Power

And now, we can close both those windows completely to help keep the place warmer.

Homemade Amish Hat Rack

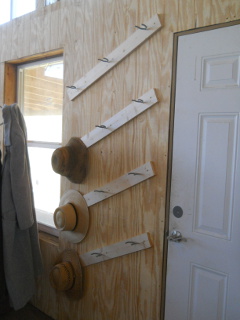
With the great room siding done, I really wanted a place for the men to be able to hang their hats when visiting, and so I set out to make something quick but useful for the larger sized Amish hats we wear.

And here’s what I came up with. Had to angle the backings to be able to fit on the wall as I hadn’t measured the wall width beforehand, but it worked not too badly:

Extension Cord Inside Showing Power

Again, we are grateful to the Lord for allowing the continued work on the house!

— David
A House – Update XXXVIII – Closet Ceiling, Bedroom Windows Internal Siding, Pier Bracket Replacement, & Birdhouse

After some of the great room siding had been done, we’ve been able to continue on the house, with the assistance of Robert.

Closet/Pantry/Bathroom Ceiling

Next job was the closet/pantry room/bathroom ceiling. Here are the cross blocks:

Closet Ceiling Blocks

And Robert working up there:

Robert Putting Plywood Down on Closet Ceiling

And the ceiling done. We can hopefully even store some things up there now as well:

East-West Closet Ceiling Done

North-South Closet Ceiling Done

Enclosing the Bedroom

We decided to go ahead and try to make the bedroom its own sealed-in room so we could have separate heat in there at some point, and so we needed the siding around the bedroom windows to go up, in preparation for installing the windows:

Bedroom Windows Internal Siding

More Foundation Beam Work

After adding spacers to the south beam to level it some, I didn’t like how the end of the beam was torquing still a little, with the pier being very slightly tipped that way, and so I thought I might try replacing the pier bracket with a wider one so I could set the beam a little bit back on the pier and add a side spacer to help keep the beam a little more vertical. And here is that process…

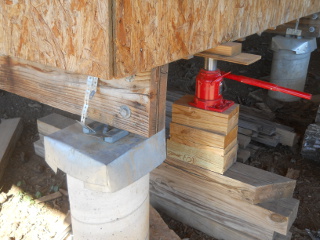
Here the beam is raised:

Raising House Beam

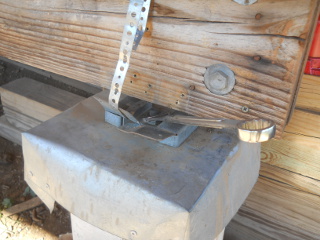
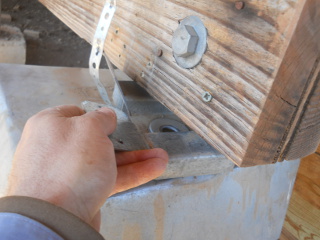
And here, loosening and removing the bracket:

Loosening Pier Bracket

Removing Pier Bracket

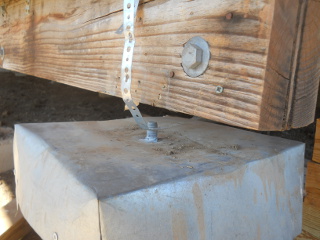
This is the bracket removed:

Pier Bracket Removed

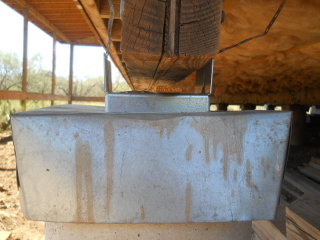
And the new one in place:

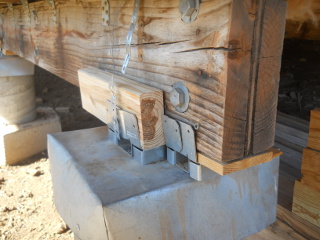
New Pier Bracket in Place

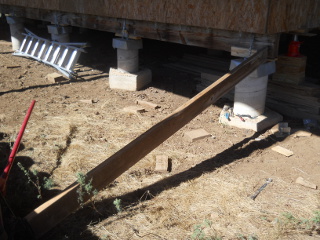
Again, I used the floor jack to push back the bottom of the beam. I also temporarily removed the hurricane clips from the beam and floor joists to allow it to maybe pivot back a little easier:

Pushing Beam in Place with Floor Jack

And here the beam is set back down with the 2×4 side spacer in place. Hopefully that will help!

Beam Back in Place on New Pier Bracket

Birdhouse

And finally, one other nice touch for this update: young Elijah, one of the Stonger boys, built us a birdhouse, which we put up on the south side of the house! Thanks Elijah, and nice job!

Birdhouse

As always, we are very thankful to the Lord for providing for continued progress on the house!

— David
« Older posts Newer posts »