Our journal of what we pray is our sojourn of life along the narrow way, even the old paths, submitting to the Bible as a light unto both.

Category: homestead (Page 10 of 13)

A House – Update XIV – Building Truss Amongst the Brethren

The next big step in the house “adventure” was to try to start putting up the roof. The design was to have the roof free-span (without support posts) the entire width of the house, and use a gabled roof. I had originally wanted a hip roof, mostly because I liked its old-fashioned (at least to me) look; but with its complexities, and in further consideration of heating and cooling, decided to go with the gable design.

As I mentioned, I wanted to face the gables in a way that would best serve the temperature considerations inside the house during the Winter (for heating) and Summer (for cooling) months. I did some extensive research, and from my findings, decided to face the gabled ends (the vertical sides) to the east and west, and face the roof slopes north and south; and here’s why — it has to do with the position of walls or roof lines in relation to the direct light of the sun:

  • during the Winter, the sun is lower in the southern sky, and facing the slope toward it allows for more direct-angle sunshine to hit the roof, which is what you want when it’s cold, so it will help thermally heat the house
  • and during the Summer, there are two considerations:

    • when the sun rises in the east and sets in the west, having the roof slope facing those directions will have direct sunlight on the roof for nearly all of the day, whereas having the gabled ends facing east-west only has direct sunlight on the walls at the beginning and end of the day
    • and during the majority of the day, when the sun is more directly overhead, sloping the roof north and south will have the sunlight hitting the roof at an angle rather than more directly, thus deflecting the light and subsequent heat

Actually, the decision on which way to face the gabled ends and slopes of the roof needed to be figured out when the foundation piers were being built, so the beams would run in the direction of the sloped sides of the roof, supporting the walls that would be holding the weight of the roof.

Finally, in order be able to free-span the width of the house, I decided on using trusses, because that’s what they do. 🙂

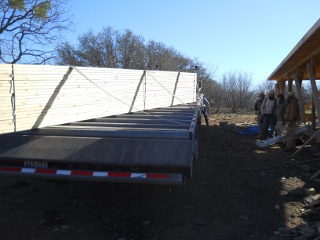
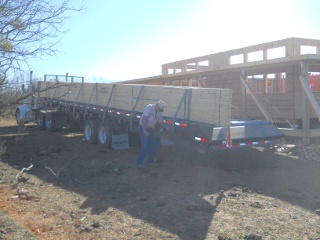
For expediency sake, and to make sure they were designed, hopefully, properly, from an engineering stand-point, we ordered the trusses from a local truss company; and here they are being delivered:

House Roof Trusses on Delivery Truck

Here you can see the brethren work-crew eagerly waiting for the trusses to be dropped off:

House Roof Trusses on Delivery Truck Next to the Brethren Crew

Once the trusses were off-loaded, we started with one of the end trusses:

House Roof Trusses First End Truss in Place

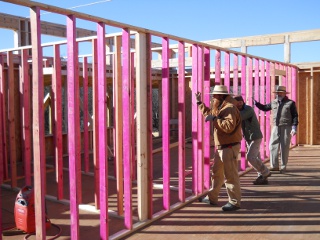
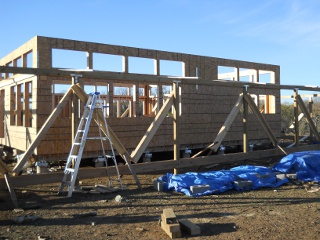
Before being able to move the trusses into position by sliding them across the top of the walls, we figured it would probably be easier if we had one of the internal cross walls up in place so we could walk on it and help move over the truss from the internal middle of the house, not just from the ends; and so, we raised one of the internal walls that had been built but not raised:

House Internal Wall Raised to be Able to Move Trusses into Position

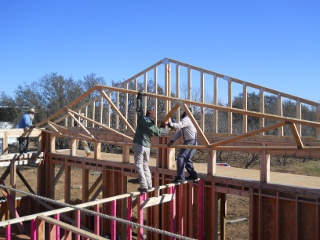
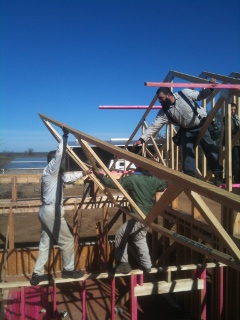
Here’s a truss being moved down the length of the house into position (the two fellows in the middle are walking along that interior wall):

House Roof Truss Moved into Position

And then hoisted up:

House Roof Truss Lifted into Position

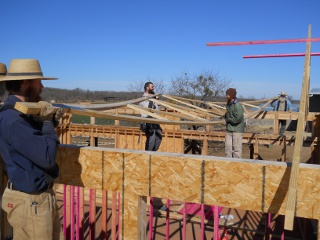
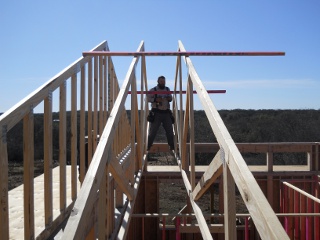
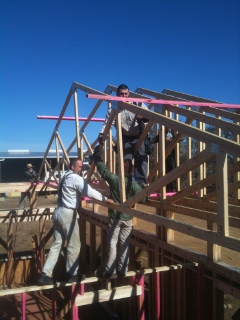
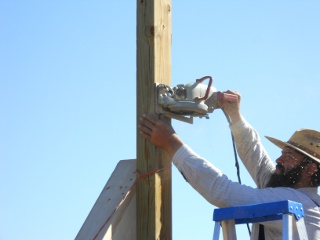
And then the process of securing them to each other using 2x4s would begin:

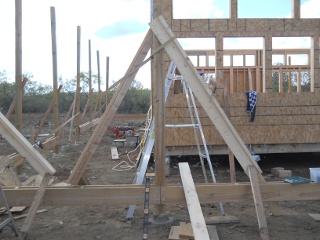
Standing Between Two House Roof Trusses

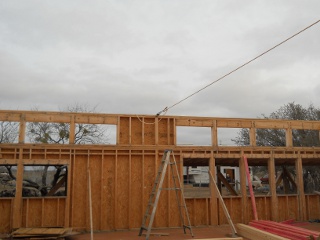
We needed to pull in the walls to get them to be the proper distance from each other; and for that, we used a come-along and a rope:

Walls Pulled in Using a Come-Along to Properly Install House Roof Trusses

Not only did the folks who walked along the internal wall have to balance on it, but they also had to negotiate that rope:

Moving House Truss into Position Under Cross Rope

Here’s another truss being hoisted up:

Hoisting Roof Truss into Position

And then in final position:

House Roof Truss in Position

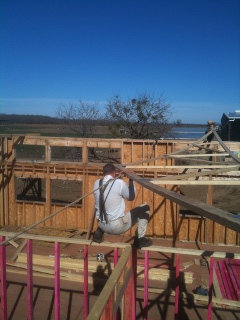
Even young Robert was out there helping hold and secure the trusses (we were quadruple careful to make sure he was always holding on to something solid and not playing around):

Stabilizing and Securing House Roof Trusses

And here’s the final end truss in place:

Installing the Final End House Roof Truss

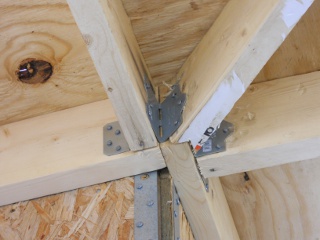
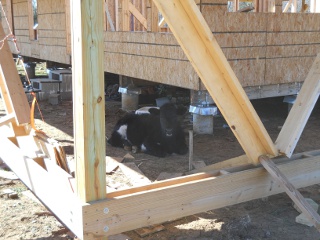
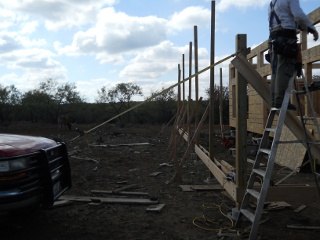
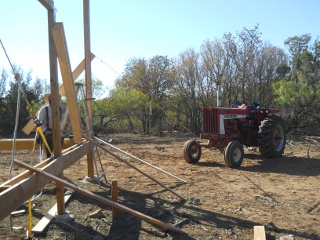
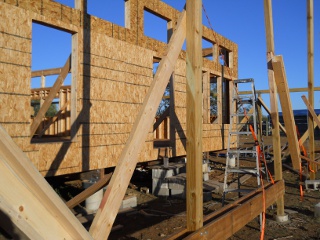
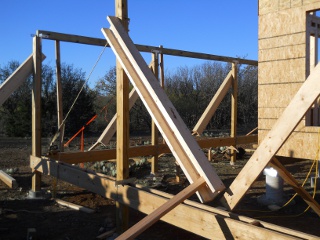
Lastly, to further help prevent the trusses from tipping over because of winds, the ends were secured to the porch roof fascia (please see the last picture on the next house blog post about the house main roof for further bracing that was added):

House Roof Trusses Bracing

And here’s a video of some of the truss work throughout the day:

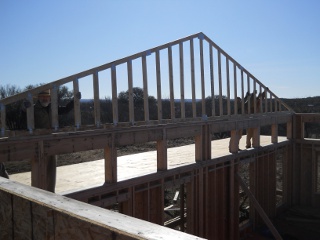
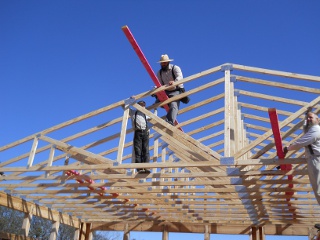
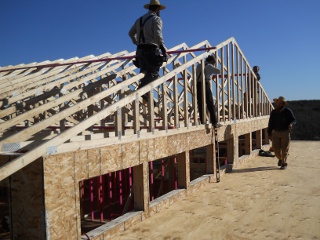
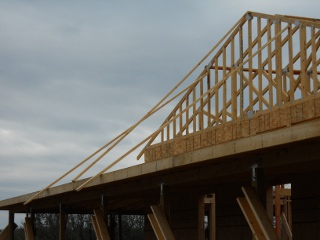
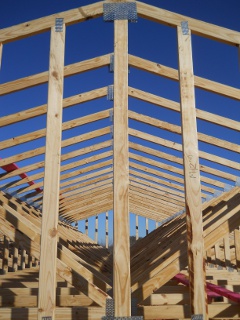
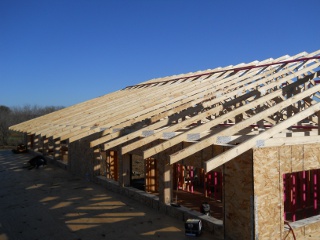
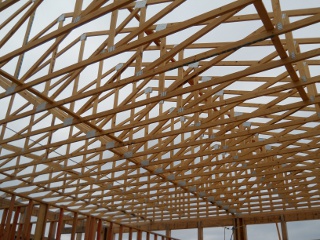
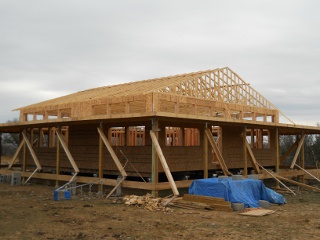
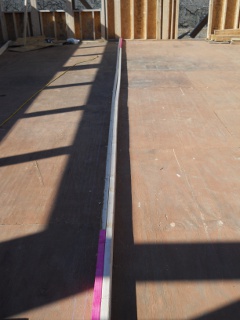
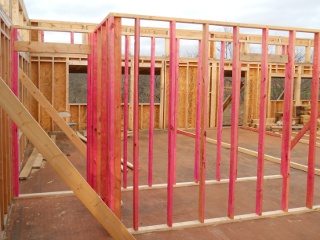
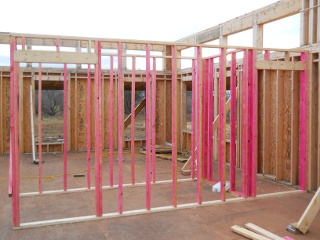
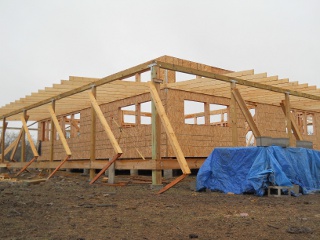
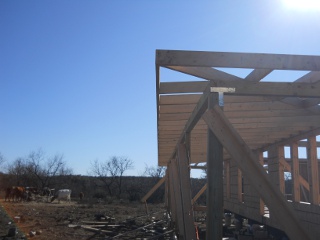
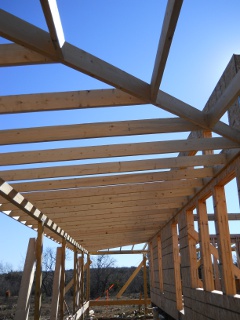
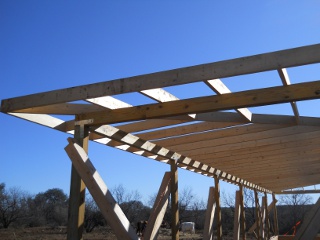
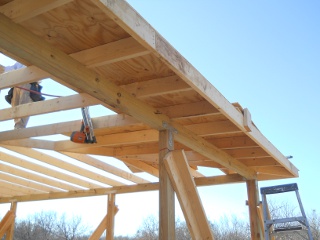
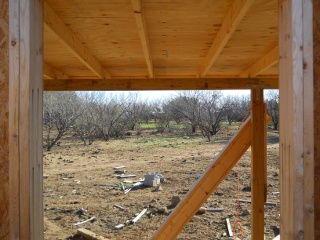
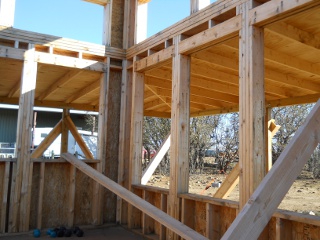
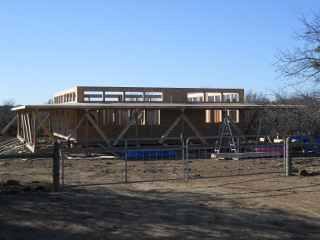
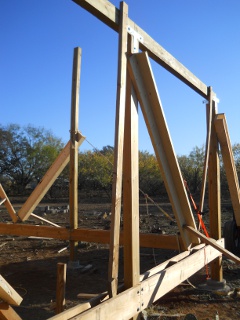
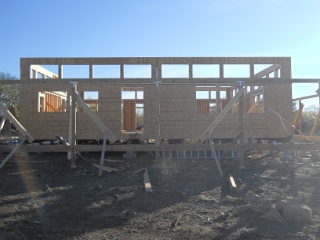
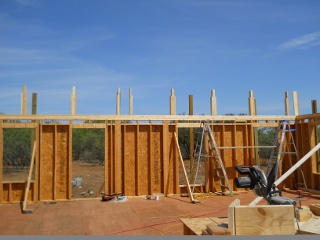
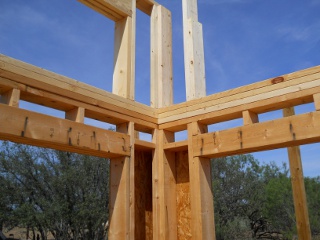
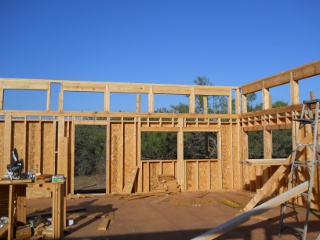
After a day’s work, here are all of the trusses in place:

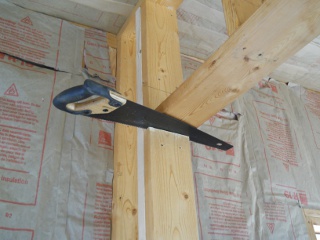
House Roof Trusses Finished - Slope View
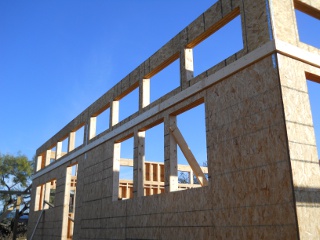
House Roof Trusses Finished - End View
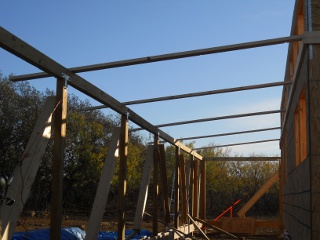
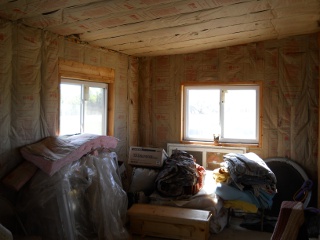
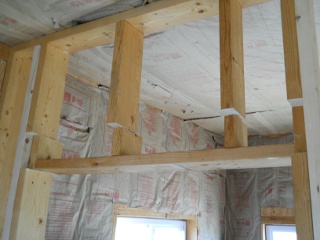
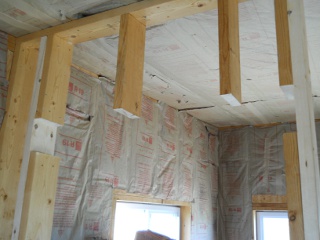
House Roof Trusses Finished - Inside View
House Roof Trusses Finished - Full View

We are thankful to the Lord for His mercies in the safety of the crew, and grateful to Him and the brethren for their help with this part of the house; and we thank Him for the provisions to continue the house building process.

— David
A House – Update XIII – Internal Walls

After the house porch roof was covered, it was time to start on some of the internal walls.

Here is header tied to the footer for stud marking of the first wall that goes all the way from west to east:

House Internal Walls Header and Footer

And here is the view of the bedroom from the library with the closet in front:

House Internal Walls View of Bedroom from Library

And here is the view of the library from the bedroom:

House Internal Walls View of Library from Bedroom

This is a short blog post because this process was “interrupted” by the materials arriving for the next major stage of the house project — the roof! We hope to have a blog post on that up soon, if the Lord wills.

We thank the Lord again for the resources and progress on the house. It’s neat to see some of the rooms actually begin to take shape!

— David

A House – Update XII – Porch Roof

With the porch post cross beams now in place, it was time to move onto adding the porch rafters and plywood. I wanted to do this so that we would have something to walk on when we starting putting up the main roof.

We started with a header plate against the house, to which the rafters would be fixed. Eventually, the plan is to lag bolt this plate to the wall studs:

Porch Roof Rafter Header Plate

We needed then to position the cross beams equidistant from the house. Here are some braces in place to hold them there:

Porch Roof Cross Beam Braces

And then the rafters started going up:

Porch Roof Rafters

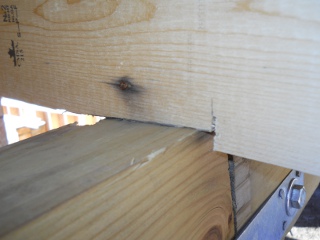
Mr. Gurau, who has been helping with the house, cut seats into the rafters as well, so more of the rafter is touching the cross beam, thus making it sturdier:

Porch Roof Rafters Seat Cut

Once the rafters were in place, it was time to run a chalk line across each rafter, cut each rafter, and install the face plate:

Porch Roof Rafters with Face Plate

Here is how Mr. Gurau did the hip corners of the porch roof:

Porch Roof Rafters Hip Rafters
Porch Roof Rafters Hip Rafters Full View

He also added some of the rafter hangers now in the corners to give them more support, as the hip rafter itself holds most of the corner weight:

Porch Roof Rafters Hip Rafter Hangers Installed

Once the rafters and face plate were built, it was time to add the plywood on top. It was recommended that we use actual (CDX) plywood, 1/2″ thick, rather than OSB, as the CDX will stand up to weather better, and the underneath of the plywood at best will be painted only (and maybe not even that):

Porch Rafters Plywood First Row Bottom View
Porch Rafters Plywood First Row Top View

And here are some pictures of all of the plywood installed:

Porch Rafters Plywood Complete Bottom Long View
Porch Rafters Plywood Complete Bottom Side View
Porch Rafters Plywood Complete Top View

Here’s how the hip corners look from the top:

Porch Rafters Plywood Hip View

It’s been a long time since this whole house project started, and with being able to stand in the shade of the porch now, it’s starting to feel like a house. It’s also starting to get a little more exciting; but we’ve learned out here to relax expectations, as most often things don’t go according to our plans (which, if we trust God and His plans, is a much better place in which to be!). This is the view out the front door:

Porch View Out the Front Door

And out the great room windows:

Porch View Out the Great Room Windows

And here’s a full external view of the porch roof:

Porch Roof Rafters and Plywood Complete

Here’s a calf enjoying the new shade too!

Calf in the Shade of the Porch Roof

We are thankful to the Lord for allowing continued progress on the house, and for the help in Mr. Gurau and his expertise.

— David
A House – Update XI – Porch Cross Beams

After the house pony walls were in place, it was time to start on the porch cross beams!

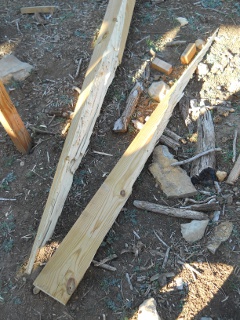
Since we did the porch posts some time ago, they had opportunity to start to torque and bend in the air. I had hoped to get to the cross beams sooner so this problem would be limited, and I never cut them off in hopes that most of the twisting would happen on the top parts that would be cut off; and now in retrospect, I probably should have done the porch posts and cross beams at the same time; but that wasn’t going to help now; and so, one of the biggest issues we had to overcome was the un-level, twisted posts.

At first, we used the truck and a ratchet strap to level the posts:

Porch Posts Leveled with Truck and Ratchet Strap

But then switched to using the tractor because it was more maneuverable into the tighter areas around the house:

Porch Posts Leveled with Tractor and Ratchet Strap

A few posts only required a single 2×6 brace to get them untwisted:

Porch Post Twisted Straight with One 2x6

Others required two, in the shape of an “L”, and with some of these we did a brace on each side (also notice the 2×4 from the cross beams, which was used to twist it flat onto the top of the post):

Porch Post Twisted Straight with Two 2x6s in an L Shape with a Cross Beam Torquing 2x4

Quite a few required three 2x6s in the shape of a “U”, which gave us a lot of twisting counter-pressure:

Porch Post Twisted Straight with Three 2x6s in a U Shape

Here is a post leveled with the ratchet strap off of another post, and two “L” braces in place keeping it torqued straight (although, we could have probably done it with only one “U” brace instead):

Porch Post Leveled with Ratchet Strap, Twisted Straight, and Braced

Once leveled and twisted in shape, the tops were cut off:

Cutting Off the Top of the Porch Post

In similar fashion to leveling the foundation piers, we used the water level from one post to another, and we tried to use the same starting post each time so any errors introduced were not additive:

Using the Water Level to Get the Level from One Post to the Next

And here is a cross beam in place. The cross beams are treated 4x6s, like the porch posts:

Porch Cross Beam in Place

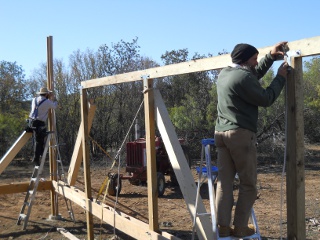
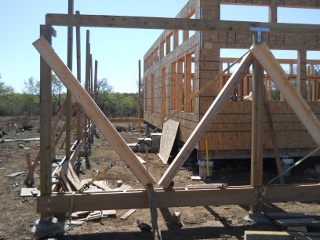
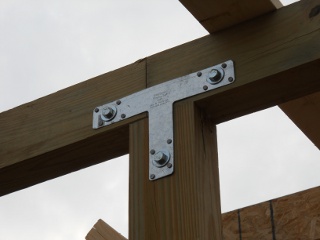
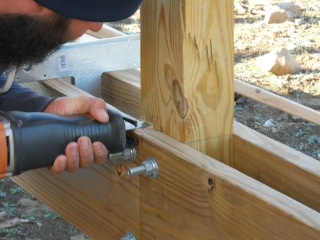
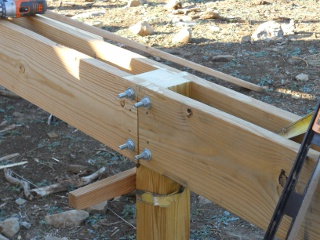
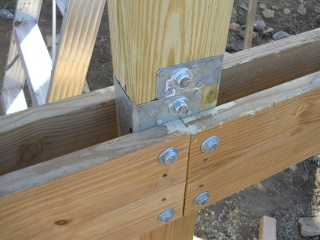
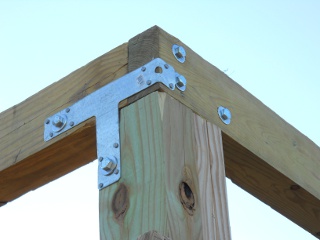
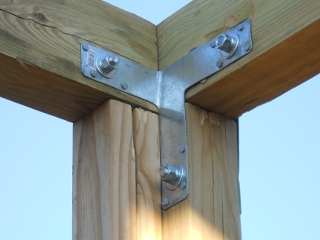
We used two T-straps, inside and outside, to join each post to each cross beam, used 3 1/4″ 16d galvanized “Common” nails to attach the T-straps (come to find out, there are 3 1/4″ 16d galvanized “Box” nails, which have a smaller diameter and aren’t as stout, even though they cost more at the place we got them), and used bolts to further secure them:

Porch Cross Beams Joined with T-Strap

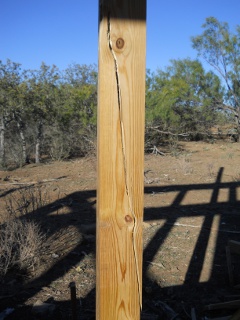
So, as I mentioned, we were able to put quite a bit of twisting force on the posts to get them straight, which some of them really required. One of the biggest fears with that though was having the post come apart from too much twisting.

Well, with one badly torqued post, we got it almost straight. I looked at it, and looked at it, and said, “Just a little more, to get it just a little more straight.” And yep, that was it…snap! Bummer:

Porch Post Broken After Too Much Twisting

Well then, what to do. Mr. Gurau, who has been helping with the house building, had an idea. He first cut off the post at the porch floor joist support level:

Cutting Off Broken Porch Post
Broken Porch Post Cut Off

And here is how he installed the replacement post, using the T-straps:

New Porch Post Strapped in Place
Another View of New Porch Post Strapped in Place

Here is what it looked like when it fell to the ground after being cut off. In thinking about it, the Lord might have been especially gracious in allowing the post to crack now, giving us opportunity to replace it now, rather than having to do it some time in the future, when the whole porch roof was up:

Broken Porch Post on the Ground in Pieces

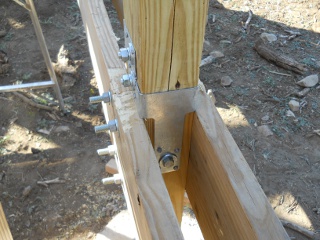
As Mr. Gurau progressed and got to the corners, here is how he handled them, using the T-straps:

Outside Corner of Porch Cross Beams with T-Strap
Inside Corner of Porch Cross Beams with T-Strap

And here are the porch posts complete!

Completed Line of Porch Cross Beams
Another Completed Line of Porch Cross Beams

We’re grateful again to God for granting us provisions for the house, and for the help in Mr. Gurau He has allowed, and for Mr. Gurau’s continued safety while he works, for which we continue to pray.

— David
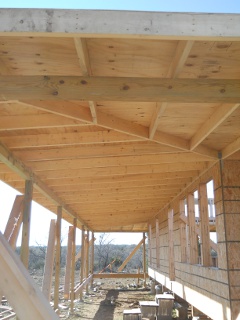
A House – Update X – Giddy-Up, Pony Walls

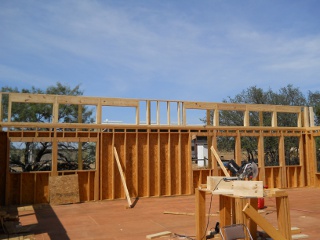
Originally in the house design, I had intended to put dormers in the roof below the interior ceiling. This would allow light and air circulation into the living space of the house through the roof. However, upon reconsideration, given the planned roof design, and after receiving advice, I decided to put up “pony” walls — short walls that in our case would contain windows. The porch roof would come up to the main walls below the pony wall windows, and the house roof would be above them; this would allow for even greater light and ventilation, and would be easier to implement.

And so, after the house exterior walls were complete, the man in the group who’s been helping me with the house started in on them.

Here are some of the initial framing pieces in place:

House Pony Walls Framing

And here’s a picture of a corner:

House Pony Walls Corner

The following are a few pictures of the pony walls with the window headers in place. I decided to use 2×10 headers with 1/2″ OSB in between to hopefully make sure the weight of the roof would never sag the windows (I had originally thought perhaps to use 2×8, but in our local store where I bought the wood, the 2x10s were not much more expensive plus added that extra 2 inches of strength):

House Pony Walls from Inside with Headers
House Pony Walls from Outside with Headers

And here they are completed…

House Pony Walls Complete

…and then with the OSB siding in place. These OSB pieces were nailed into the main wall as well, which tied the two walls together:

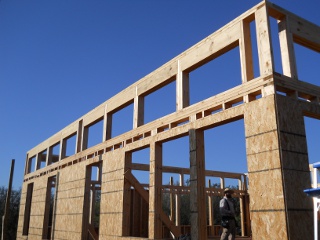
House Pony Walls Complete with OSB

And finally, some tie straps were added to further secure the two walls to each other:

House Phony Walls Strap Ties

The man who has recently moved down with his family and is helping me has worked construction before, so we’re thankful to the Lord for his advice and assistance. And we thank God also for continued provisions and progress on the house. We pray one day it’ll be a welcoming place for meeting in fellowship with the brethren.

— David
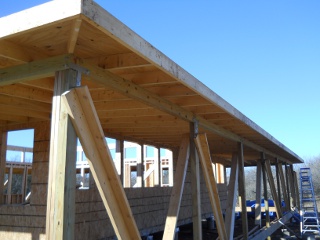
Summer Kitchen – Update II – Insulation & Final Cross Wall

Little by little, I’ve been slowly working away at the summer kitchen in between everything else going on. The next step was the insulation, and here is a little pictorial of the process…

First, I wanted to cut in roof vents into the cross pieces that were in between the rafters on top of the walls. I drilled 1″ holes and then used a reciprocating saw to cut from the top of one hole to the other, and then the same from bottom to bottom. Here is what it looked like from the inside:

Summer Kitchen Roof Vent Inside

And then on the outside I stapled and glued aluminum screening to keep the bugs out:

.Summer Kitchen Roof Vent Outside

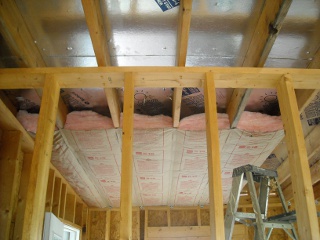
Then, I began insulating, starting with the roof:

Summer Kitchen Beginning Ceiling Insulation

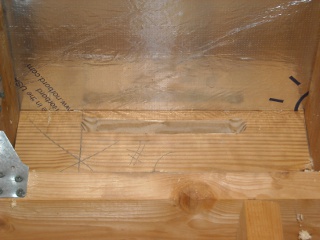
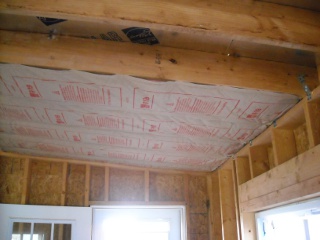
With the 2×8 rafters, I used R19, which is for 2×6 wood; this allowed for an air gap above the insulation to allow for the air to flow in the lower roof vent out the upper one. This gap is also recommended for proper effect of the solar board:

Summer Kitchen Ceiling Insulation Showing Air Space for Venting

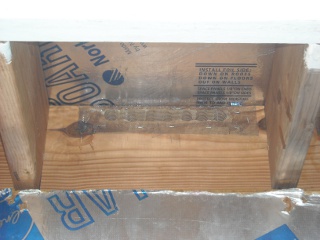
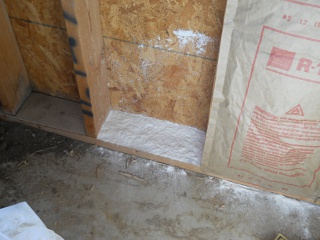
Before installing the wall insulation, I put diatomaceous earth on the bottom of the frame to perhaps help with termites:

Summer Kitchen Diatomaceous Earth in Walls Before Insulating

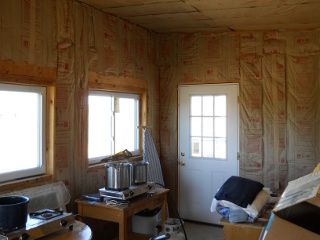
And here is the main area completed:

Summer Kitchen Main Area Insulated

And the pantry:

Summer Kitchen Pantry Insulated

Due to my lack of construction knowledge when building the wall frames, I hadn’t done a header over the doorway between the main area and pantry; and it was beginning to sag. And so, I decided to insert one.

I began by cutting the door frame cripple studs:

Summer Kitchen Cutting Door Frame Cripple to Add Header

Here it is with all of the cuts made:

Summer Kitchen Cutting Door Frame Studs to Add Header

And then with the cutout removed:

Summer Kitchen Door Frame Studs and Cripples Cut and Removed to Add Header

Here, the header is in place. I simply used three 2x6s:

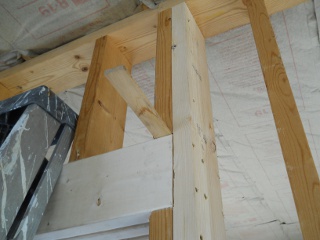
Summer Kitchen New Door Header in Place

And then shimmed them to fit up against the cripple studs above them:

Summer Kitchen Shimming Above New Door Header

After the header was in place, I was able to insulate the main cross wall. Here it is completed, viewing from the piano room:

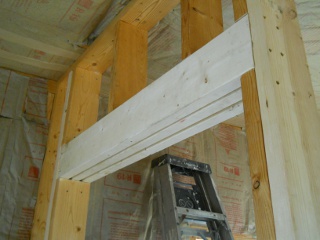
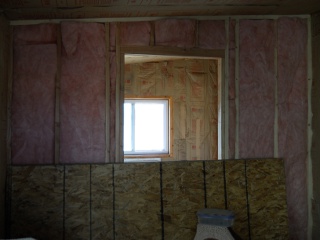
Summer Kitchen Main cross wall Insulated--View from Piano Room

And here it is from the main room:

Summer Kitchen Main cross wall Insulated--View from Main Room

As I noted above, part of the plan for the summer kitchen building was to have about 1/4 of it partitioned off to be a piano room; and so, I added a cross wall from the south wall to the main cross wall using 2×4 wood. And here is a picture of it after it being insulated:

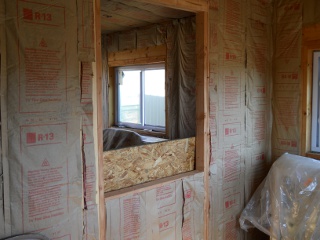
Summer Kitchen New cross wall Added and Insulated--View from Piano Room

And here is the wall as viewed from the pantry:

Summer Kitchen New cross wall Added and Insulated--View from Pantry

Finally, here are a couple of other views, one of the piano room from the main room:

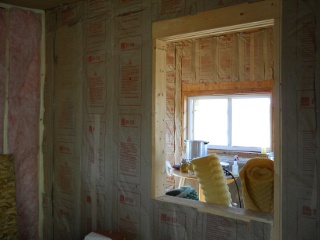
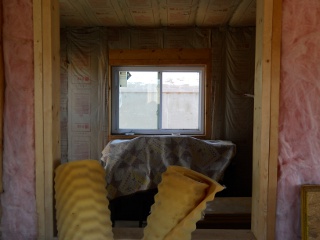
Summer Kitchen Piano Room--View from Main Room

And the other of the pantry from the main room:

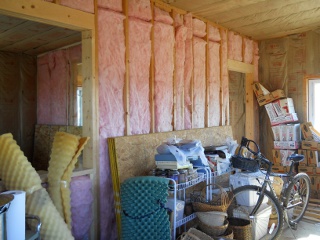
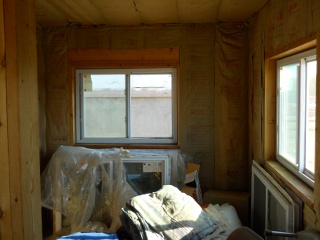
Summer Kitchen Pantry--View from Main Room

The Lord has been gracious and merciful in allowing resources to be able to continue this project, some from the sale of His providential provisions of animal offspring. We thank Him, and we pray for continued help, wisdom and guidance in further homestead development, according to His will.

— David
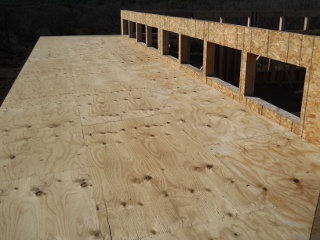
A House – Update IX – Exterior Walls

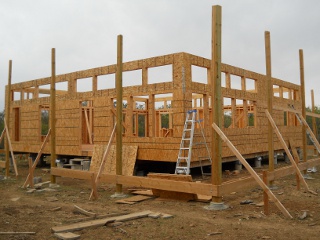
After the house’s porch posts, it was time to put up the exterior walls. After all of the other much slower-moving parts of the house, like the concrete piers, etc., it’s nice to be at a point where things move a little quicker.

Here is the first wall framed. The window headers, which sit on the cripple studs to which the sides of the windows are attached, we made by “sandwiching” 2 pieces of 1/2″ plywood between 3 2x6s; and the window sills sit on smaller cripples, forming the rest of the window frame. The doors, not a part of this wall, we did similarly. We will double the top plates, using the upper top plate to overlap and tie the corners together:

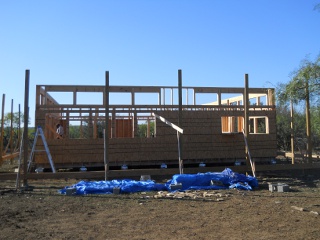
House Outer Wall Frame

And here is the wall with the fire blocks in place. The distance that the OSB siding would be lowered down the wall to attach to the floor joists header determined where these went:

House Outer Wall Frame with Fire Blocks

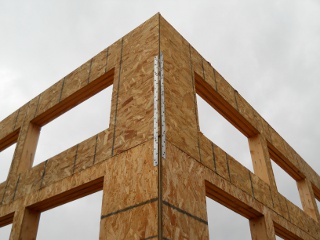
This is how we did the corner, to be able to attach another wall to it and to allow for internal siding to have something to which to be attached:

House Outer Wall Frame Corner

We set a chalk line 5 1/2″ inches back from the edge of the floor, lined up the wall frame to it, and tacked the bottom plate to the floor every 4-6 feet to keep the wall from sliding when lifted into place:

House Outer Wall Frame Base Plate Tacked to Floor

We attached the OSB siding while the frame was on the ground, because placing the 4×8 foot panels when the wall is vertical is much more difficult. I chose OSB because it was cheaper, and I figured would work just about as well, although there are discussions on the Internet that using plywood is better:

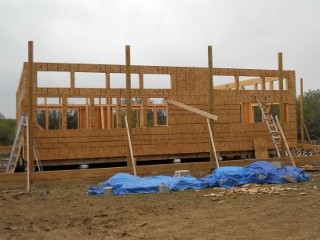
House Outer Wall Frame with OSB Siding

And then, we cut out the windows using a router, which made it VERY easy. In the end, even with the siding on, especially with the windows and doors cut out, it wasn’t really too heavy to lift into place:

House Outer Wall Frame with Windows Routed Out

Here’s the video of the raising of the walls. We thank the Lord for granting us the brethren to help and be a part of this as part of a community:

Raising of the House Walls

With the diagonal braces on the outside holding up the walls, we had to come back in later and add a few pieces of the OSB siding. Once placed, the windows had to be then cut out; and here is a video of me doing that. The router is REALLY nice for this process. Judging from the video, this is why we try to do as many of these while the wall is on the ground 🙂 :

Routing Out Some House Wall Window Frames

As always, we are grateful to the Lord for granting the provisions to be building the house, the strength to do so, we pray guidance and safety in doing so, and for the brethren to help in its construction; and we pray one day the house will be used as a place of worship and fellowship of God’s people.

— David
« Older posts Newer posts »