Our journal of what we pray is our sojourn of life along the narrow way, even the old paths, submitting to the Bible as a light unto both.

Category: garlic (Page 1 of 2)

Garden – Winter 2018 & Spring 2019

Just a little catch-up on garden events…

Winter 2018

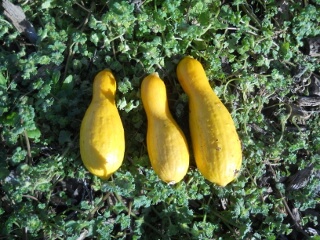
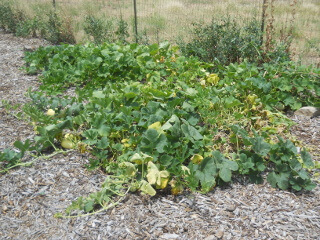
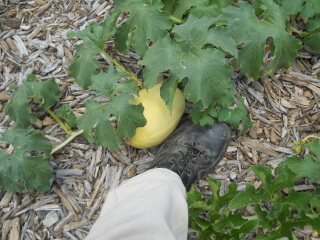
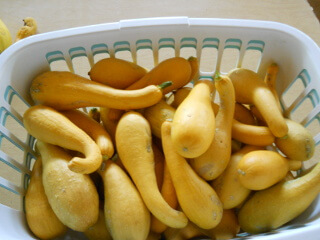
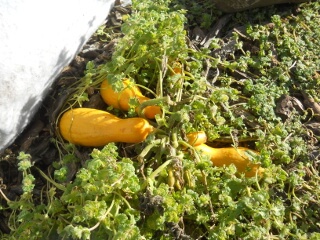
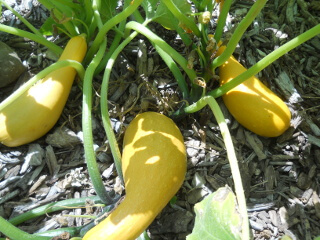
Late last year near the end of December, with the milder weather up to that point, we had an extra squash plant just start to grow from seed planted in the Spring, and after keeping it covered with blankets when necessary, the Lord graciously granted a few squashes, and we thank Him:

Winter 2018 Squash Plant

Winter 2018 Squash Plant

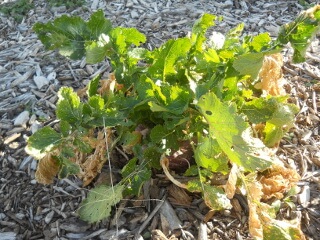
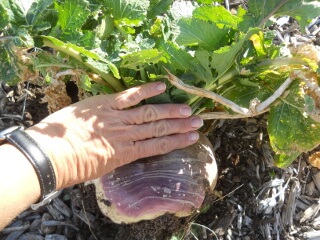
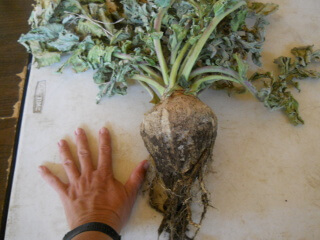
And He granted a turnip to grow too, for which we are thankful as well! Some time ago I just threw down a bunch of turnip seed, and every once in a while a turnip just shows up! 🙂

Winter 2018 Turnip Plant

Winter 2018 Turnip

Spring 2019

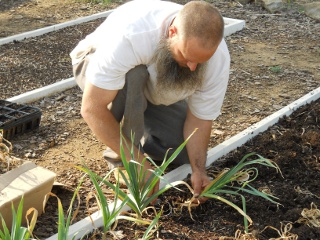
We planted garlic at the end of last year, and recently it was time to go get them!

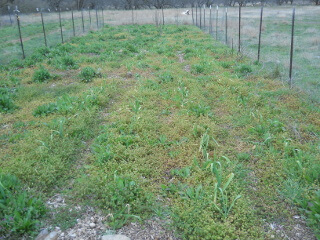
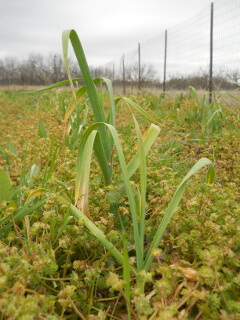
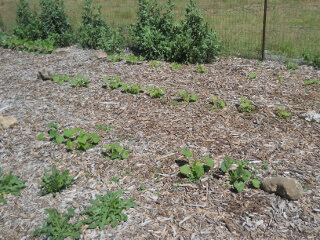
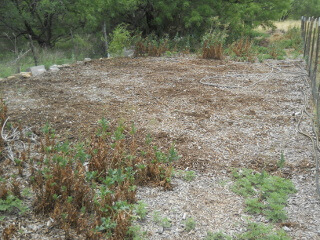
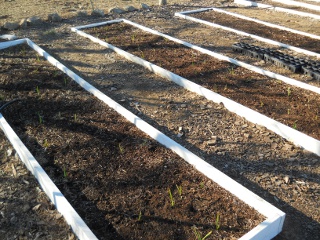
Here is how the area looked in March…lots of weeds, but garlic growing too:

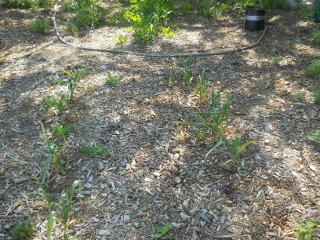
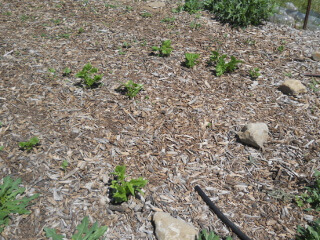
2019 Garlic Garden

2019 Garlic Plant

We pulled one up back then, but there was no bulb on it, so we realized we were still too early. I did put that one garlic back hoping it would continue…

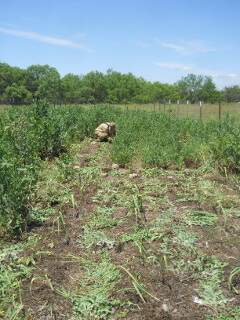
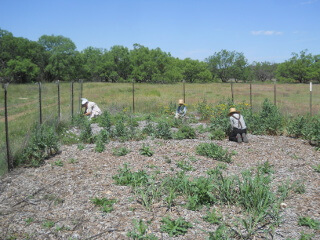
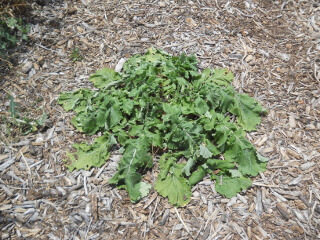
The prickly lettuce that just grows natively here really took over our gardens this year, I believe especially because of the many rains God has graciously granted, so I went into the garlic area and cut everything down that wasn’t garlic, to try to give it all some sun:

Weeding the Garlic Garden

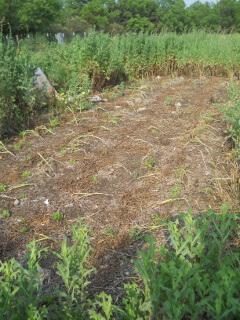
But then about a week and 1/2 later, the garlic plants started looking like they were maybe dying, and we had more rain coming, and I was worried they would start rotting, so I decided to start digging them up…

2019 Garlic Area

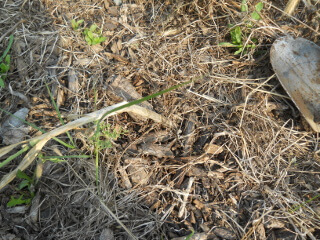
This is a planted garlic:

Garlic Plant

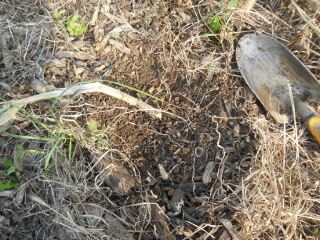
I cleared the mulch around it:

Garlic Plant with Mulch Cleared

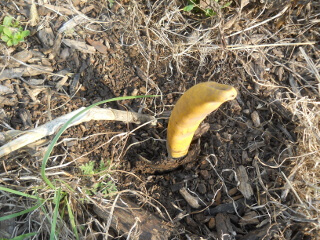
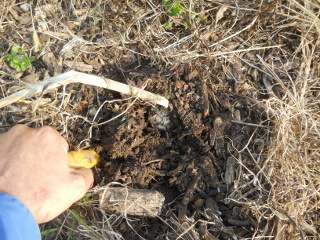
Dug down the full hand-shovel length at 4-5 points around it, several inches away from the plant, and lifted slightly each time:

Digging Out Garlic Plant

More Digging Out Garlic Plant

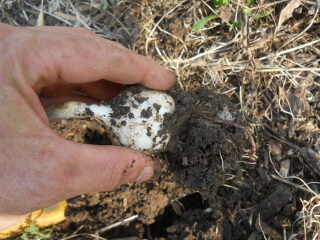
And then when the ground around the plant was loose enough, I gently pulled out the bulb:

Dug Out Garlic Plant

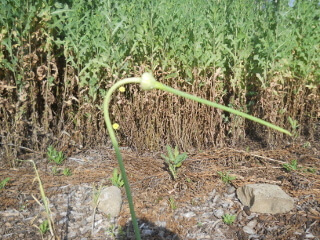
Interestingly, some of the garlic plants started to bolt what looked like a new bulb! I wonder if over time that would have planted itself…

Bolting Garlic Plant

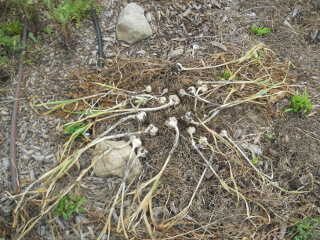
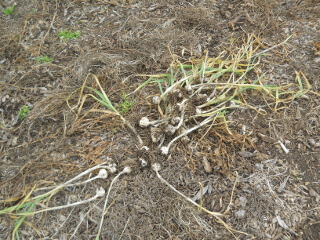
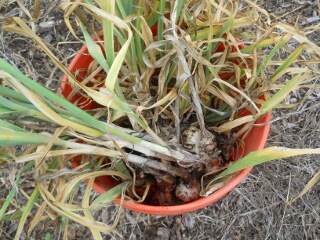
I don’t know, but here are some of the harvest results! Not that every plant that sprung up made it up to this point, but after pulling up that one early with nothing on it, and with what I thought was going to potentially be a problem with any garlic bulbs already starting to rot in the ground, the Lord graciously ended up granting that every single plant have at least some bulb on it, including that one I replanted!

Harvested Garlic

More Harvested Garlic

Harvested Garlic in a Bucket

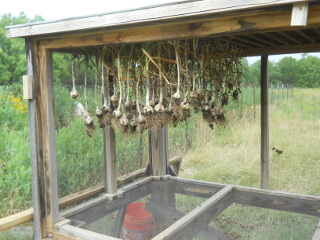
I made a meat dryer some time ago, which is perfect for hanging garlic to dry and cure. Here is after the first part of the garlic was gathered:

Harvested Garlic Hangling in Meat Dryer

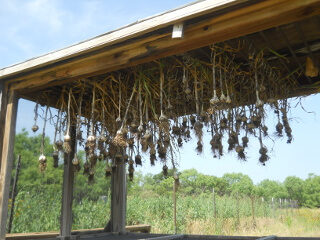
And then the rest of it:

More Harvested Garlic Hangling in Meat Dryer

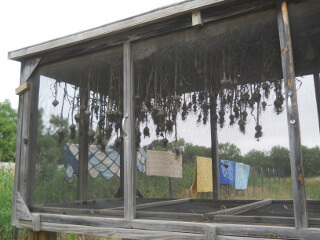
And finally with the meat dryer’s screen panel in place:

Harvested Garlic Hangling in Closed Meat Dryer

We are always very thankful to God for His gracious provisions, and the miracle of taking a seed, which appears dead, and burying it, and then life coming from it, and growing and multiplying itself and being fruitful according to the Lord’s providence alone (ie. I can’t make a garlic bulb just appear), like His word planted in the hearts of men and His Spirit bringing forth new life as He wills, and like His Son, the Lord Christ, dead and buried, but miraculously raised out of the ground again to life! We are eternally grateful to God for the salvific life He brings through Jesus Christ!

— David

Garden – Spring & Summer 2018

I meant to post a blog post about our garden goings-on earlier in the year, but didn’t get to it, so here is a catchup blog post about the Lord’s provisions from the gardens from Spring and Summer so far this 2018!

Spring

In our last garden blog post, we mentioned we planted garlic last year:

Garlic Plants

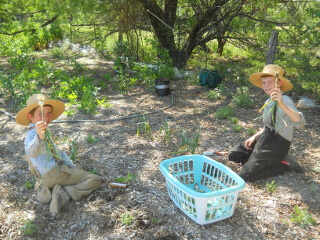
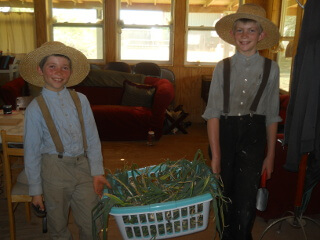
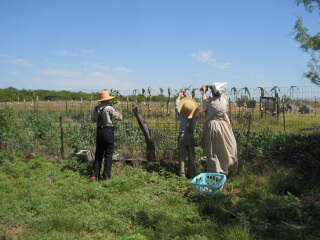
Well, back in May it was harvest time! Thanks to the Stonger boys for the help!

Garlic Harvesting

Garlic Harvested

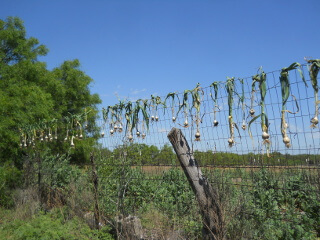
Time to dry them out for a couple of days, and then I hung them in the meat dryer to cure:

Hanging Garlic To Dry

Drying Garlic

And here are the final results, with those ready for next year, Lord willing, on the left, and the ones for use this year on the right!

Garlic Harvest Ready to Use

Then, it was to time for the main spring garden. It needed some weeding first, and thanks again to the Stonger boys:

Garden Weeding

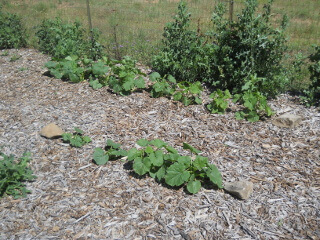
And then we planted beans, squash, and spaghetti squash:

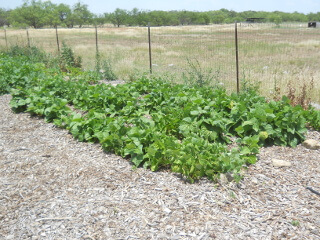
Bean Plants

Squash Plants

Spaghetti Squash Plants

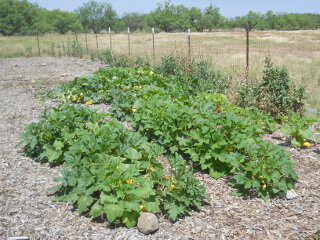
And here they are about a month later:

Bean Plants Growing

Squash Plants Growing

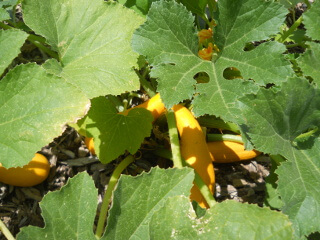
Squash

More Squash

Spaghetti Squash Plants Growing

Spaghetti Squash

And here are some of the results!

First Squash 2018

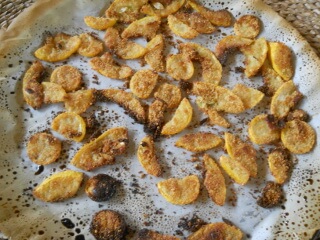
Squash chips! Yum! (see recipe here):

Squash Chips

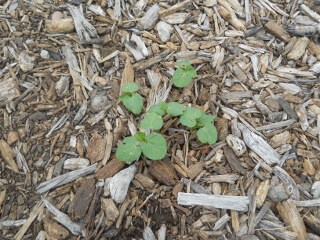
Here’s a freebee turnip plant from seed thrown down in previous years (more on this in the Summer part):

Freebee Turnip Plant

And then it was time to plant okra, which usually works very well around here:

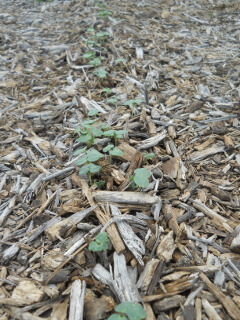
Okra Sprouts

Here I tried throwing a bunch in rows, just to see how it worked:

Okra Sprouts

We also wanted to do sweet potatoes again this year after good success, thanks to God, from last year (see last garden update in the link above).

In fact, here’s a freebee from last year’s planting!

Freebee Sweet Potato

We tried to start our own slips, but they sadly just never grew:

Trying to Grow Sweet Potato Slips

And so we purchased some:

Sweet Potato Slips

And here’s the area we cleared and where they have gone:

Sweet Potato Cleared Planting Area

Summer

Sue got to processing the spaghetti squash by this time, and here are the results! Yum again!

Spaghetti Squash Fruit

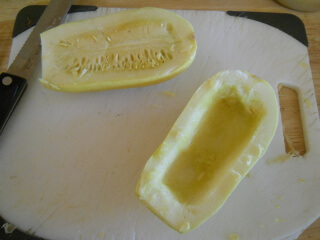
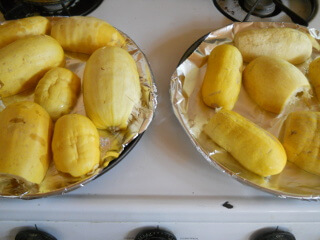
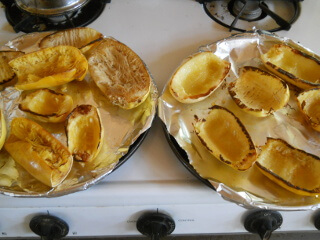
She roasted some:

Spaghetti Squash Fruit Prepared for Roasting

Cut Spaghetti Squash Fruit

Roasted Spaghetti Squash

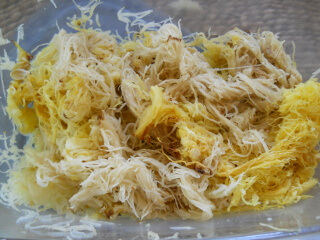
And made “pasta” from the “spaghetti”:

Spaghetti Squash Pasta

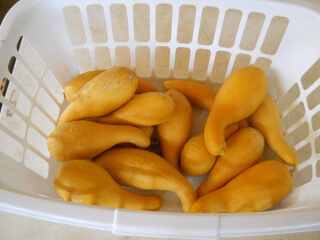
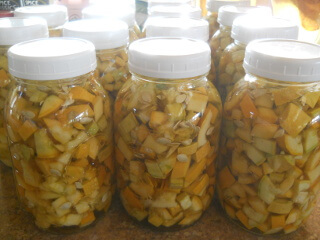
And here’s part of the squash haul, and them cut and preserved in apple cider vinegar:

Squash Harvest

Squash Preserved in Apple Cider Vinegar

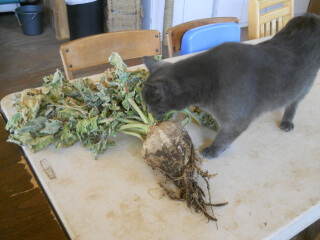
Here’s the freebee turnip — nice!

Freebee Turnip

Thanks to inspector Mimi for allowing it to pass inspection! 😉

Mimi Inspecting the Turnip

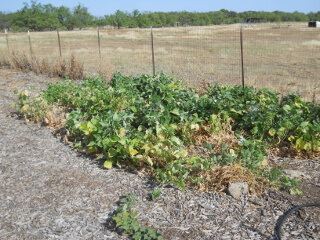
Finally, here we are catching up to today. We’ve had a very hot spring and summer, and drought conditions, so some things are barely hanging on, although we do have rain percentages this week, during which we pray the Lord grants rain. But, here are the beans:

Bean Plants

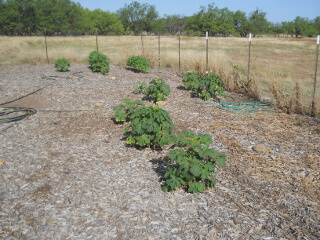
Separated okra plant (many which got razed by something early on):

Okra Plants

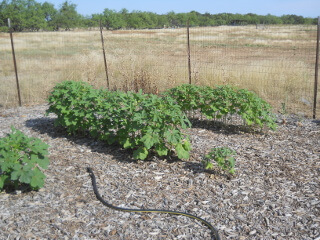
And in rows:

Okra Plants in Rows

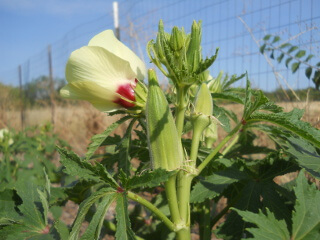
And okra fruit:

Okra Fruit

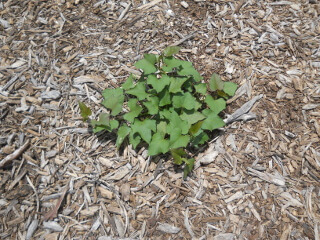
Here’s the freebee sweet potato from above:

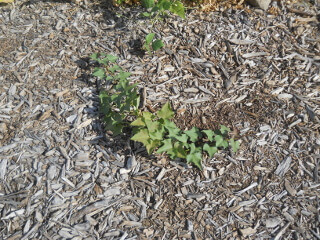
Freebee Sweet Potato Plant

And another one that grew by itself:

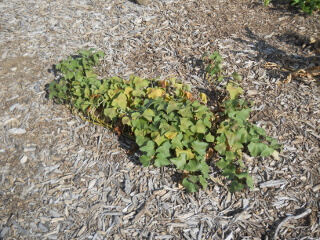
Another Freebee Sweet Potato Plant

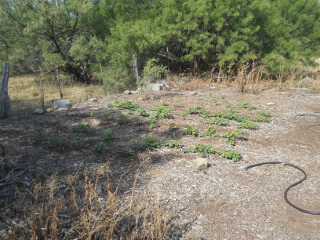
And the sweet potato bed:

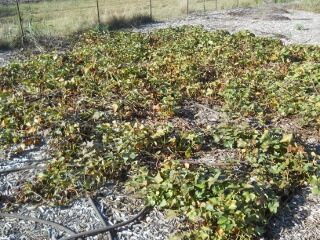
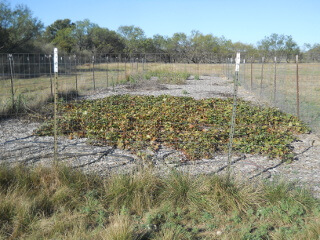
Sweet Potato Bed

We are extremely grateful to the Lord for Him granting the provisions from the gardens this year so far, and we ask for those continued as He might will. We thank Him for the spots of rain He has provided to keep things going, and we always pray He grant spiritual rains of nourishment in our hearts so that we may thrive and grow spiritually for His glory in obedience to and more like Christ Jesus!

— David

Garden – Fall & Winter 2017-2018

We thought we would catch you up on how the garden ended up in Fall of last year, including our foray into the adventure of sweet potato growing, and where we are today!

Here are the final days of the 2017 garden before the freezes started to hit…

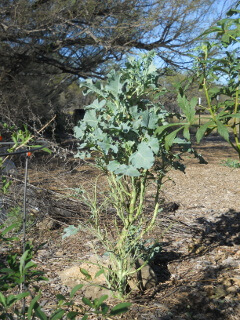
This is the one plant, a broccoli, that grew from the first Spring planting. I have picked off a few broccoli heads and have eaten them as I’ve walked by 🙂 :

Broccoli Plant

Here is our gogi berry plant:

Gogi Berry

And these are our blackberry plants:

Blackberry Plants

Here are the okra plants third week in October:

Okra

But then the freeze was coming, and so we covered them. They looked a little creepy like this actually… 🙂

Okra Covered with Blankets

And sadly, they still didn’t fare well, and so that was about the end of them for the year:

Okra After Freeze

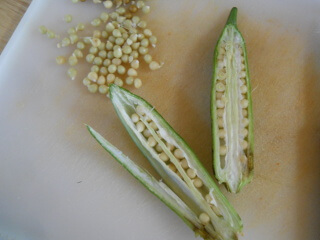
But before that, we thought we would try to save some okra seeds this year to plant next year as part of our continued effort to get sustaining here. We pray God might grant this to work!

Saving Okra Seeds

Sweet Potatoes

I mentioned in our last real garden update that we planted sweet potato slips this year. This is our second attempt, with the first one in our raised beds only yielding a few small ones.

Sweet Potatoes Plants

Again of Sweet Potatoes Plants

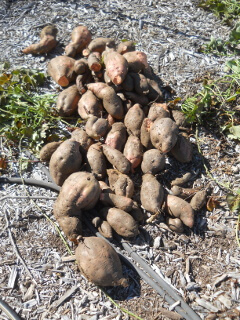
This year however, and I think it has a lot to do with that we’re using the forest bed mulching technique we’ve discussed before, God graciously granted some quite nice ones!

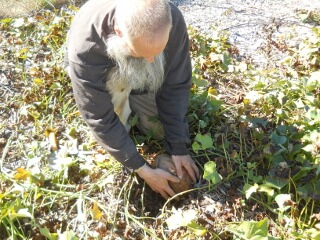
We harvested the beginning of October. The first one I pulled out was half rotted, very mushy, and I was worried they all would be like that, but most were thankfully just fine! You’re supposed to be very careful pulling them out so as to not damage the tender skin, which hardens later.

Harvesting a Sweet Potato

Here’s a stack of them:

Stack of Sweet Potatoes

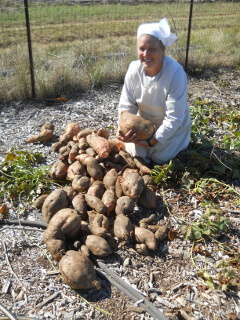
And Sue with an American football-sized one:

More of Sweet Potatoes

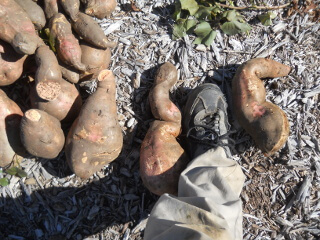
And this is just to give a size perspective:

Sizing Sweet Potatoes

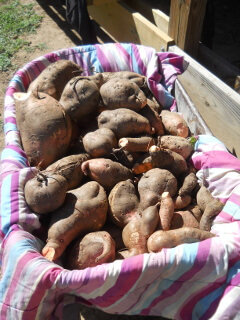
Here they are in the wheelbarrow being taken to the house for curing. Using the information from a website about curing sweet potatoes, we let them open-air cure just on the ground in a couple places in the house for probably about three weeks:

Sweet Potatoes in Wheel Barrow

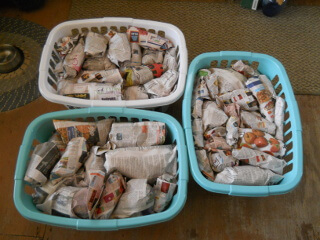
And then wrapped them up individually in newspaper to go into the root cellar for another six weeks. Apparently the longer you can wait to harvest, even just after the first light frost, and giving them that long to cure allows the sugars to form in them, which gives them a good taste, and without which they apparently taste very bland:

Wrapped Sweet Potatoes

And finally, last week, we started pulling them out of the root cellar, and they appear to be still ok….yea, and thank the Lord!

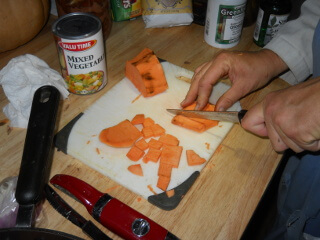
Here, Sue is putting them into a meal:

Cutting Sweet Potatoes

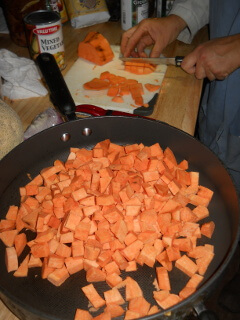
And into the pan (although there is one store-bought mixed in). But, they do indeed taste great, and again we are very thankful to God for these provisions off of the land!

Cut Sweet Potatoes

Garlic

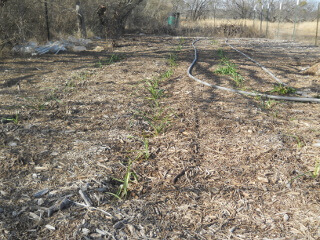
Since we have larger garden areas with which to be able to plant both for Winter and Spring, we are attempting garlic again this year, planting cloves the Stongers graciously gave us. This is just this week after the big freeze we went through here:

Garlic

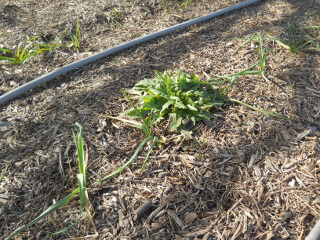
And the wild lettuce, which I believe is the prickly lettuce I mentioned before, is coming back too!

Prickly Lettuce

As always and again, we are very thankful to the Lord for His providence in granting sustenance from the gardens! We pray He might continue to, as He will, and that He guide us into more and better ways to live off of the land in direct dependence on Him!

— David

Preserving Garlic with Fermentation and Its Health Benefits

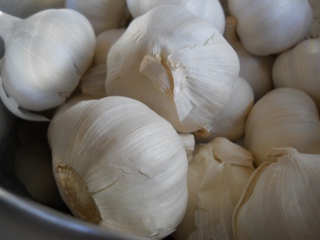
Preserving Garlic - Garlic Bulbs

Last year the neighbor family invited us over for supper. It was a nice time of great food and fellowship. Over the course of the evening, they offered us some preserved garlic to try. It was basically garlic that had been aged in vinegar – that’s it. But it was delicious! I had two all by themselves and really enjoyed them. Apparently, the preservation process makes the edgy/hot garlic taste much milder and easy to pop into the mouth and eat raw. This jogged my memory to several months ago when we originally harvested our very first garlic crop. Our friend, Mrs. Bowman, had commented that she preserves her garlic cloves in cider vinegar, honey and salt. When her husband had a case of swine flu, eating a couple of cloves a day kept her healthy to be able to care for him.

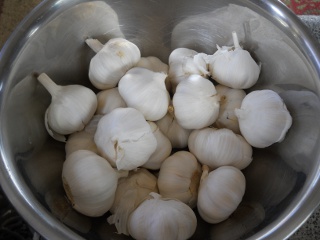
For some reason, our 2012 garlic harvest just didn’t cure correctly and most of it was unusable (that’s another blog post altogether). So when the local market had a great sale on garlic I “pounced” and bought a bunch to preserve using apple cider vinegar:

Preserving Garlic - Bowl of Garlic Bulbs

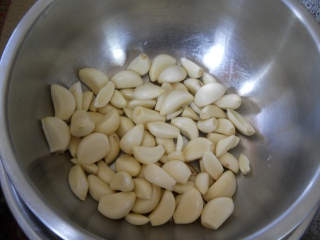
So, we separated the cloves from the bulbs and peeled them completely. Before I go on I should mention that in order to retain the full health benefits of garlic you should leave them whole and not cut or crush them when preparing for preservation. There is a component in garlic called allicin that provides its health benefits and is released when the clove is crushed or cut open. So you will want to leave the clove whole until eaten if possible:

Preserving Garlic - Peeled Garlic Cloves

I included this picture because one of the ladies here, Shannon, always puts such great, artistic, professional pics on her blog so I thought I’d try it. 🙂
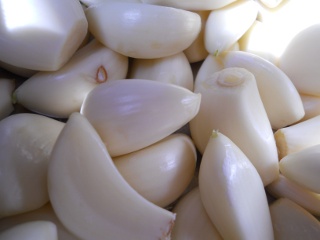
Preserving Garlic - Peeled Garlic Cloves Close-up

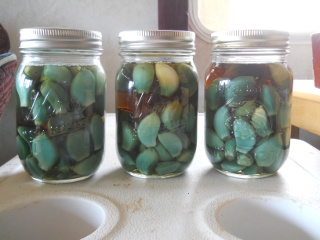
When we first started experimenting with fermenting garlic, we used a salt brine, and either didn’t wait long enough for the garlic to mellow or we just plain made a nasty batch. It tasted awful. Don’t get me wrong; using a salt brine is probably a fine way to proceed, and I’ve included a link to a great and simple recipe here. But in our home we have found that simply immersing the cloves in cheap apple cider vinegar from the store is the quickest and cheapest way to preserve garlic and have it taste great. And there is lots of room for experimentation with herbs and seasonings, but I like to keep things ultra simple. Like Mrs. Bowman, you can add honey and salt as well. Raw, organic apple cider vinegar with what is called “the mother,” like Bragg’s, is a a prebiotic, a naturally fermented food, which supports and feeds the probiotics existing in the flora of our gut, contributing to a healthier and synergistic environment in the body. But for preserving purposes we use the cheap stuff because it can get pricey otherwise.

One of our readers has provided clarification since I first posted this, in that, you achieve lacto-fermented garlic when you place the cloves in a salt brine solution. When you preserve garlic in vinegar, it basically is a pickling process. In either case, you are preserving the powerful benefits of the garlic.

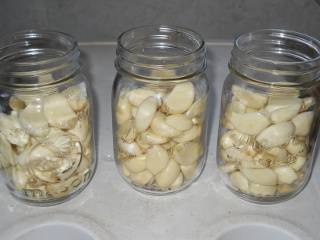
Now pay attention, it gets REAAALLLLY tricky! We put the peeled, whole garlic cloves into a pint jar……..

Preserving Garlic - Garlic Cloves in Jars

Covered to one inch head space with cheap apple cider vinegar……then closed it up with the lid and screw top. Ummmmm, THAT’S IT!!

Preserving Garlic - Garlic Cloves in Apple Cider Vinegar

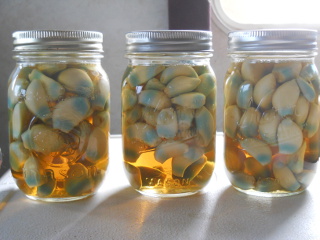
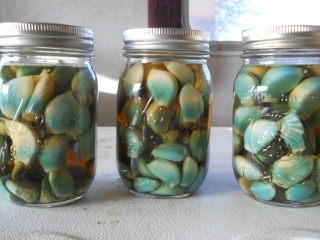
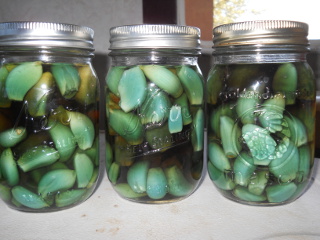
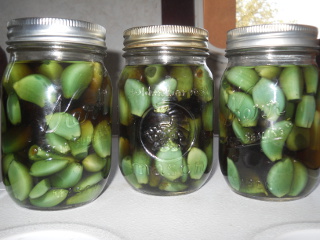
Mrs. Bowman said the cloves would turn blue (or green, Dave says my sense of color is kinda wacky 🙂 ) And then after a couple weeks, after they turn white again, they are good to eat. I’m glad she said that because these started turning blue-green within a day or so, and I might have thought there was something wrong; but, apparently, it’s quite normal.

Here are the cloves after one day:

Preserving Garlic - Garlic Cloves in Apple Cider Vinegar On Day One

And on day two:

Preserving Garlic - Garlic Cloves in Apple Cider Vinegar On Day Two

Again on day three:

Preserving Garlic - Garlic Cloves in Apple Cider Vinegar On Day Three

Day five:

Preserving Garlic - Garlic Cloves in Apple Cider Vinegar On Day Five

And finally on day seven:

Preserving Garlic - Garlic Cloves in Apple Cider Vinegar On Day Seven

You can see there is an interaction dance that takes place between the acidity in the vinegar and the garlic. Then after several days at room temperature, you can move the jars to continue aging in a cool, dark, dry place like a cellar or cool room in the house. It seems that the longer it is left, the more mellow the taste. You’ll probably want to wait at least 2-3 weeks before eating, but you can experiment with time and ingredients in order to find out your personal preferred taste.

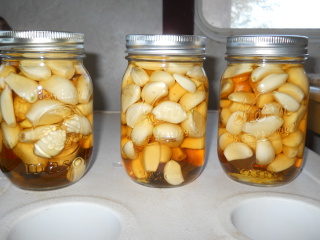
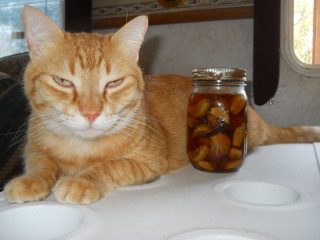
I pulled a jar from the root cellar that I prepped in February of this year, and this is what it looks like after about 3+ months. William decided he wanted to do his Vanna White impression and “present” the garlic:

Preserving Garlic - Garlic Cloves in Apple Cider Vinegar After Three Months

Dave and I have been trying to eat a clove every day with supper (sometimes I forget, but we average probably five a week). At first he was the only one eating them, and I was kind of eyeing him when he wasn’t looking to see if he got sick or keeled over dead. He was the royal food tester and didn’t know it. 🙂 But he loved the taste, AND I noticed with delight that there is something in garlic preserved this way that does not create a lingering odor on the breath. You can sometimes smell it when the person is eating it, but that’s about it. There don’t seem to be ANY lingering breath issues!

So, we either just eat a whole clove with supper, or I cut them up and put them in our salads or other dishes (delicious!)

I am very excited with the health possibilities this provides. In my research, I have found that garlic is purported to have anti-viral, anti-bacterial, anti-oxidant properties, is effective in lowering blood pressure as well as bad cholesterol, and also provides a great general boost to the immune system. I suggest you do your own research, but Dave and I have not been sick this past flu season — I’m just sayin! (There was a day this past winter where I could tell something was trying to get at me like a cold or flu. But it just never materialized. It just kind of phhhtttffft out. I was feeling a little taxed for a day or so, but nothing serious came of it like having to miss any work or go lie down, etc.)

This is one of those cheap, easy, natural and healthy ways to keep your immune system in better shape. I would encourage you to try it! You can even use any kind of glass jar with a lid (peanut butter, mayo, etc.)

As always, we are so thankful to God for providing everything we need for good health found in His creation. And for granting us this information so we may continue to pursue a sustaining lifestyle with His help.

Susan
Garlic 2012 – Update I

As the the garlic-growing season went on, it became apparent it was time to pull the garlic. Last year, I believe I waited a little too long, and some plants started to wither; and so, this year, we tried to get them a little earlier. But to me, with some of the leaves yellowing, and a couple of the plants starting to lay over, it was time to get harvesting.

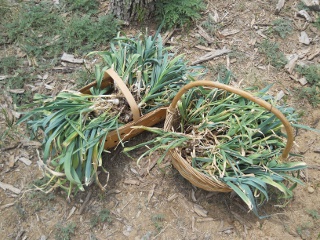
Here is the garlic haul for this year:

Garlic 2012 Picked and in Baskets

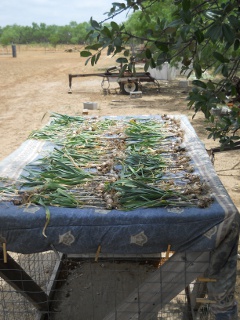
And here are the plants drying. We let them dry for about a week, although we had to roll them all up and get them out of the rain a couple of times:

Garlic 2012 Drying

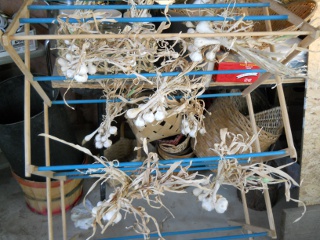
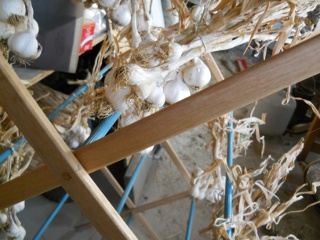
After the drying, it was time to tie them up and get them hanging for the curing process. I think we might have ended up with at least a little more than we used for planting. Some of last year’s garlic ended up being rotten and dried by this year; and so, I’m hoping pulling them a little earlier will help against that:

Garlic 2012 Tied, Hanging and Curing
Garlic 2012 Batch of Garlic Bulbs

We are grateful to the Lord for granting the garlic He did, and we pray for a granting of the health benefits from it that can come with garlic.

— David

Garlic 2012

From our garlic harvest from last year, we thought we’d try replanting the cloves dried and preserved instead of purchasing garlic.

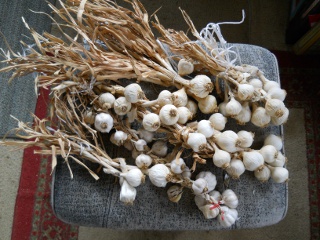
Here are the dried garlic stalks from last year:

Garlic 2012 Last Year's Garlic

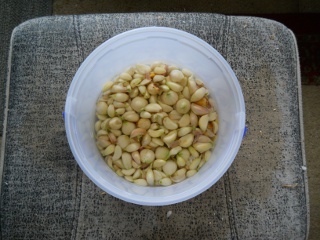
And here are the cloves soaking in preparation for planting (here is how we did the garlic preparation last year):

Garlic 2012 Soaking Cloves

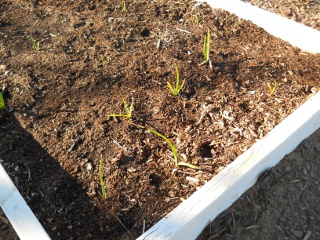
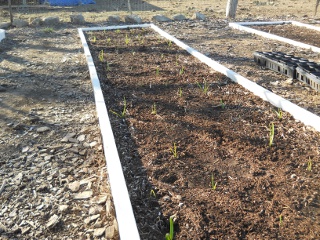
We got a bit of a late start, but here are a couple of current pictures of the growing garlic. I would that more of them had sprouted; but we know, as it is spiritually, that all that can be done by man is planting and watering, and the results are God’s, in accordance with His will:

1 Cor 3:7 – “So then neither is he that planteth any thing, neither he that watereth; but God that giveth the increase.

Garlic 2012 Planted with Growth
Garlic 2012 Planted with Growth Full Bed
Garlic 2012 Planted with Growth All Beds

We’re grateful for the opportunity to try to grow our garlic perpetuating it from the land only, and for the continued health benefits of being able to have garlic, and we pray that the Lord might grant a harvest in due season.

— David

Garlic 2011 – Update I – Doing Something About Garlic “Breadth”

In our last blog post on our 2011 garlic, we had harvested our first small batch; and I tried my hand at braiding it (which turned out to be very “trying”). Well, since then, we have harvested the remainder of the crop, which we did back in May; and we wanted to share a little more of the garlic processing process.

Here is Dave pulling the garlic plants from the beds and placing them in a big box:

Harvesting Garlic

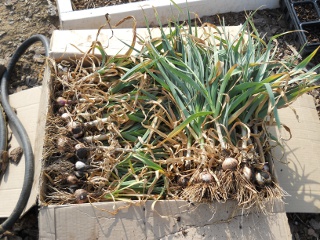
Wow! Our first garlic crop! It sure smelled good:

Harvested Garlic Plants in A Box

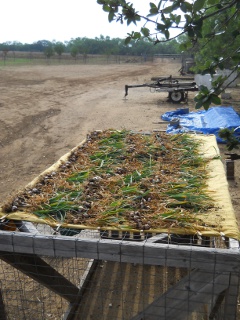
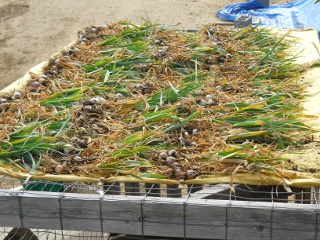
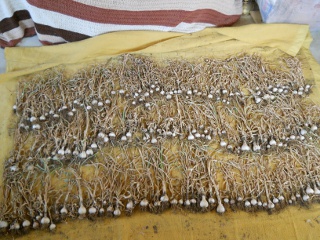
This time we did a bit more research before diving into it, which paid off. We laid out all of the bulbs in the indirect sun for a few days on our makeshift food dryer:

Garlic Plants Laid Out to Dry

Here is a closer look:

Garlic Plants Laid Out To Dry

Then we moved it all into our summer kitchen in preparation to be braided and hung:

Dried Garlic Plants

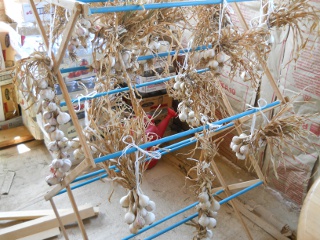
I was successful at braiding the larger garlic plants; but as I got to smaller ones, the leaves were just too dry and difficult to braid and handle. So I started gathering them into bunches and tying them at the top. I actually like this method better; and it works just as well, in my opinion. I then hung them on my garlic hanging stand (aka: clothes dryer). I was pleased with the end result:

Hanging Garlic Plants

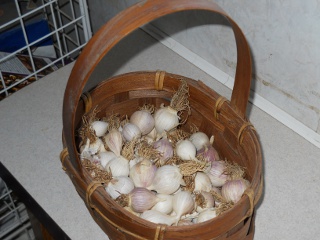
There ended up being many other small bulbs that either lost their leaves or fell off in the process. So I gathered them up and placed them in a small basket. I keep the basket in my kitchen, and it’s perfect for grabbing as many garlic cloves as I need at any given time. And the garlic smells and tastes wonderful!

Basket of Small Garlic Bulbs

Due to the extreme drought we have been experiencing, this is the only garden harvest the Lord allowed us to have this Spring and Summer (in addition to a few tomato plants on which the jury is still out). We are very thankful to God for the gift of this garlic crop and look forward to possibly spreading our garlic “breadth” in the future. 🙂

Susan
« Older posts