Our journal of what we pray is our sojourn of life along the narrow way, even the old paths, submitting to the Bible as a light unto both.

Category: garden (Page 6 of 8)

Garlic 2011 – Update I – Doing Something About Garlic “Breadth”

In our last blog post on our 2011 garlic, we had harvested our first small batch; and I tried my hand at braiding it (which turned out to be very “trying”). Well, since then, we have harvested the remainder of the crop, which we did back in May; and we wanted to share a little more of the garlic processing process.

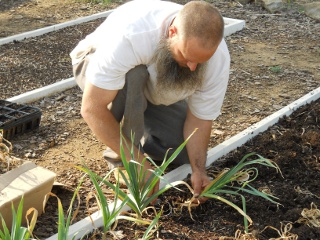
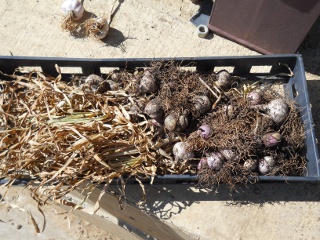
Here is Dave pulling the garlic plants from the beds and placing them in a big box:

Harvesting Garlic

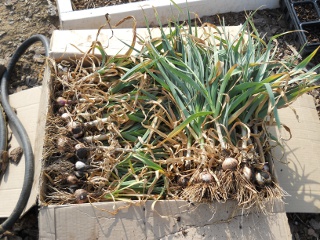
Wow! Our first garlic crop! It sure smelled good:

Harvested Garlic Plants in A Box

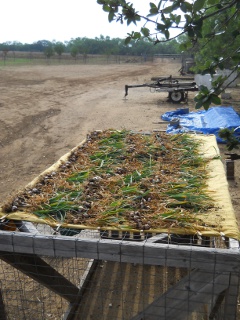
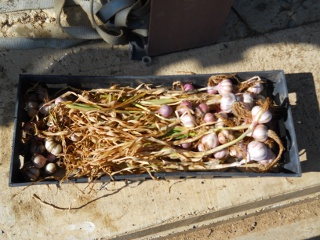
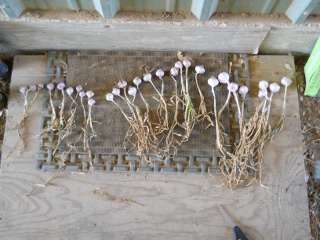
This time we did a bit more research before diving into it, which paid off. We laid out all of the bulbs in the indirect sun for a few days on our makeshift food dryer:

Garlic Plants Laid Out to Dry

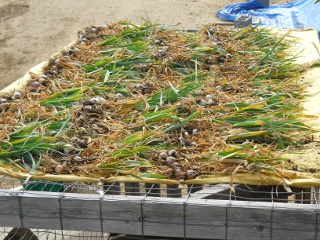
Here is a closer look:

Garlic Plants Laid Out To Dry

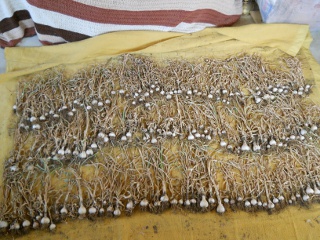
Then we moved it all into our summer kitchen in preparation to be braided and hung:

Dried Garlic Plants

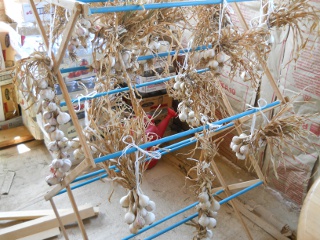
I was successful at braiding the larger garlic plants; but as I got to smaller ones, the leaves were just too dry and difficult to braid and handle. So I started gathering them into bunches and tying them at the top. I actually like this method better; and it works just as well, in my opinion. I then hung them on my garlic hanging stand (aka: clothes dryer). I was pleased with the end result:

Hanging Garlic Plants

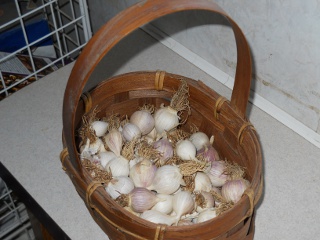
There ended up being many other small bulbs that either lost their leaves or fell off in the process. So I gathered them up and placed them in a small basket. I keep the basket in my kitchen, and it’s perfect for grabbing as many garlic cloves as I need at any given time. And the garlic smells and tastes wonderful!

Basket of Small Garlic Bulbs

Due to the extreme drought we have been experiencing, this is the only garden harvest the Lord allowed us to have this Spring and Summer (in addition to a few tomato plants on which the jury is still out). We are very thankful to God for the gift of this garlic crop and look forward to possibly spreading our garlic “breadth” in the future. 🙂

Susan

Garlic 2011

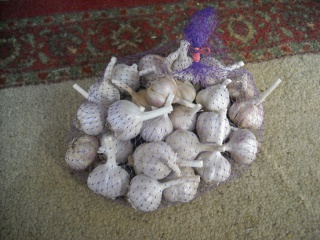
Dave and I have been learning about the health/medicinal benefits of certain vegetables, herbs, etc. We were so impressed with the benefits (and obvious great taste) of garlic that we decided to plant some. The Bunkers have been very successful with growing Spanish Roja, a high quality gourmet bulb; so we went with that as well. Since garlic is a good Winter garden crop, we decided to plant four beds with it as everything had been pulled from our 2010 Spring garden. We figure you can never have enough garlic, and this particular variety is highly valued among the “gourmet garlic buying” crowds. We thought that if the Lord allowed a large crop we could turn around and sell some. We looked to buy it later in the season and found it was already about 90% sold out and somewhat difficult to locate, but Dave finally triumphed on eBay and with another garlic seller, so we took the garlic plunge:

Purchased Garlic in Its Bag

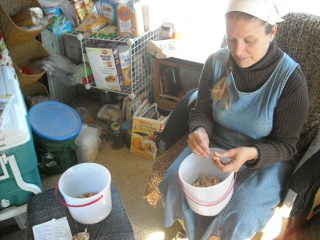
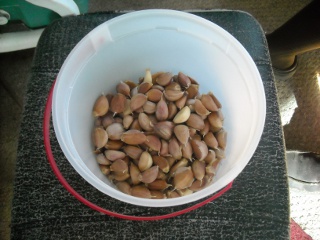
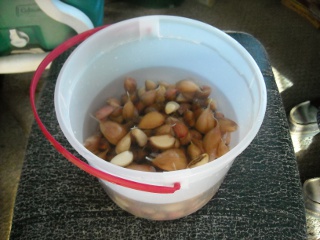
We had to prep the garlic before planting, so the first step was peeling it and separating it into individual cloves:

Sue Pealing Garlic Cloves

Those ice cream buckets really come in handy! That’s the only reason we buy them, you know. 🙂

Pealed Garlic Cloves

We then soaked the cloves in rubbing alcohol for an hour or so in order to kill any bacteria on them:

Garlic Cloves Soaking in Rubbing Alchohol

And then we soaked them in water over night and then planted.

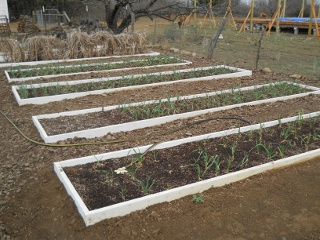
Dave planted them in late November, and we had to water them sparingly because we have been in an awful drought. But God allowed them to grow and we recently pulled the first batch in early May!

Garlic Plants Growing in the Garden

Here they are freshly harvested:

Harvested Garlic Bulbs

In preparation for long term storage, and I wasn’t aware of this, but through research I discovered that garlic goes through a drying or “curing” process after harvesting. Here are the bulbs dried and ready for braiding and curing. In my ignorance, I did wash this batch; but with further research, I didn’t see anywhere that washing was appropriate at this stage. Apparently though, the drying helps harden the dirt so it comes off easily; and the curing hardens the outer layer, which helps seal in the moistness:

Dried Garlic Bulbs

You can braid the garlic or simply hang it out to dry for a few weeks to cure it. We thought we would just stick it in the food dehydrator, but my research indicated to keep it out of the direct sun. I found a very good braiding garlic tutorial online to help me with the process.

First I separated out the different sizes of garlic bulbs:

Dried Garlic Plants Separated Out by Size

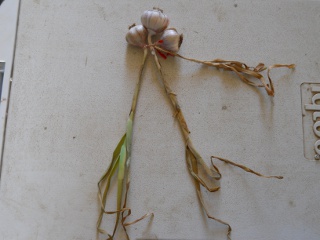
Then I tied a large bulb and two smaller bulbs together with a twisty tie like the nice lady said on the video:

Tying Garlic Plants Together to Begin Braiding

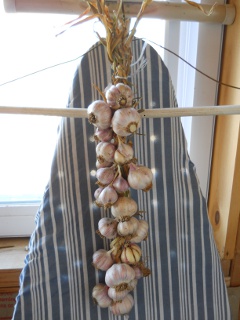
Then I continued to braid in the remaining bulbs, and this is the result. I made several mistakes but learned from them, so it’s not perfect by any means but accomplishes the goal of curing the garlic! Several of the bulbs lost their tops, so I have them drying on a table in the summer kitchen. This represents just a portion of one garden bed, so it looks like I may have ample opportunity to hone my garlic curing and braiding skills and put it on my agrarian resume! 🙂

Braided Garlic Plants

We are ever thankful to our great Provider for this harvest of garlic with its manifold benefits.

Susan

End of the Garden Tomatoes (Red and Yellow, Green and Bright, They Are Precious in Our Sight)

Our 2010 Spring garden was faced with much adversity, in that, it was plagued with grasshoppers and overcome by drought. We had very few tomatoes to harvest over the entire Spring and Summer months. But thank the Lord for His graces and mercies: come Fall, the grasshoppers began to die out, cooler temperatures came, and God sent a couple of good rains. We were thrilled when we started to see flowers start to bloom and eventually grow fruit all over our six, overgrown, previously empty, tomato plants:
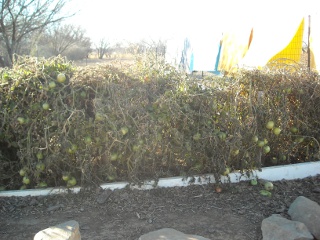
Spring Garden 2010 Fall Tomato Crop on the Vine

As Autumn progressed, we started to put blankets over the tomato plants but could tell they were probably not going to be able to ripen on the vine with the prevalent cooler weather patterns. I was able to harvest three large baskets of unripened tomatoes and put them in our summer kitchen building:
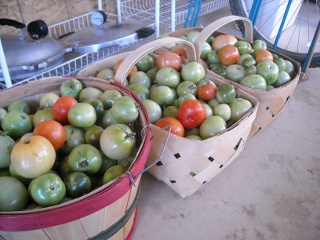
Spring Garden 2010 Fall Tomatoes in Baskets

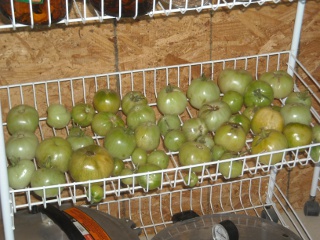
I knew they would rot if I left them as-is in the baskets, so I spread them out wherever I could find room. Here…….
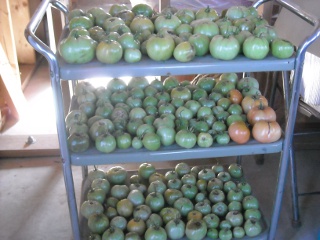
Spring Garden 2010 Fall Tomato Crop on Rolling Cart Shelves

Here……

Spring Garden 2010 Fall Tomato Crop on Another Rolling Cart Shelf

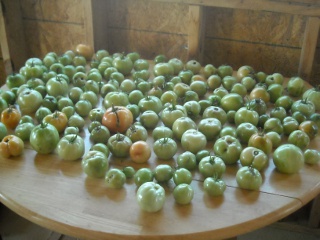
And more here!

Spring Garden 2010 Fall Tomato Crop on Table

I checked on the tomatoes pretty much daily and grabbed the ripened ones to use in salads, sandwiches and other dishes. Man, there is nothing like the taste of a garden tomato! I had to keep a close eye on them because they can rot when you blink! And if they are touching in any way, it seems the rotting can be contagious. Our pigs ended up eating their share of rotten tomatoes, but at least they didn’t go to waste:
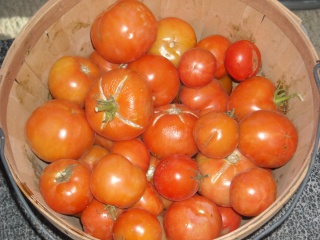
Spring Garden 2010 Fall Tomatoes Ripened in Basket

When I had a goodly amount of ripened tomatoes, I went ahead and preserved them by making some tomato-apple chutney. Yum! For anyone who is interested, here is the easy recipe from the Ball Blue Book of Preserving:

Tomato-Apple Chutney (yields about 6 pints, but you will probably yield more if you are generous with the ingredients)

2 1/2 quarts (about 12 large) chopped, peeled, cored tomatoes (I did not peel or core mine)
1 quart (about 5 medium) chopped, cored, peeled apples (I did not peel mine)
3 cups brown sugar
2 cups (about 1 large) chopped cucumber
1 1/2 cups (about 1 1/2 medium) chopped onions
1 1/2 cups (about 2 medium) chopped sweet red peppers
1 cup raisins
1 hot red pepper, finely chopped (I used a jalapeno pepper)
1 clove garlic, minced
1 tablespoon ginger
1 teaspoon salt
1 teaspoon cinnamon
3 cups vinegar (I used apple cider vinegar)

Combine all ingredients in a large sauce pot. Simmer until thick. Stir frequently to prevent sticking. Ladle hot chutney into hot jars, leaving 1/4-inch head space. Remove air bubbles. Adjust two-piece caps. Process 10 minutes in a boiling-water canner. (Be sure to check for any time or weight adjustments based on altitude)

(Recipe variation: For a milder chutney, remove seeds from hot pepper)

(Note: When cutting or seeding hot peppers, wear rubber gloves to prevent hands from being burned)

Here are all the ingredients combined and ready to be simmered:
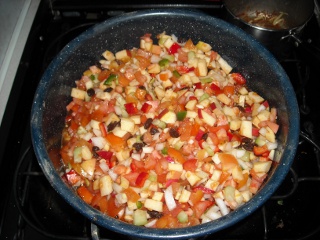
Tomato-Apple Chutney Ingredients Ready for Cooking

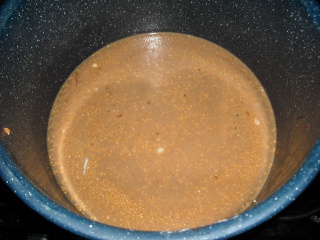
And here it is after simmering, ready to be poured into clean, hot canning jars.
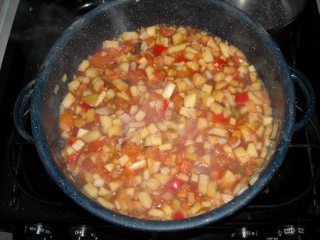
Tomato-Apple Chutney Simmering in Pot

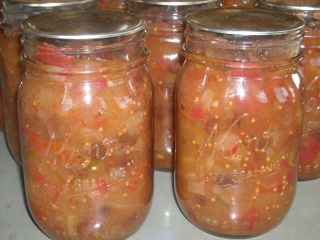
I have found chutney is really tasty with rice dishes, as a garnish or topping to meat or anything to which you want to add a sweet/sour savory tang or “pizazz.” I am thankful to have found these chutney recipes to assist in preserving many of our garden veggies and orchard fruits:
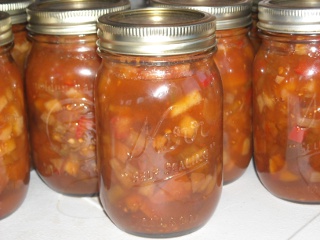
Tomato-Apple Chutney Preserved in Jars

There came a point in the Winter where the rotting was increasing and the ripening was taking a long time, so I decided to attempt lactic fermentation with the remaining green tomatoes:
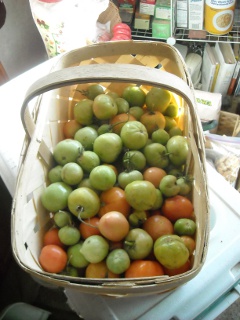
Spring Garden 2010 Fall Tomatoes Unripened

I combined the green tomatoes, chopped onion, chopped garlic and chopped green peppers (I think those are all the ingredients I used). You can put most any combination of garden veggies together for lactic fermentation:
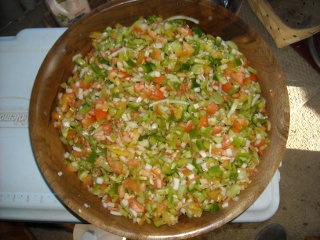
Spring Garden 2010 Fall Green Tomatoes and Vegetables Chopped Up for Lacto-Fermentation Preservation

I put it raw in canning pint jars, along with two teaspoons of canning salt in alternating layers, and filled the jars to within one inch head space with water. Then I put the tops on and……..that’s it! Lastly, I placed them down in the root cellar. Over the course of days to weeks, it develops that tangy fermented taste that is sooooooo good for your gut. It actually makes a great salsa, and we also put it on our salads.

We thank God for His perfect timing in providing this late tomato harvest and for His faithful provision:
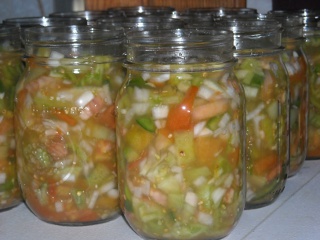
Spring Garden 2010 Fall Green Tomatoes and Vegetables in Jars for Lacto-Fermentation Preservation

Susan
Garden – Spring 2010 – Update I

You may be wondering why I’m talking about our 2010 Spring garden now instead of several months ago. Well, our garden seemed to have a mind and time line of its own this past year; and I just recently finished processing the last of our tomatoes. I plan to write a separate blog post on those but am just now getting down to chronicling the rest of the garden in an update. I figure for us gardeners, what better time to dwell on Spring, gardening, new growth and warmth than in the thick of Winter!

Onions

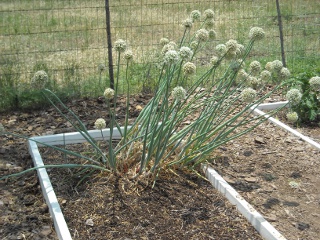
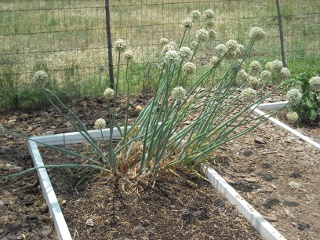
Believe it or not, these onion plant blossoms are from our 2009 Spring garden! But they have faithfully kept producing, so we decided not to pull them and continue to let them grow. The underground onion bulbs are rather small, but I have been able to pull and use them in many meals over the past couple of years:

Spring Garden 2010 Mature Onion Plant

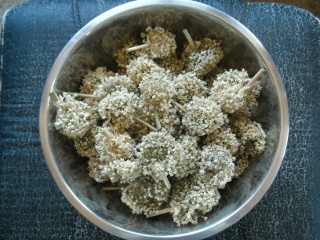
I clipped the plants down to the ground but left the bulbs in case they would continue to produce green onions (which they have as of this update). Here is a bowl full of the blossoms I am saving to plant again in our Spring 2011 garden to see if they will reproduce:

Spring Garden 2010 Onion Plant Blossoms

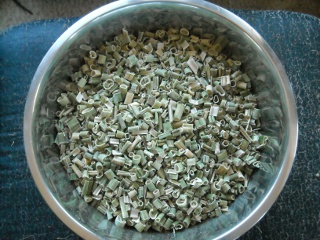
I cut up and dried the stalks in our solar food dehydrator, but they came out unusable in my opinion. I let them get too fibrous and leggy before picking them. Note to self: Don’t do that!

Spring Garden 2010 Dried Green Onions

Zucchini

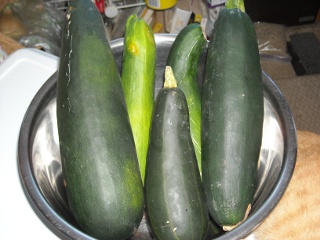
Due to a drought and large numbers of grasshoppers, our zucchini harvest was a fraction of the size of years past; but I picked these last few:

Spring Garden 2010 Zucchini Harvest

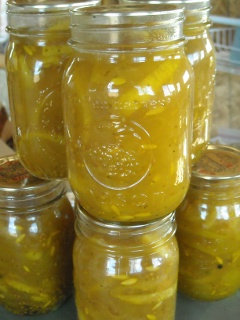
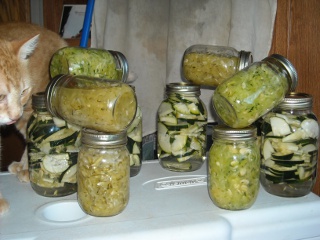
I decided to go the quick and easy lactic fermentation route and made some zucchini pickles and relish. I can’t believe how easy it is to preserve by lactic fermentation. You just add about two teaspoons of canning salt per pint in alternating layers with whatever vegetable you are using; fill the jar to about 1/2″ head space with water (preferably not tap water but distilled or filtered rain water); close with lid and move to a cool, dark place to ferment and develop those wonderful bacteria and enzymes for your gut and digestion. Once done, I put the jars all down in our root cellar. Due to our interest in zucchini, we traveled across the globe (ie: to the other side of our RV) to see the eighth wonder of the world, “Zucchini-Henge.” We were startled when we witnessed a rare sighting of the gargantuan feline monster on the left!

Spring Garden 2010 Zucchini-Henge

End of the Garden Pickles

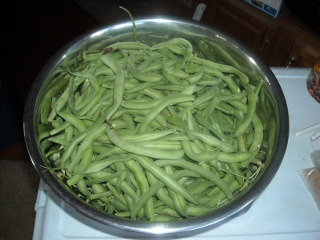
Here is our last harvest of green beans for the season. Since there weren’t that many, I decided to experiment with lactic fermentation with two pint jars full of beans, water and salt, combining the rest with other garden vegetables to make some “End of the Garden Pickles” from the recipe in the Ball Blue Book of Preserving:

Spring Garden 2010 Bowl of Freshly Picked Green Beans

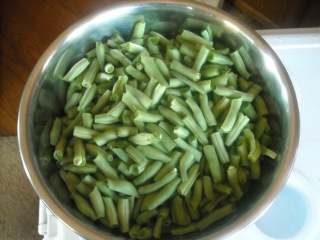
Here are the green beans all washed, cut and ready to go:

Spring Garden 2010 Bowl of Cut Green Beans

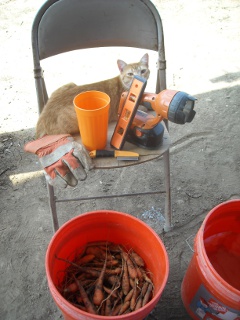
Can you find our freshly picked garden carrots in this picture packed with all things orange?!

Spring Garden 2010 Freshly Picked Carrots

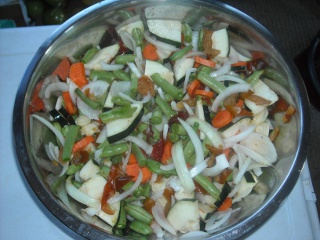
Here are all the ingredients ready to go for the “End of the Garden Pickles” recipe. In this batch I included green beans, zucchini, carrots, peppers and onions:

Spring Garden 2010 End of the Garden Pickles

And here are sugars, spices and vinegar combined and ready to be mixed in with the vegetables:

Spring Garden 2010 End of the Garden Pickles Sauce

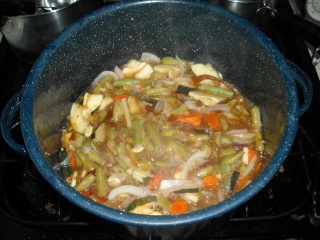
I brought the liquid to a boil and then added the vegetables and brought it to a boil again. Then I turned down the heat and let it simmer for about 15 minutes:

Spring Garden 2010 End of the Garden Pickles cooking

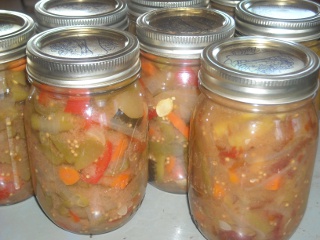
It was then ready to be ladled into hot jars and pressure-canned! How easy is that!

Spring Garden 2010 End of the Garden Pickles in Canning Jars

Tomatoes

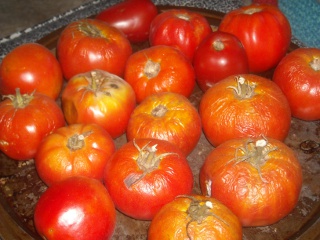
Here are some tomatoes given to us by a neighbor. As I hinted at above, our own tomato crop didn’t produce until November, so we were very thankful to have received these:

Spring Garden 2010 Tomatoes

I decided to make some Sweet Yellow Tomato Chutney out of these tomatoes. All my chutney recipes so far are taken from the Ball Blue Book of Preserving. I think these recipes are top notch and delicious. A friend suggested putting some tomato chutney in with pasta sauce. I have done that many times and find it adds a delicious “tangy twist” to traditional pasta sauce:

Spring Garden 2010 Canned Tomato Chutney

Bread and Butter Pickles

Lastly, I honestly can’t remember where I got the cucumbers to make this batch of “Bread and Butter Pickles” (page 47 from the Ball Blue Book of Preserving). The cucumbers from our garden just did not do well, but someone must have given these to me, or I got them on sale or something. Another delicious recipe!

Spring Garden 2010 Canned Bread and Butter Pickles

Thanksgiving

We are thankful for this late harvest from our garden, and once again are very careful to thank our Creator for His direct provision. It is now Winter, and we have accessed and incorporated much of the above from our root cellar into our meals. We are also looking forward to the opportunity to do it all again this Spring, Lord willing!

Susan
Garden 2010 – Spring

Well, once again, it’s that time of year — time to try to grow something for us to eat!

I learned in last year’s garden to wait until mid April to plant because of the potential for late freezes; and so, we did wait. When it came to soil preparation, since we added the vermiculite, peat moss and compost in raised beds last year, all we needed to do this year was add compost, which we did. We hope to be able to develop our own compost someday; but until then, we bought some cotton burr compost and mixed it into the top soil layer in the beds.

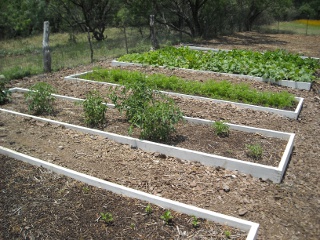
And here’s where things are at currently. There are peppers, tomatoes, carrots, squash, zucchini and green beans — basically the same as last year, mostly because it all grew really well. We decided against okra because you have to pick them when they’re three or four inches long or they get very fibrous; and with all of the other vegetables, we just weren’t able to keep up with them properly:

Spring Garden 2010

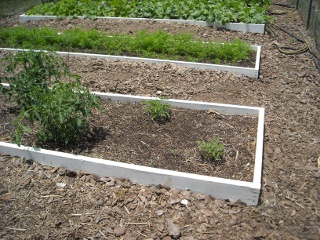
In this picture, the two small tomato plants are plants I found growing in another raised bed that apparently grew on their own from seed or maybe even tomatoes that had fallen off the plants from last year:

Spring Garden 2010 Tomatoes from Previous Year

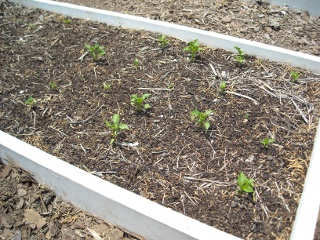
And these bell peppers we started from seed in the raised bed:

Spring Garden 2010 Bell Peppers Growing from Seed

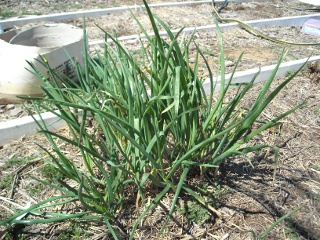
And finally, these are still last years’s onions!

Spring Garden 2010 Onions from Spring Garden 2009

We thank the Lord for bringing us through the Winter into the time of Spring, the time of life, and the opportunity to plant this year; and we pray for His provisions of rain, water and sustenance from the plants, according to His will.

— David

Garden 2009 – Update VI – Onions

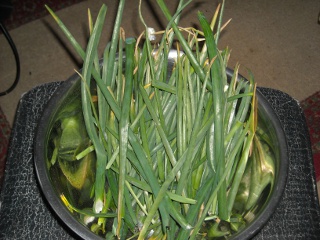
Garden 2009 Growing Onion GreensI sit here writing this blog post on the first full day of Spring 2010. Wow, I never thought I’d still be writing about our Spring 2009 garden! In it, we planted onions; and they have been going strong through the wettest, harshest winter we’ve had since we’ve lived here in Central Texas. I had picked all of the green onion stems off of the onions last summer in order to dry them in our solar food dehydrator, and decided to leave the remaining onions in the ground and pick them as needed as we entered into Fall. In actuality, once everything else in the garden had come to its natural end, I forgot to go out and pick the onions much of the time. Then, mid-way through winter, Dave noticed there were green onion stems (aka: scallions) that had grown back long and healthy. Boy, talk about a gift that keeps on giving!

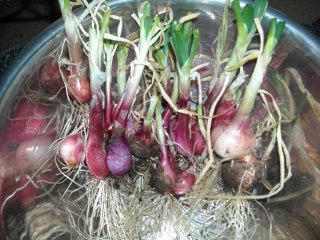
One recent evening I went out and pulled several onions when my supper dish recipe called for it. These bulbs are much smaller than regular onions you buy in the store, but the taste is delicious and robust. I was pleased and surprised with how well the onions had survived through Winter, and with the bright, healthy color and texture that had been maintained:

Garden 2009 Picked and Clipped Onions

You really do get two vegetables for the price of one with these onions. The green onion stems are potent with their own milder onion taste. They also looked green and very healthy. It’s amazing how some garden vegetables are so fragile when severe weather comes; and others, like these green onions, seem to thrive:

Garden 2009 Picked and Clipped Onion Greens

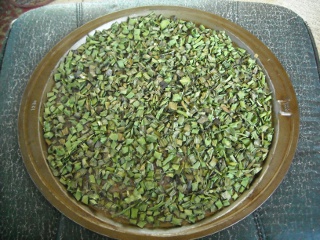
I didn’t want to waste any of the green onions, and the weather we have been getting has been too overcast to use the solar food dehydrator much of the time, so I decided to put them in the oven overnight to slow dry. I cleaned and cut up the green onions and put them on a pizza pan sheet, set the oven to 150 degrees (or thereabouts), and left them overnight. They needed to stay in the oven a bit longer the next morning; but the end result was delicious, crispy, preserved green onion bits! I have since used them in a few various dishes; and it adds a nice, subtle onion flavor:

Garden 2009 Dried Onion Green Bits

We never tire of giving our Father thanks for His direct provisions. And we pray He grant us strength, resilience and growth through times of the spiritual winters of His chastisement, affliction, or the lessening of His presence to teach us to desire Him more.

Susan
Garden 2009 – Spring – Update V – Sweet Potatoes


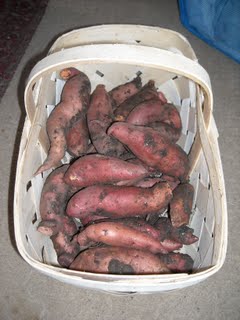
Last year, Dave and I cut up some sweet potatoes and planted the pieces in one of our garden beds. We were very excited at the end of summer to dig up our hopefully large, robust sweet potatoes. Well, when we dug them up, about the only thing they were good for was to use as replacement shoe strings 🙁 We sort of gave up after that and planted turnips in that garden bed this year. About half way through summer, we started to see these weird green leaves coming from the turnip bed; and by the end of summer, the leaves had taken over the entire bed. Go figure, the sweet potatoes from last year had been growing and had really taken off. The picture above is our yield! For reference, the larger ones are at least 6-7″ long. What a blessing to have this unexpected crop of good lookin’ sweet potatoes.

(I was so inspired about it, I’m writing the sequel to the children’s book “Green Eggs and Ham” entitled “Sam I Yam”…….and I’m also waiting to hear back from the Broadway producers regarding my musical remake of “Anna and the King of SiYAM.” Hmmmmm, not sure why I haven’t heard back from them yet. Another musical I’ve pitched is “Yamalot.” Then there’s my nursery rhyme “Mary Had a Little Yam”…..I got a million of ’em folks…well, four anyway…….<tap, tap>…um, is this thing on?)

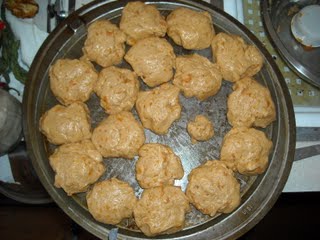
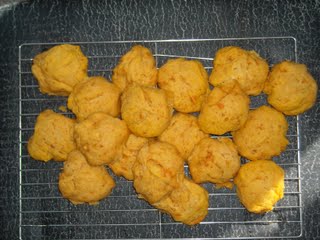
I was excited to start using them, so I made sweet potato biscuits for our Sunday community fellowship meal. Here they are before being put into the oven. (Note to self, let the potatoes cool before mixing them into the dough. That’s why these are spoon-dropped biscuits and not perfectly round):

And here they are fresh out of the oven:

We’re very thankful to God for the unexpected blessing and provision of these sweet potatoes.

Susan
« Older posts Newer posts »