Our journal of what we pray is our sojourn of life along the narrow way, even the old paths, submitting to the Bible as a light unto both.

Category: fellowship (Page 6 of 6)

A House – Update VI – Beams Be Up, Scotty

Once the concrete piers for the house were completed, and the homemade termite shields in place, it was time to put on the beams. I decided to use built-up beams (which is basically constructing together beams out of thinner wood) instead of buying one-piece beams, mostly because of the almost certain tremendous cost of beams for the sizes needed.

In looking at typical wood spanning charts, and with help from friends, I decided to go with two yellow pine (for strength) 2x10s, with 1/2 inch plywood in between, which sandwiched together would fit nicely into the brackets on the piers. Apparently, 1/2 inch plywood standing on end has about the same strength as 2-by wood used similarly. In fact, they make floor joists that way (or perhaps with OSB) called TJI joists.

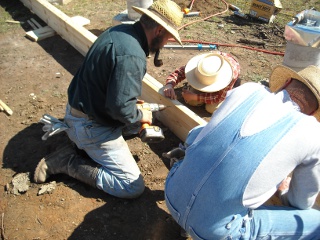
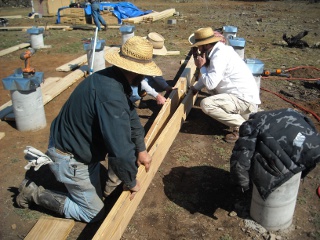
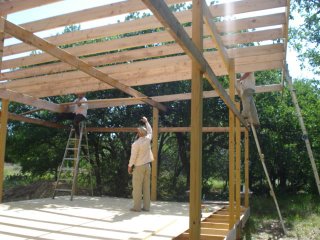
And so, on one of our monthly community work days, the men graciously helped me in working on them.

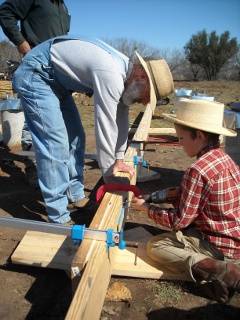
Here is everyone hard at work, including planing the one I had already done:

Men Working on Foundation Built-up Beams on Community Work Day

For strength across the spans, except for the end pieces, each 2×10 was to span two piers and was to be staggered from the other (ie. one 2×10 would span from piers one and three, and the 2×10 placed next to it would span from piers two to four, etc.); and all breaks would be positioned on the brackets on the piers. Also, the plywood pieces would span from pier to pier; but the breaks were to be staggered off the 2×10 breaks by 1 1/2 inches. The ends of each beam would extend past the concrete part of the piers at the end of each row by around two inches so the concrete would not be setting outside the perimeter of the floor (I had to plan for that at the time the concrete piers were poured).

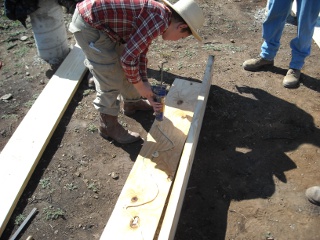
And so, with the wood cut, here is one of the men’s son, applying Liquid Nails to the plywood to help keep the built-up beam together:

Gluing Plywood for Foundation Built-up Beam

The glued plywood is set in place, flush with the top:

Placing Plywood in Foundation Built-up Beam

And some screws are put partially in to hold it in place:

Setting Screws in Plywood in Foundation Built-up Beam

After gluing the second 2×10, it is placed in position as well:

Placing Second 2x10 in Foundation Built-up Beam

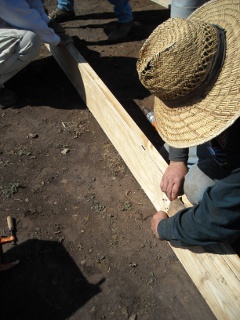
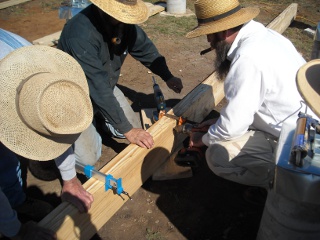
With the tops all flush, clamps are put in place to squeeze all of the wood together and hold it in place while some holding screws are set:

Clamps Set on Foundation Built-up Beam
Screw Setting in Foundation Built-up Beam

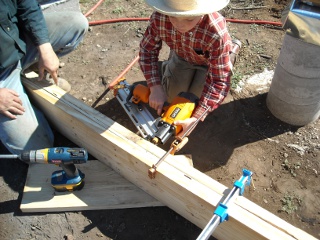
And then the youngster finishes it off with the nail gun:

Nailing the Foundation Built-up Beams

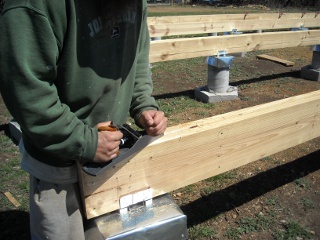
Some time later, after the rest of the beams were assembled, I did some further planing on them, to even them out on the bottom where they would sit on the piers, and on the tops overall:

Planing the Foundation Built-up Beams

Sadly, my strategy of placing a screw or nail two inches vertically apart every two feet horizontally, staggering each side offset by one foot, didn’t keep the beams together that well, even with the glue. And so I decided to add 5/8″ galvanized bolts every three feet to make sure things wouldn’t get worse:

Galvanized Bolts in Foundation Built-up Beams

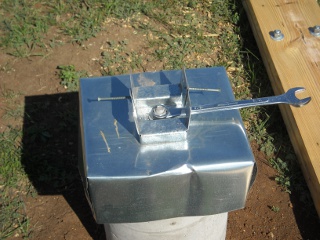
I mentioned in the homemade termite shield blog post above that I had originally tightened the brackets down onto the termite shields and piers, but that the brackets began to bend in the middle, which caused the holes that lined up where the vertical sides of the brackets overlapped to not be lined up anymore; and when I loosened them before, I had thought that I would be able to tighten the nuts down on the concrete pier bolts after the beams were in place. However, once the beams were set on the brackets, there ended up being no way to turn the nut with the wrench. And so, I had to figure out a way to solve my original problem of the brackets bending while tightening the nut. I thought I might try inserting a screw tip into the two lined-up holes on each side of the overlapped part of the bracket to hold them apart while I tightened down the nut, and this worked well:

Tightening Down Concrete Pier Brackets with Screws Holding the Bracket Sides Apart

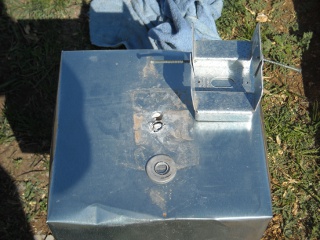
Sadly here too, I ended up tightening down one of the nuts too hard; and the bolt sheered off at the base of the concrete pier. Nice. So, I drilled a 5/8″ hole next to the bolt in the pier down far enough to hold a 4 1/2″ concrete anchor bolt. Thankfully, this repair worked pretty well:

Repairing Broken Concrete Pier Bolt

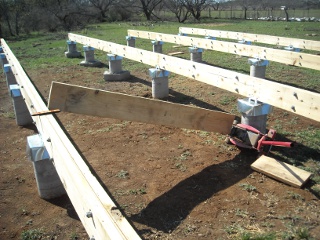
When it came time to attach the beams to the brackets, I had to bend the beams to an upright position as the beam, over the 40 foot length of it, was often torqued. I used a floor jack against a concrete pier and 2-by wood to do the work:

Using Floor Jack to Upright the Torqued Foundation Beams

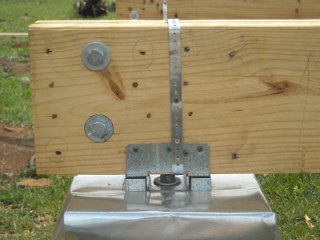
To keep the beams more securely fastened, it was suggested that I tie them to the concrete pier brackets with metal strapping:

Tying the Beams to the Concrete Pier Brackets Using Metal Strapping

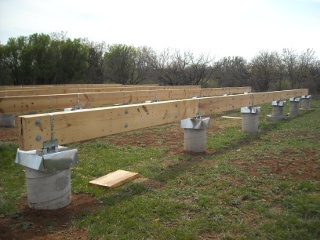
And here are the beams finished and in place! (I had originally thought I would need the entire end piers under the floor; but in looking back, given there is planned to be a porch, I probably would have moved the end piers all the way to the end of the beams.)

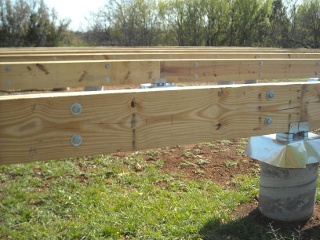
Built-up Beams in Place for Pier and Beam Foundation

(Please see an update where I added some brackets to fortify the beam overhang, just as a precaution.)

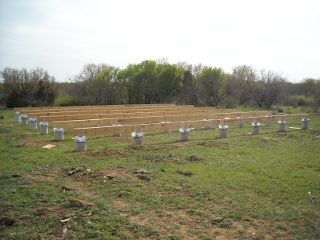
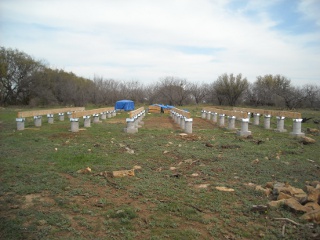
Here are a couple of wider angles:

General View of Built-up Beams in Place for Pier and Beam Foundation
Side View of Built-up Beams in Place for Pier and Beam Foundation

We once again thank the Lord for His gracious provision of the fellowship that He’s given us, and for the resources, strength, and guidance to continue with the building of the house.

— David
A House – Update II – Foundation

We just wanted to catch you up on the progress of the house the Lord is granting that we be able to build right now.

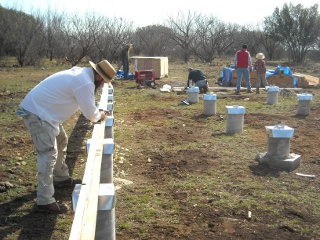
I decided to use a pier and beam foundation, using 12 inch concrete piers.

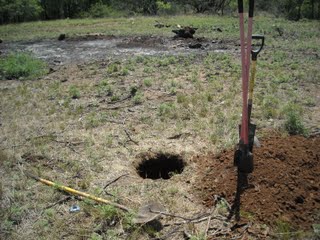
And here is the first hole! I’ve found that below the surface is a layer of boulder rocks; and so I’ve been digging down to that point and leaving them so the piers will sit on the rock, hopefully creating a more firm foundation:

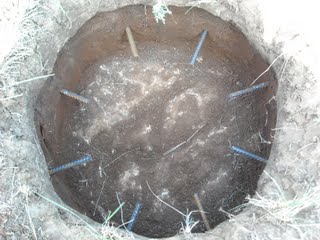
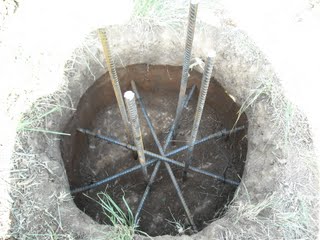
I cut rebar pieces and pounded them into the sides of the hole in eight places to help hold the pier in the ground against any lift that might occur:

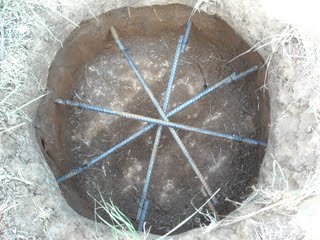
And I tied them together with cross pieces so they act as a single piece in the concrete:

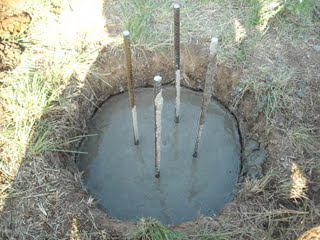
Here I tied in some vertical rebar pieces that would actually stick up into the pier:

And here is the base after the concrete pour:

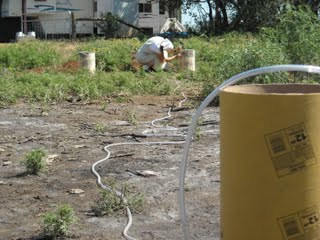
For the pier part, I decided to use concrete tube forms. We’re finding the height of each tube by using a water level, which is just clear, plastic tubing with water in it. One person takes one end to an already established pier, the other person the other end to a leveled, empty concrete tube in place on the concrete base. The person next to the unfilled concrete tube gets in place, and the person at the established pier moves the tube up and down until their water level is level with the top of the pier. Then, the other person marks the concrete tube where their water line is showing. We’re doing this on four places on the tube, then marking a line all the way around the concrete tube and cutting it to size on that line. Also, we take each measurement from the same pier so that any error introduced only affects the new pier and doesn’t compound from pier to pier:

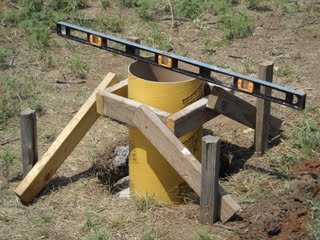
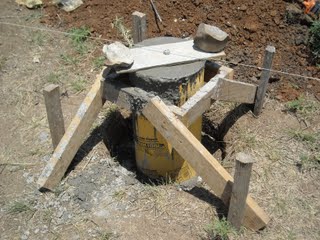
Once the tube is cut to the proper height, it is re-leveled on the concrete base and held in place by a wood form and stakes pounded into the ground:

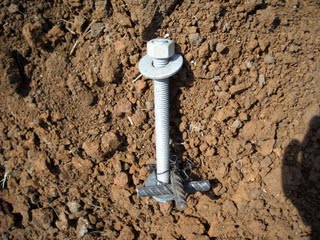
This is the bolt that is set in the concrete which will hold on the brace which holds the beam. I tied in a couple of small pieces of rebar at the bottom to a washer held on by a nut to better lock it into the concrete:

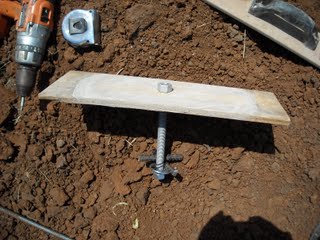
And here the bolt is ready to be set into the concrete using the plywood to hold it “suspended” in the concrete:

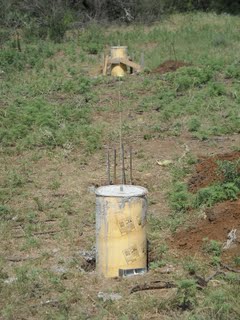
Here is the pier after the concrete pour with the bolt set into place:

I decided to do the first two front corner piers so I could run a string between them so as to be able to line up the whole row of piers:

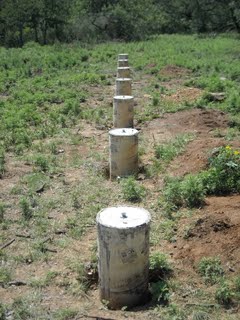
And here is the first row completed!

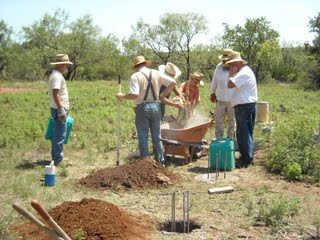
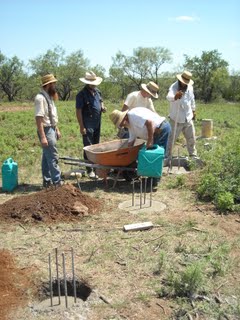
This past first Wednesday of the month was our community work day, and the men helped us with our foundation work. We poured a pier and three new bases:


I decided to complete the other two corners so I could have straight lines for all of the other outside piers, and here is where we are now:

We are again grateful to God for the provisions, ability and community to work on the house.

— David
 

Fellowship and Fun


Although the work we do on the land is important, one of the main reasons we’re all here is because the Lord has graciously granted us the fellowship of like-minded brethren. While some of it is serious, some of it is not so much; and God has afforded us the opportunities for leisure-types of fellowship with each other and with some of the events and people in the local communities.

Lord’s Days

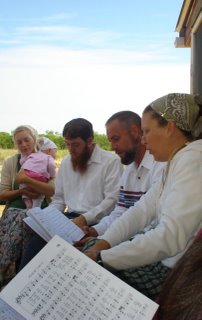
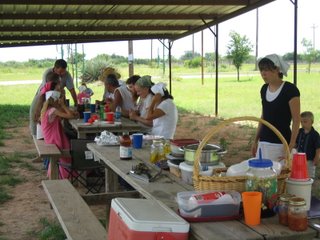
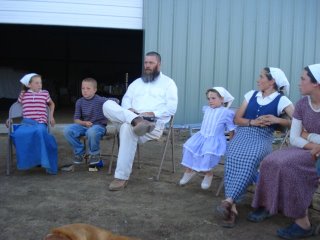
On the Lord’s Days, we meet in the morning for singing (shown in this picture to the left) of Psalms (which for us are the Psalms from a psalter we purchased here), hymns and spiritual songs (Eph 5:19; Col 3:16); and then midday we commune around the table to enjoy the Lord’s provisions together in representation of being nourished by the spiritual provisions from God. We usually meet at different peoples’ homesteads each week, but in this picture we decided to go to the park in our town for this time of fellowship:

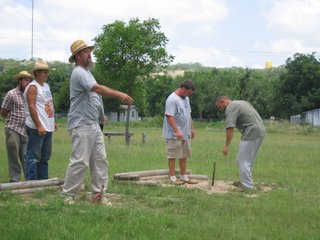
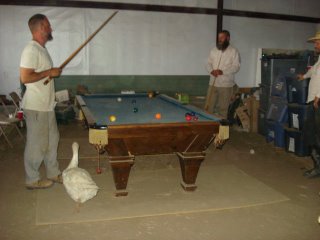
And after eating, the guys enjoyed some throwing of the horse shoes:

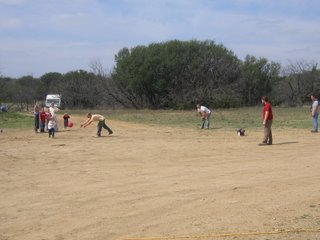
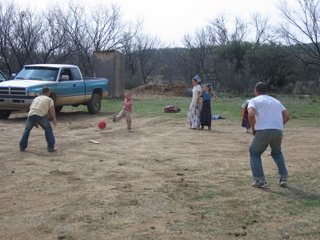
On a different day, the adults joined the children in a game of kick ball:


Community Work Days

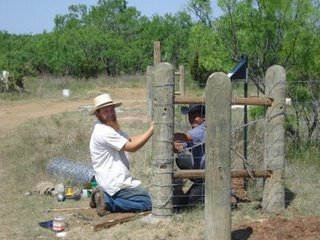
We have set aside every first Wednesday of the month to be a community work day, where we all gather to work together in fellowship around the land, either on things that benefit the community in general (like working the roads) or to assits someone who might need help with a specific project:

This pair looks like they’re having way too much fun for pulling fence! 🙂

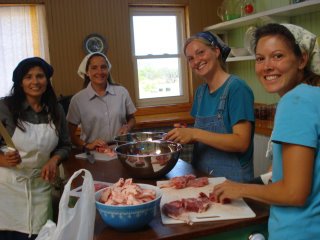
The ladies will get together during work day to help outside or to work on inside projects:

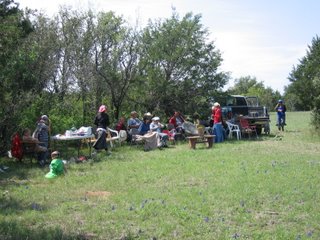
And then it’s time for some leisure together:

Means of Grace

The Lord has blessed us with a gifted teacher in Michael, for whom we are very thankful. In a given week, we will typically meet together as a group to be nourished by the means of grace God has graciously granted us.

The first meeting is a sermon, where Michael teaches. After an opening prayer, we sing a Psalm from memory to practice learning the psalter songs by heart, and then Michael preaches.

And the second is Saturday evenings, where we again sing Psalms from the psalter, and then have a question and answer time with Michael, which is followed by general fellowship time:

Childrens’ Plays

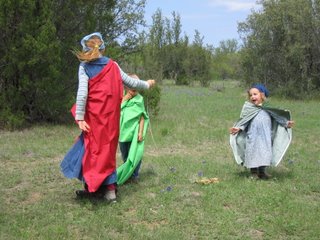
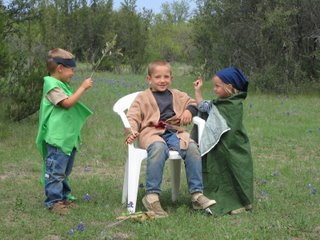
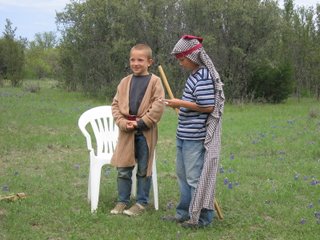
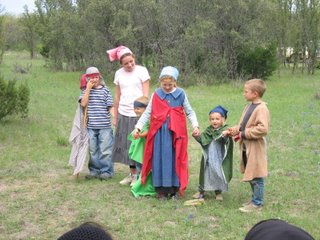
Several times since we’ve been here, the children have put together plays on various subjects (like Esther’story and Passover) and then have performed them for the community. Now, this is not cheap “community theater”; this is the real deal! We have to buy tickets, and they offer a concession stand at the performance. And it is worth it!


Curtain call:

Preparation and Education

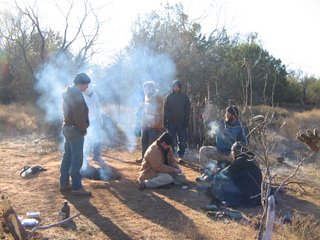
In light of trying to live a preparedness life-style, Michael thought it would be important that we experience and learn what to do if we ever were to find ourselves having to survive in a cold weather situation. Now, coming from comfortable California and comfortable city life, I have an acute aversion to being cold; and so this was not going to really live up to the “fun” part of “Fellowship and Fun”; however, after some exhortations I tried to have a good attitude about it. There’s me in the back and in black, frozen solid (or at least I thought I was):

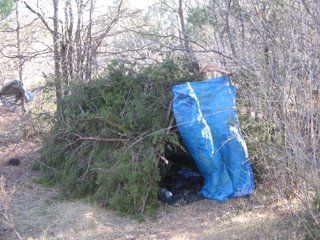
This was my shelter the first night. All I had were my clothes and a sleeping bag, no tent. It got down to 17 degrees that night. I’m pretty sure it was the coldest I’ve ever been, as my shivering kept waking me up:

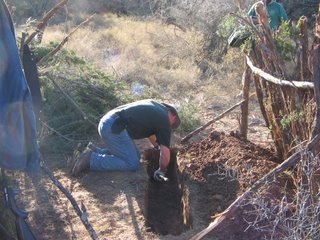
However, part of my “experience” was for me to be set up the next night in a different situation, where we made fire beds on top of which we’d sleep (actually we only made a couple of beds, but I was allowed to have one of them 🙂 ). Here’s one of the guys helping dig the bed out for me. Needless to say, that night I was quite comfy; and when I awoke the next morning, I was so warm I couldn’t tell in the slightest how cold it really was, which again was 17 degrees. It was very nice:

Overall we learned quite a few things. Thanks to Michael for taking the time to teach us those things.

Also, after reading a few of the slave labor camp “Gulag” books by Aleksandr Solzhenitsyn, I was thankful to not have it as bad as they did, where temperatures would get to 60 below zero; and only then were they not forced to go work.

Neighbors

Soon after we moved here, one of our neighbors came by and introduced himself; and he has since become a good friend of the community. His name is Homer, and he is a very nice and generous man who, after being reared locally, is retiring now out here.

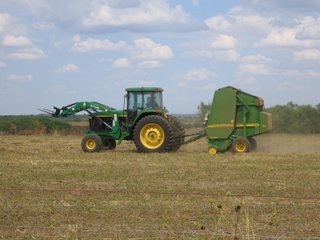
Here is Robert getting to ride along while Michael’s field is being baled for hay:

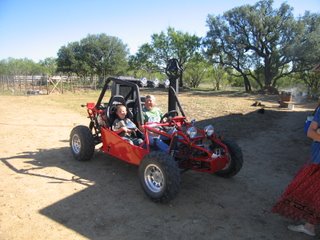
And here, Homer is giving rides on his dune buggy:

He also purchased and gave all of Michael’s children bicycles.

We pray the Lord grants him and his family salvation.

Community Events

During the year, there are various community events, some of which we might attend. Here are a few to which we’ve gone.

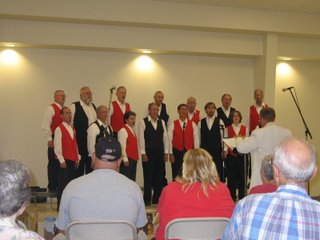
Interestingly (and I don’t believe incidentally) in our life paths, directed by God, Sue and I both enjoy listening to and have sung in barbershop quartets; and so we have gone to the local barbershop chorus’ annual show for the last couple of years:

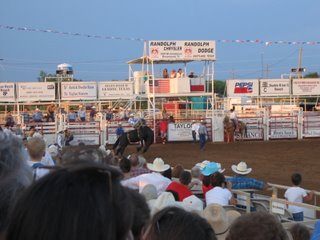
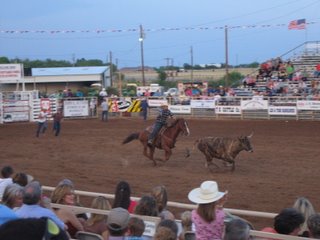
This was the Coleman rodeo from the first summer:


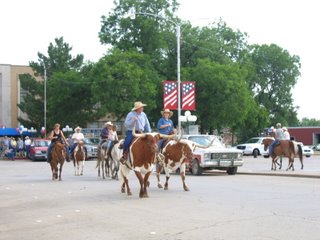
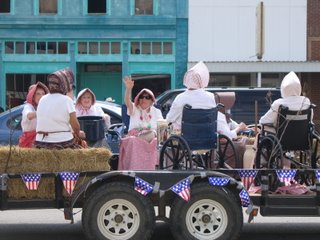
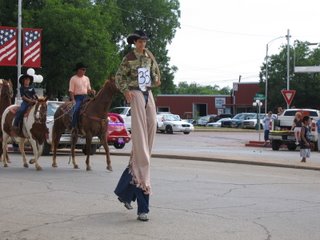
And from this year, this is the Coleman rodeo parade:


We always pray we represent the Lord well when out in the community, for His glory. May the way we live be a witness to those around us here in the world, and to the principalities and powers in the heavenly realms, as a testament to His efficacious work in the hearts of sinners and to so great a salvation. Amen.

(Thanks to Jordan and her The Ranch Weekly blog for several of these pictures!)

— David
Newer posts »