Our journal of what we pray is our sojourn of life along the narrow way, even the old paths, submitting to the Bible as a light unto both.

Category: DIY (Page 1 of 4)

New Pig Pen Fencing – Update I

One thing out here is things seem to go much more slowly than anticipated. 🙂 God’s providence as first cause — His bringing about all things according to His will and plans — but, by means of other priorities becoming more important, other things to fix, etc.

Well, back in 2016, I started replacing our old pig fencing in the main pig pen with new cinder block/cattle panel fence sections I started making as part of an extension to the original pig pen back in 2014.

Last year, I started getting back to working on this main pig fence area, and recently finally finished all the panel sections and got them in place! Yea! 😀

In the 2016 blog post above, I show in the video the first few sections being done. And here is a picture from 2017 of the whole one side being done:

New Pig Pen Siding, Side 1 Complete

And here are some more ready to haul over using our goat shack caddy:

2 New Pig Pen Cinder Block Cattle Panel Sections Ready for Hauling

Once there, I opened the previous fence line:

Opened Pig Pen Side

And started dragging them in, sliding one end at a time back and forth:

Sliding Section
More Sliding Section

And stood and scooted them into place:

Siding Section in Place

It’s like a parade! 😉

Sliding More Sections

And here’s that whole back side done:

Pig Pen Side Two Done
Pig Pen Side Two Done, Other Direction

Then, it was off to the short sides. After cleaning out the previous fencing and t-posts, I slid the panels in place, and here’s the first short side done. What’s nice about these cinder block cattle panel sections is you can curve them around, which helps when trying to join with another fence line where there is no corner post:

Pig Pen Short Side Done
Pig Pen Short Side Done, Other Direction

This is the last side before cleaning out the previous fencing…lots of previous hacking at it to try to keep it acting as a fence: 🙂

Old Dilapidated Fencing
More Old Dilapidated Fencing

And here’s that last side, finally done!

Final Pig Pen Siding Done
More Final Pig Pen Siding Done

I just have to wire them all together now, and then Lord willing we’ll perhaps test it all out with a new piggy or two! 😀

Always we are thankful to the Lord for His provisions, and safety in working with these things — even though one person can move them, they’re still pretty heavy, and I have strained my back before, but God mercifully granted that I not this time, and I am thankful!

— David

New Upper Field Fence – Update I

After completing the north section of a new, long fence line we’re putting in, to allow our goats to be able to have access to an 11-acre field, it was on to the southern part.

The south-most end ended up being really interesting. I dug the end post hole without too much issue, but when I got to the second post, I hit rock. I thought, ok, no problem, I’ll just dig it out. Well, I stopped trying to dig it out when I got about 3 feet by 2 1/2 feet (maybe more) exposed and still wasn’t done. I then tried a different post location, but hit another big rock. Ugh…

Big Rocks Where Post Hole Digging

However, when the Lord formed the earth in this area whenever He did, He graciously granted a gap between those two rocks, just about post-diameter size. Ha, what a gift! And so I started digging it out hoping it would work:

Gap Between Rocks

Breaking rock is fun! 😉

Rock Breaking

Well, it did end up working, and I was able to get all the posts set in concrete. I am thankful to God for Him granting that! Again what a gracious gift!

Big Rocks Where Post Hole Digging

And then I put in the posts of the northern end of this southern section:

End of Line Fence Posts

And hung the gate. Whew…just made it! I don’t know how it ended up so close after measuring before digging the post holes, but post hole digging sometimes can drift:

Gate Next to Fence Post

Here are the t-posts and inner wood posts done:

Set Tposts & Wood Posts
More Set Tposts & Wood Posts

And then the twisted wire for more bracing:

Twisted Wire End Post Bracing
Another Twisted Wire End Post Bracing

And all of the barbed wire pulled:

Pulled Barbed Wire
More Pulled Barbed Wire
Again More Pulled Barbed Wire
Still More Pulled Barbed Wire

And lastly, the dividing gateway. Fence line done, thanks to God!

Middle Dividing Gateway

One final step was needed for the field in general, and that was to shore up the north-south end of the western fence line, and so here it is completed:

Western Fence Line New End Post System & Pulled Barbed Wire

New Entrance Culvert Pipe

In order to get ready for using the new road entrance we showed in the last blog post, the county will come and prepare the dirt, but we needed to provide the culvert pipe.

Here is what it looked like getting it home. I’m sure that was an interesting sight when I was driving on the highway! 🙂

Culvert Pipe on Truck

Those things are quite heavy, so I solicited the help of the guys, and they graciously accepted. We were thankful no one got hurt!

Unloading Culvert Pipe from Truck
More Unloading Culvert Pipe from Truck
Still More Unloading Culvert Pipe from Truck

Once they were off the truck, when the road crew came, they dragged them up to the front with a backhoe and chain:

Backhoe Holding Culvert Pipe
Dragging Culvert Pipe with Backhoe

And then they did their thing:

Scraping Culvert for Culvert Pipe
Culvert Pipe in Culvert
Joining Culvert Pipe
Burying Culvert Pipe
More Burying Culvert Pipe
Belly Dumper Dropping Road Base
Scraping Road Base into Place
More Scraping Road Base into Place

And here’s the new driveway into our entrance!

New Entrance Driveway Complete

We are thankful to the Lord for the provisions to continue to work the land in the hopes of getting further sustaining, for the strength to even do the work, and for no injuries; and we always pray He will guide us in these things so they may be used for His glory and blessings of others!

— David

New Upper Field Fence

We have about 11 acres on a field north of our goat pens. When we arrived here in Texas, most of that field was in Johnson grass, a grass that grows well here, especially in heat and drought. In fact, a former neighbor baled it one of our first years.

Since that time though, we plowed it and tried to grow oats, which didn’t work out too well. And then, instead of crops, I wanted to return to grass in hopes of becoming more sustaining for our cows or goats, and I tried planting B-dahl grass, which didn’t work at all.

And then, rather than fight it, I ironically went back and planted sorghum almum, which is a close cousin of Johnson grass, and so we have come full circle, basically back to Johnson grass. 🙂

God has also granted some other kind of thin, but lush grass to grow, and we are thankful.

This last time of plowing and sowing though, it also planted the cockleburs that were in the field, and so we pulled the whole 11 acres by hand several years ago. Each year I have to walk the field, but for all intents and purposes, it’s basically cocklebur free! Yippee! (You’ll understand my excitement if you read that blog post and think about pulling 11 acres of weeds by hand, even though it was only 1 kind of weed 🙂 )

With the field having some time to get established with the grasses, I wanted to be able to run the goats up there, which should basically end any need to buy hay for them. However, I needed to put up a north-south fence line, which is somewhere between 900 and 1000 feet.

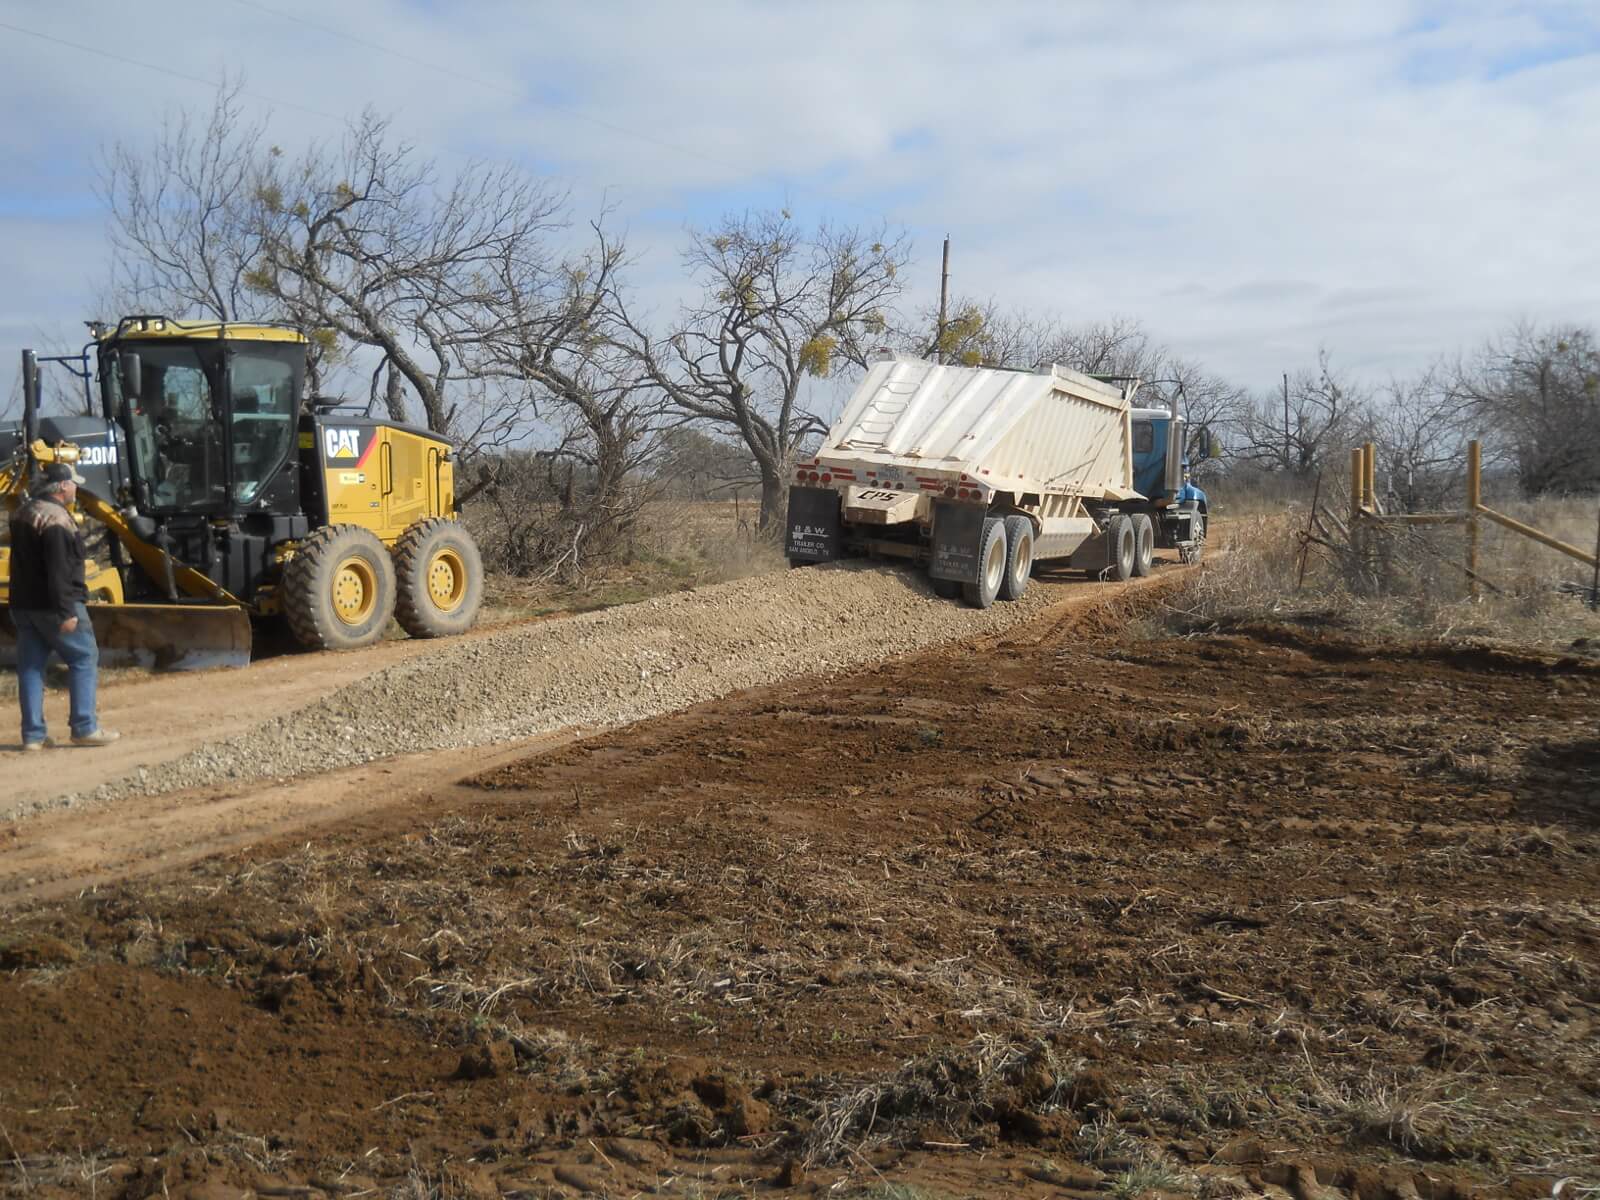
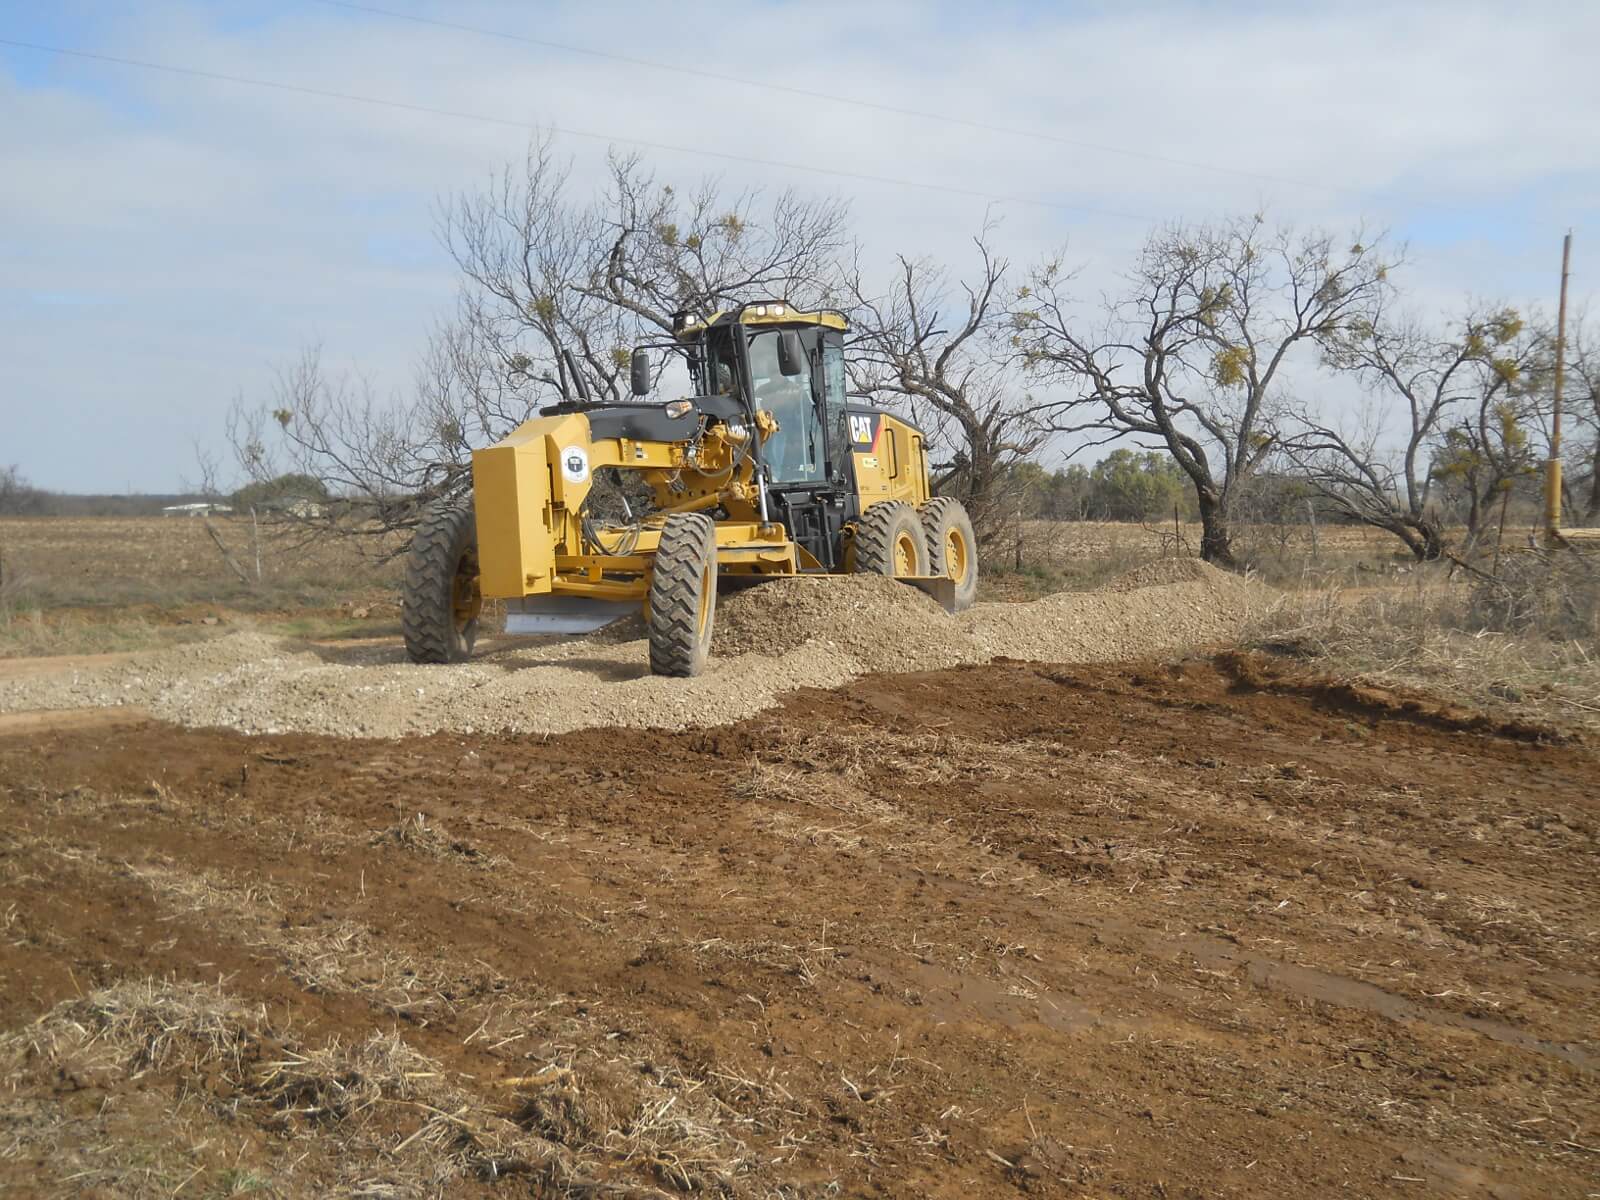
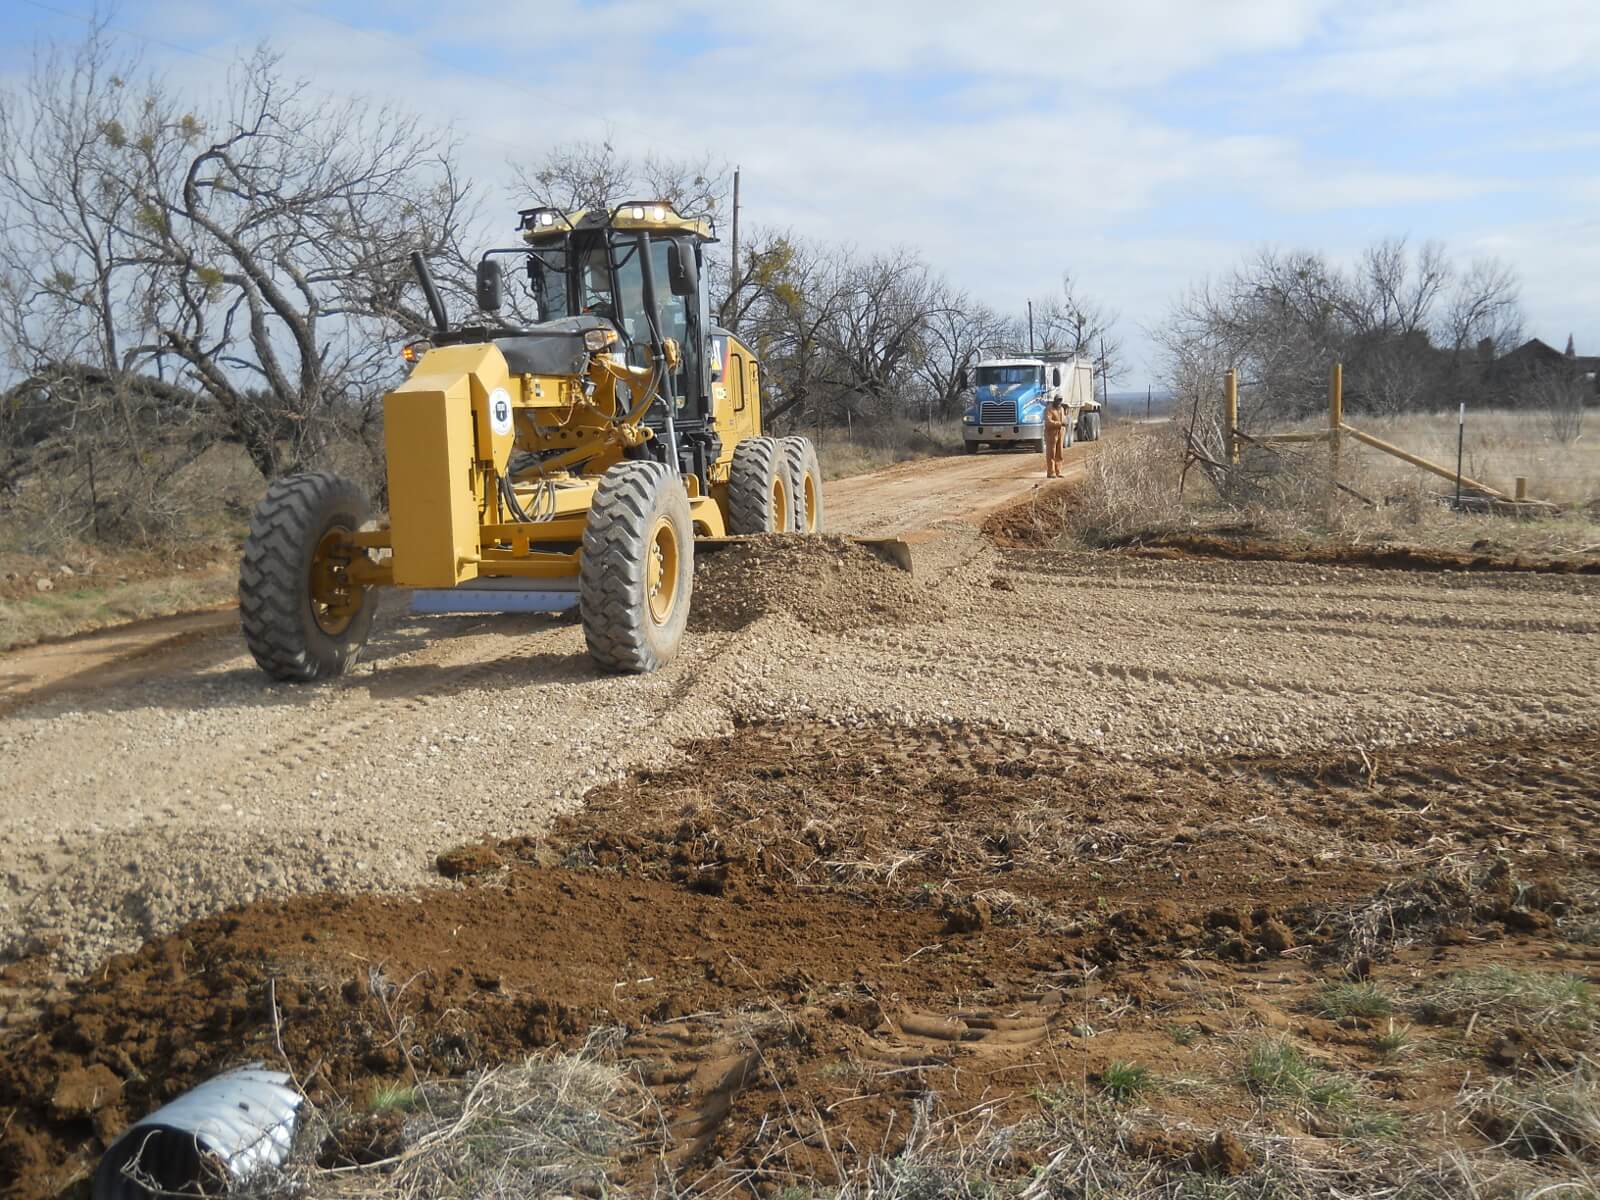
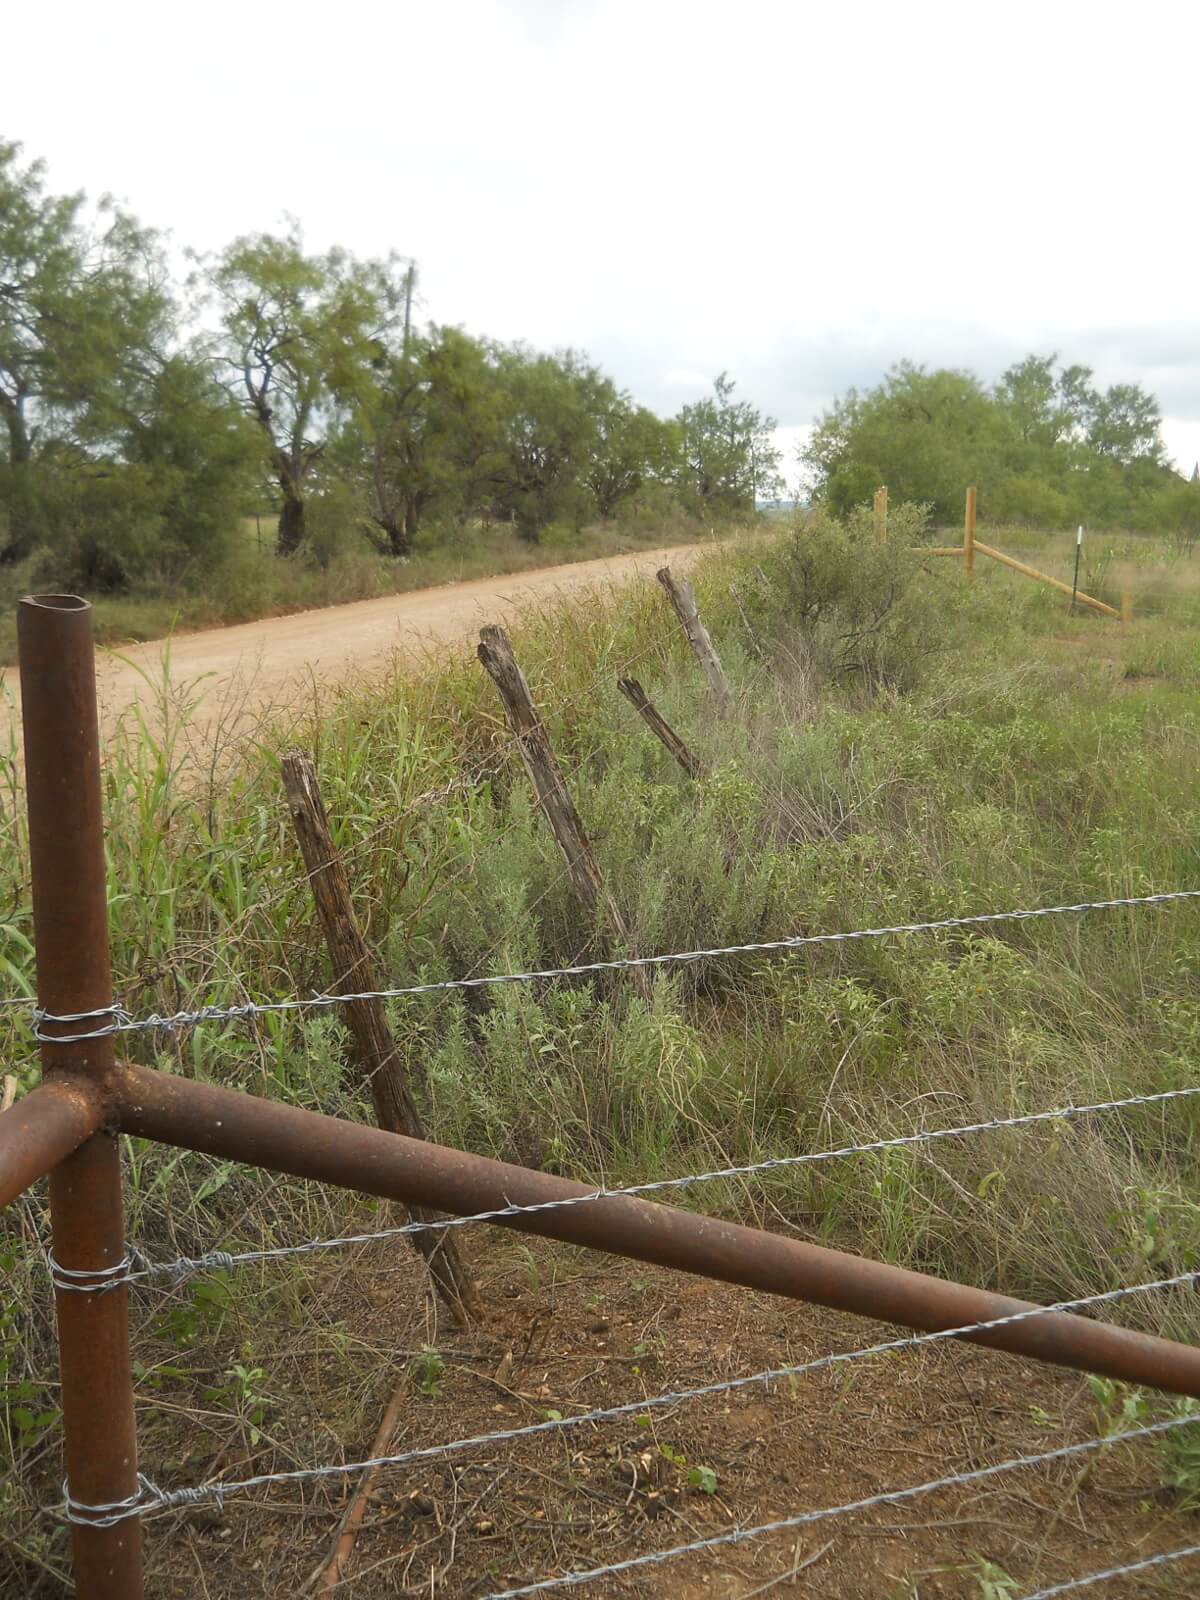
This fence line was originally planned to be partially done by one of the folks who used to live here, but he never got around to it, although he graciously put in an entrance way for us at the county road because he would have been cutting off our main way of driving off the land.

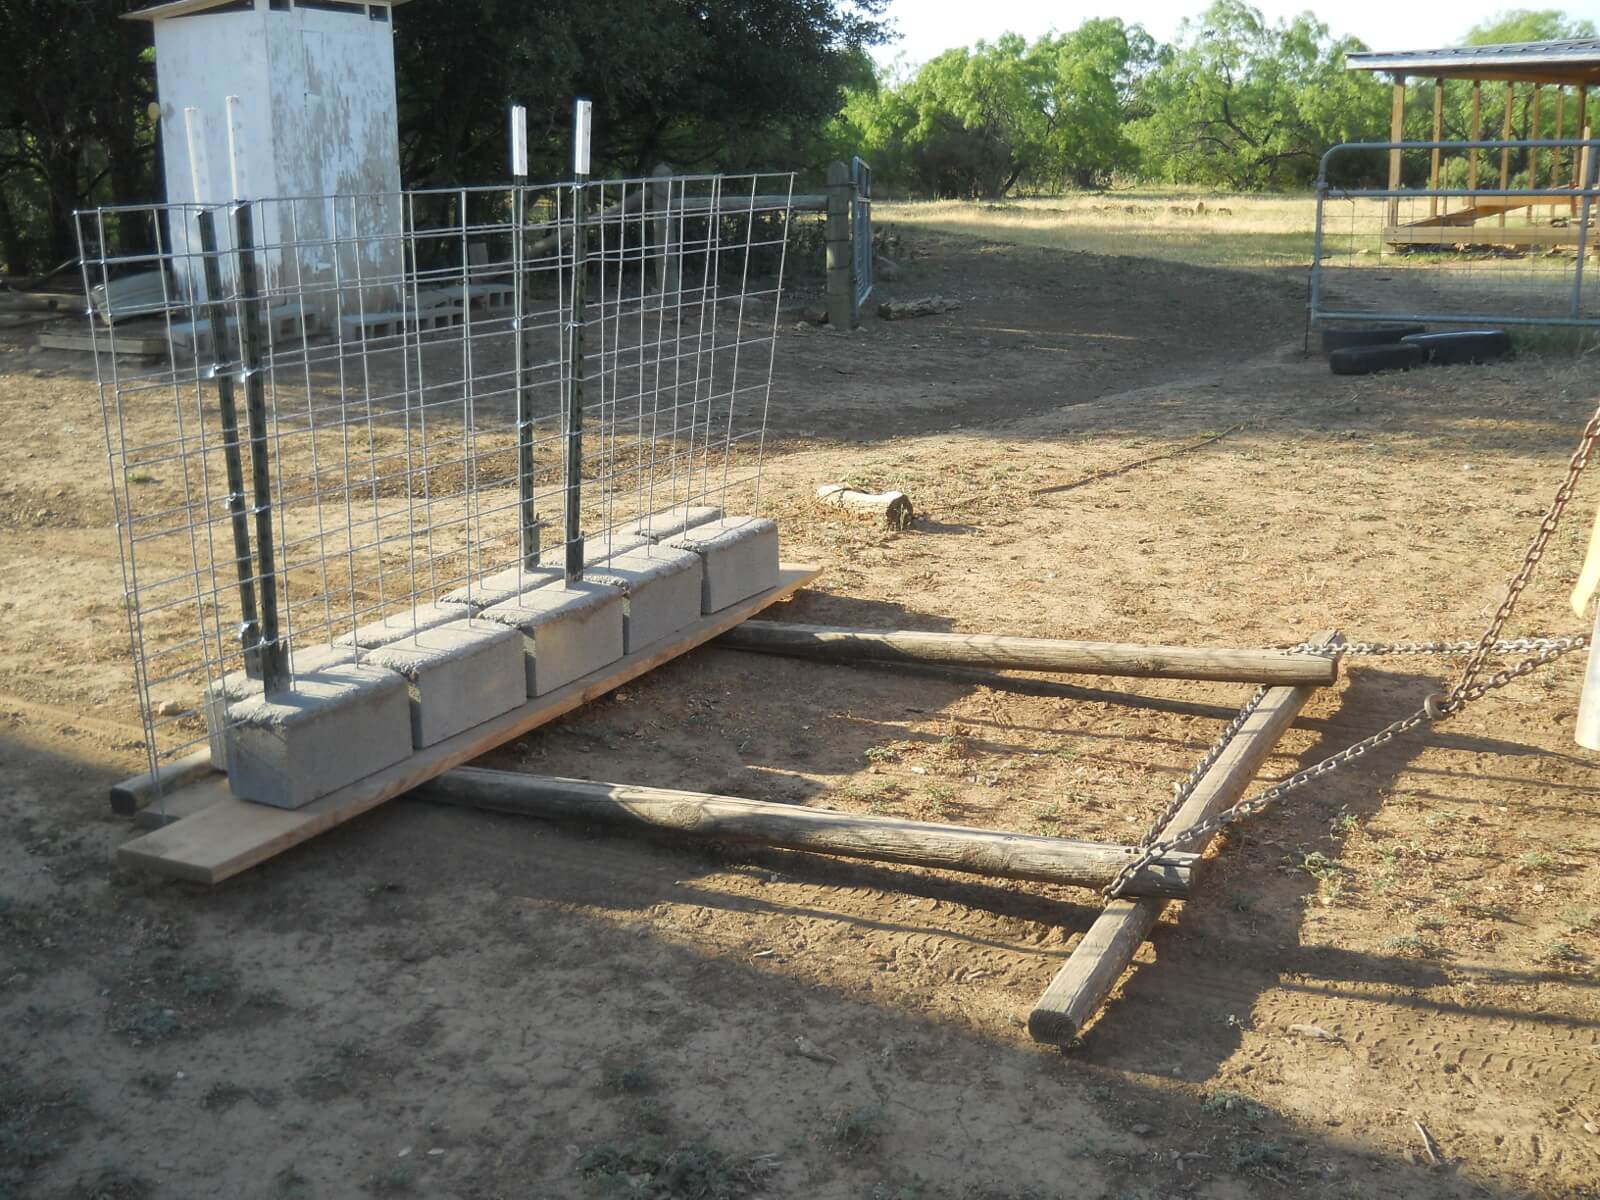
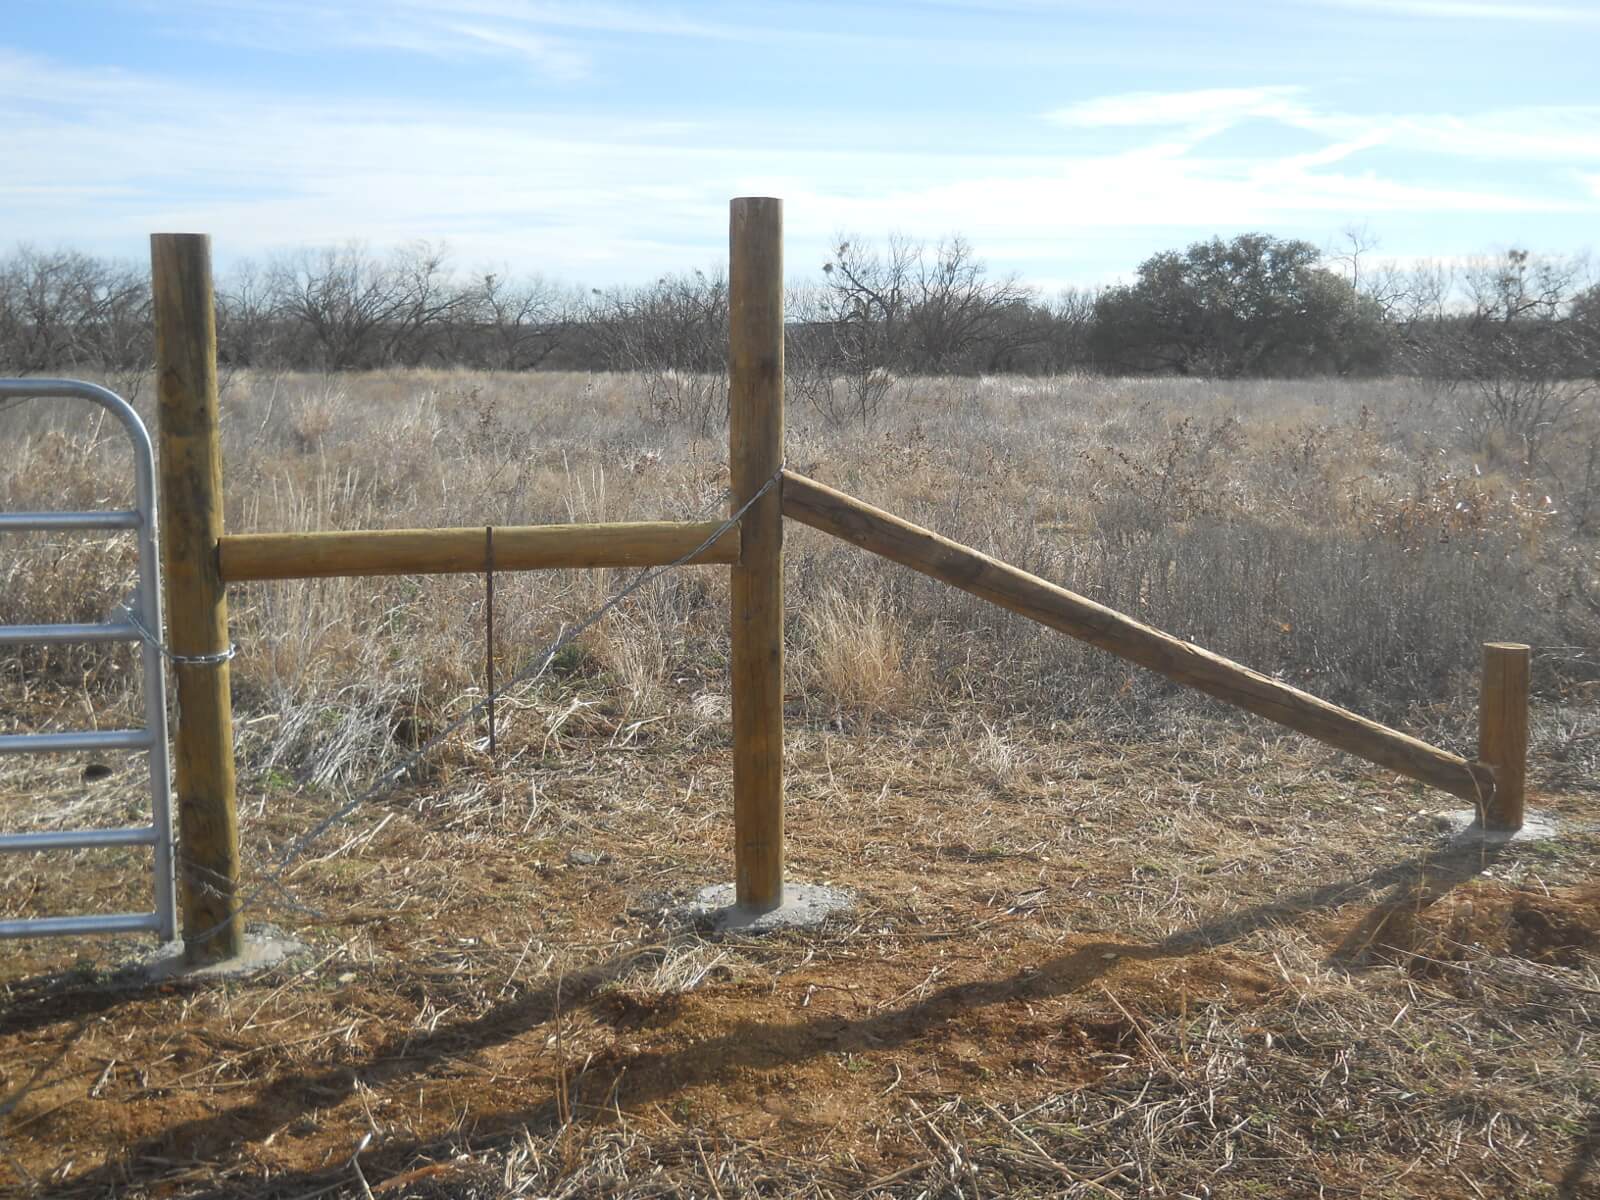
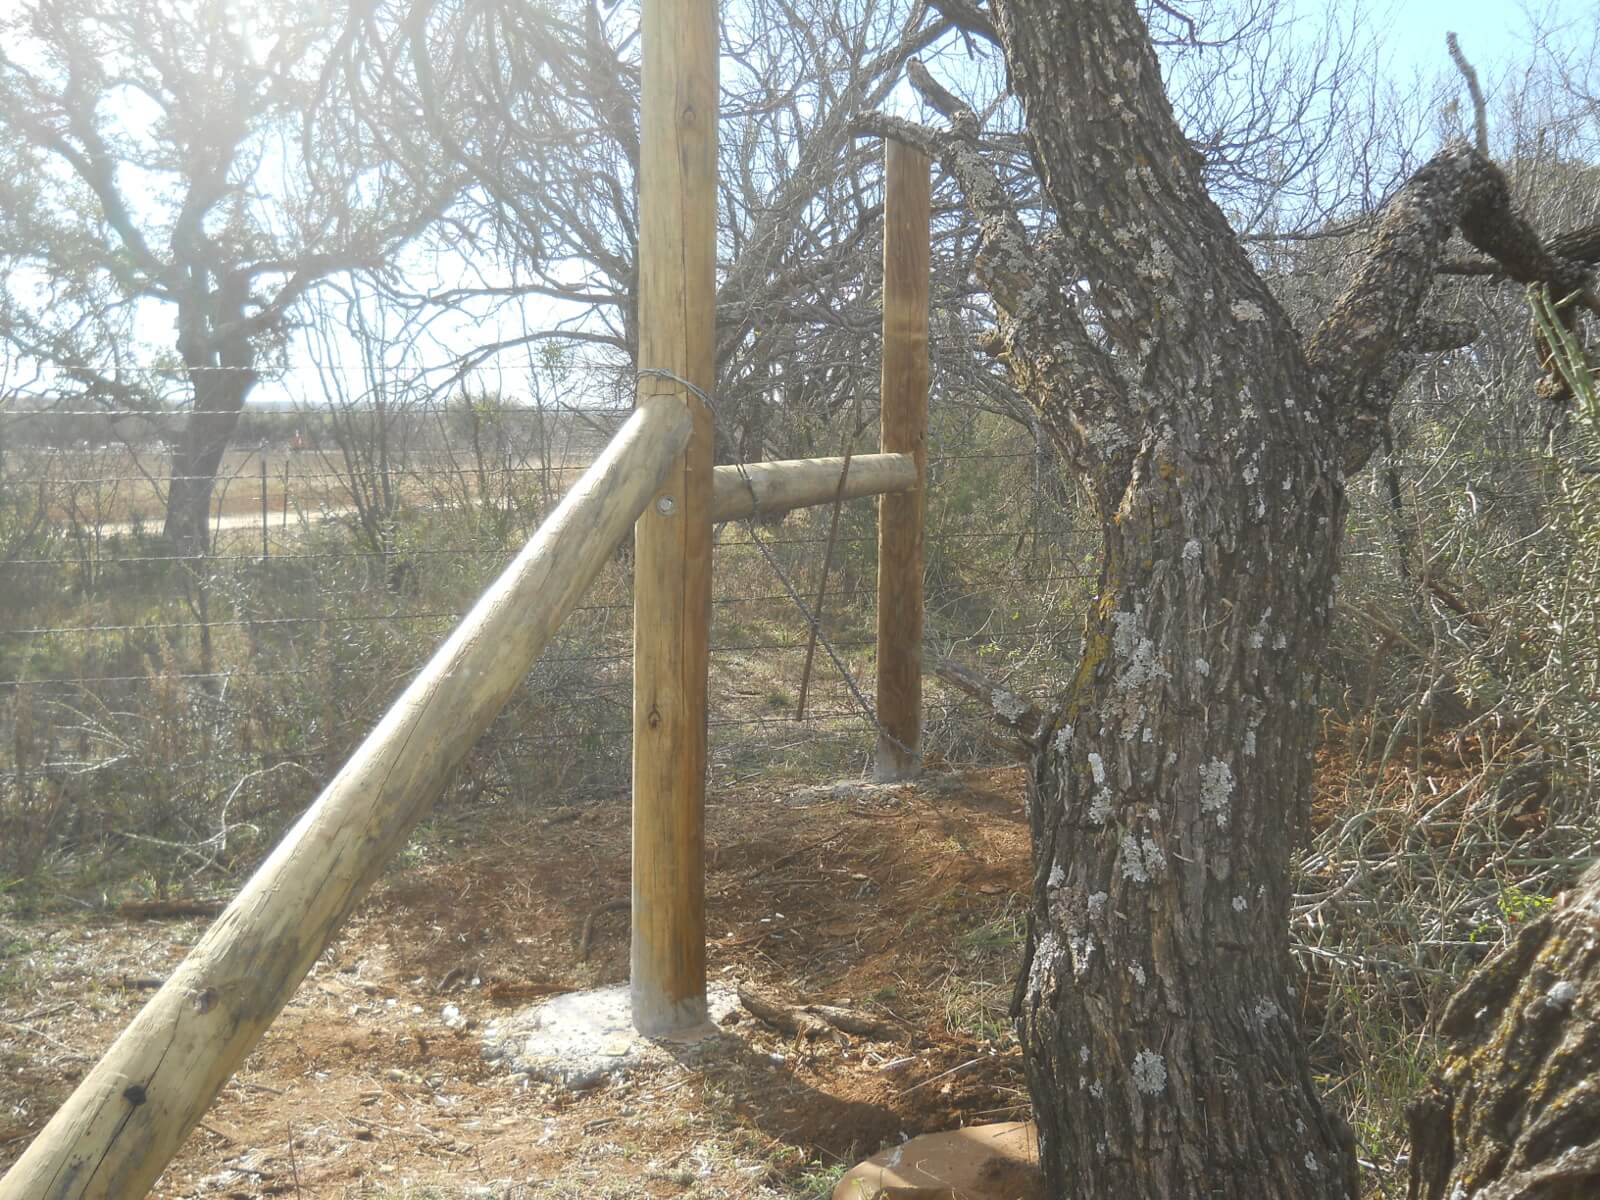
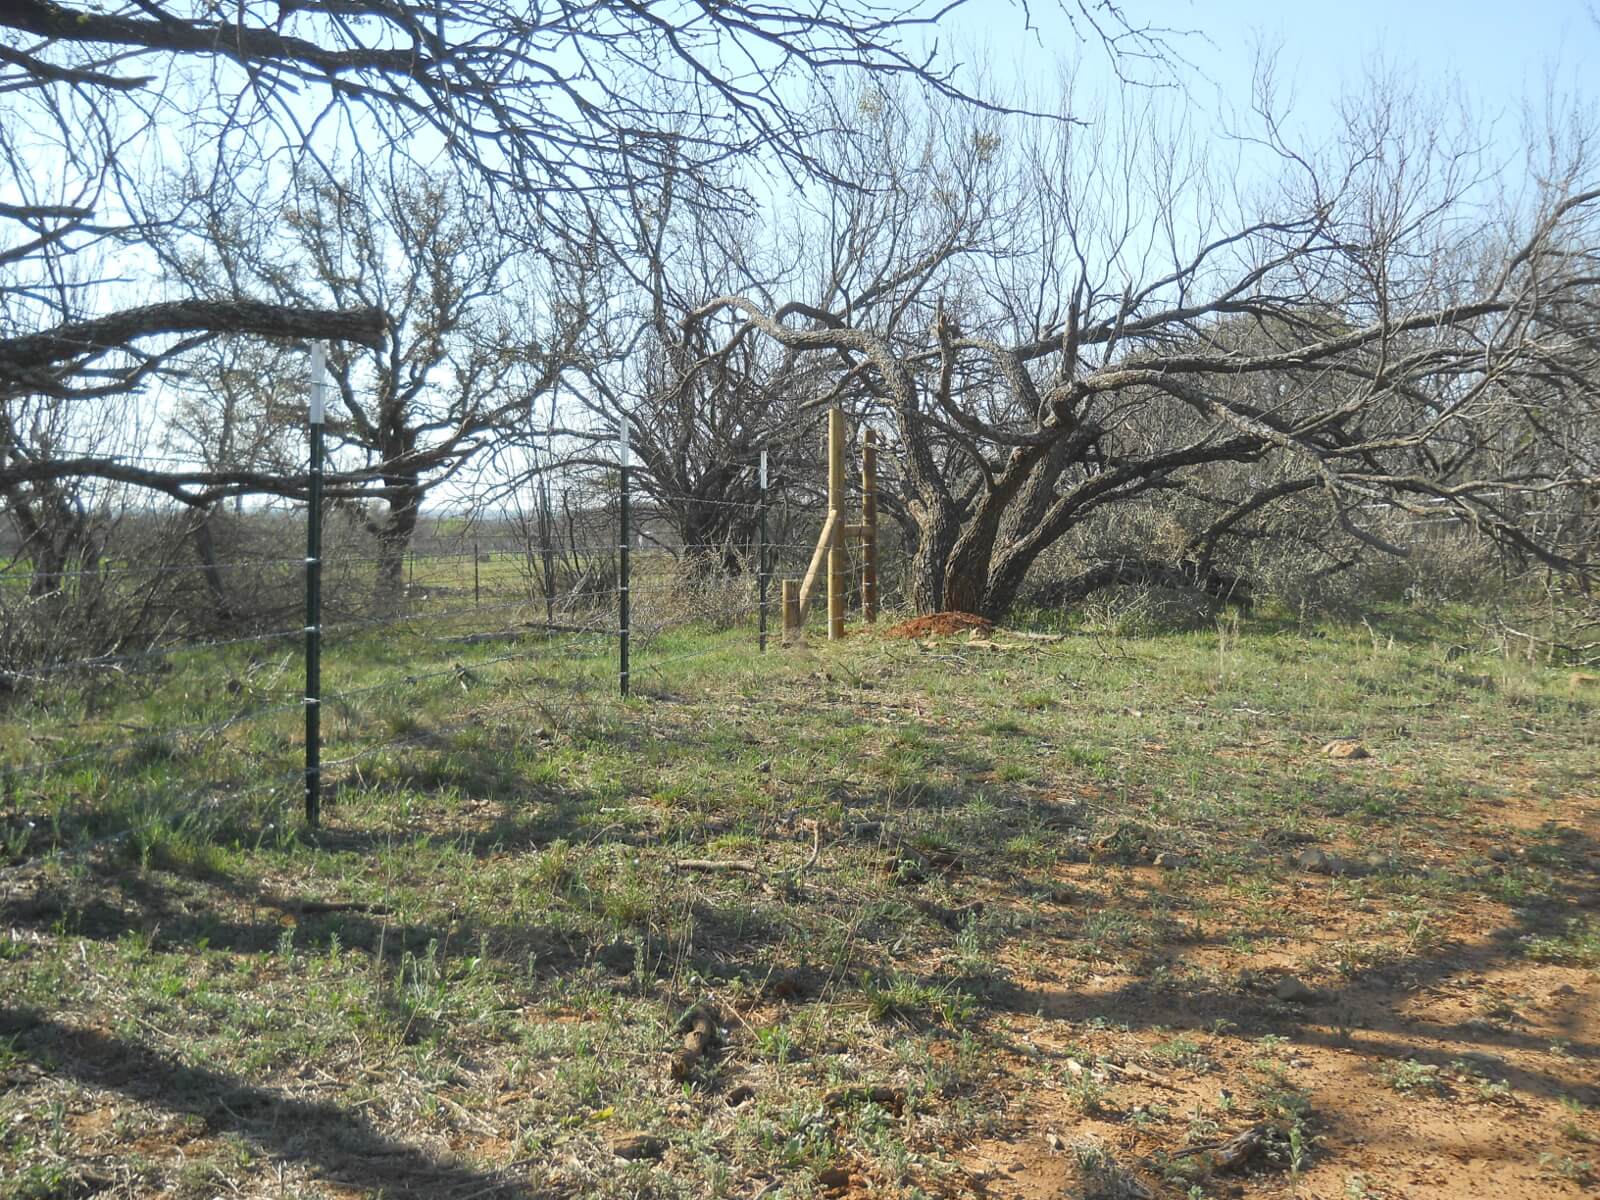
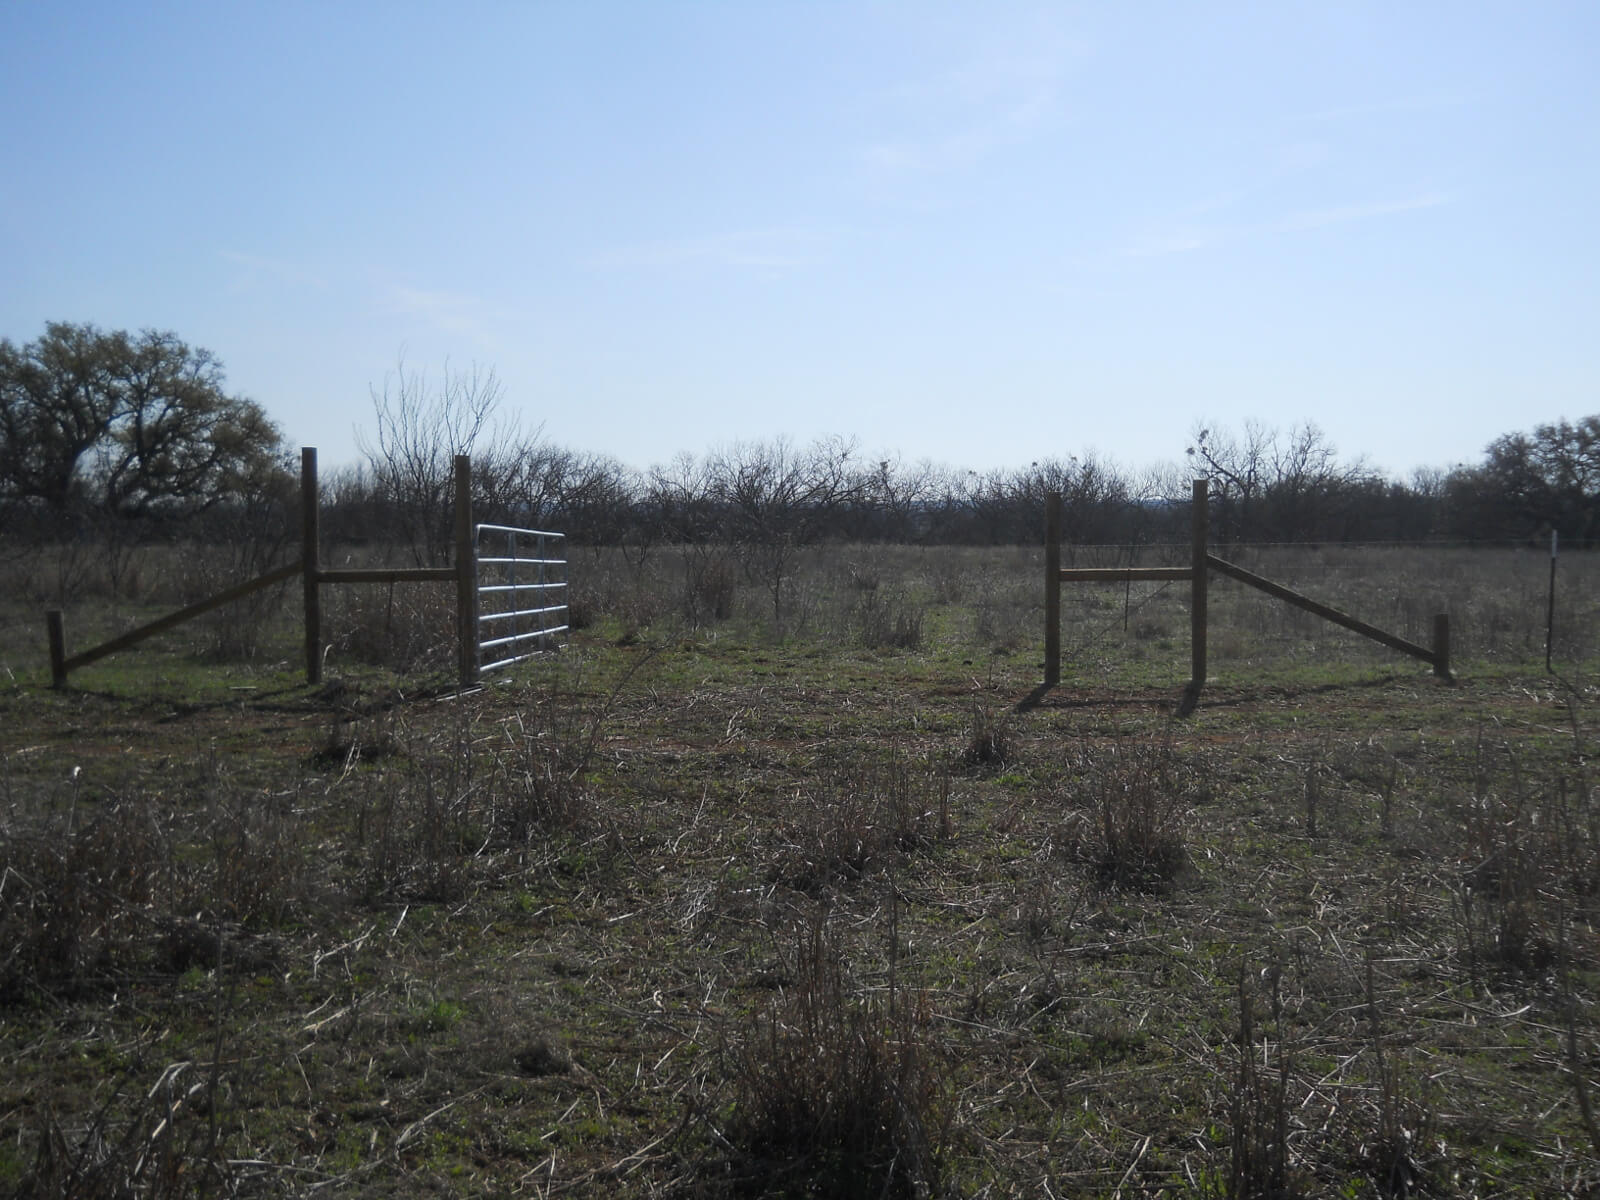
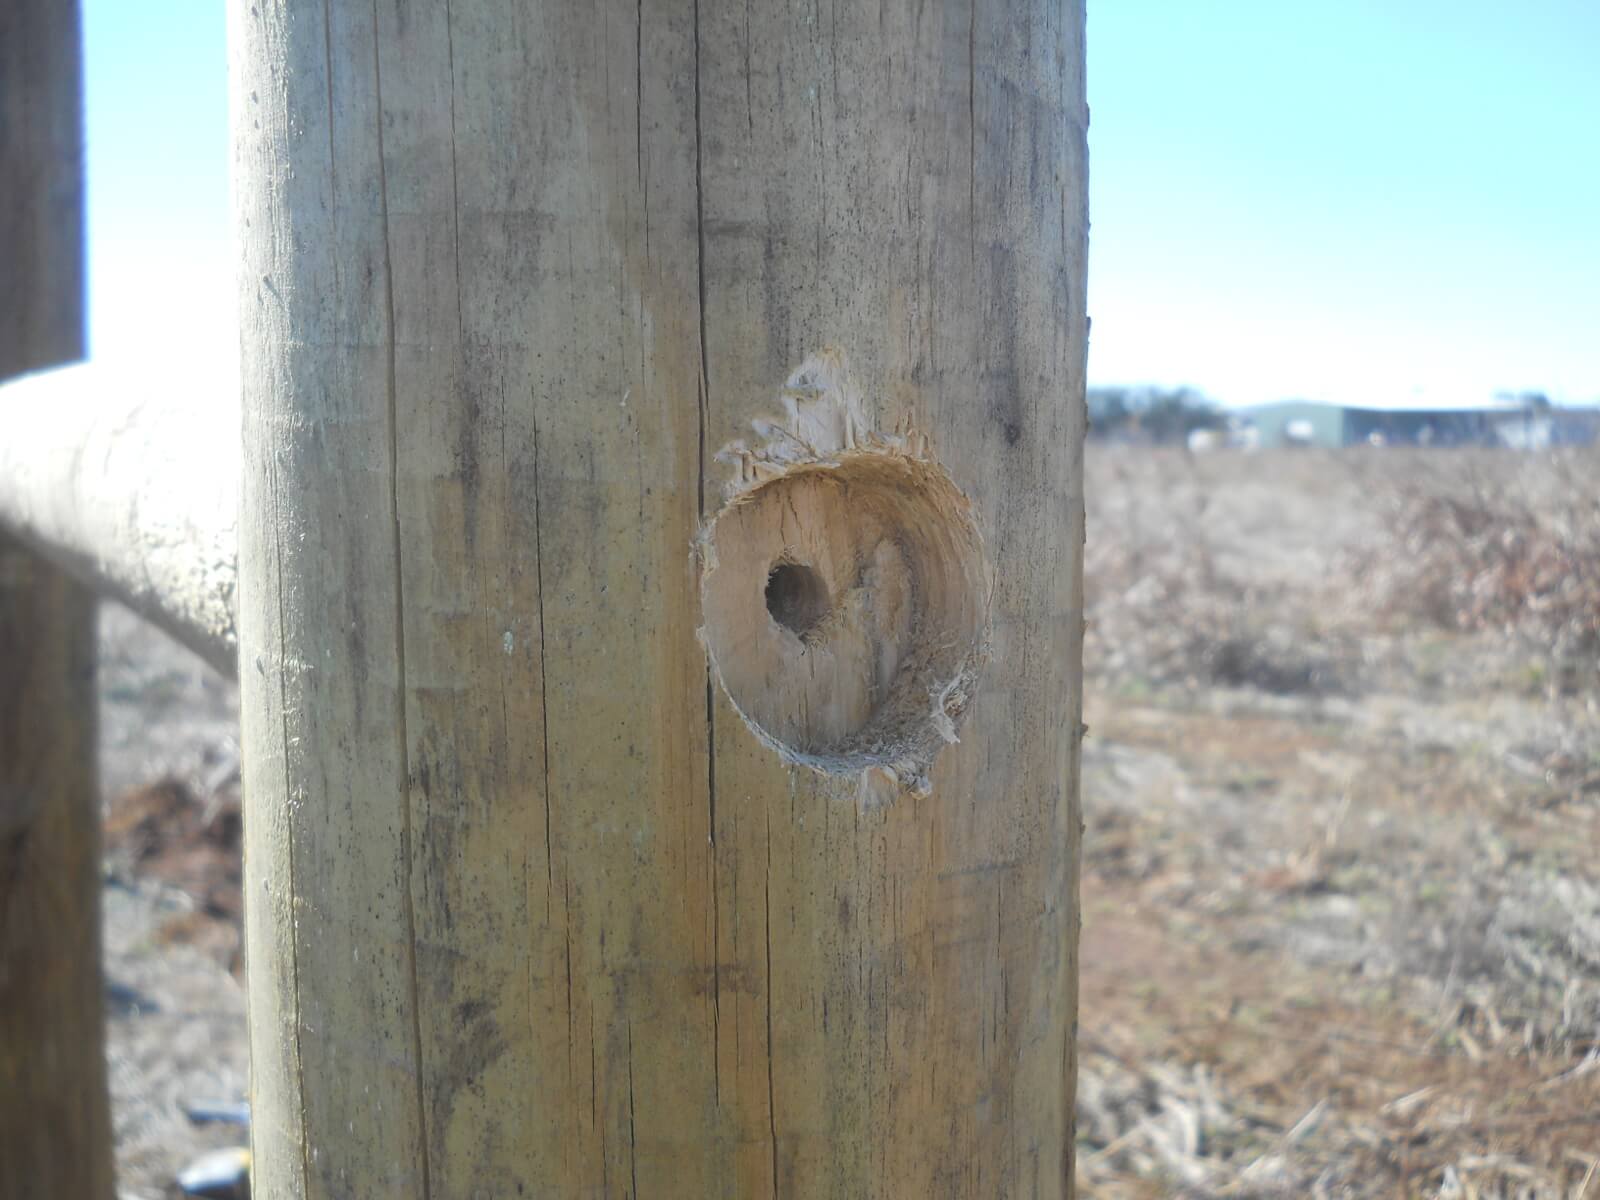
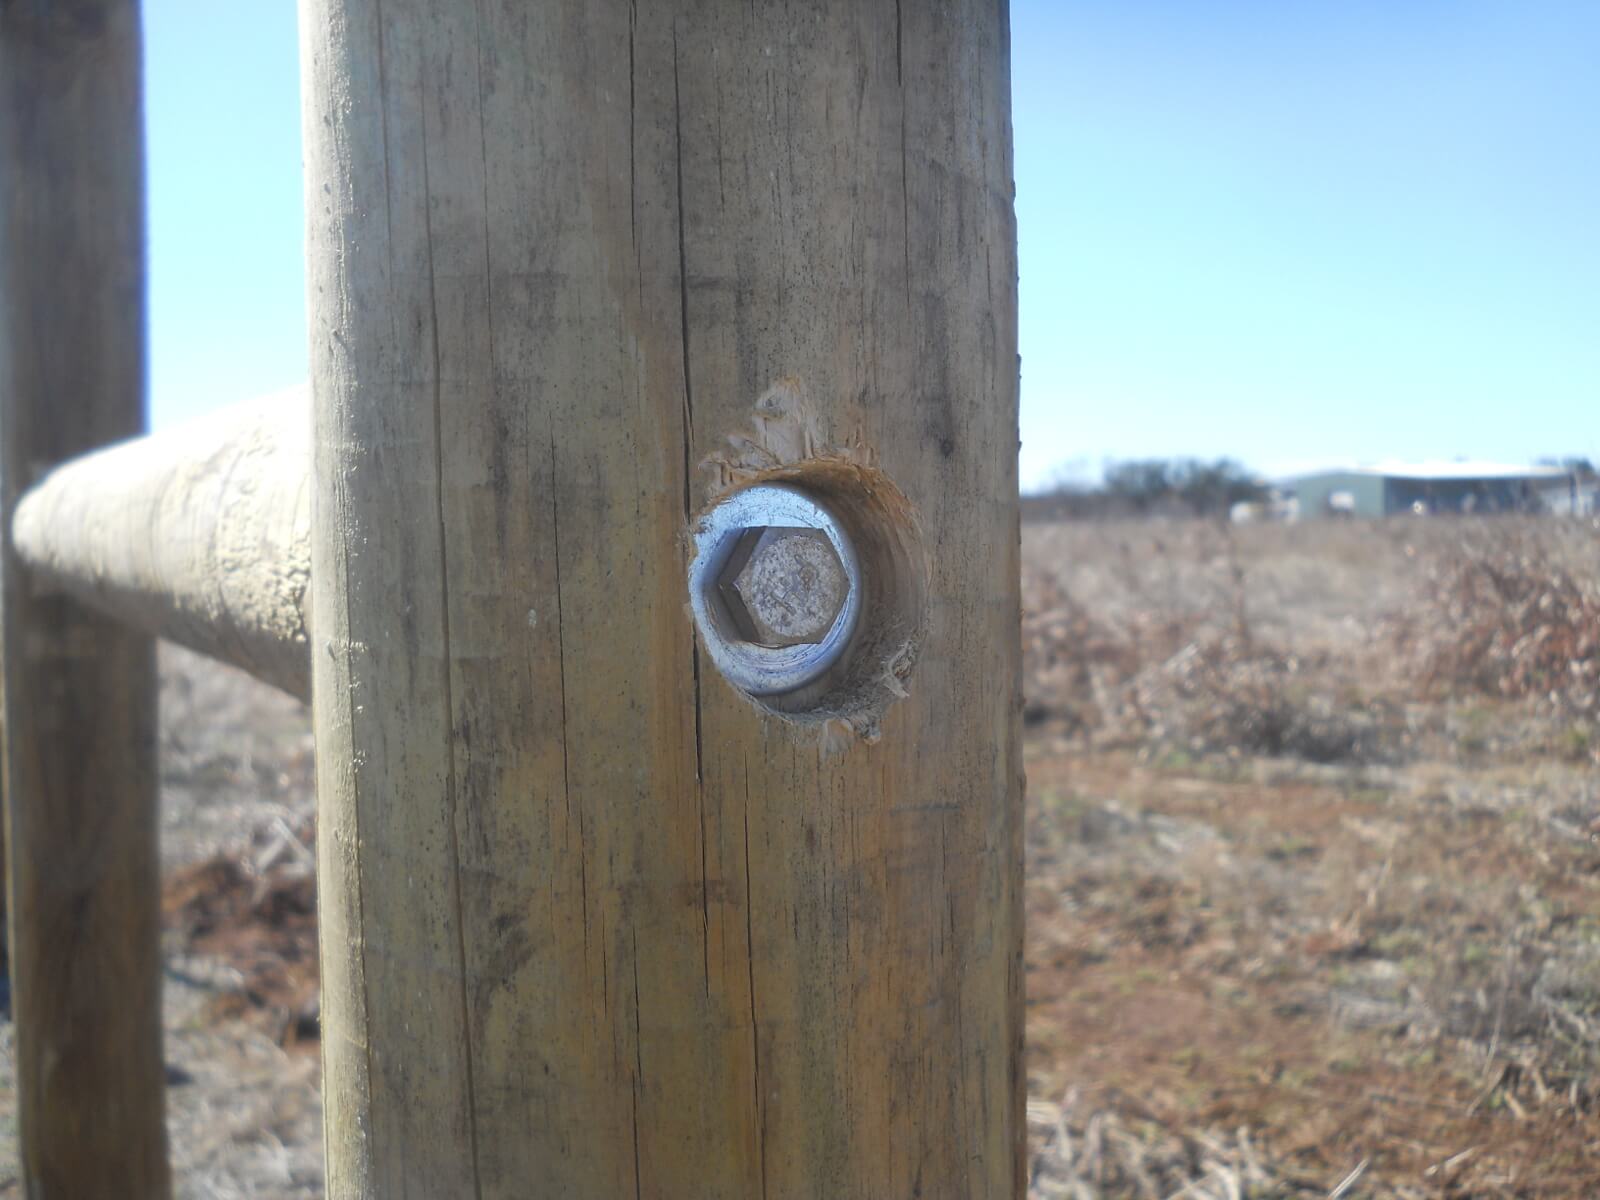
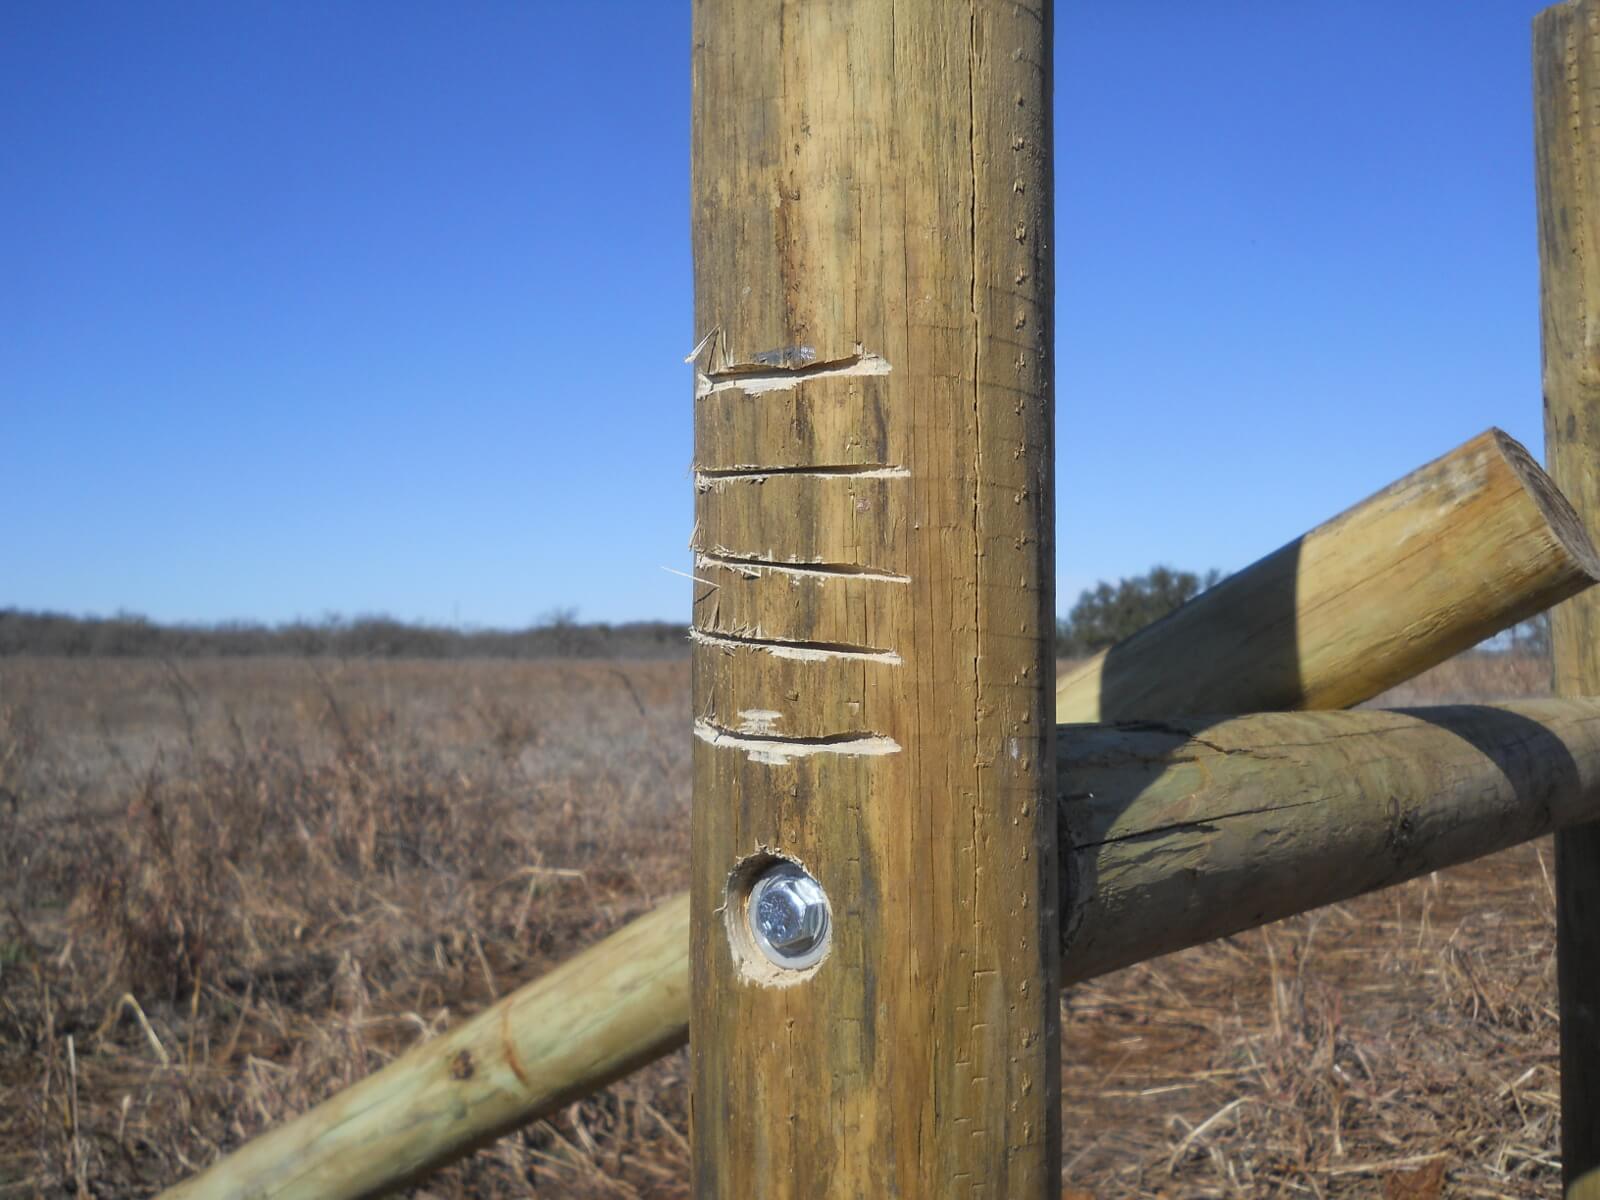
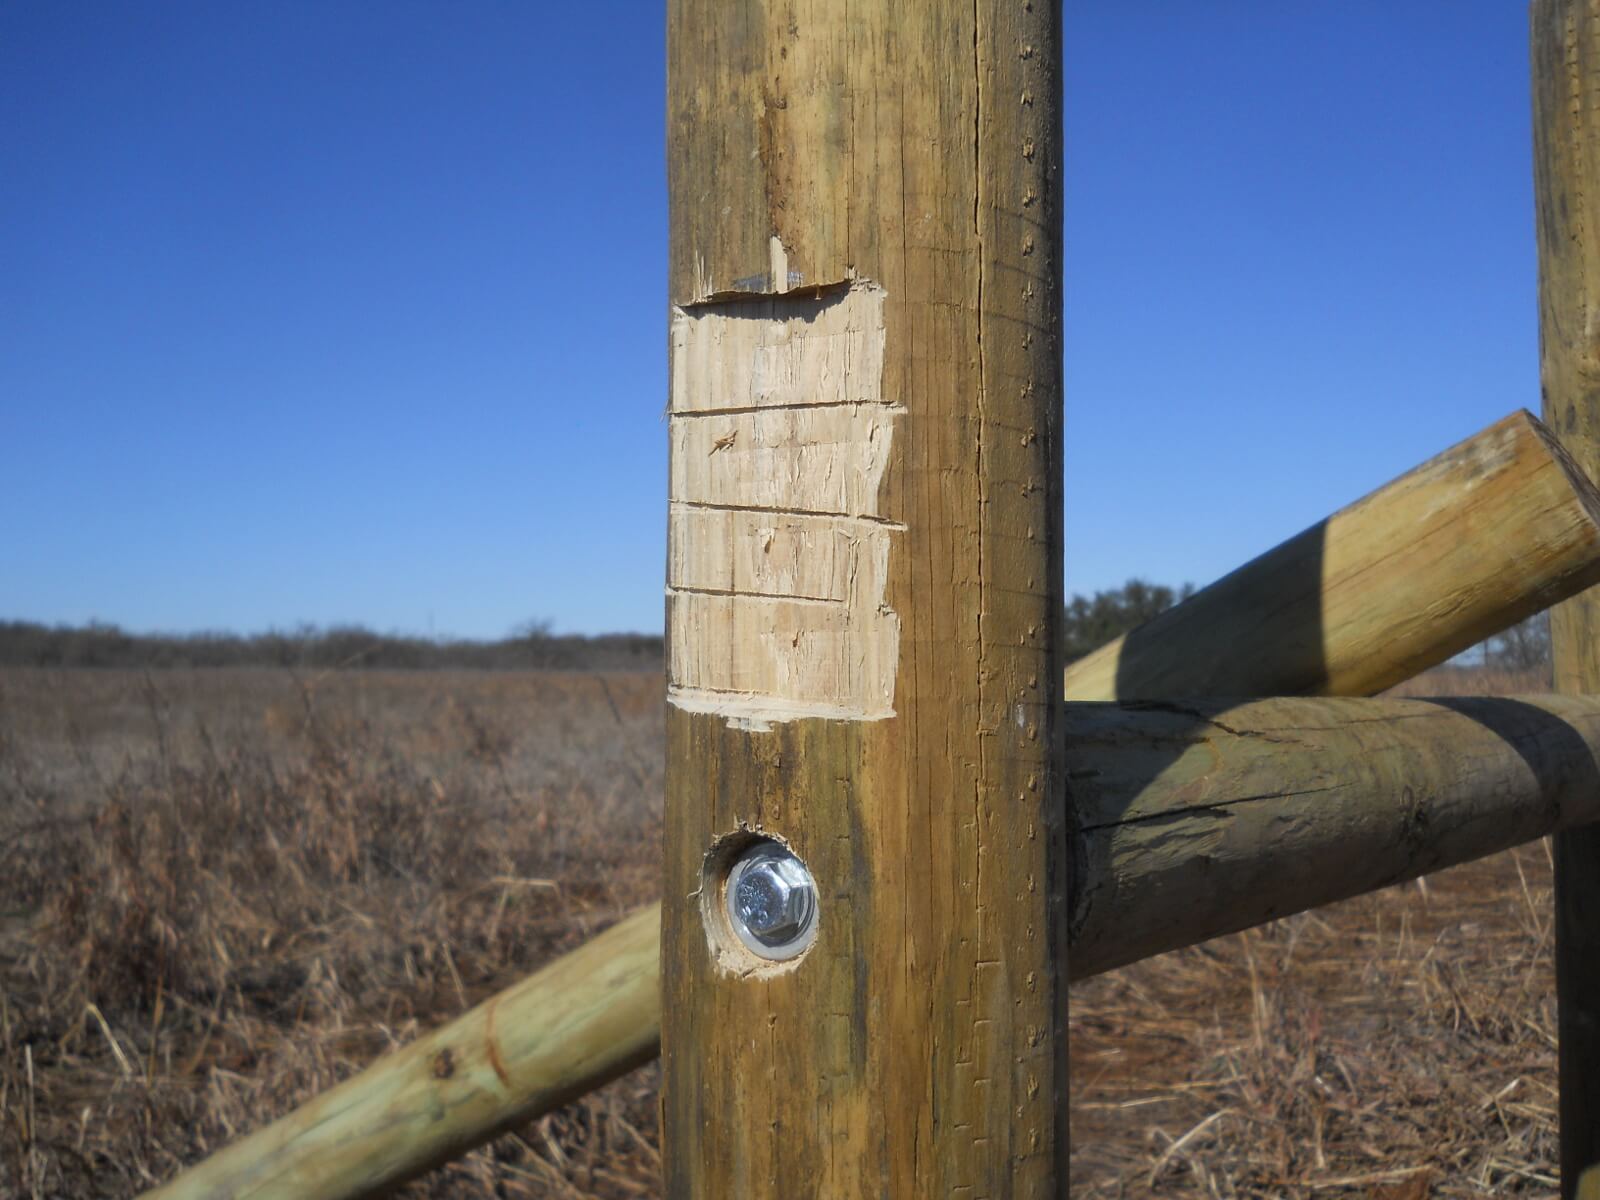
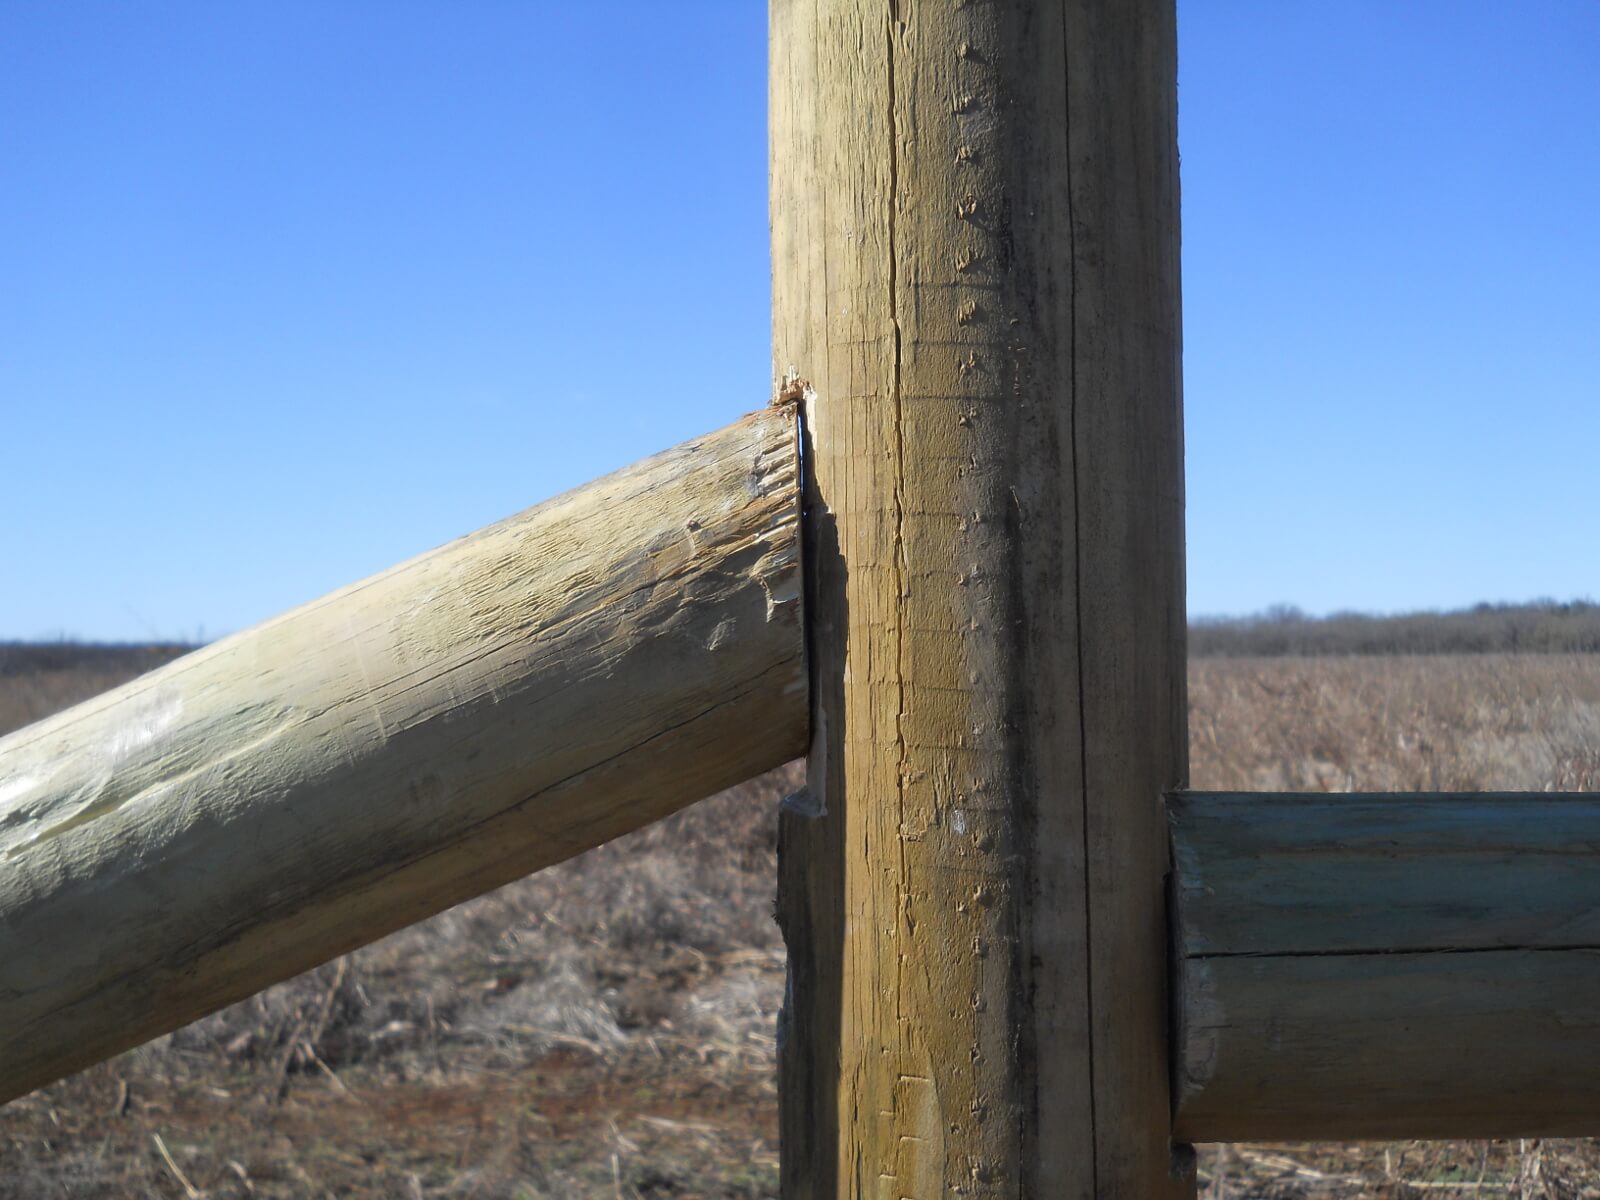
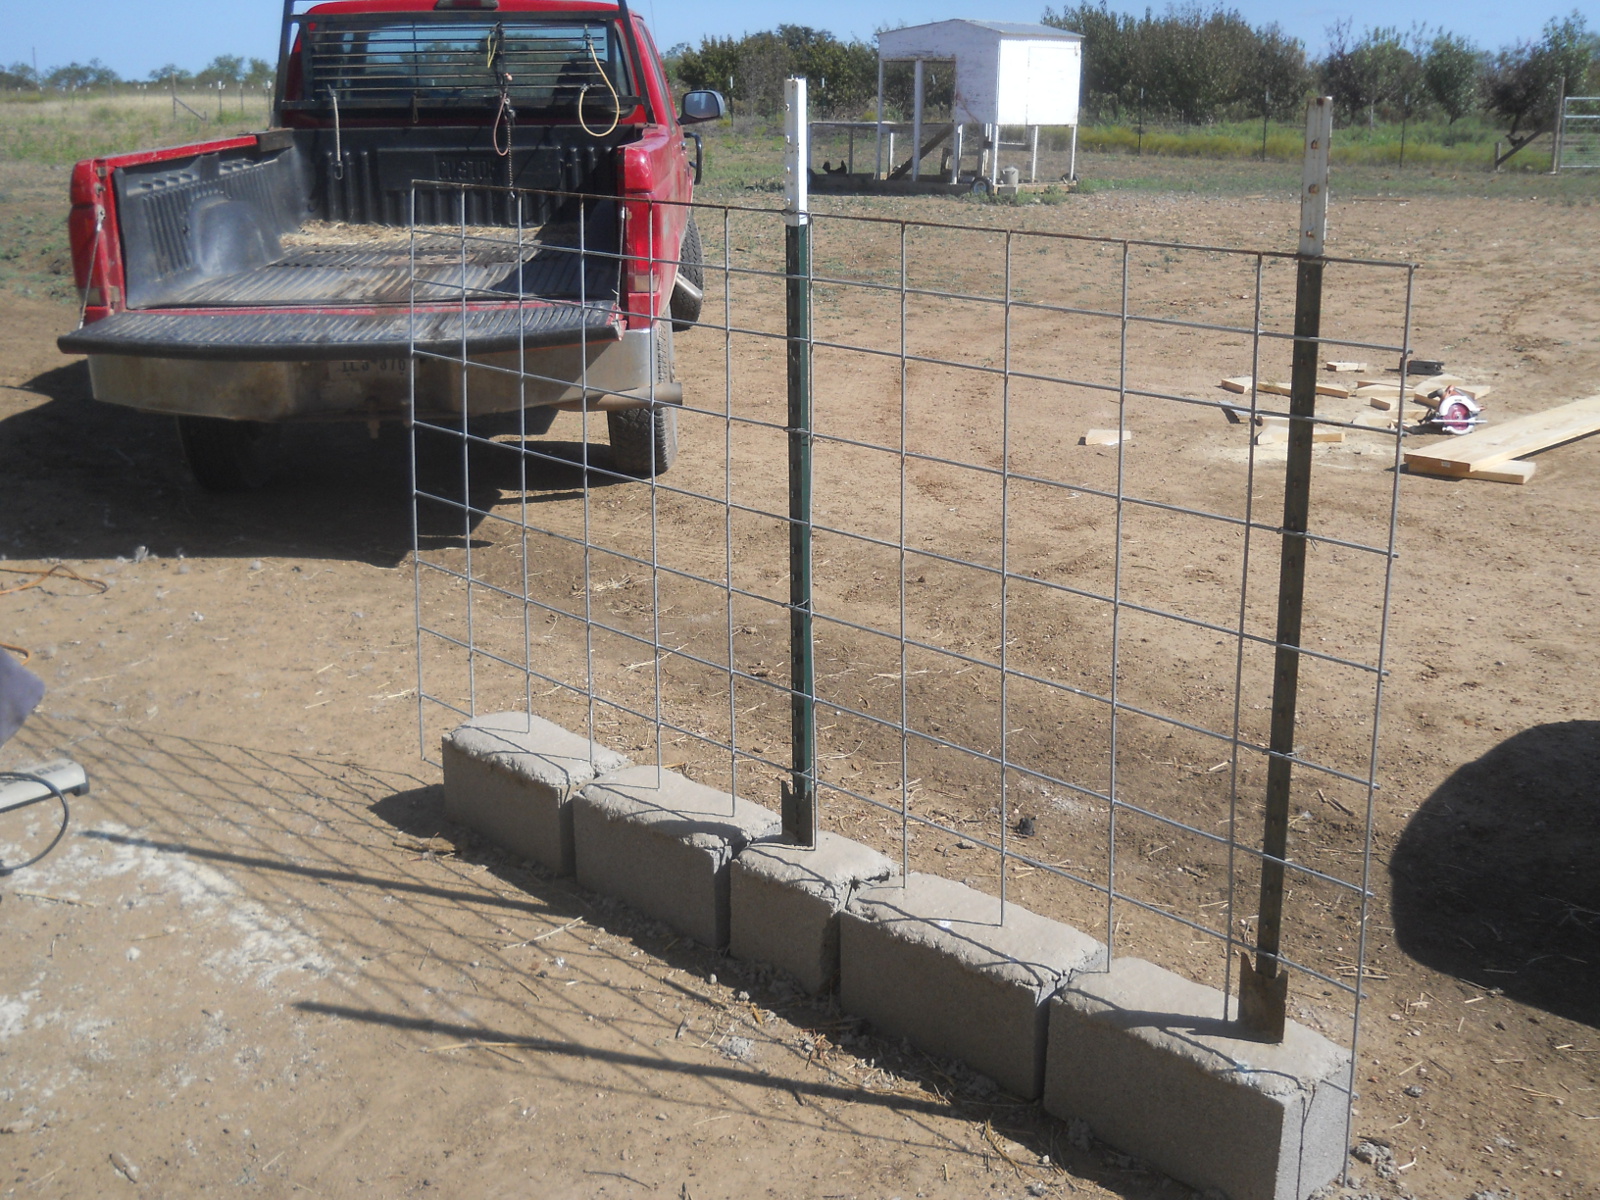
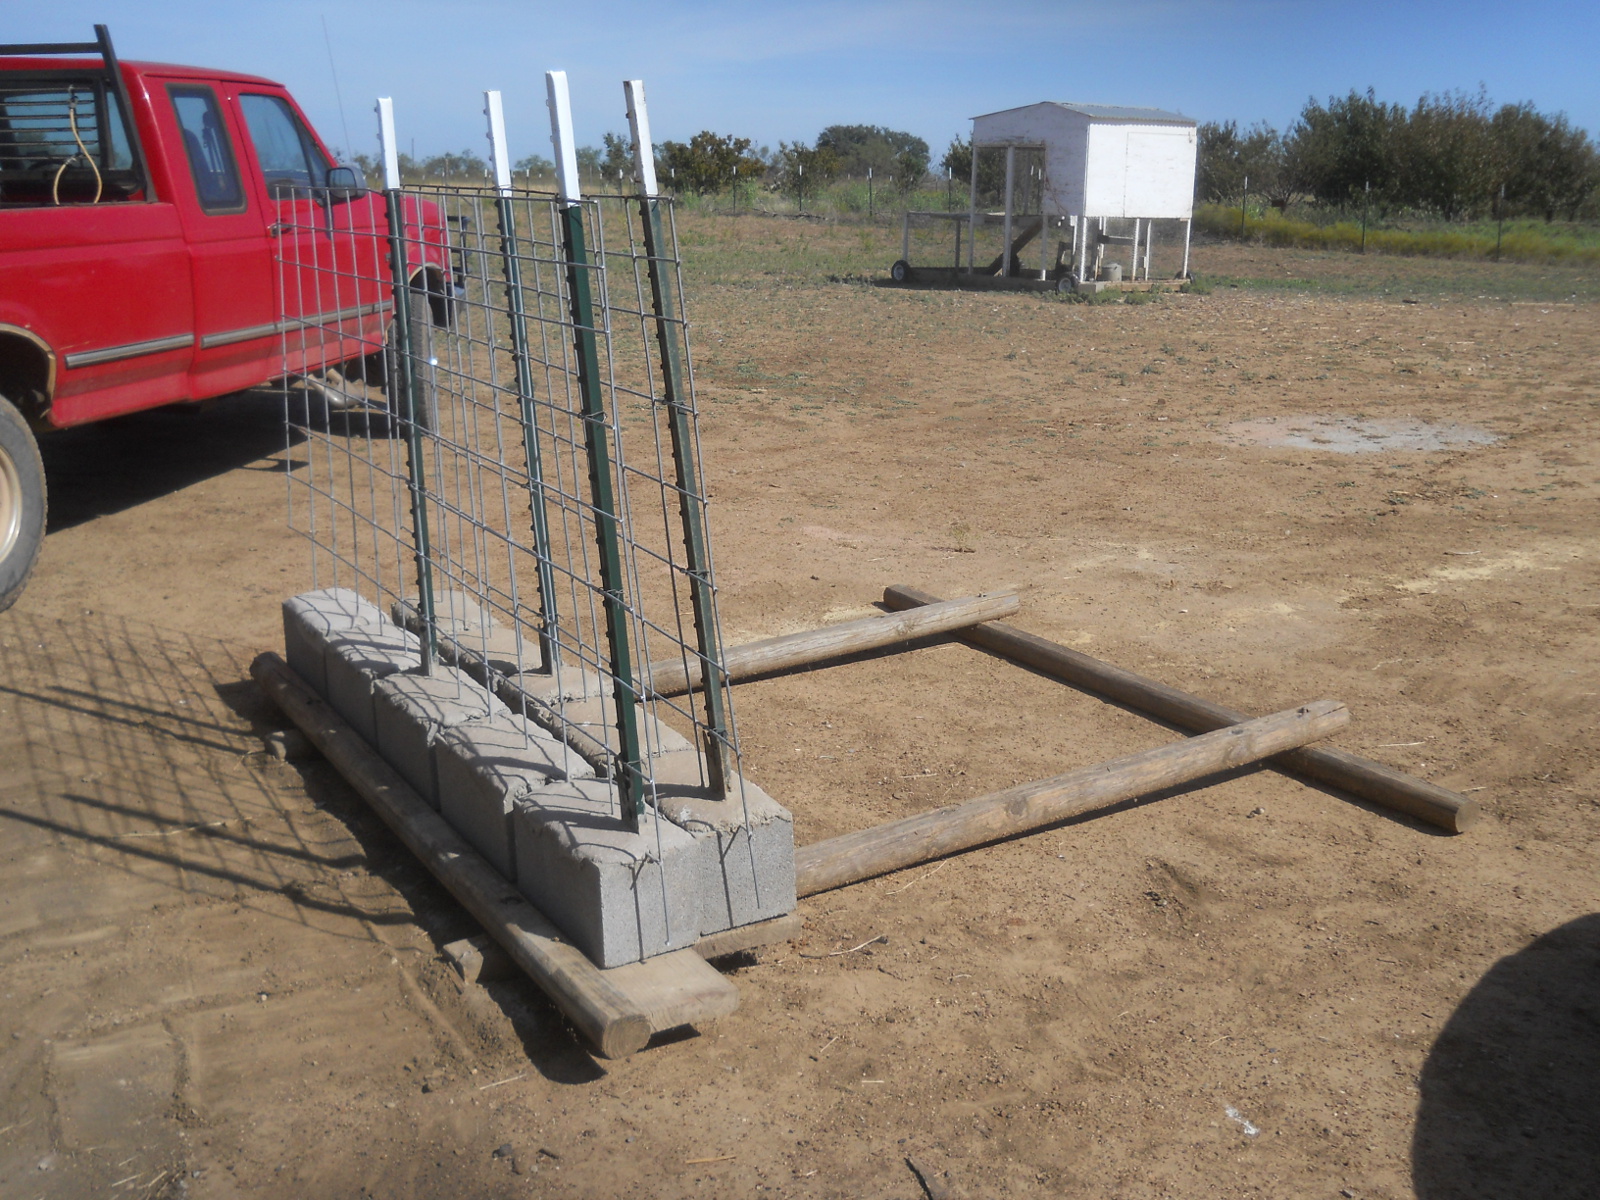
Here is how I did each corner system. I concreted in 2 x 5 1/2 inch treated posts, about 46 inches a part, and then a half post about 78 inches from the 2nd post to function as a dead man. And then I cut out notches in the posts using a reciprocating saw where 4 inch cross posts would go, chiseled them out, and then installed the posts, drilling a 3/8 hold for a 1/2 inch by 8 inch long lag screw, and used a 1 1/2 inch paddle bit to counter sink the bolt:

Fence Post System Cross Piece Hole
Fence Post System Cross Piece Bolt
Fence Post System Cross Piece Notches
Fence Post System Cross Piece Notches Chiseled
Fence Post System Diagonal Cross Piece
Fence Post System Diagonal Cross Piece Bolt

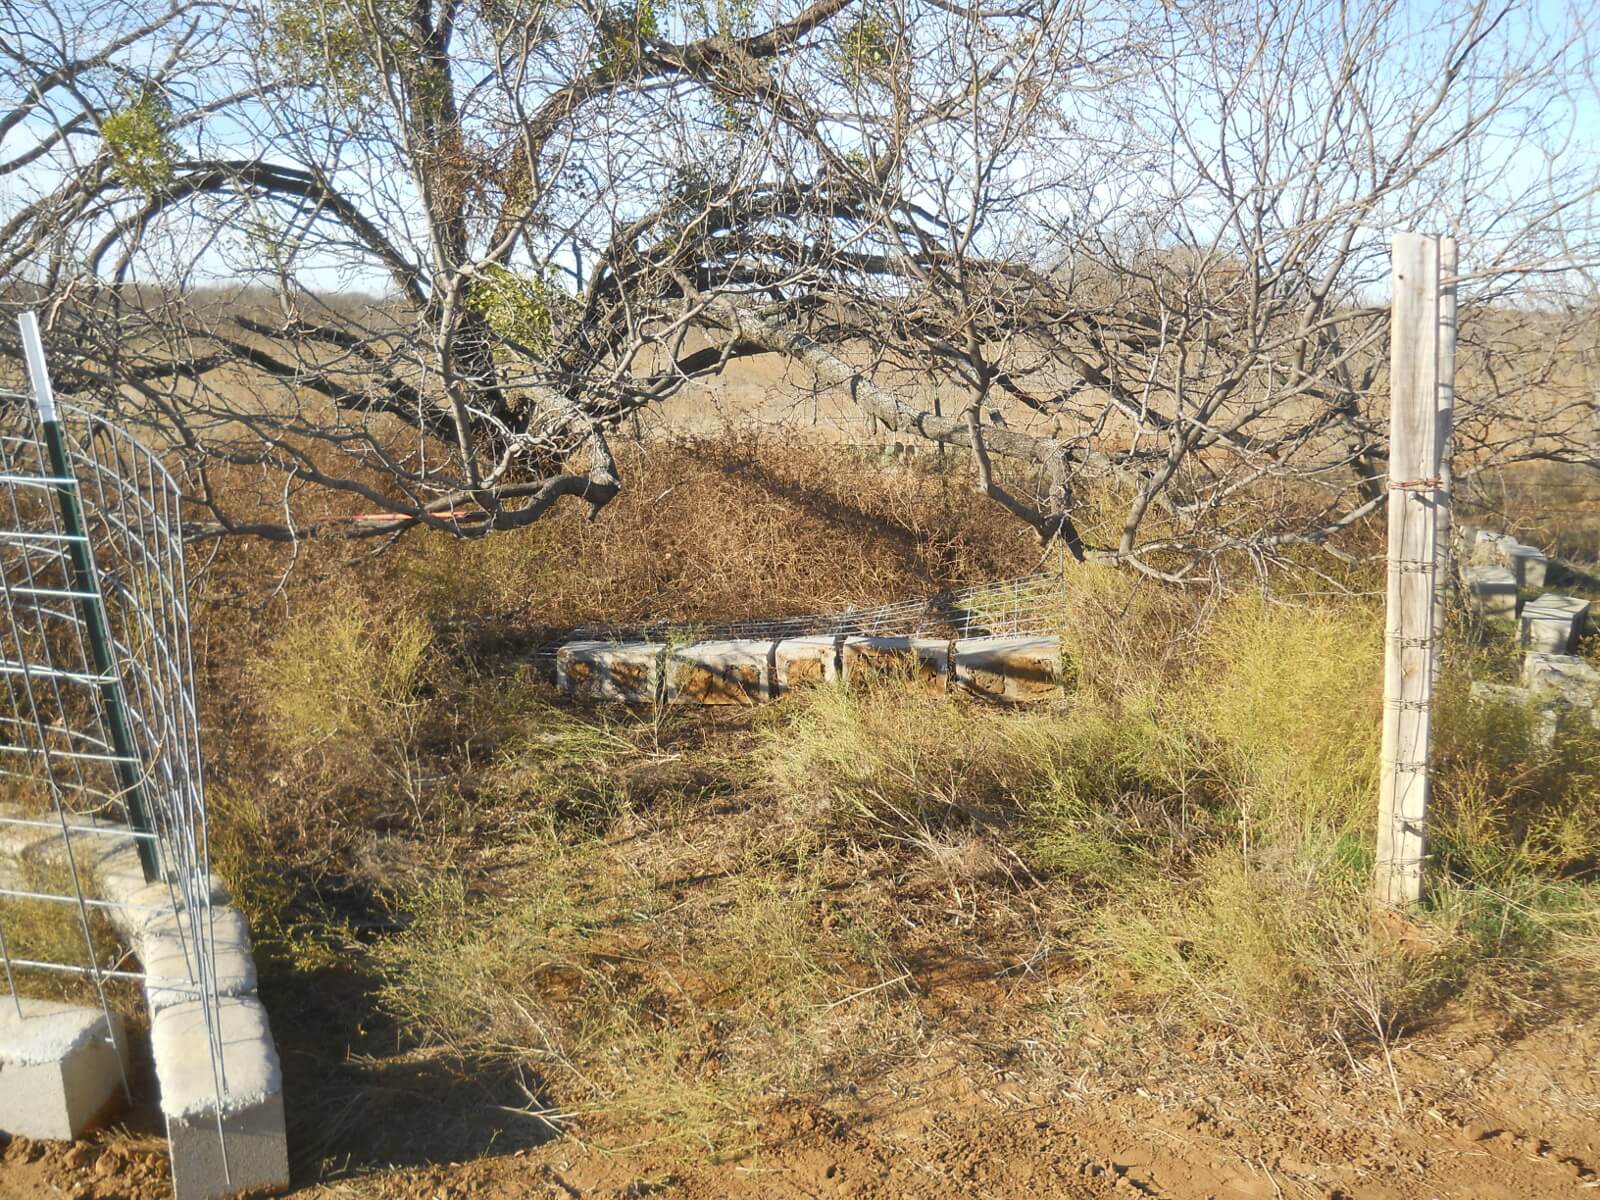
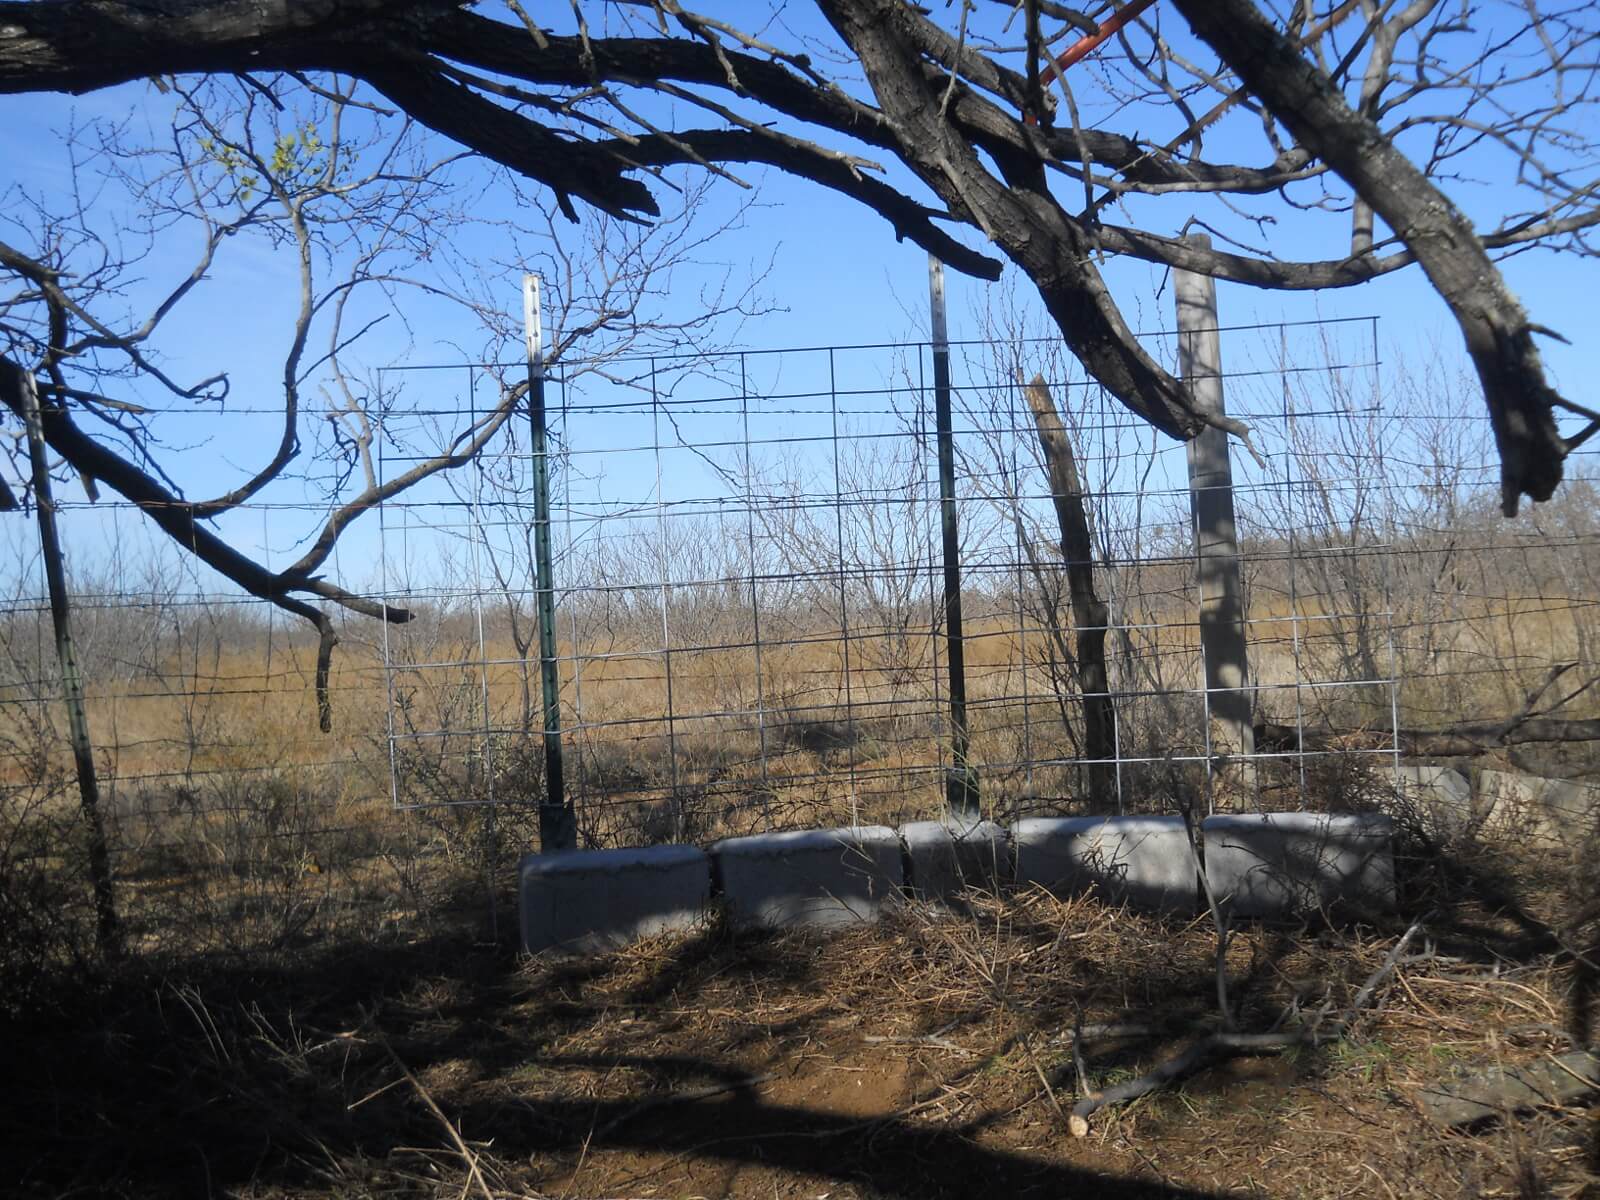
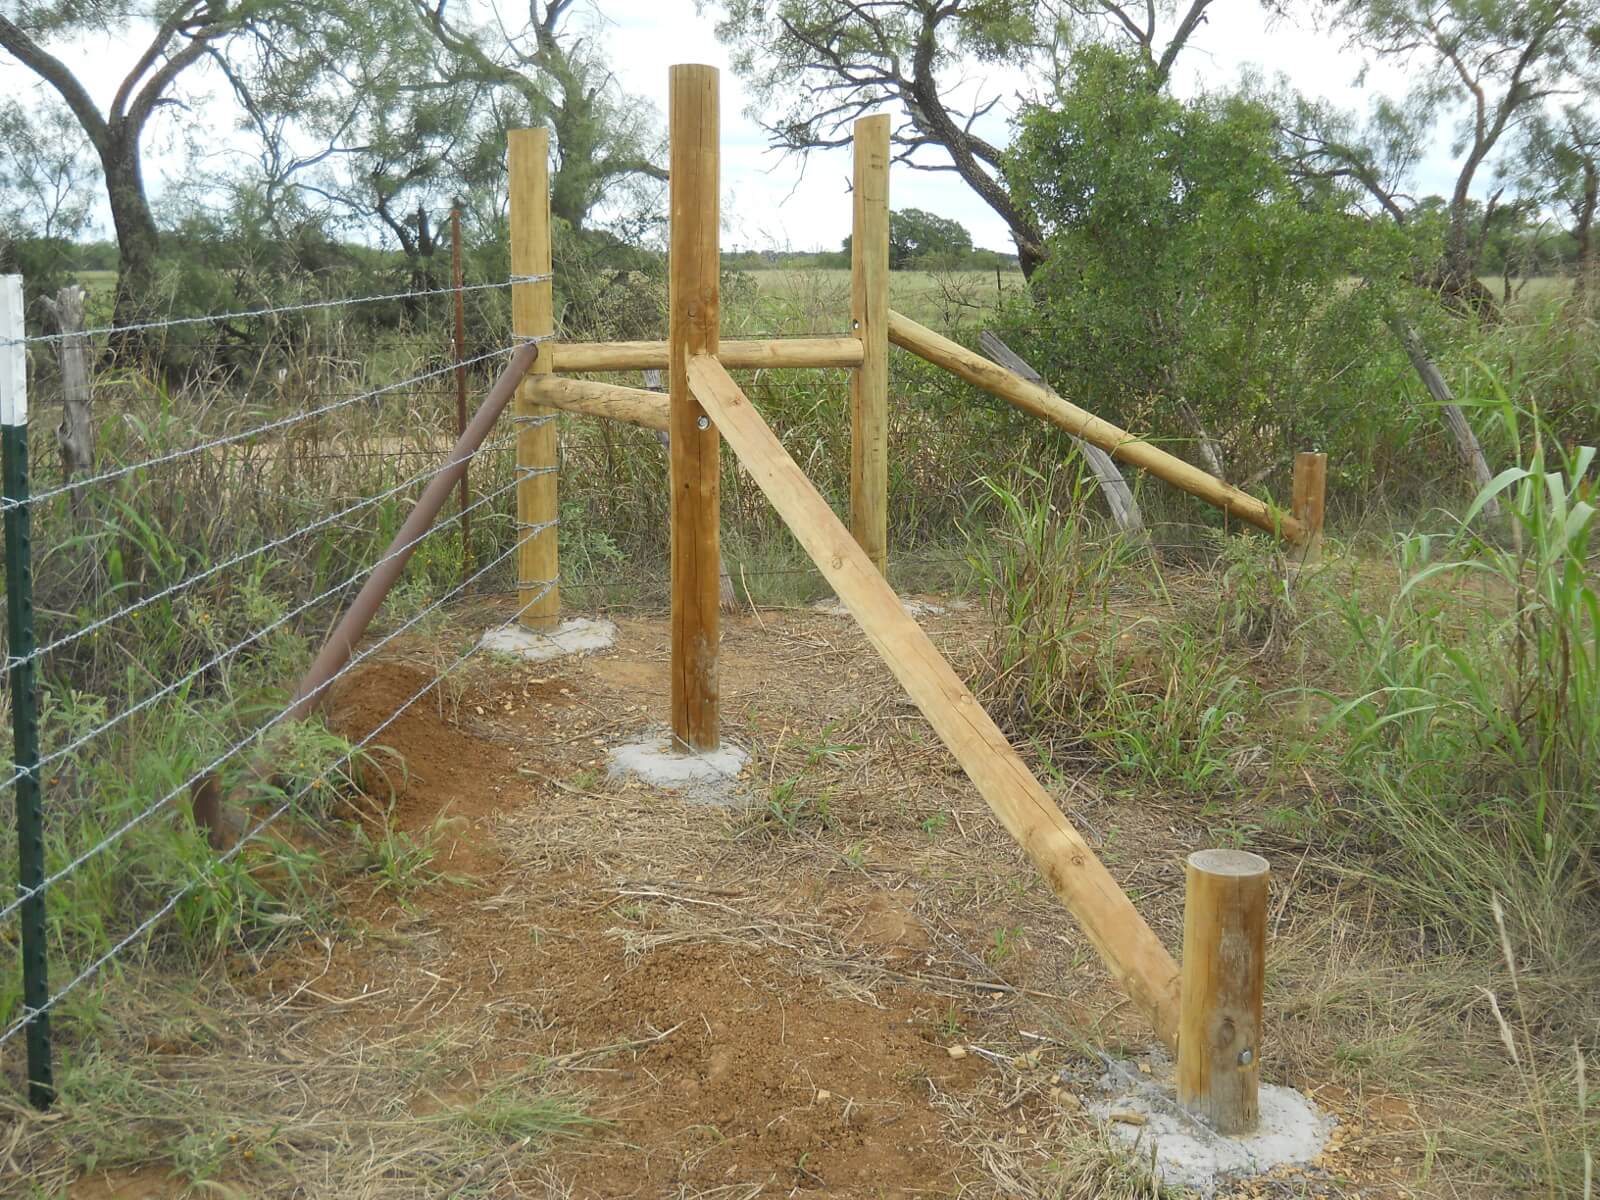
This is where I started, putting in the corner braces:

North Field North Fence Corner

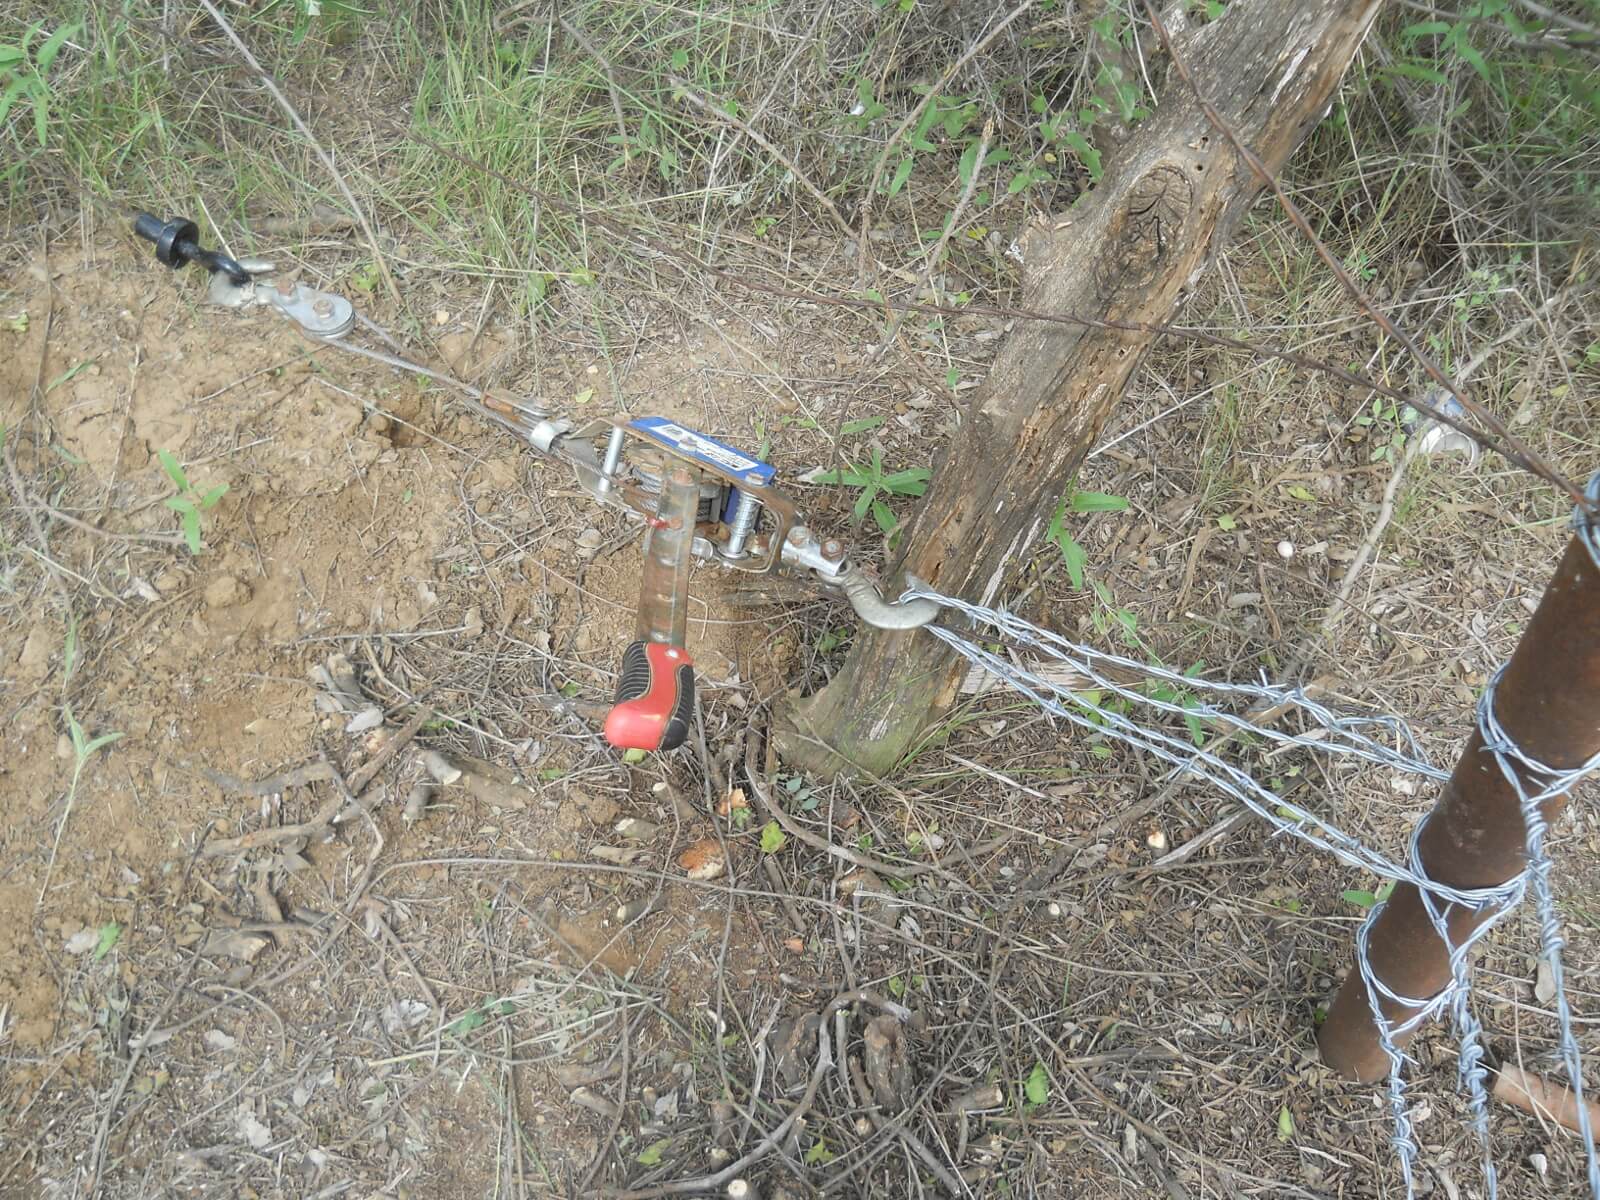
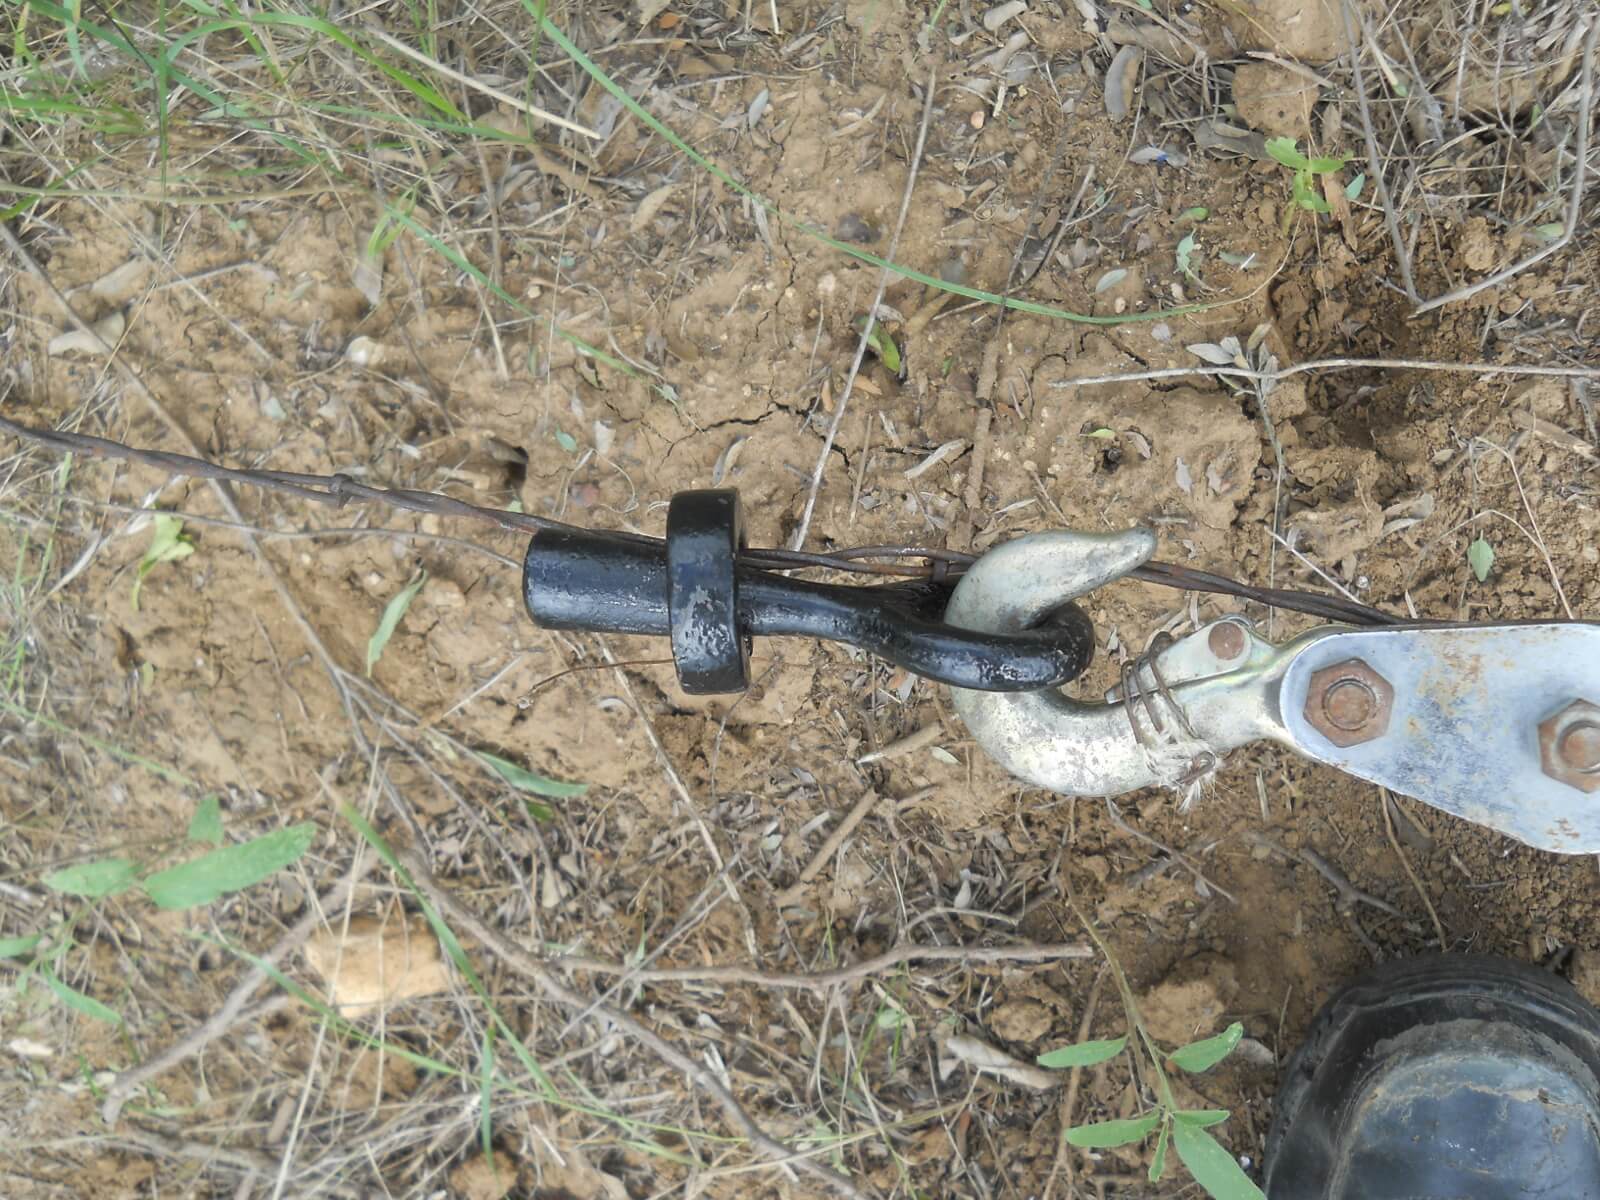
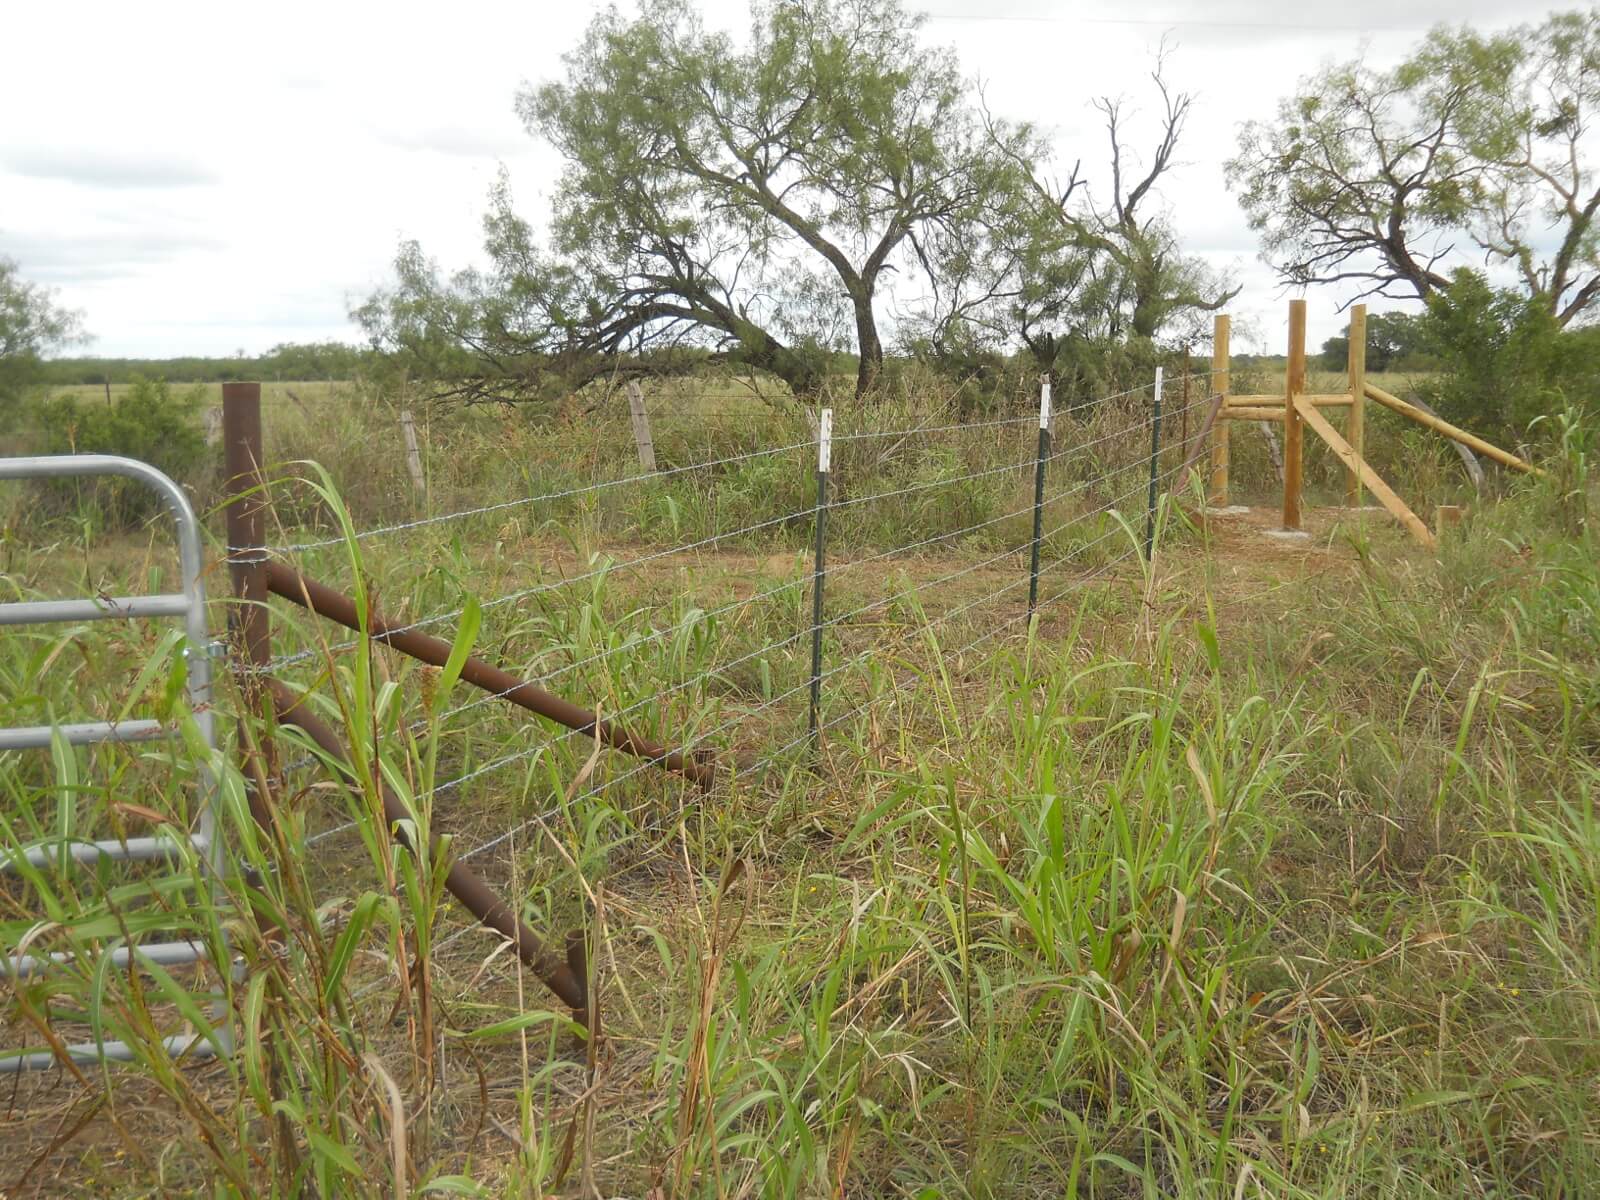
I stretched the diagonal fence lines, using a come-along and fence stretcher, with 6 barbed wire strands, at 4-4-4-4-5-5 from bottom to top on the nubs on the t-posts:

Using Come-Along to Stretch Barbed Wire Fence
Barbed Wire Fence Stretch Holder
North Field Gateway Diagonal Fence 1
North Field Gateway Diagonal Fence 2

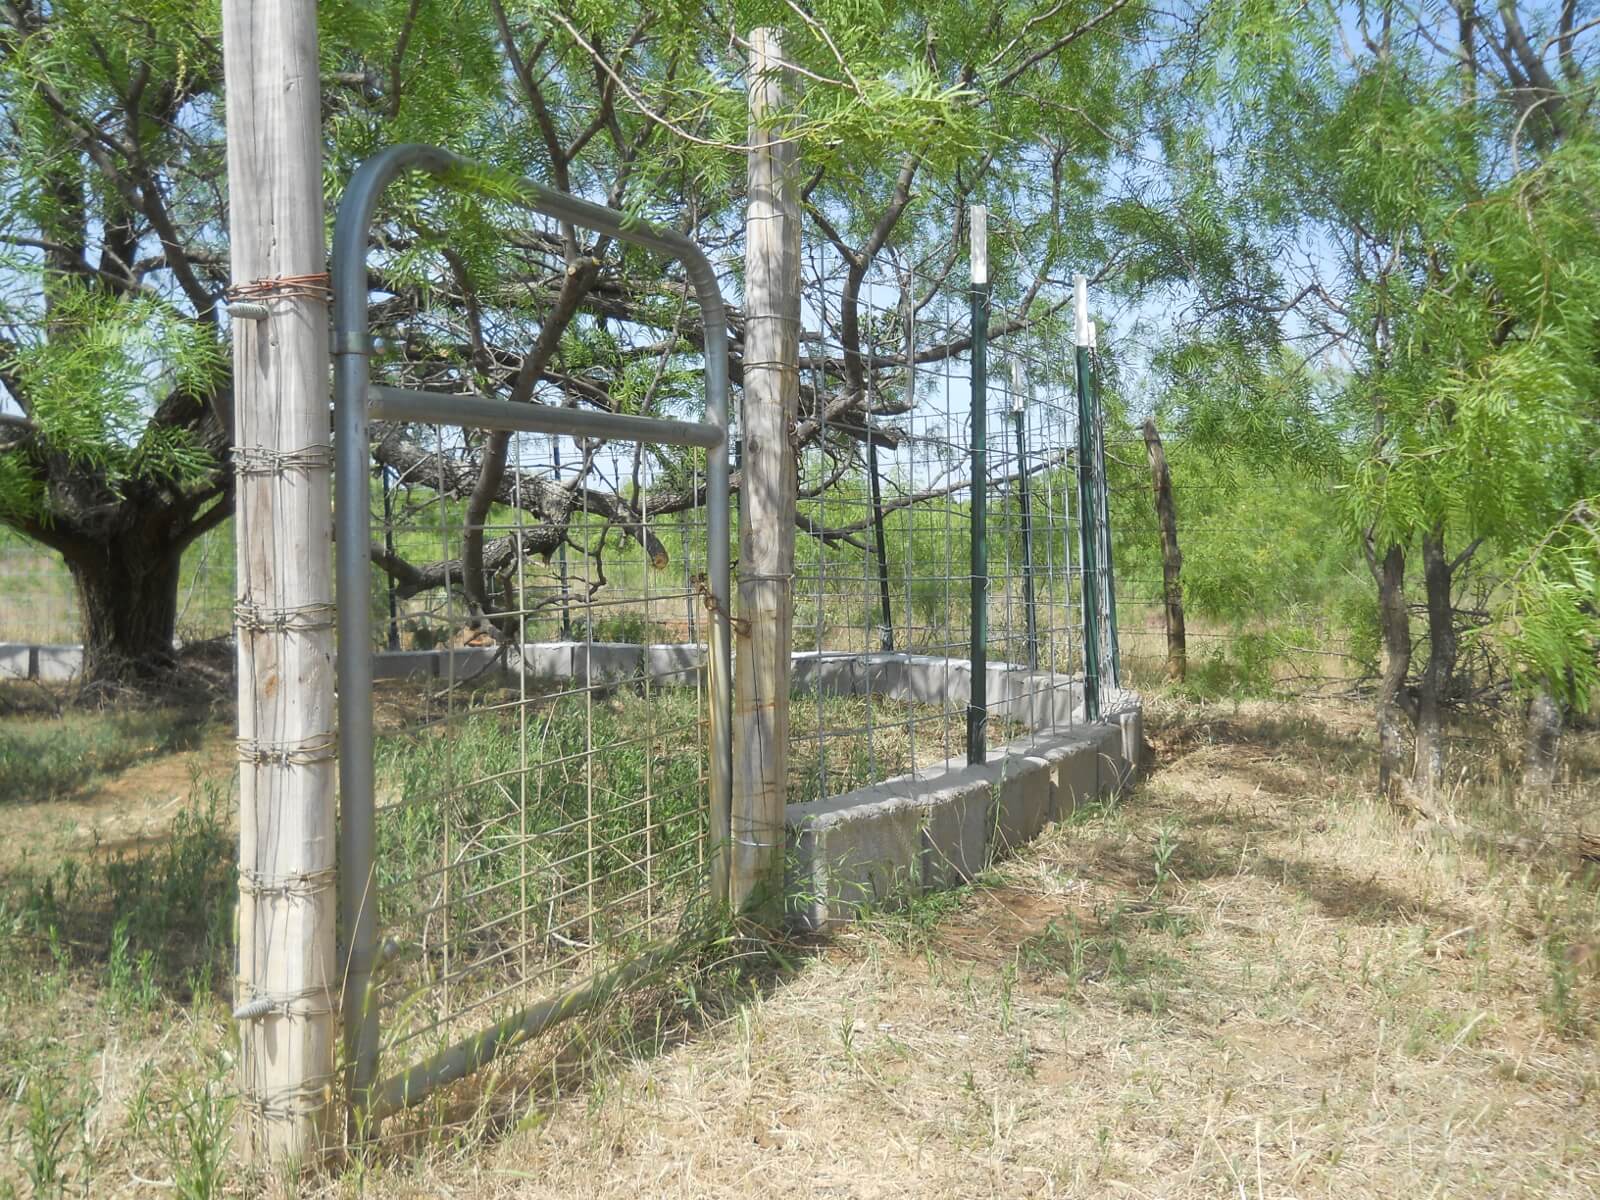
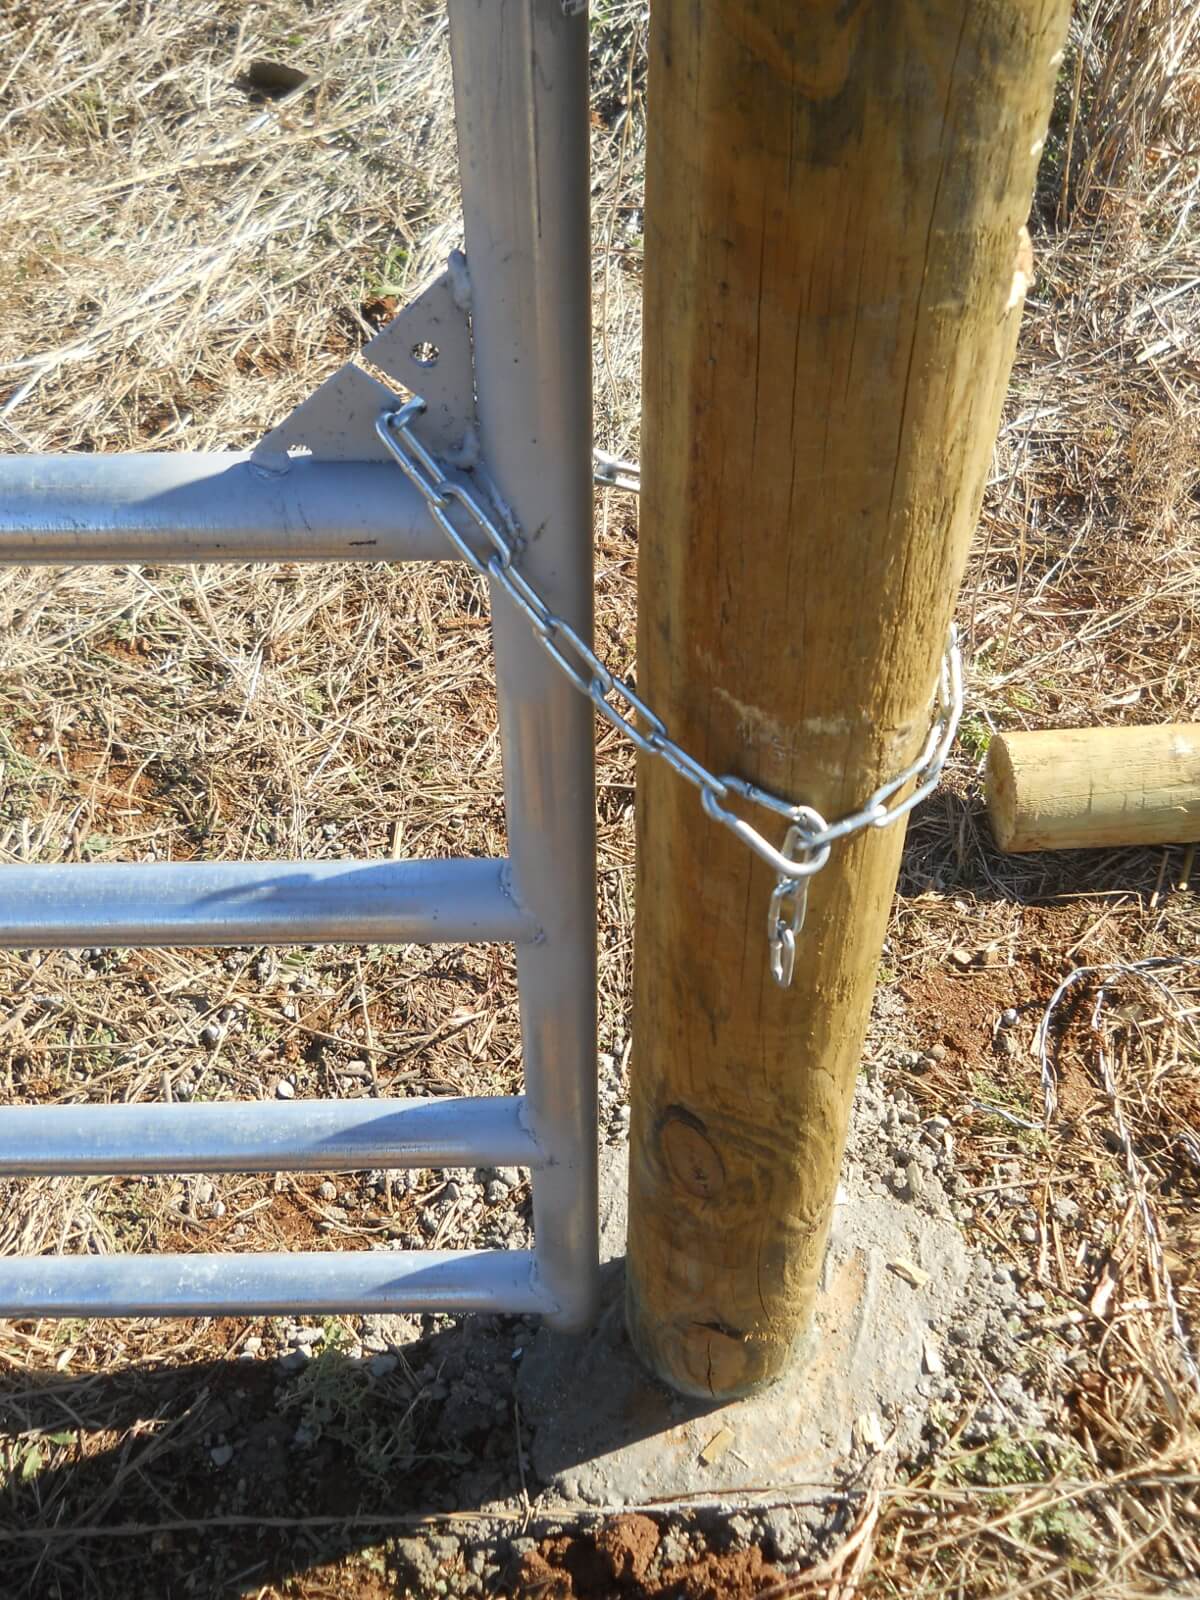
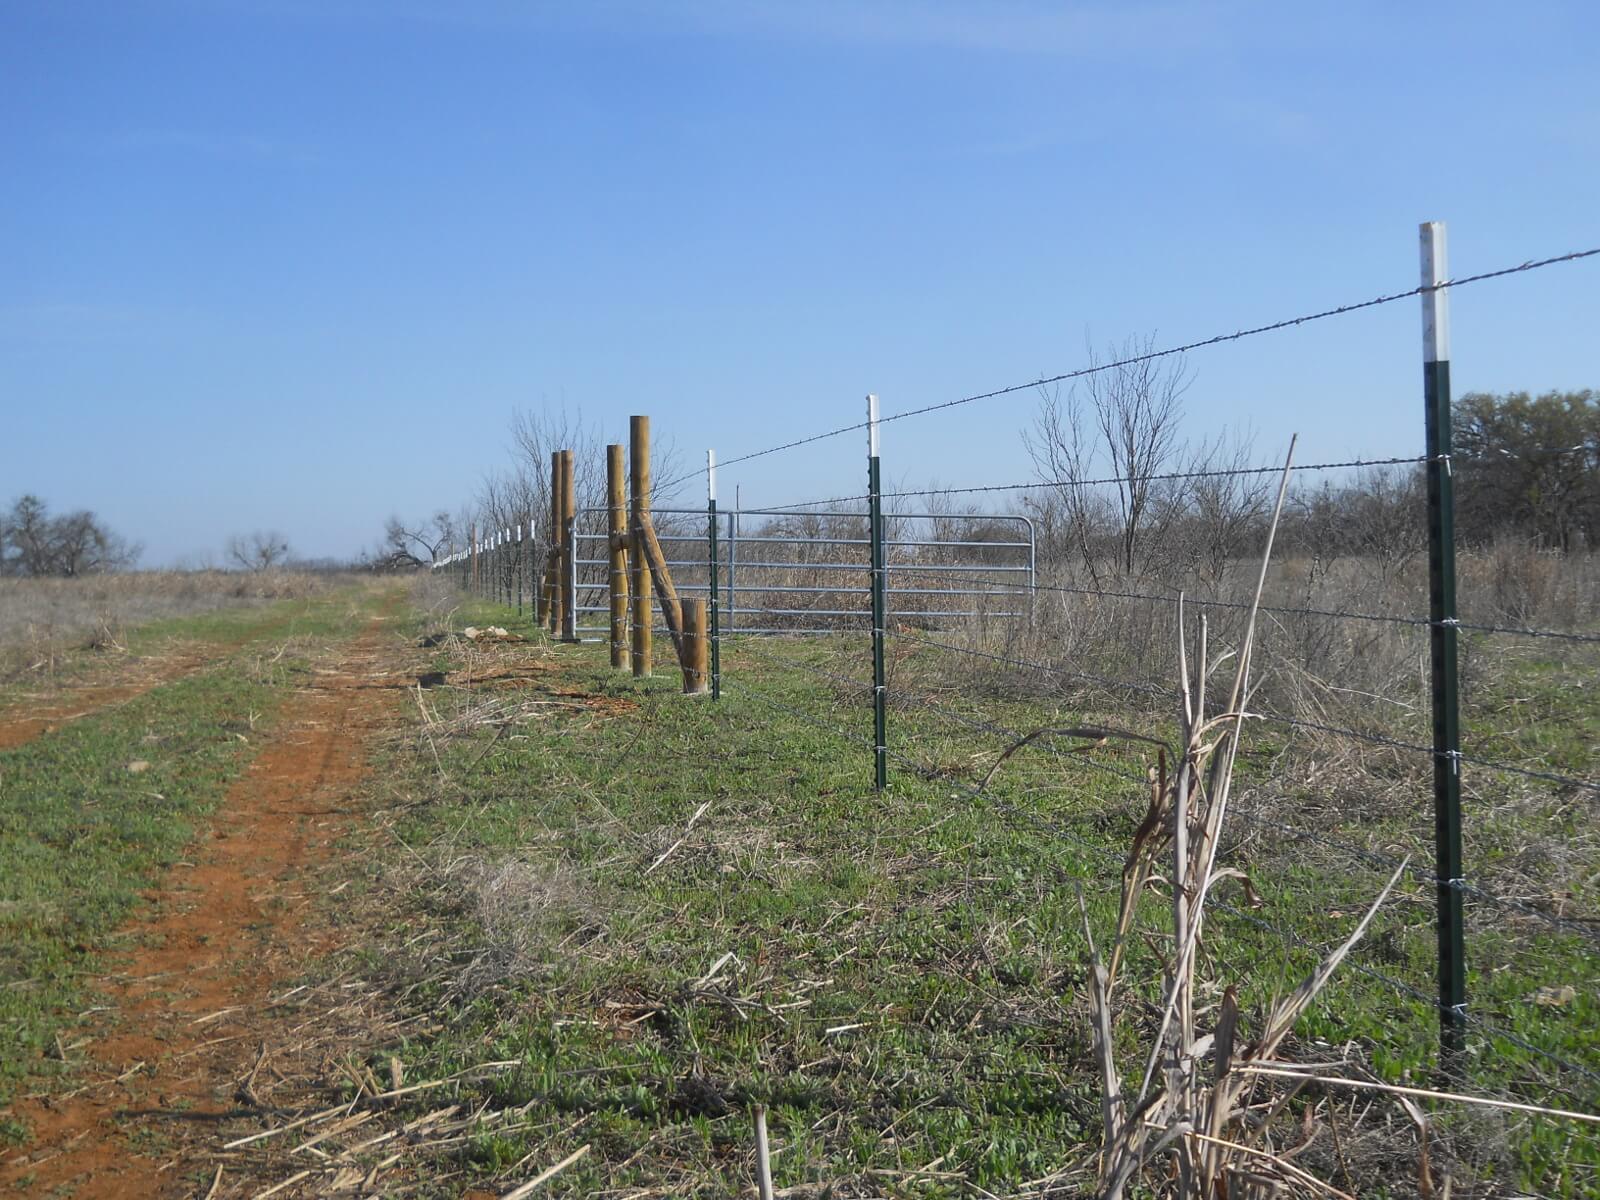
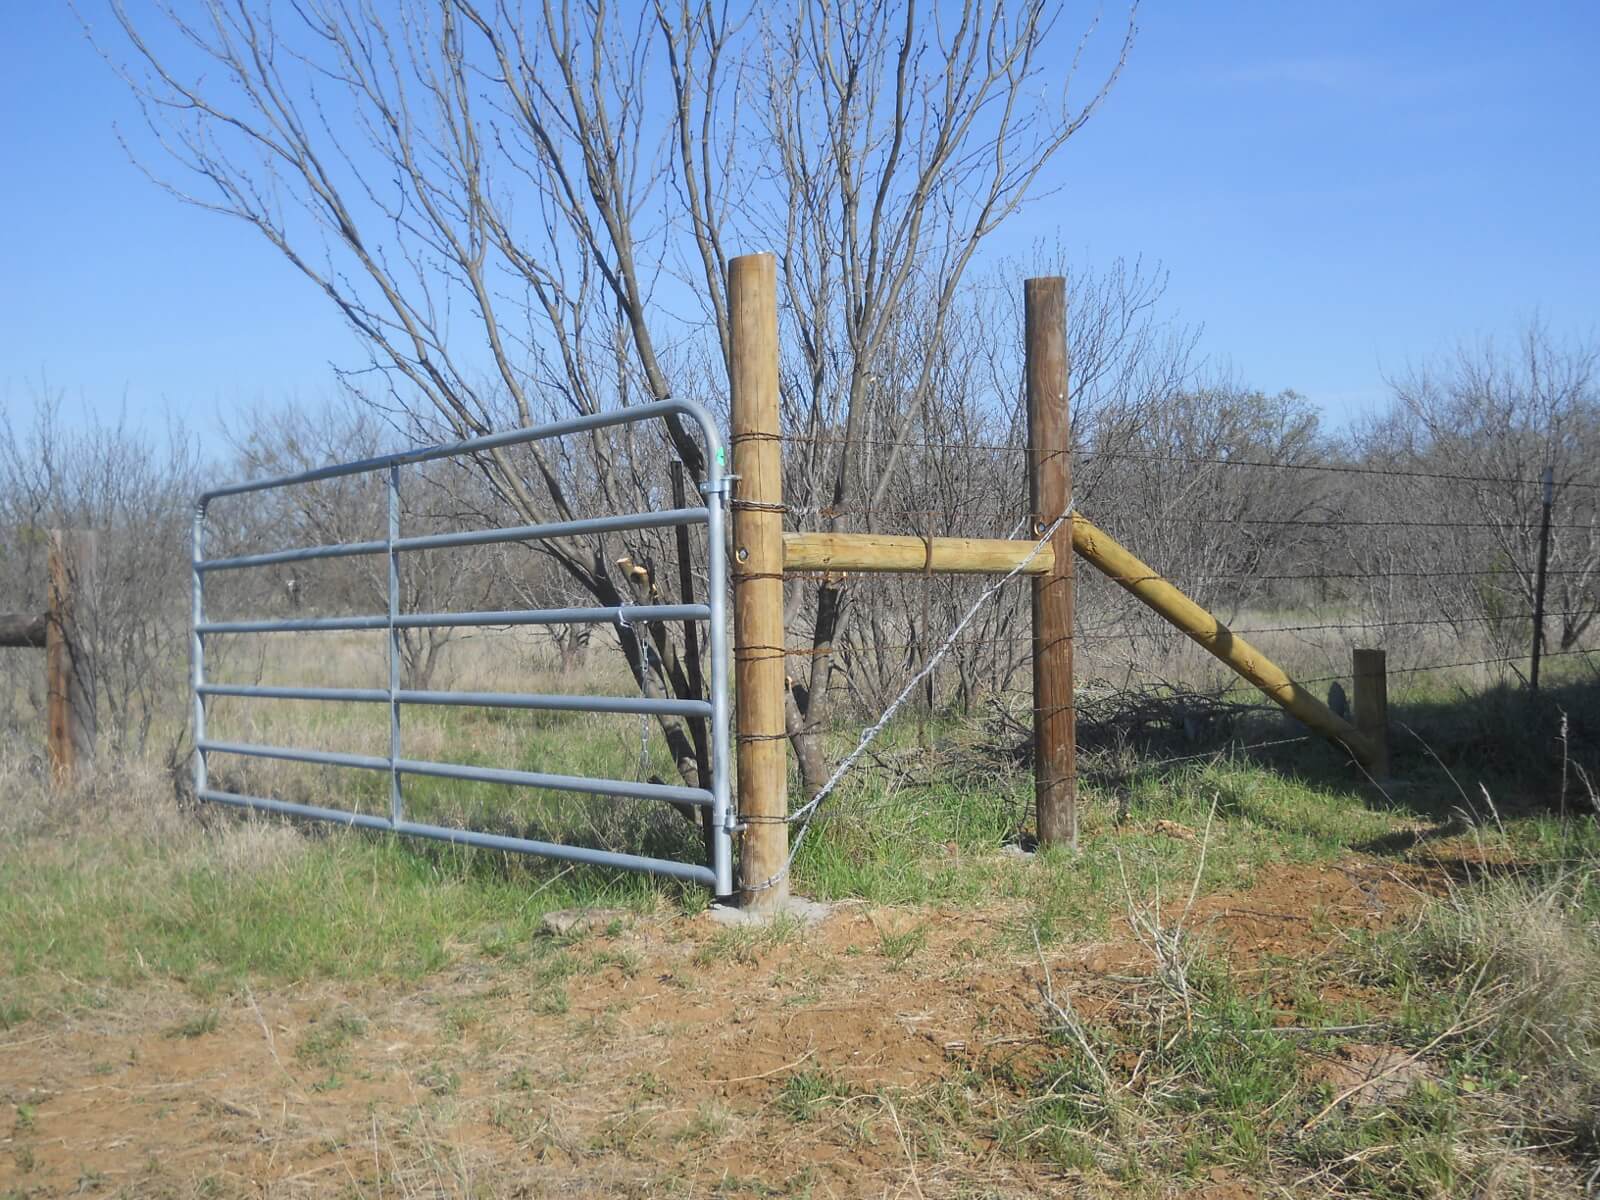
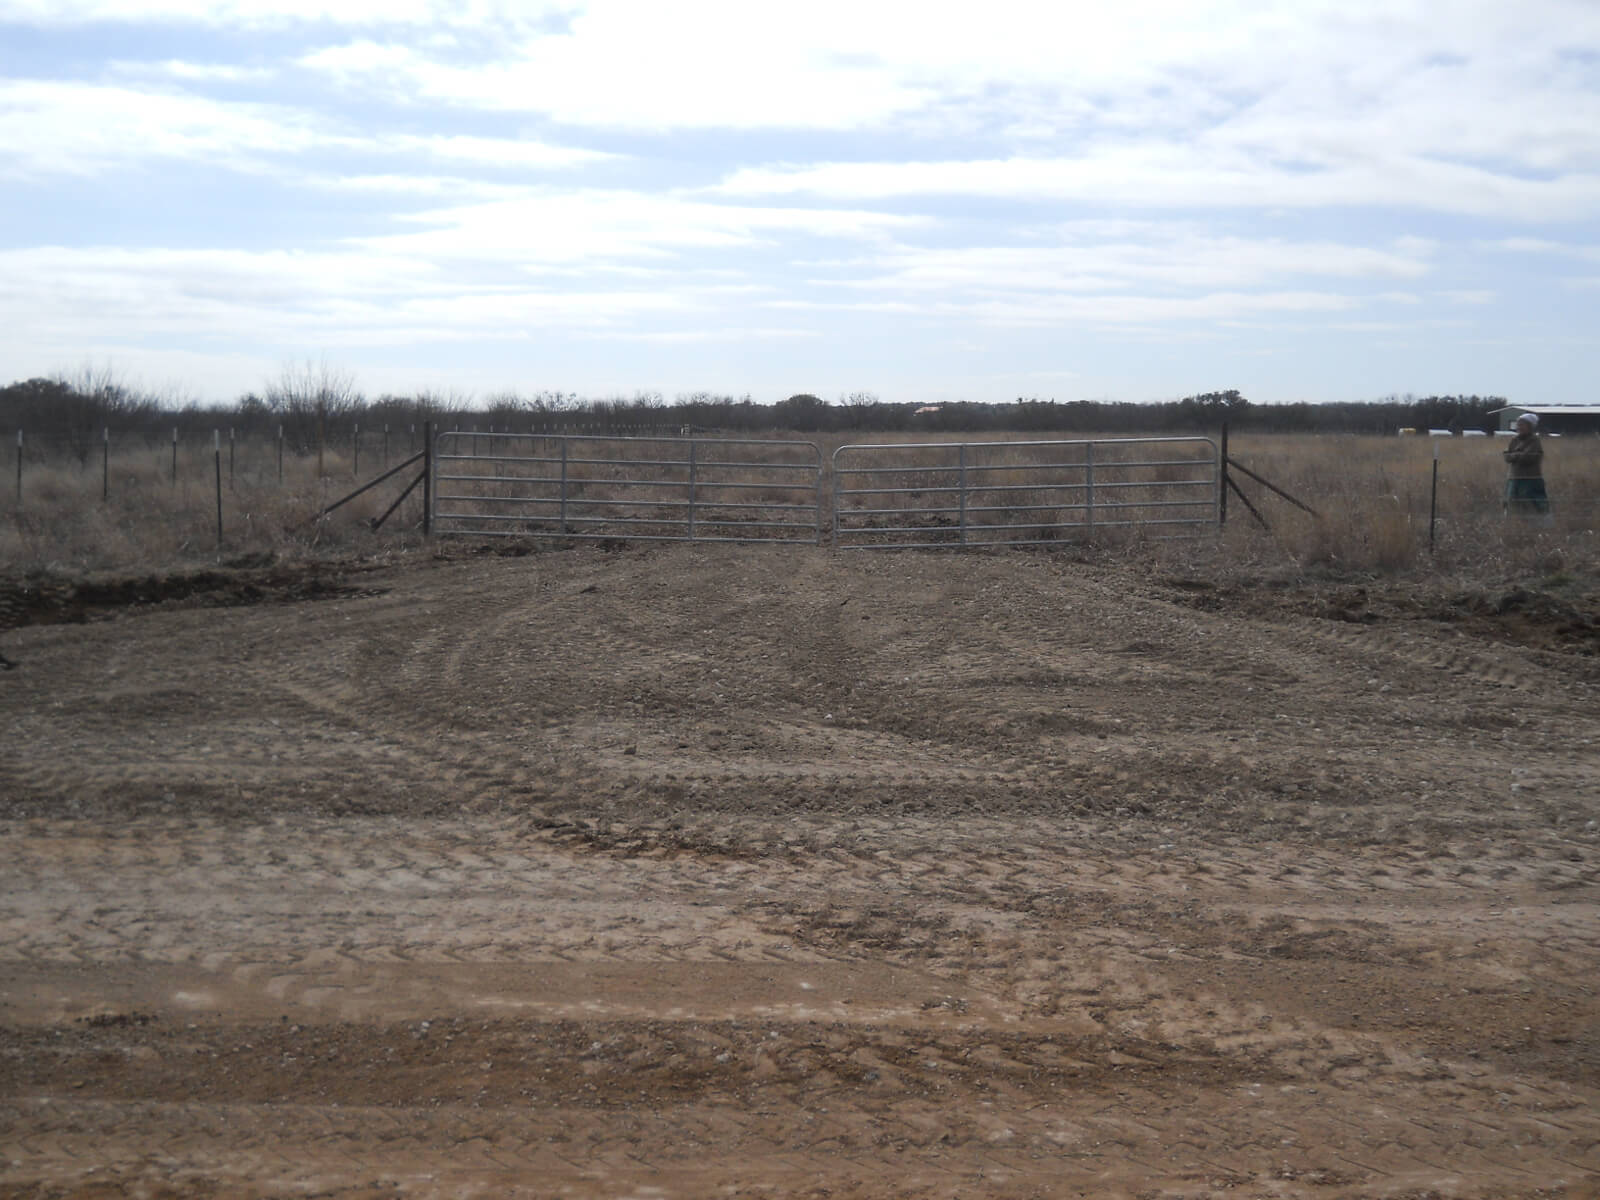
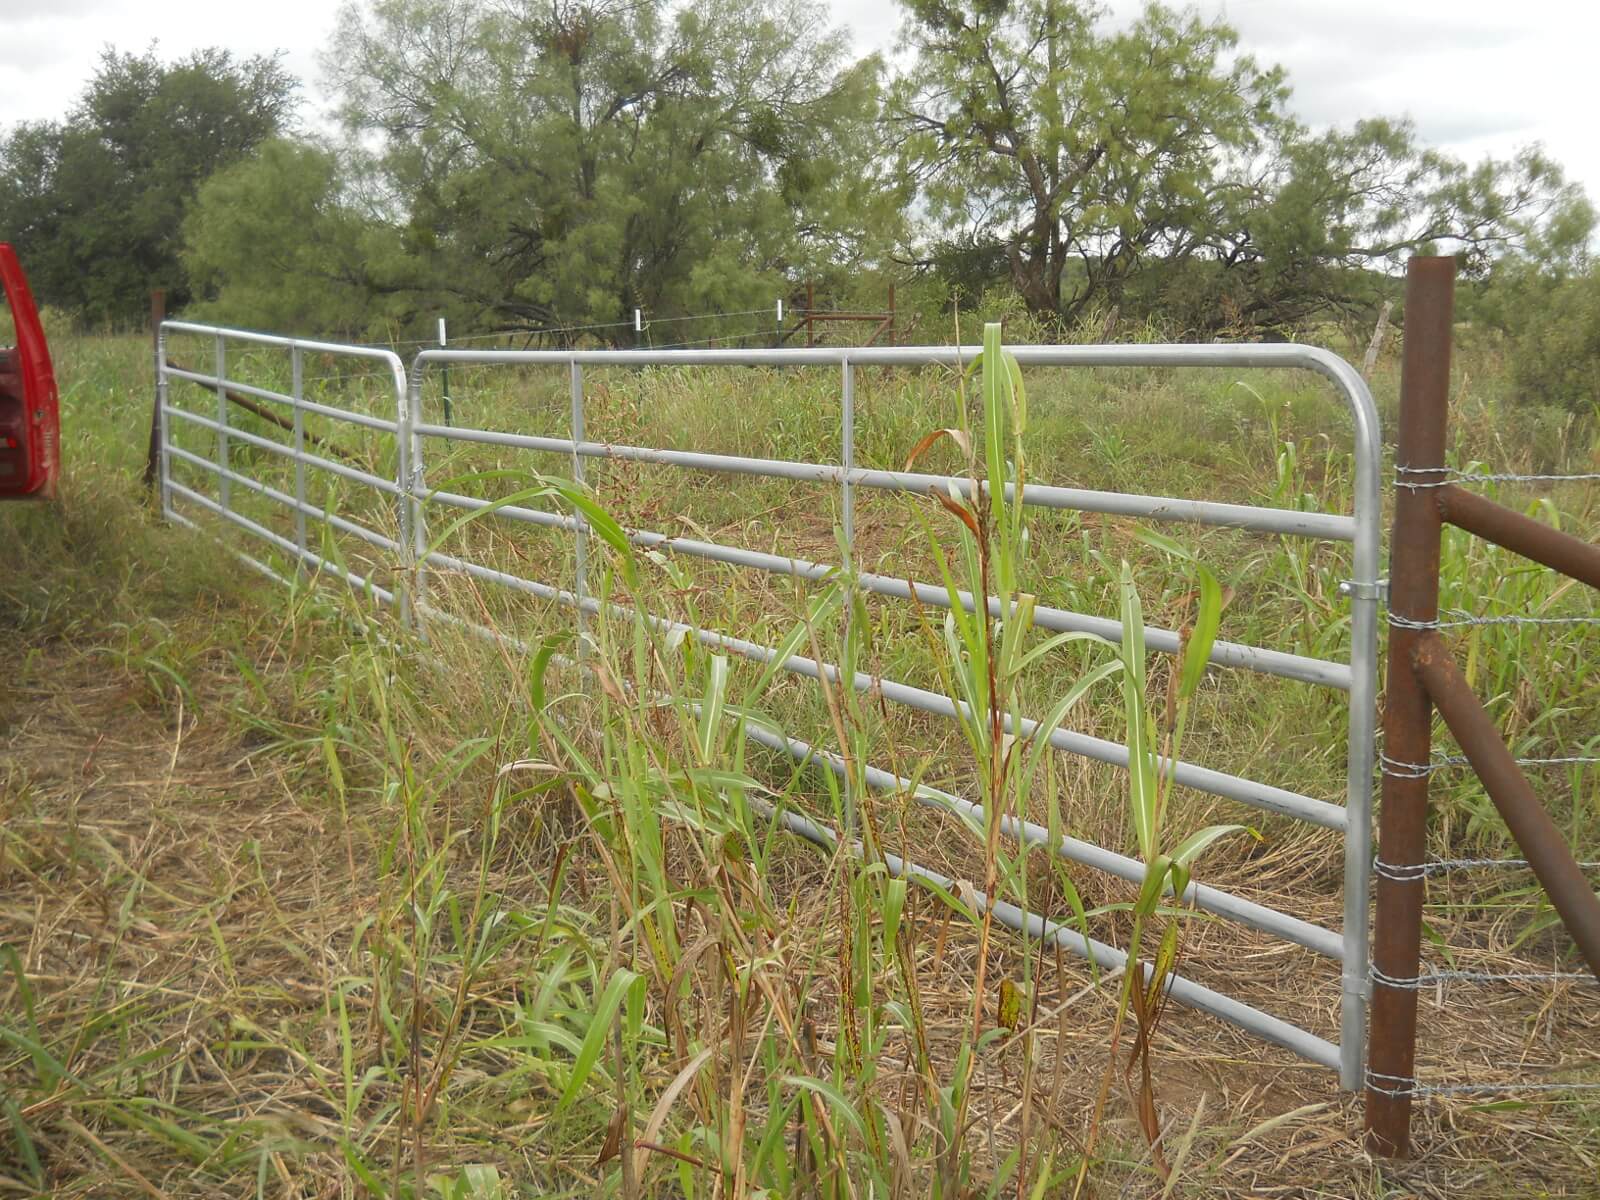
And welded on some gate holders and added the gates:

North Field Gateway Gates

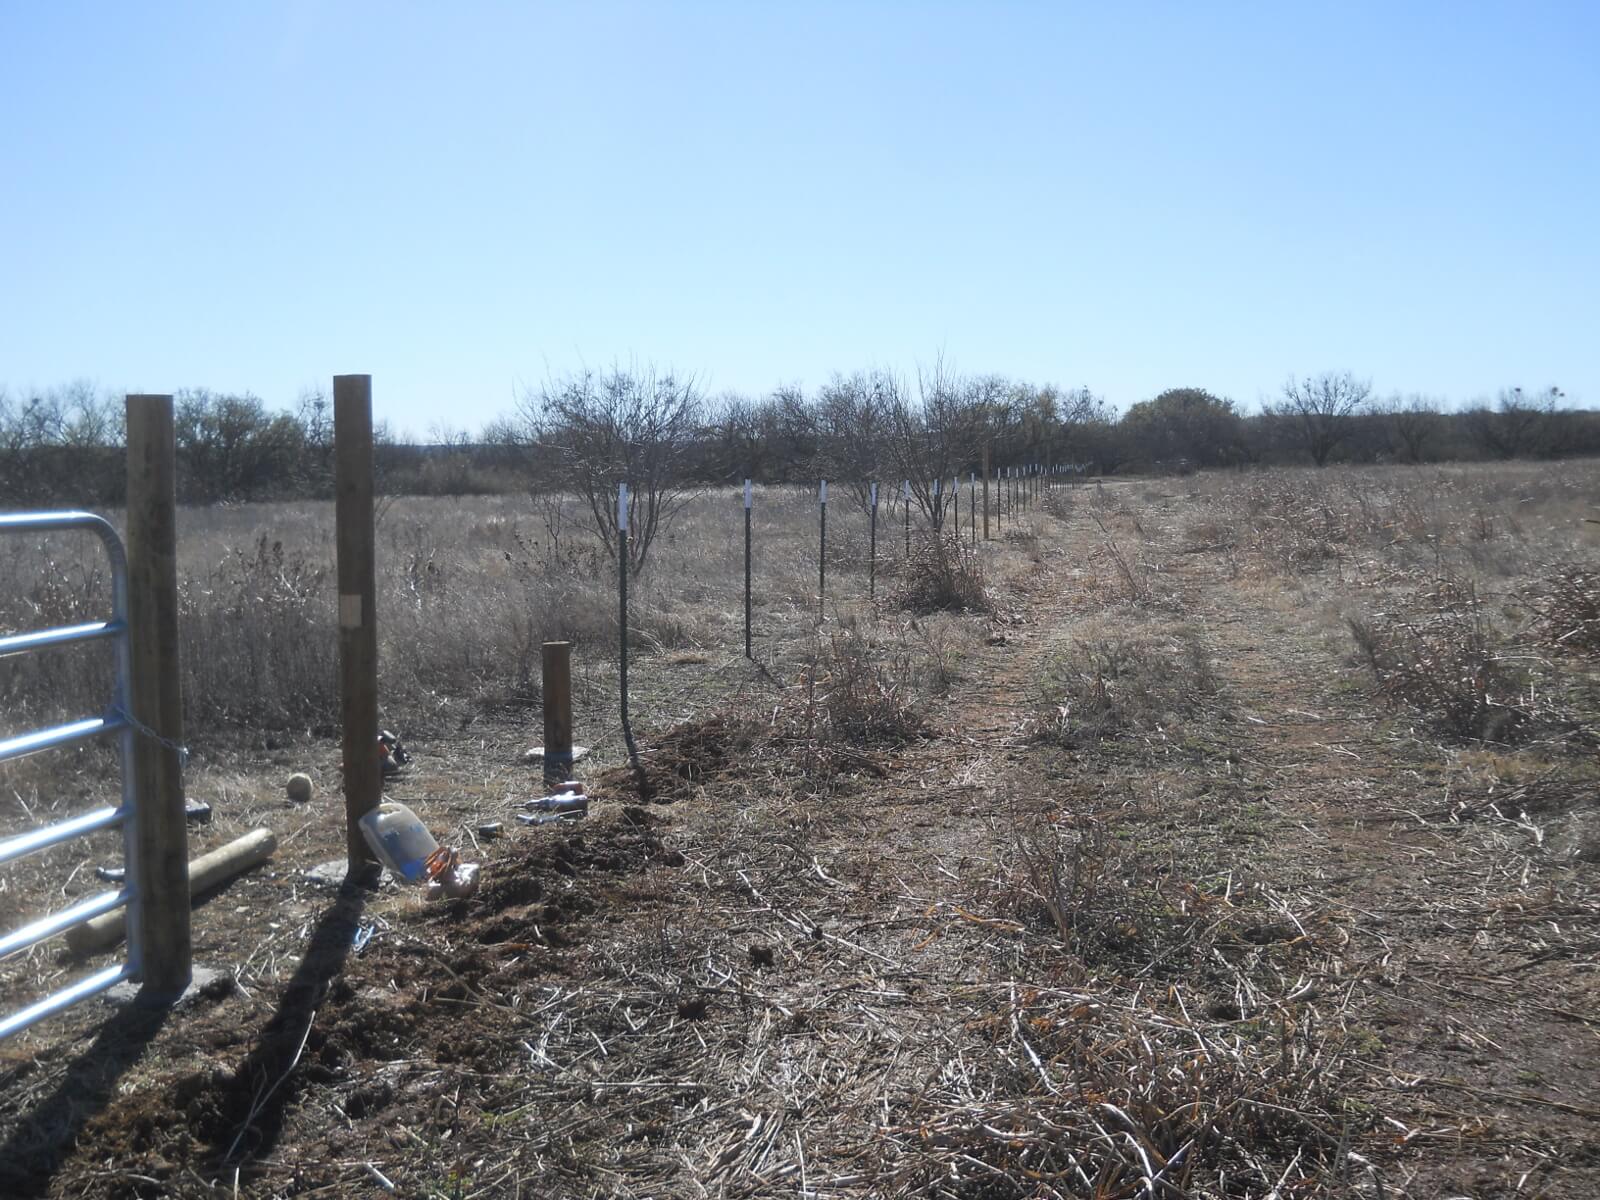
This is where I cut the road’s fence where the gates are, pulled out those cedar posts, and then re-stretched and tied off each side of the fencing along the road:

North Field Gateway Fence Entrance

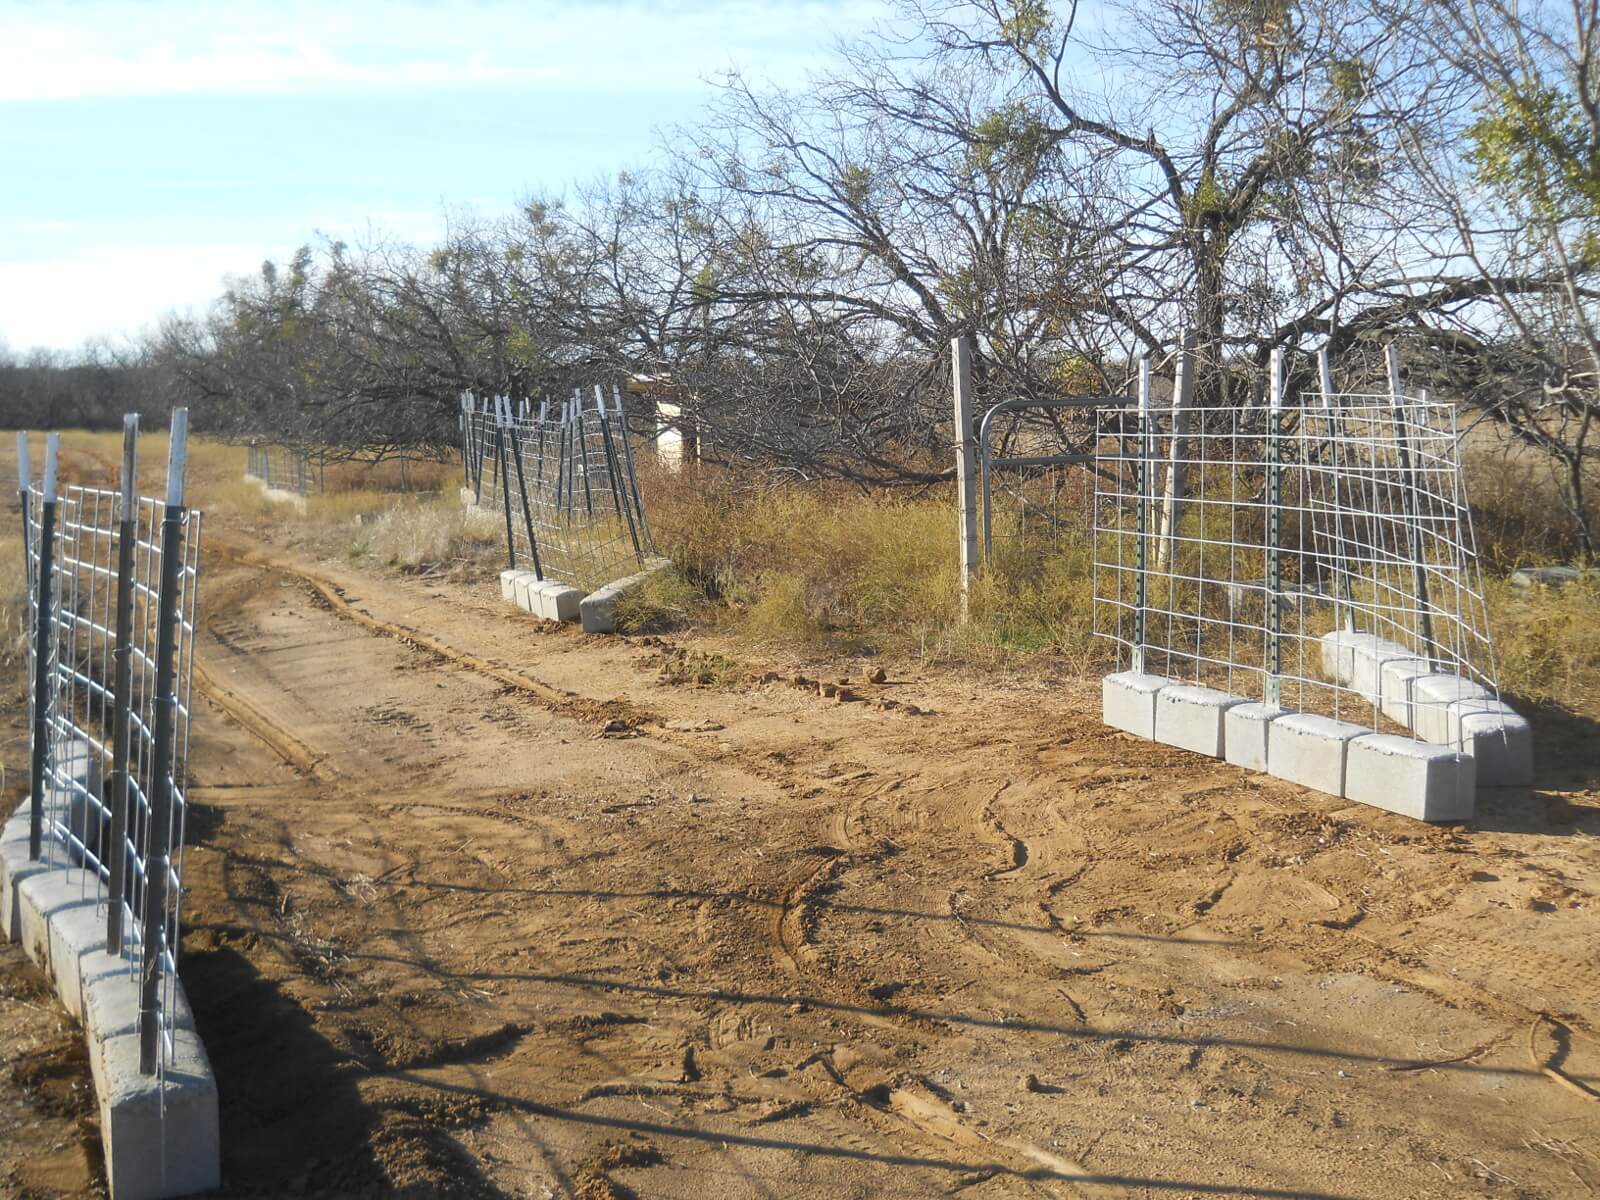
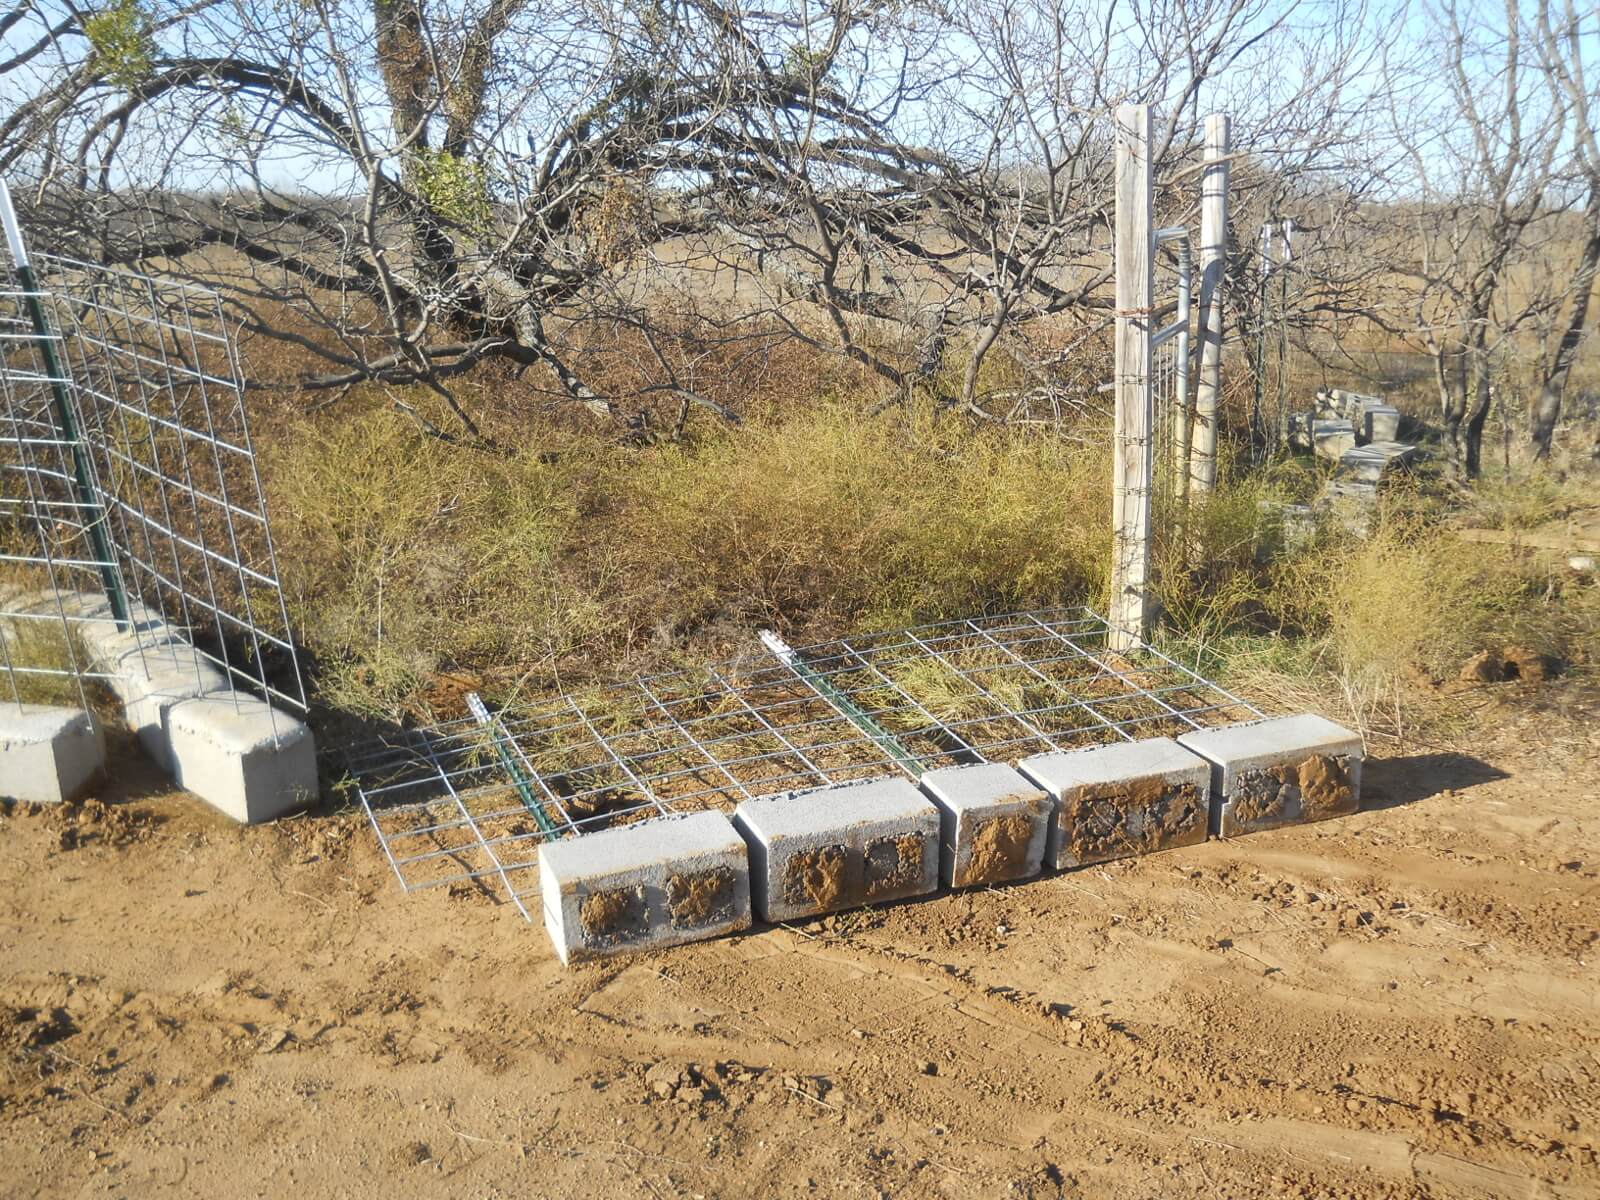
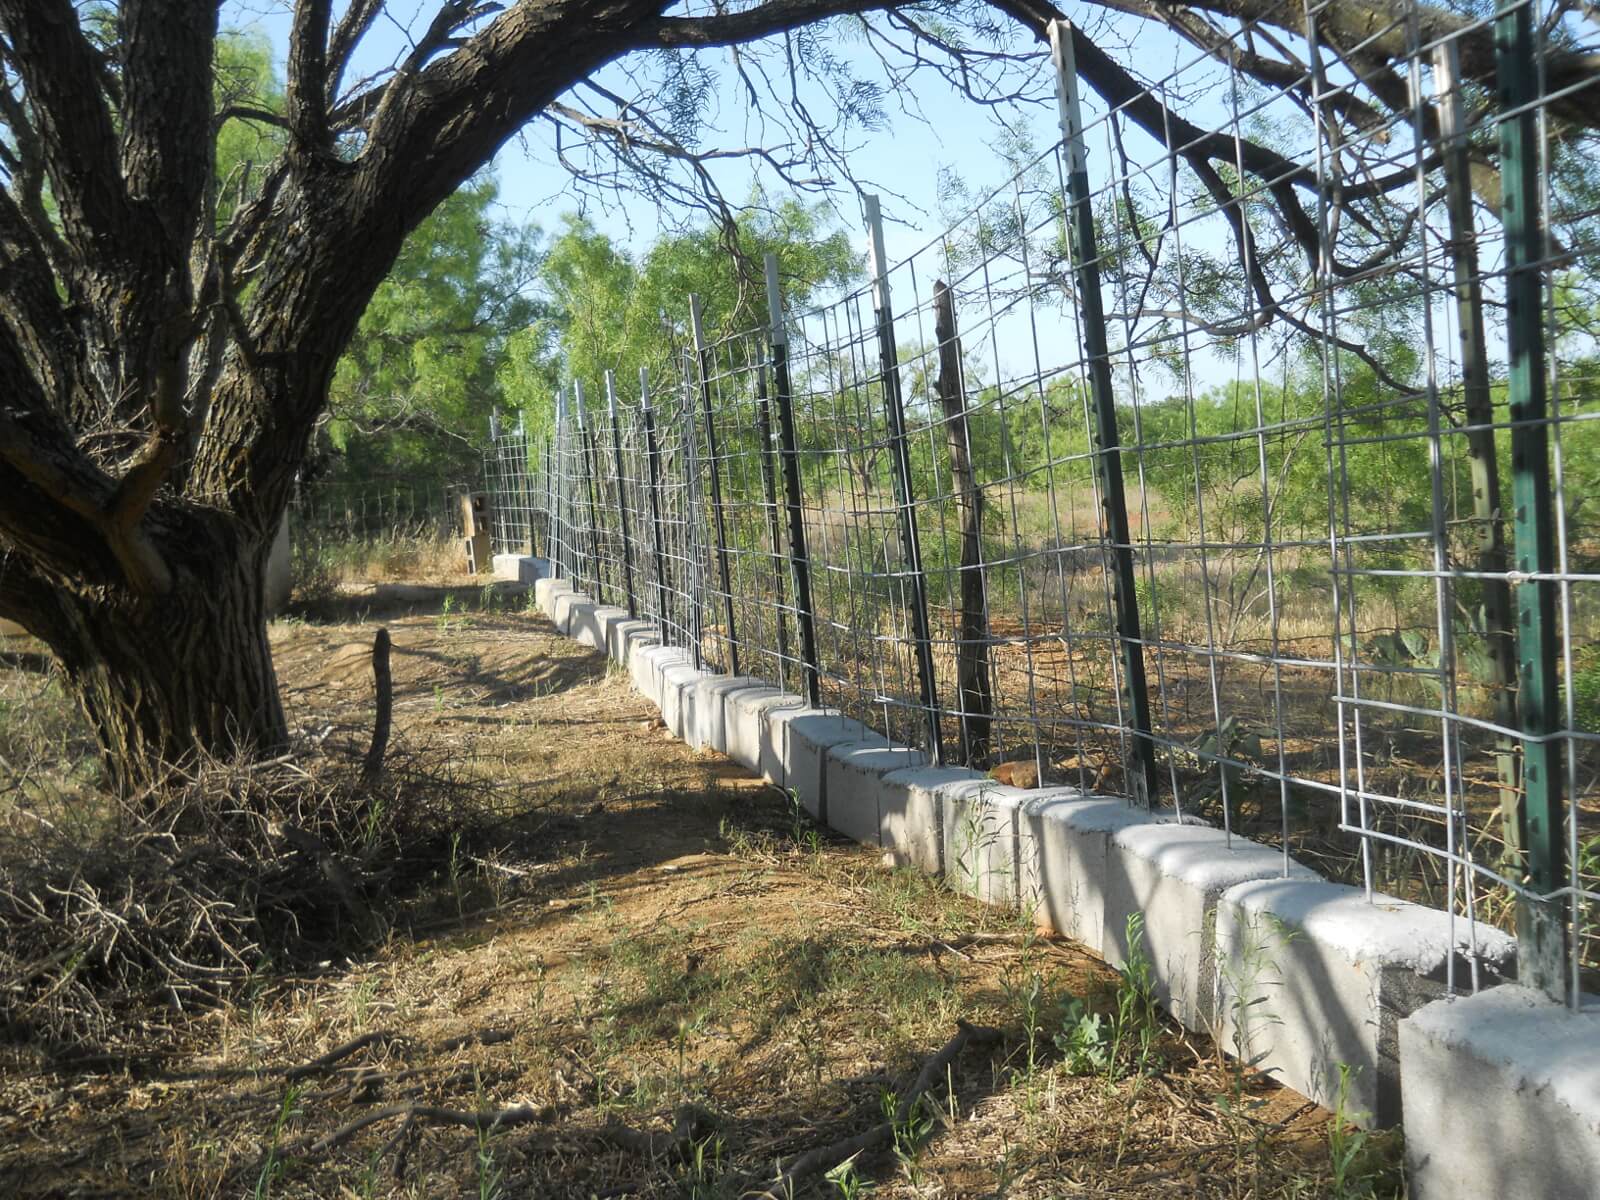
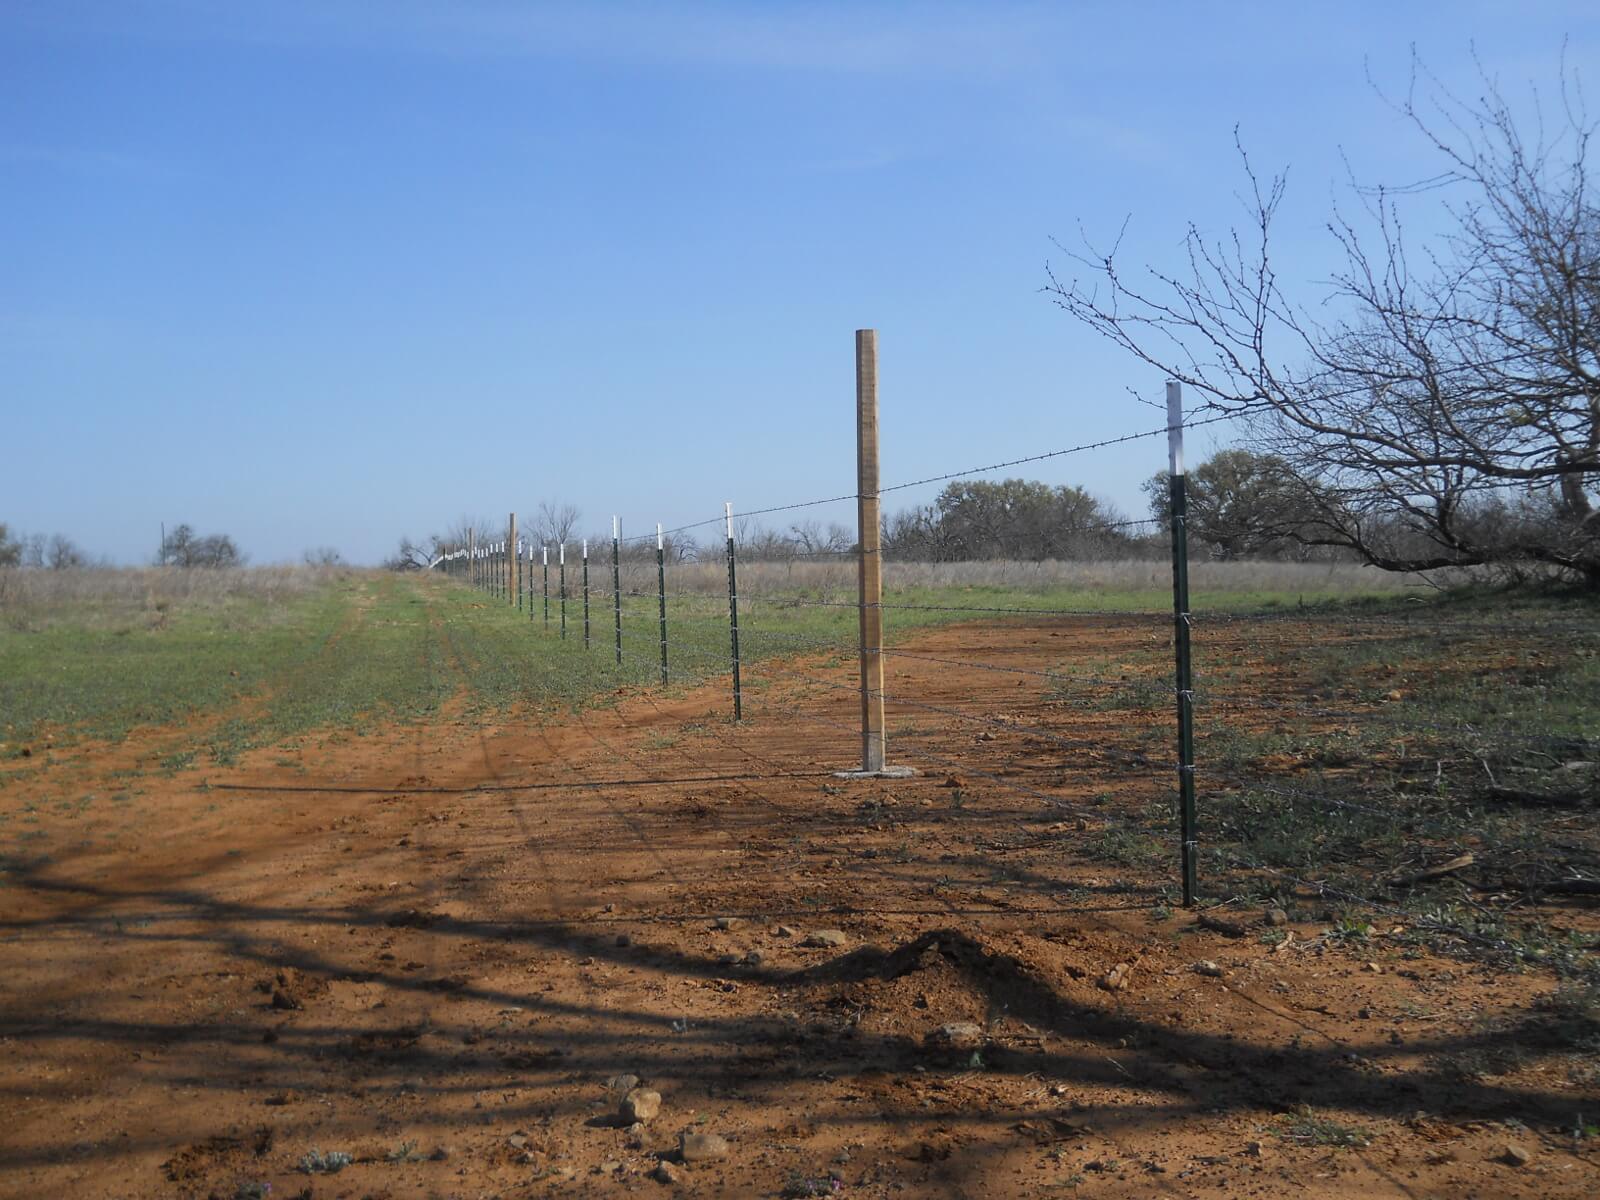
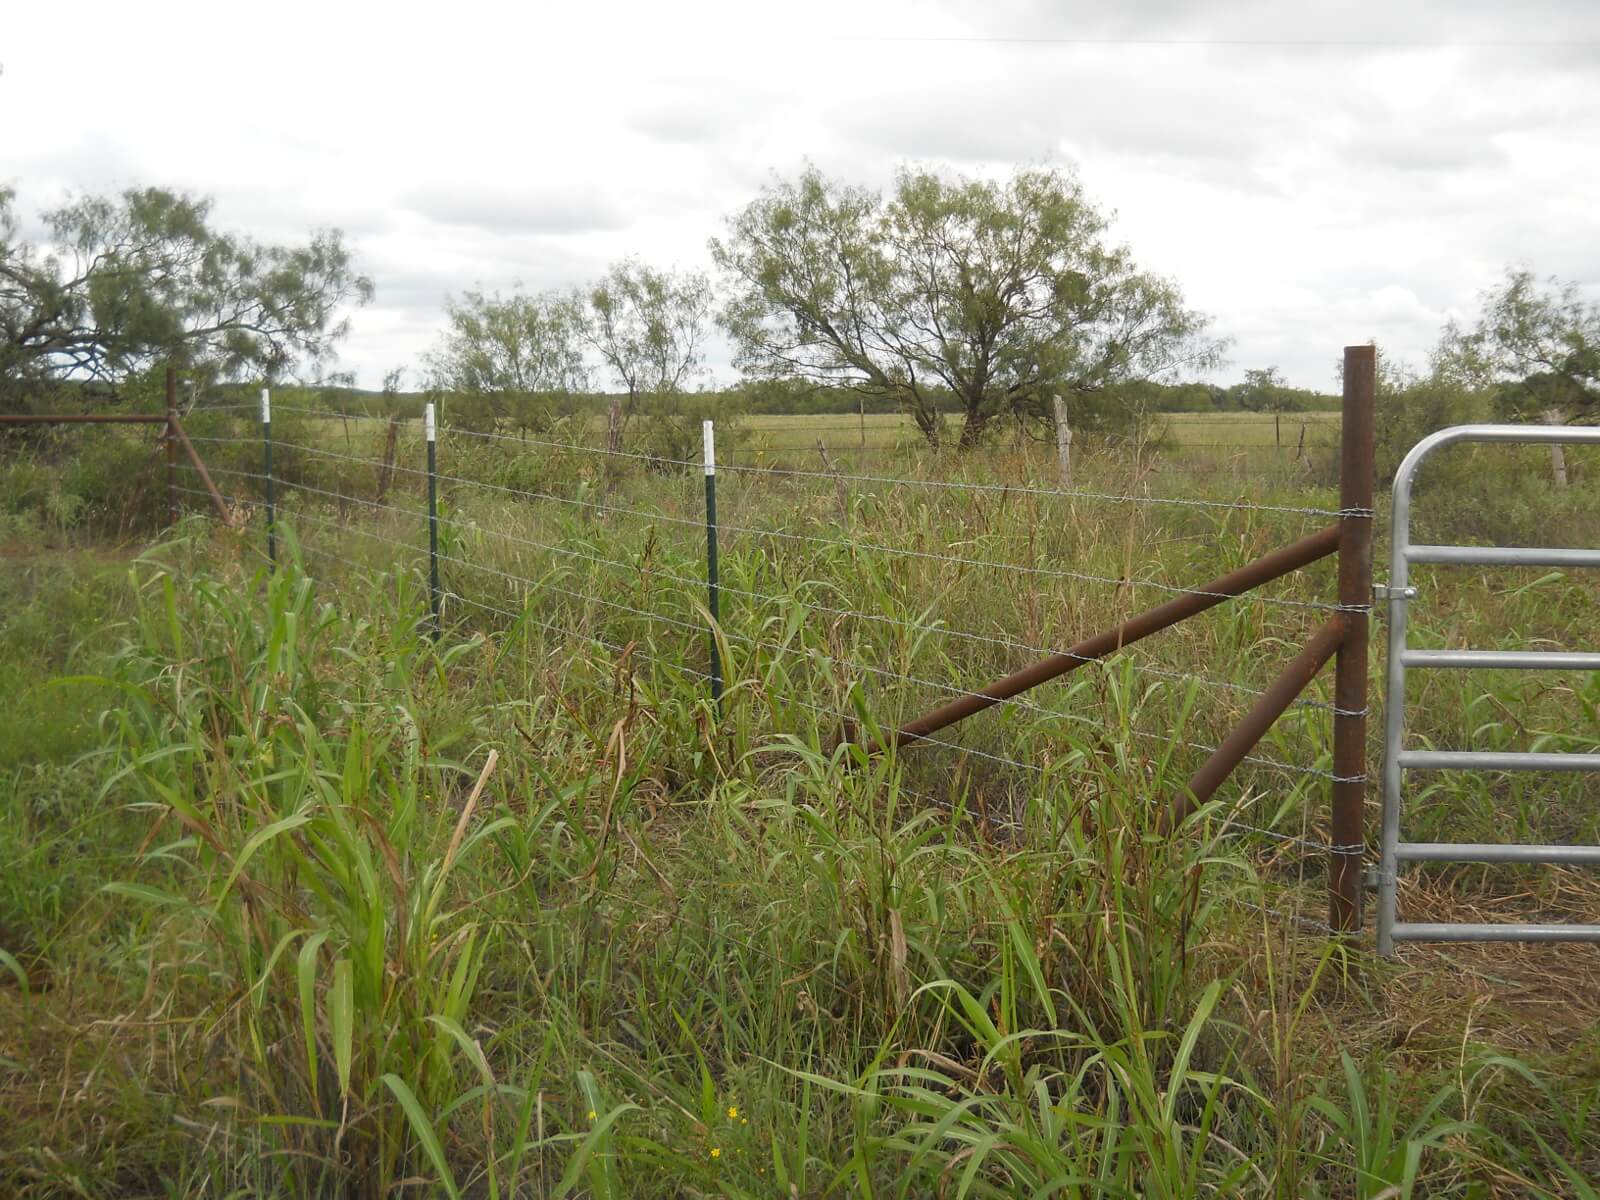
Every 90 feet I concreted in a landscape timber, to try to help give the fence more stability, and then pounded in t-posts every 10 feet in between.

And then pulled the wires from bottom to top. For each wire after the first, I would roll out the next one, hang it on the previous wire, pull it tight with the come-along, and then go down the line a section at a time pulling the hung wire off the wire it was sitting on. Then, I tied off the pulled end, released the come-along, went to the middle of the stretched wire, tied it to the 2 middle t-posts, went half way in between each of those, did the same, and repeated with each half until all the t-posts were connected. I figured this would help keep even tension all along the wire.

And I added the middle gate.

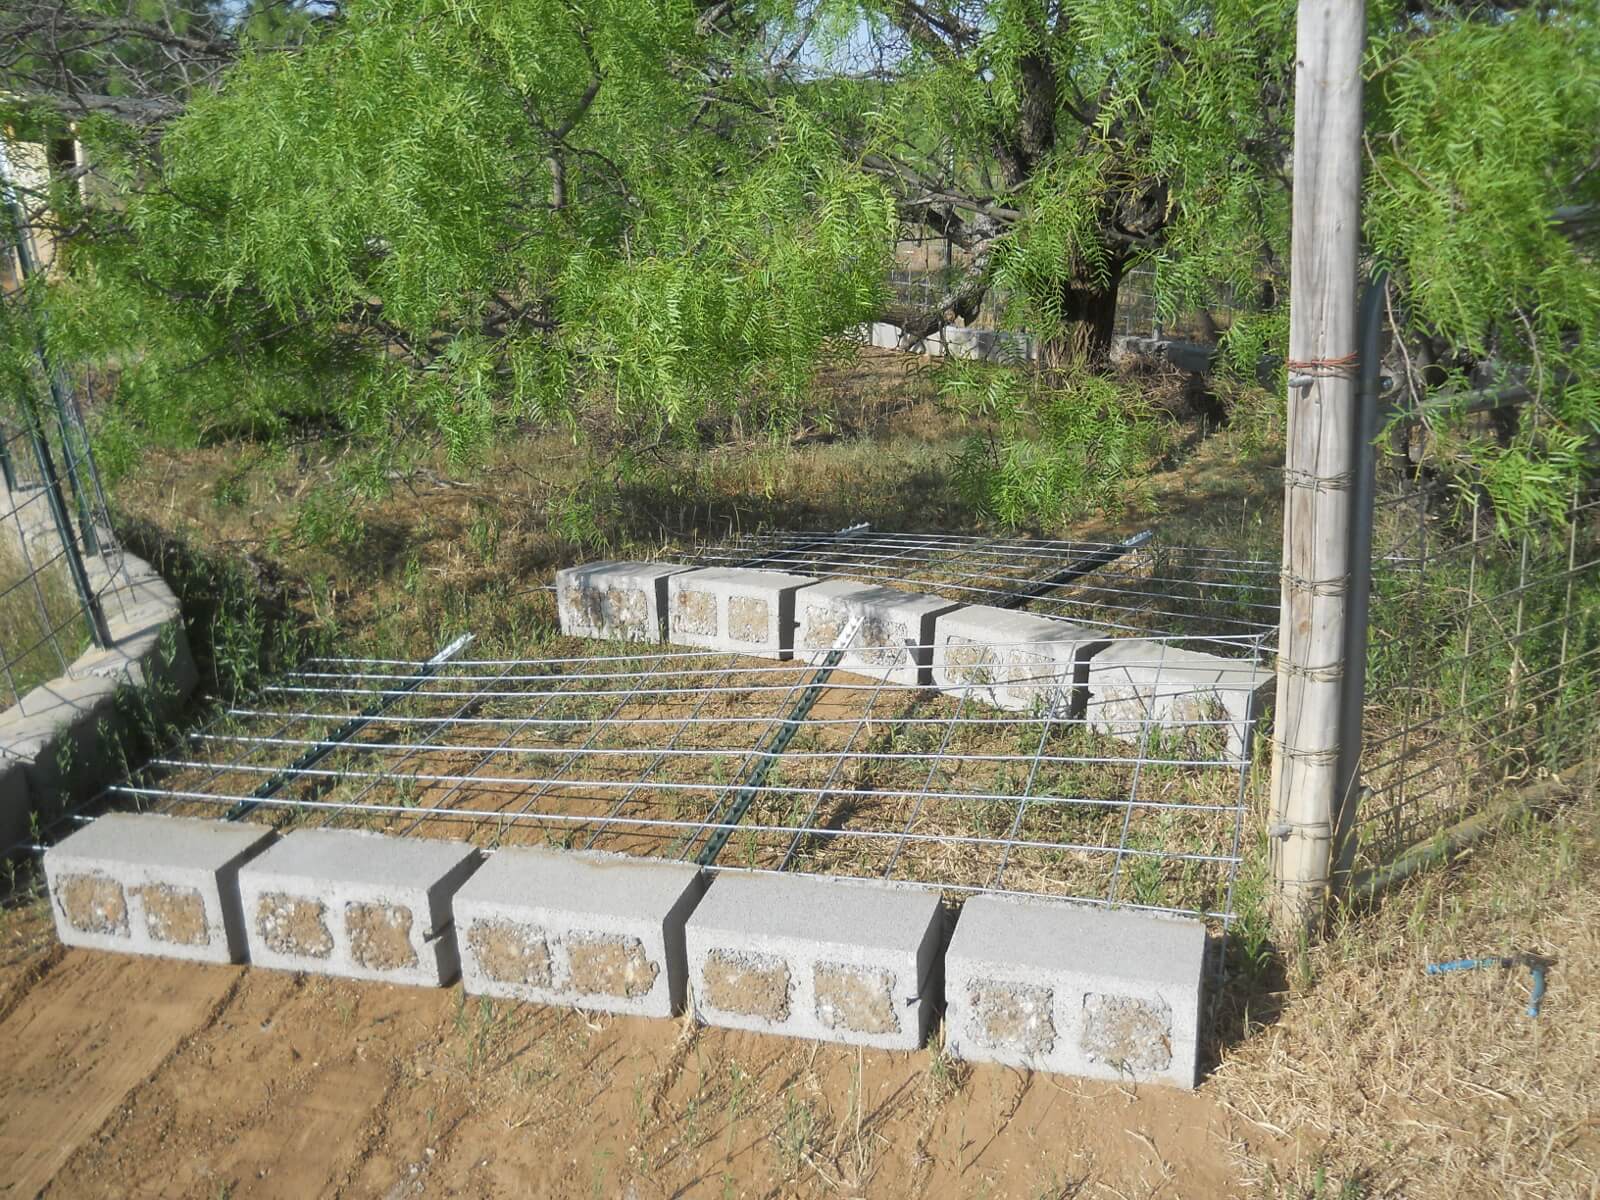
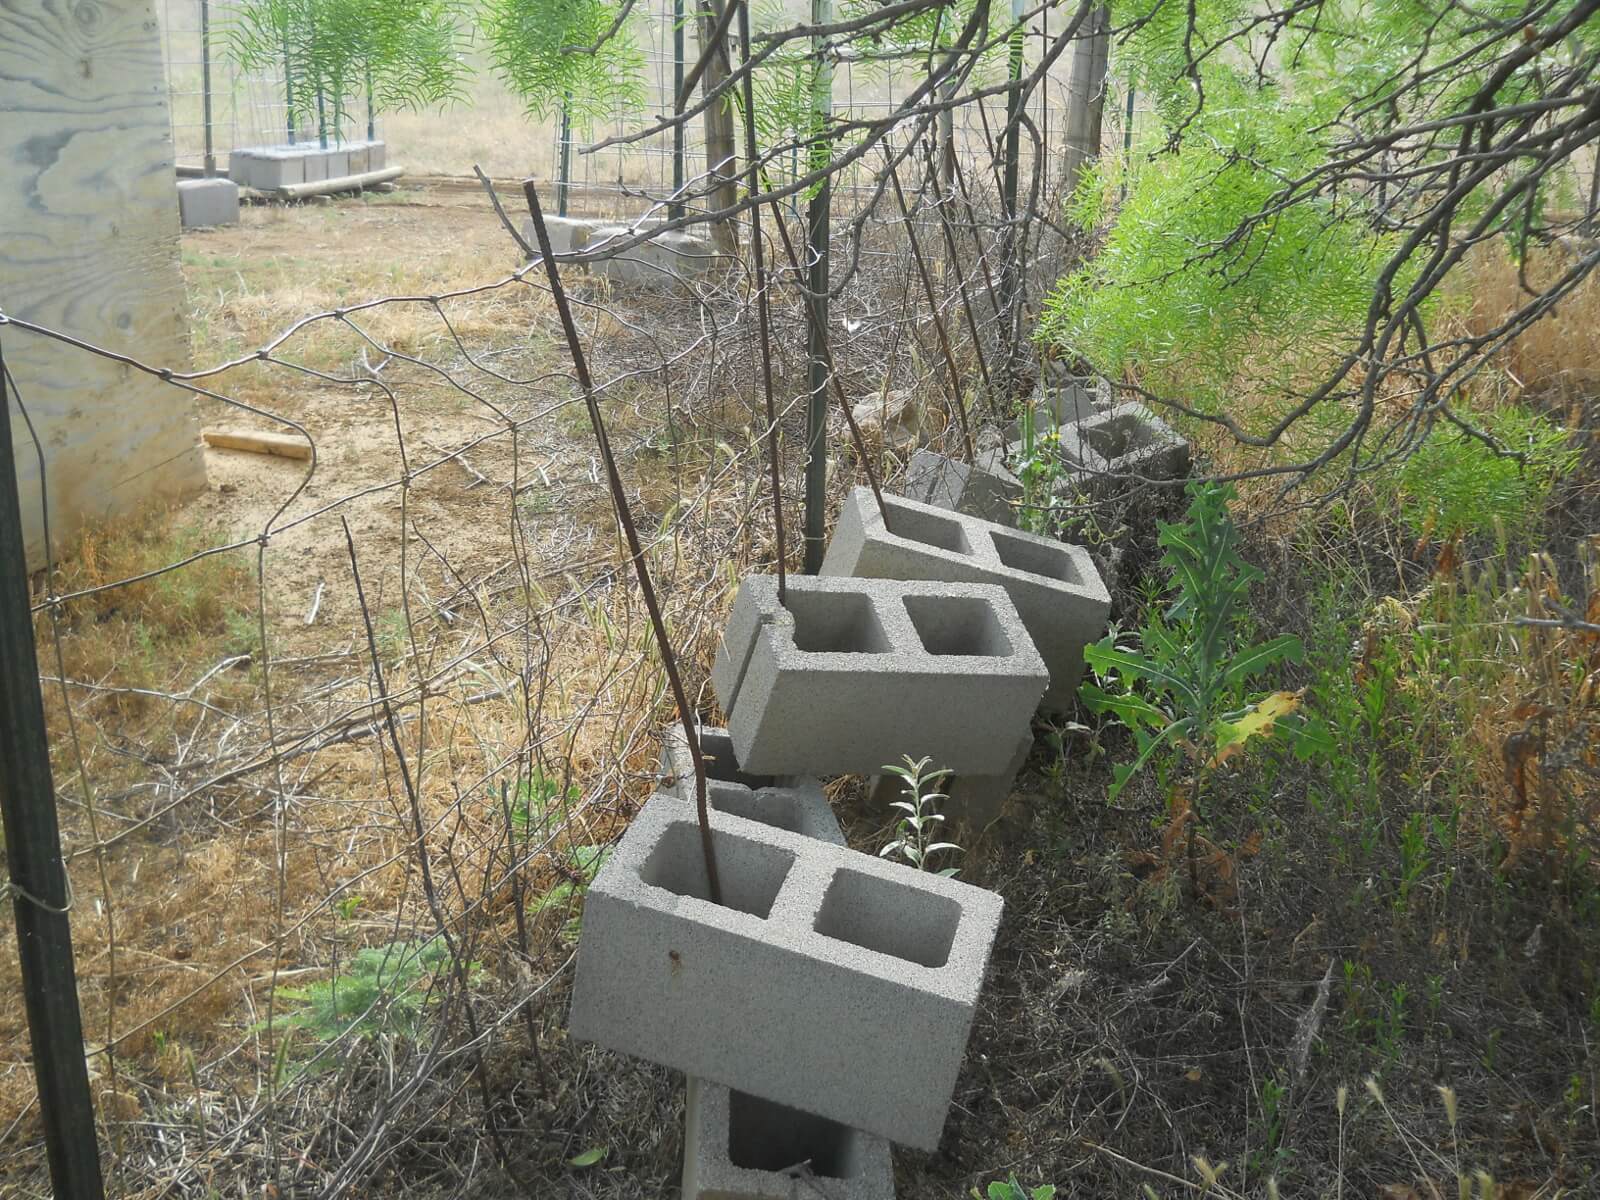
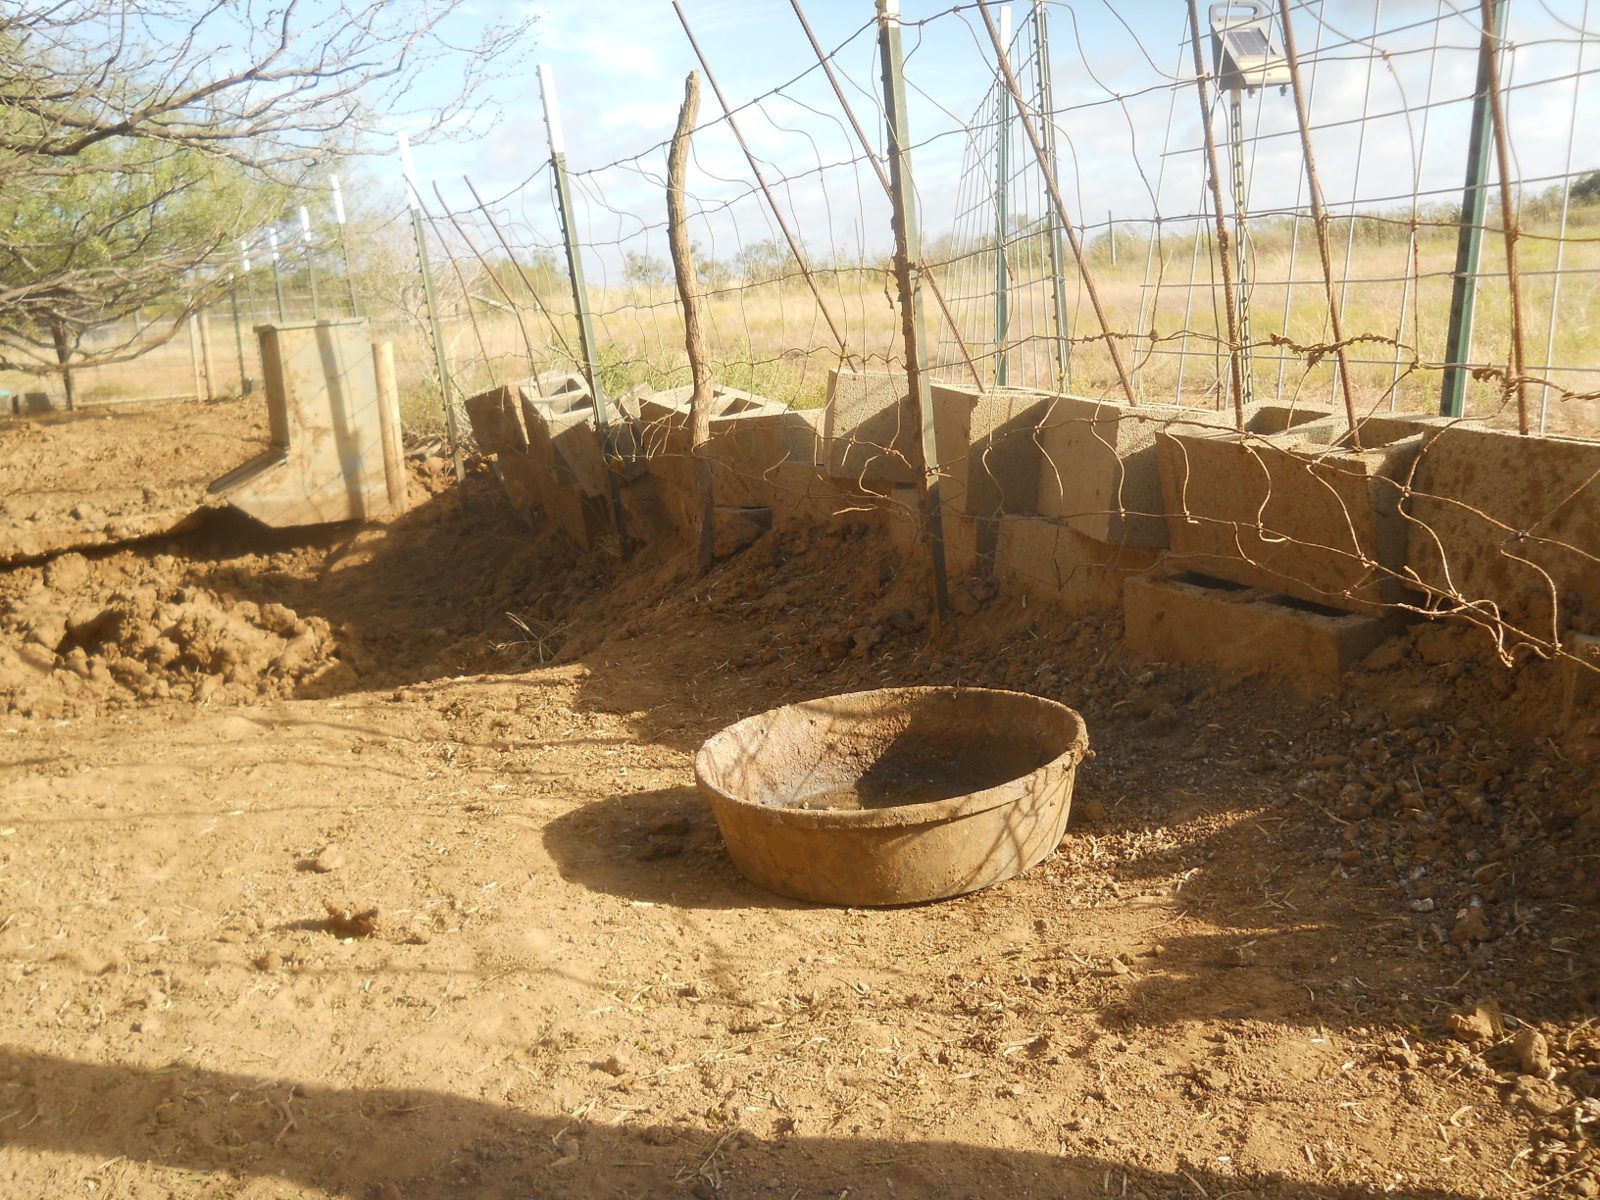
Sadly though, I ran into some real trouble with a set of end posts once the wire was pulled, especially because on several of the wood posts I ran into rock while digging out the holes. The whole structure started leaning badly:

North Field Leaning Fence Post System

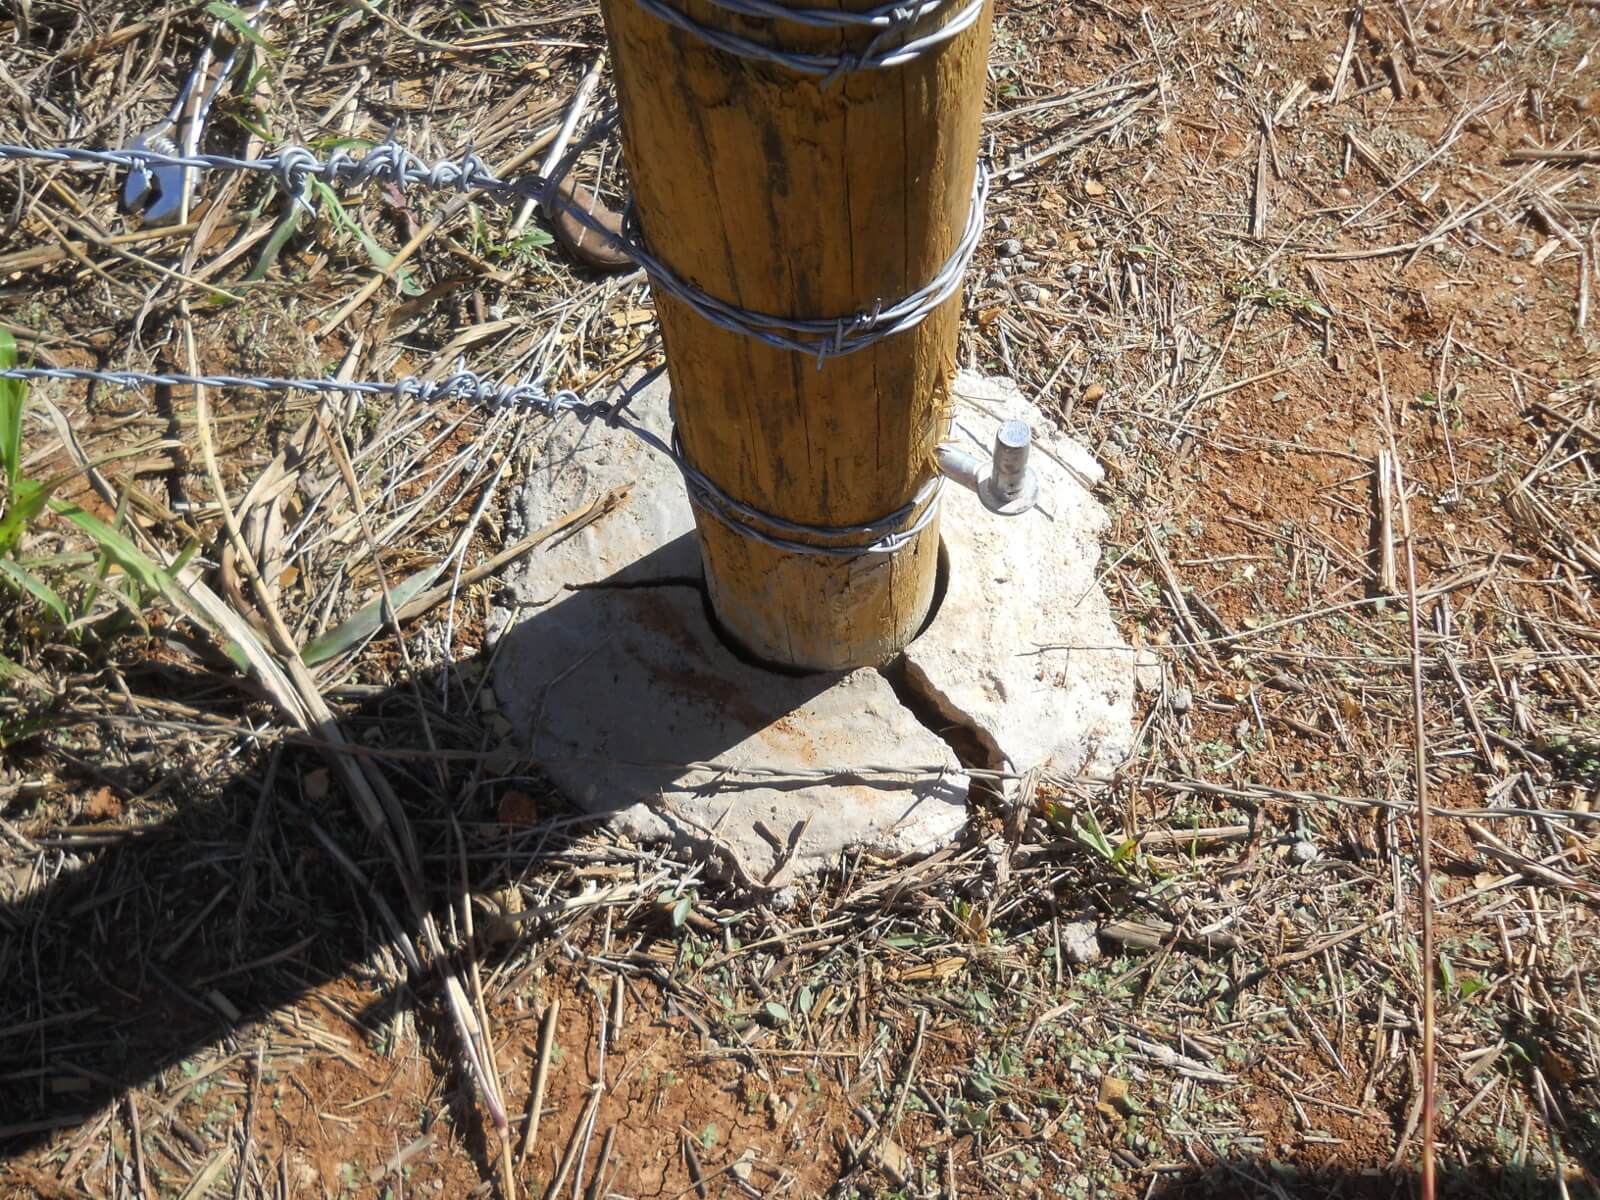
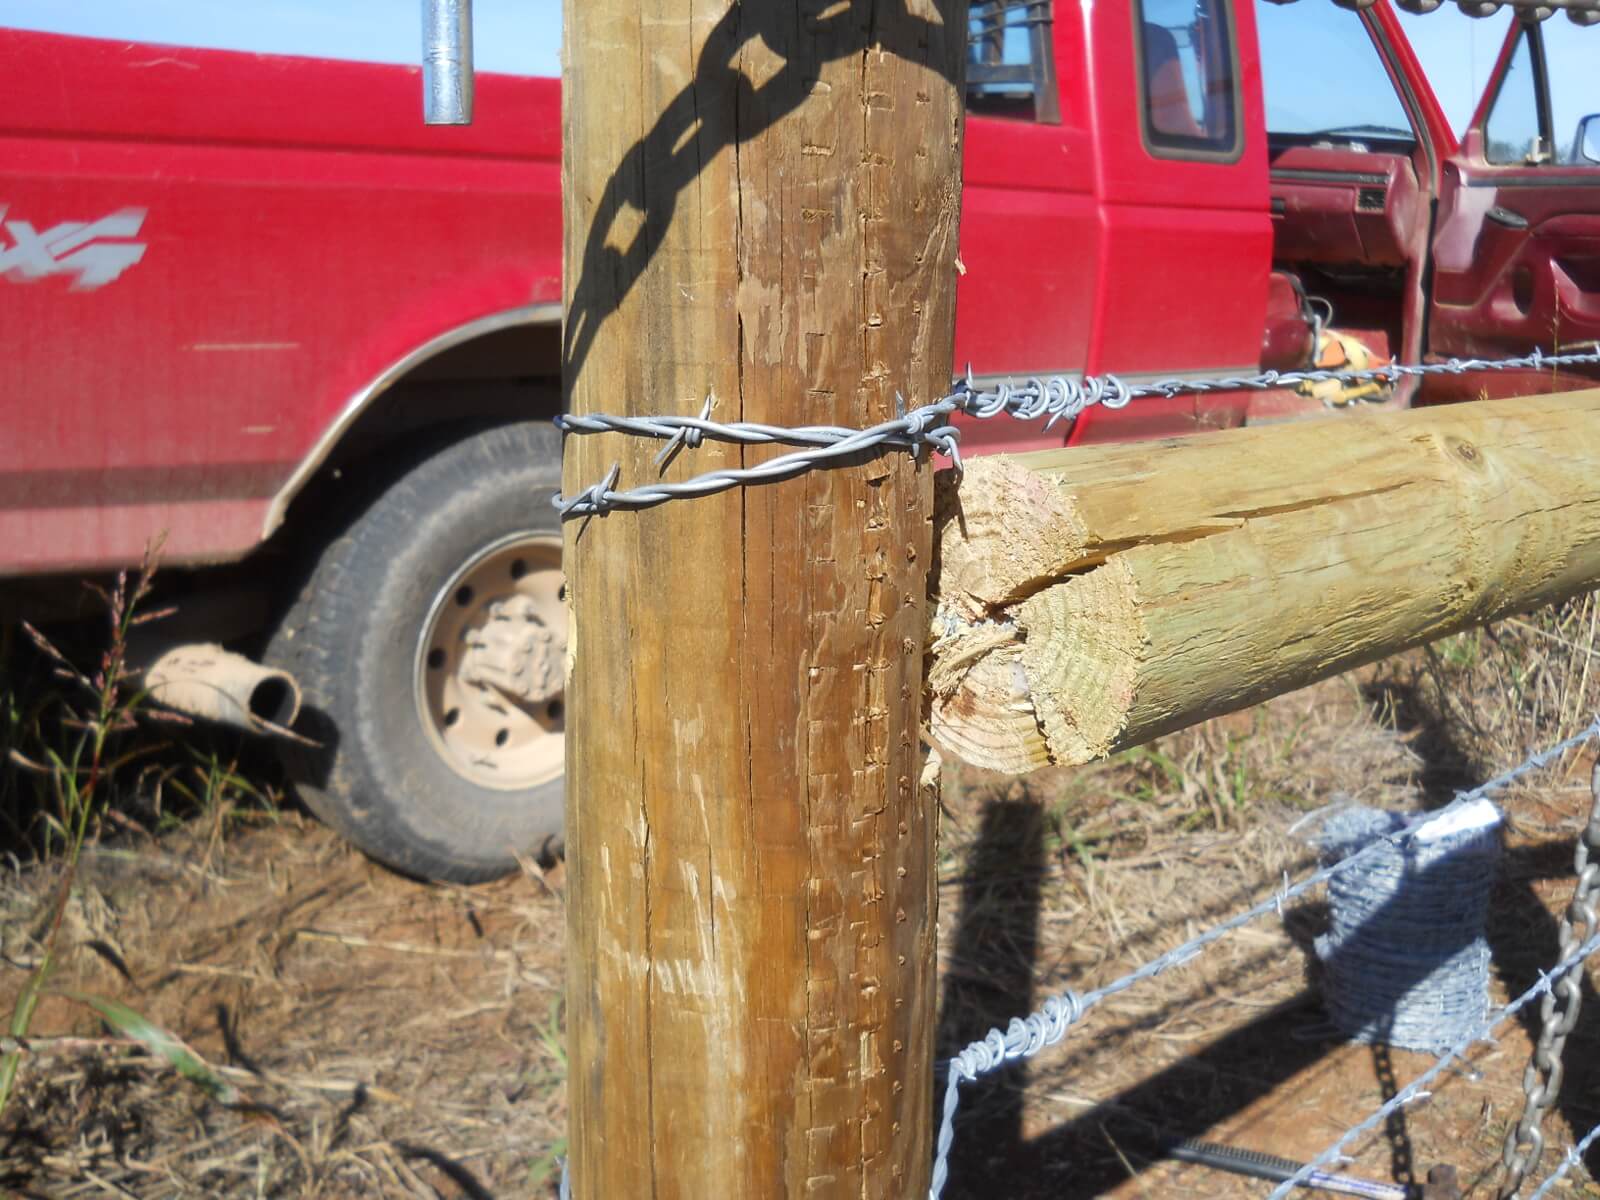
Eventually, the back post’s concrete broke, it started to torque, and the cross piece started sticking out:

Fence Post Broken Concrete
Fence Post Broken Cross Piece

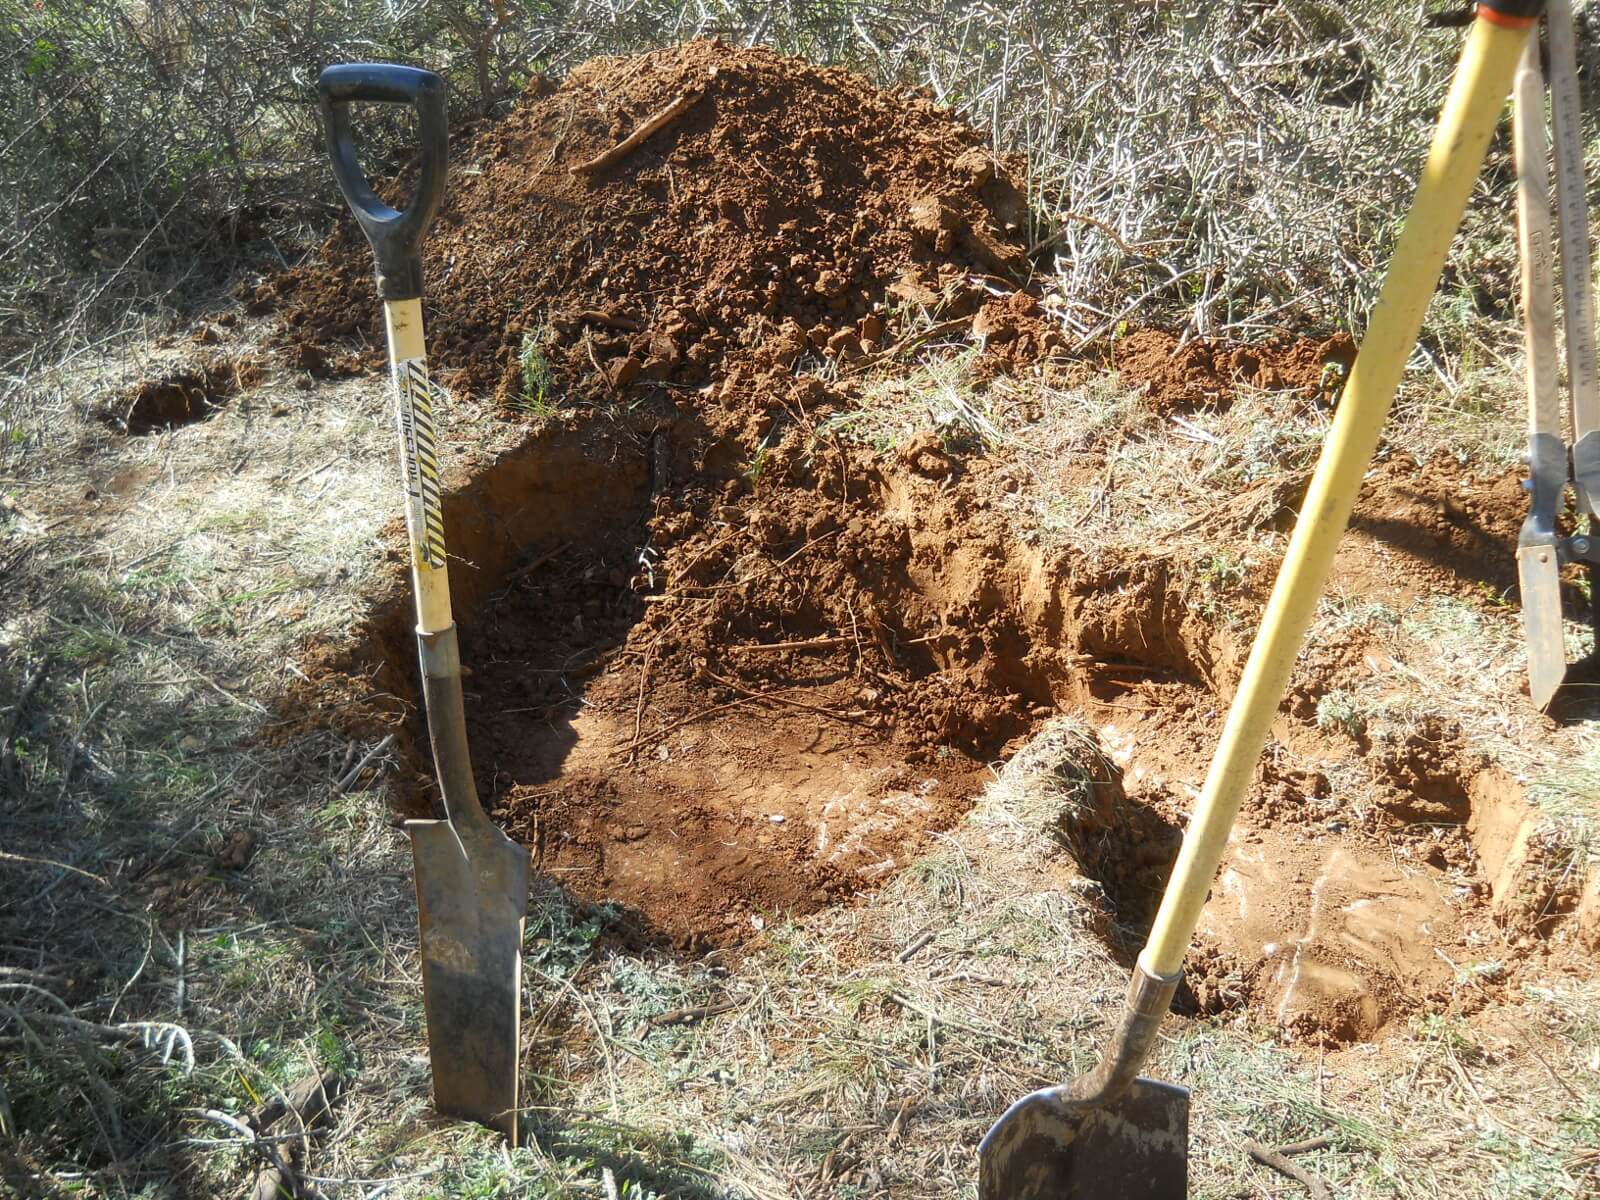
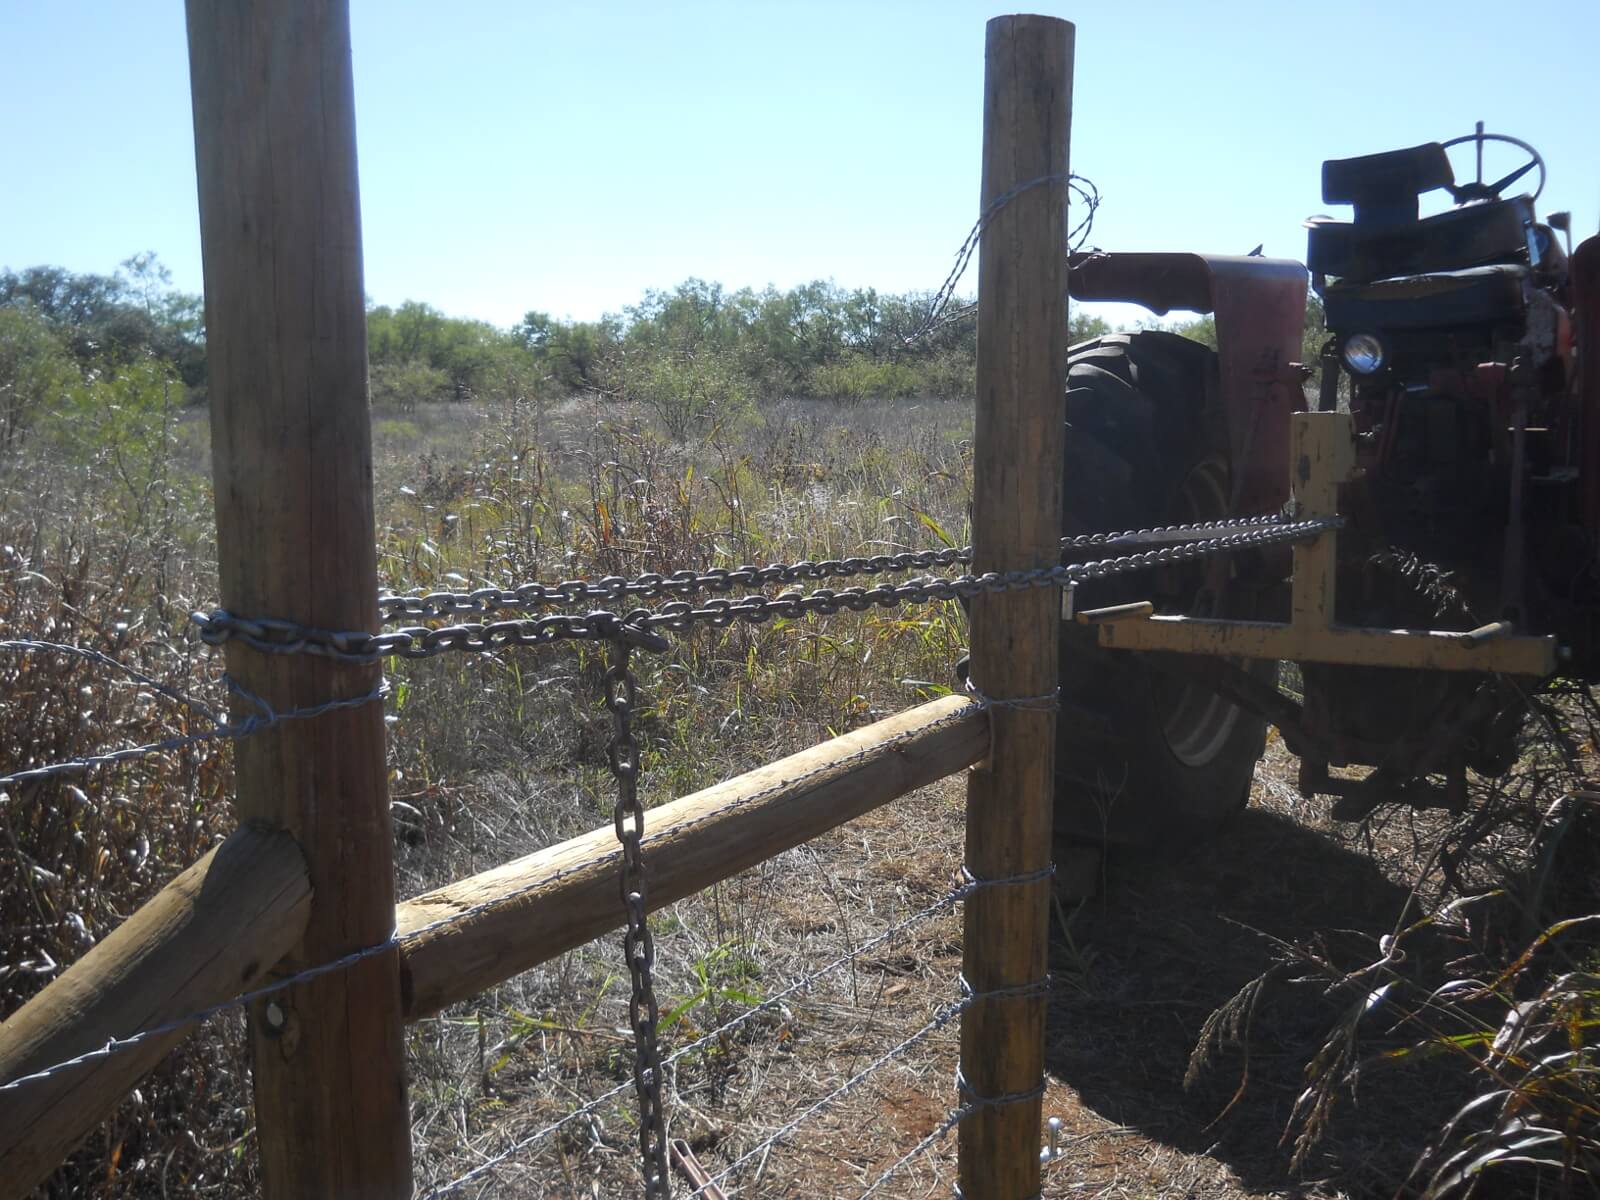
Arg. I thought I might have to re-do that whole post system and re-pull each wire from scratch, but with the help of the tractor pulling the fence straight…

Tractor Pulling the Fence Straight

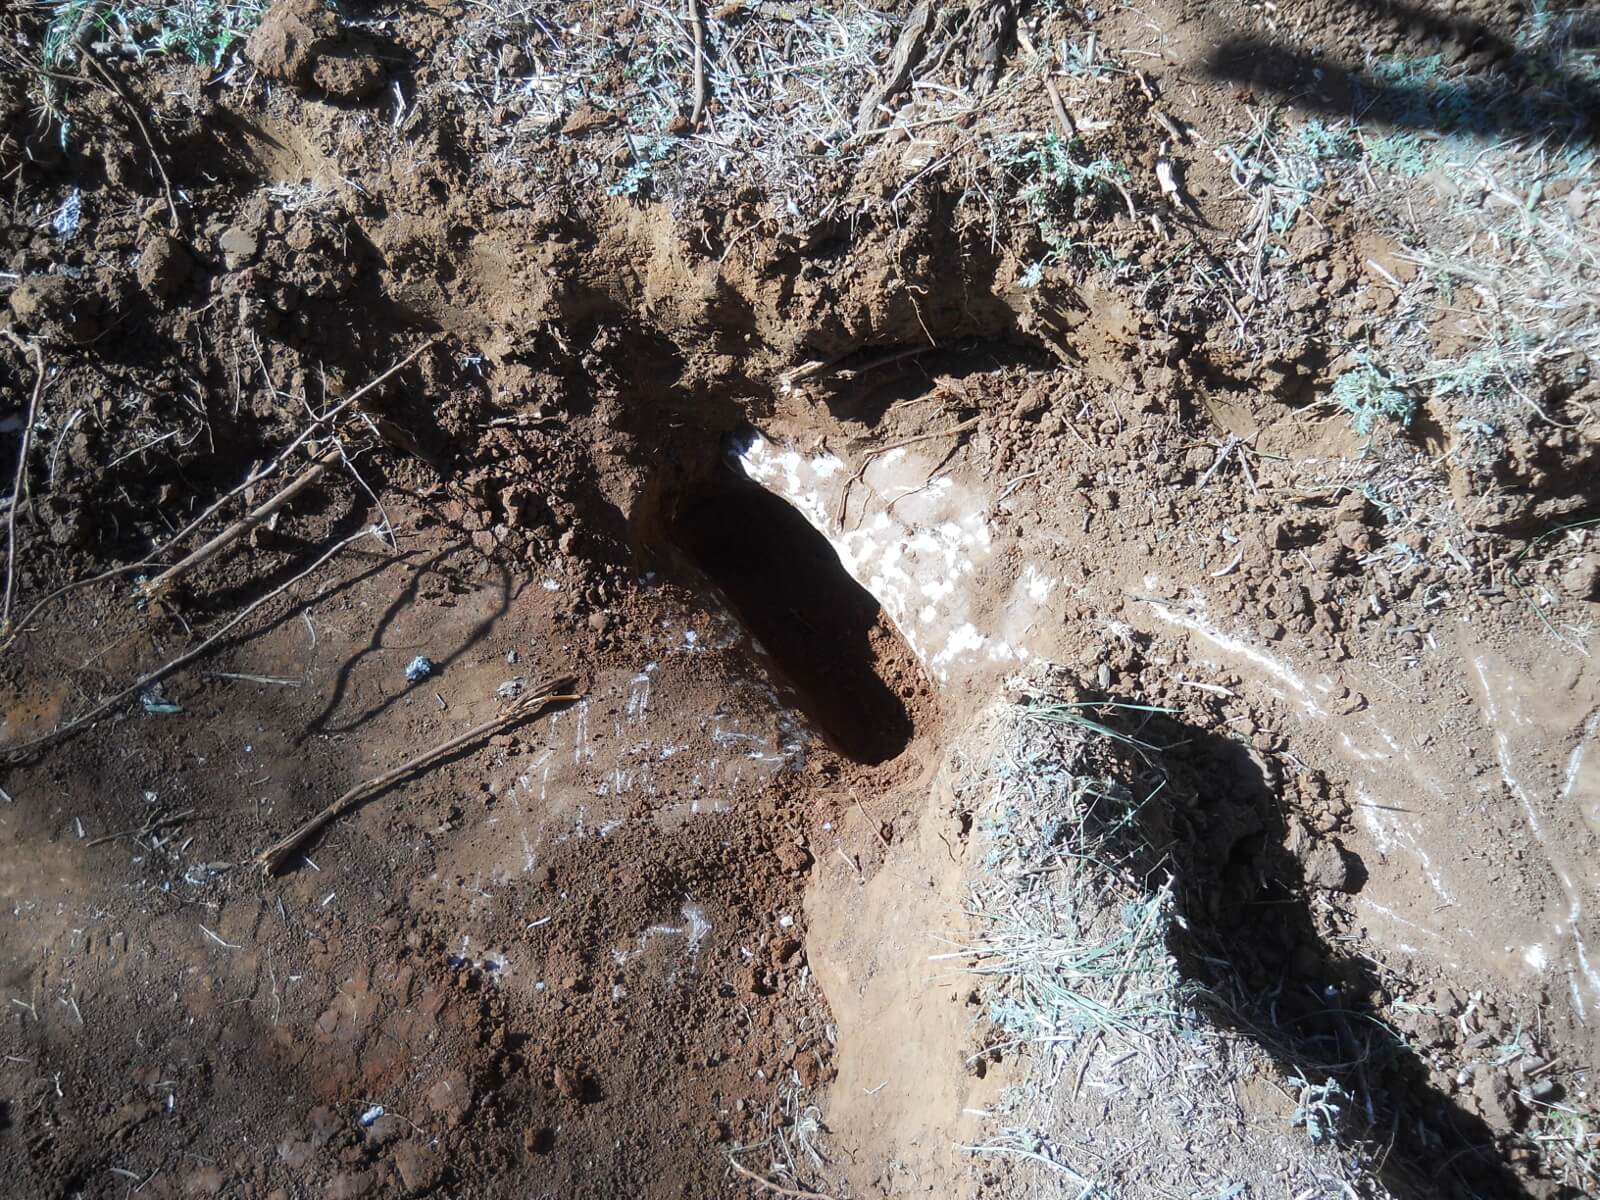
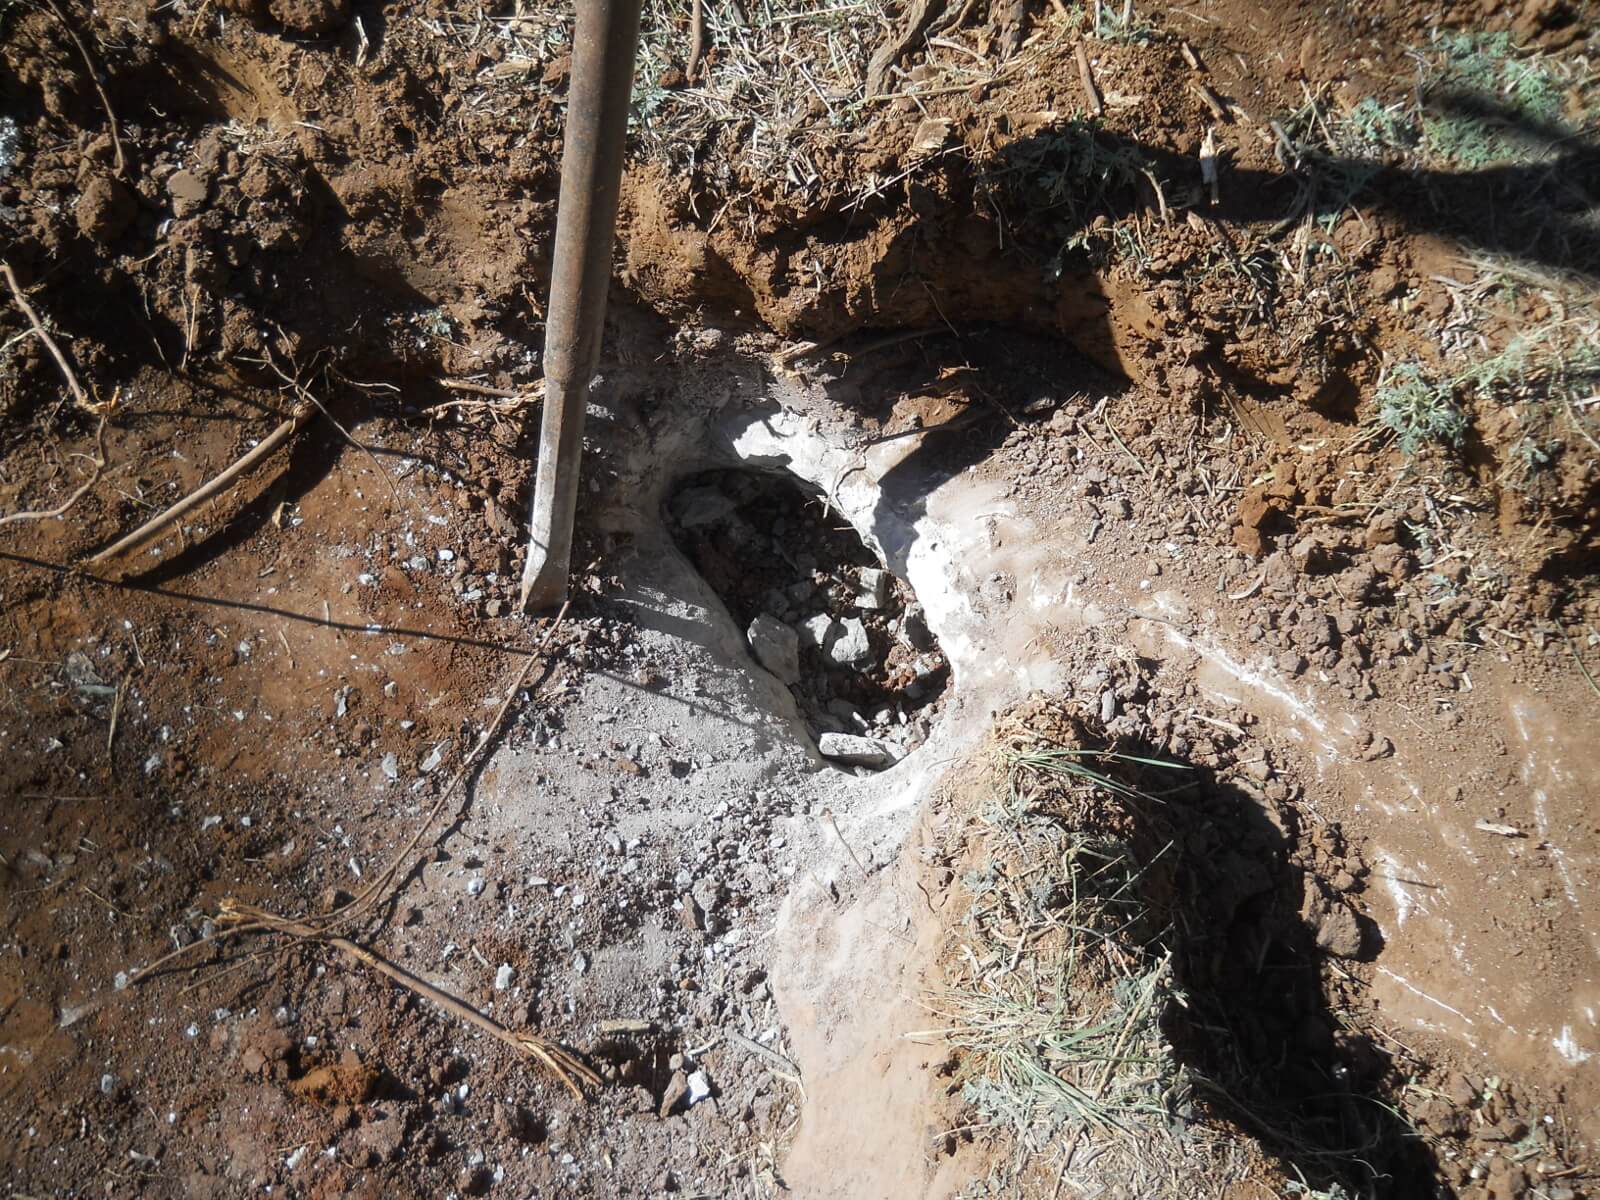
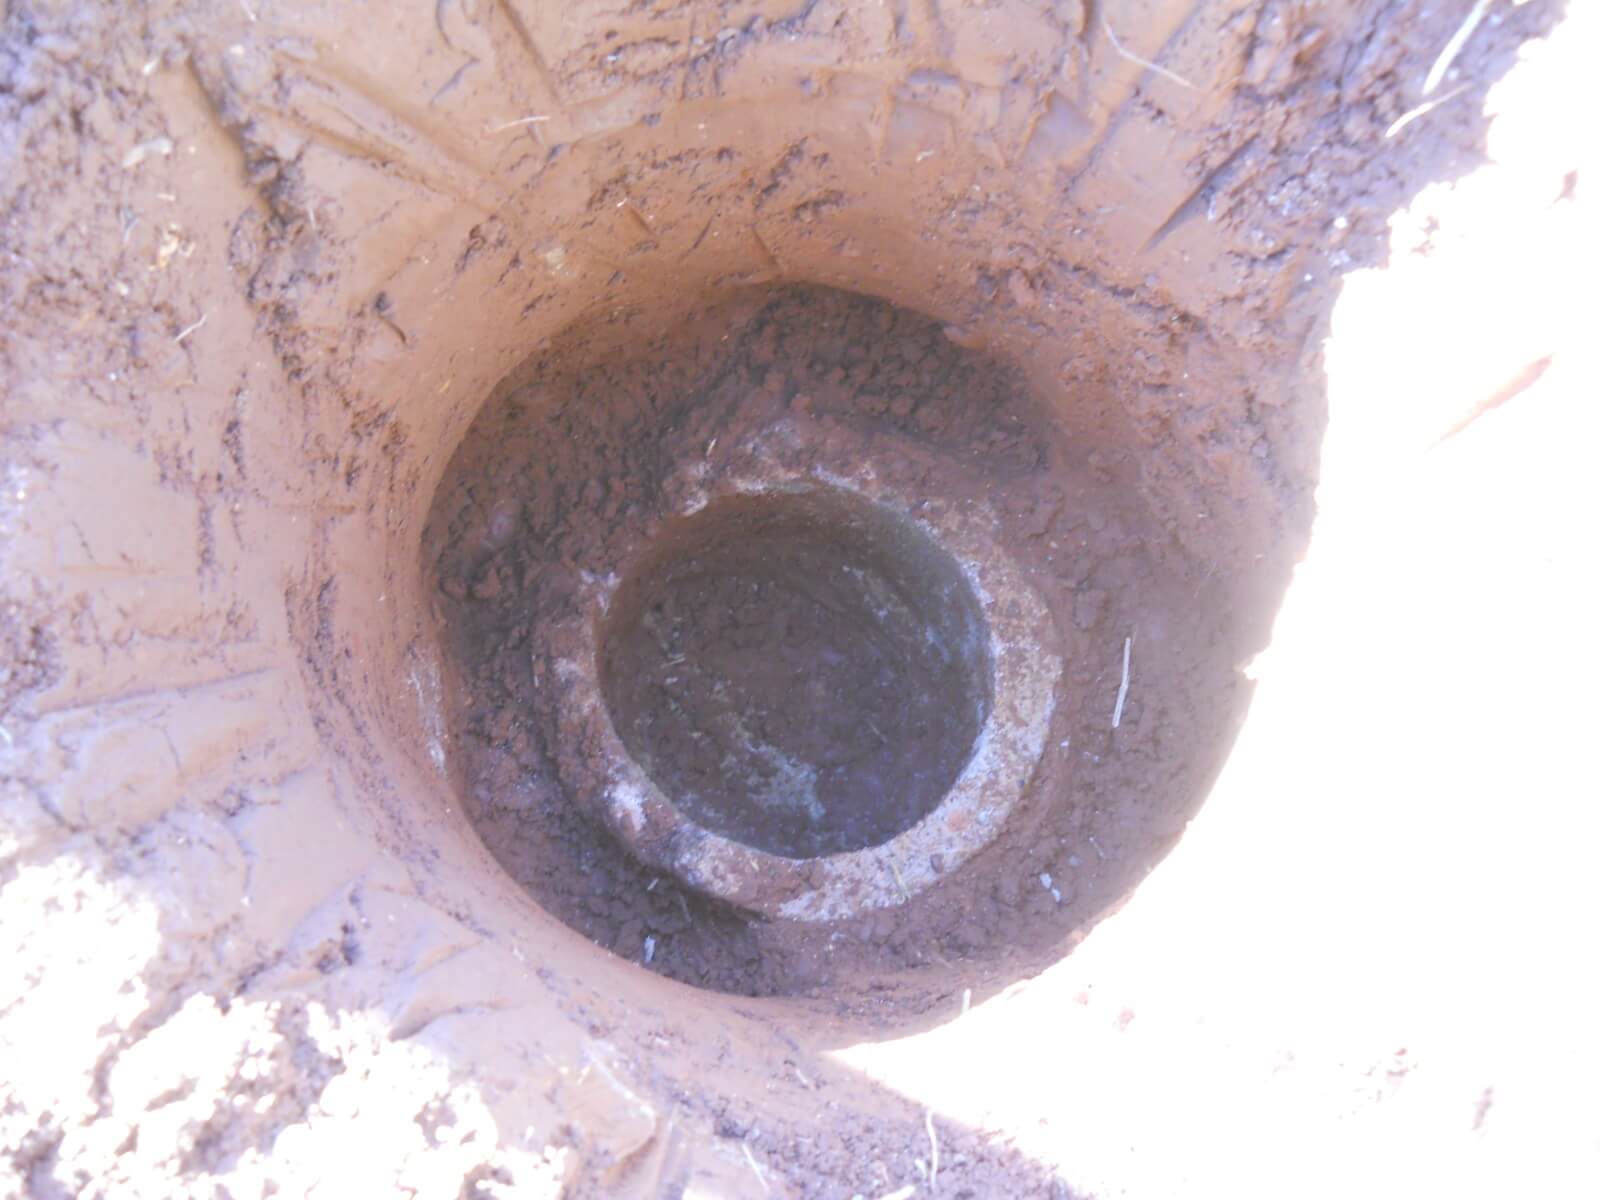
…I was able to dig out the end post, using what concrete was left in the hole as a positioner…
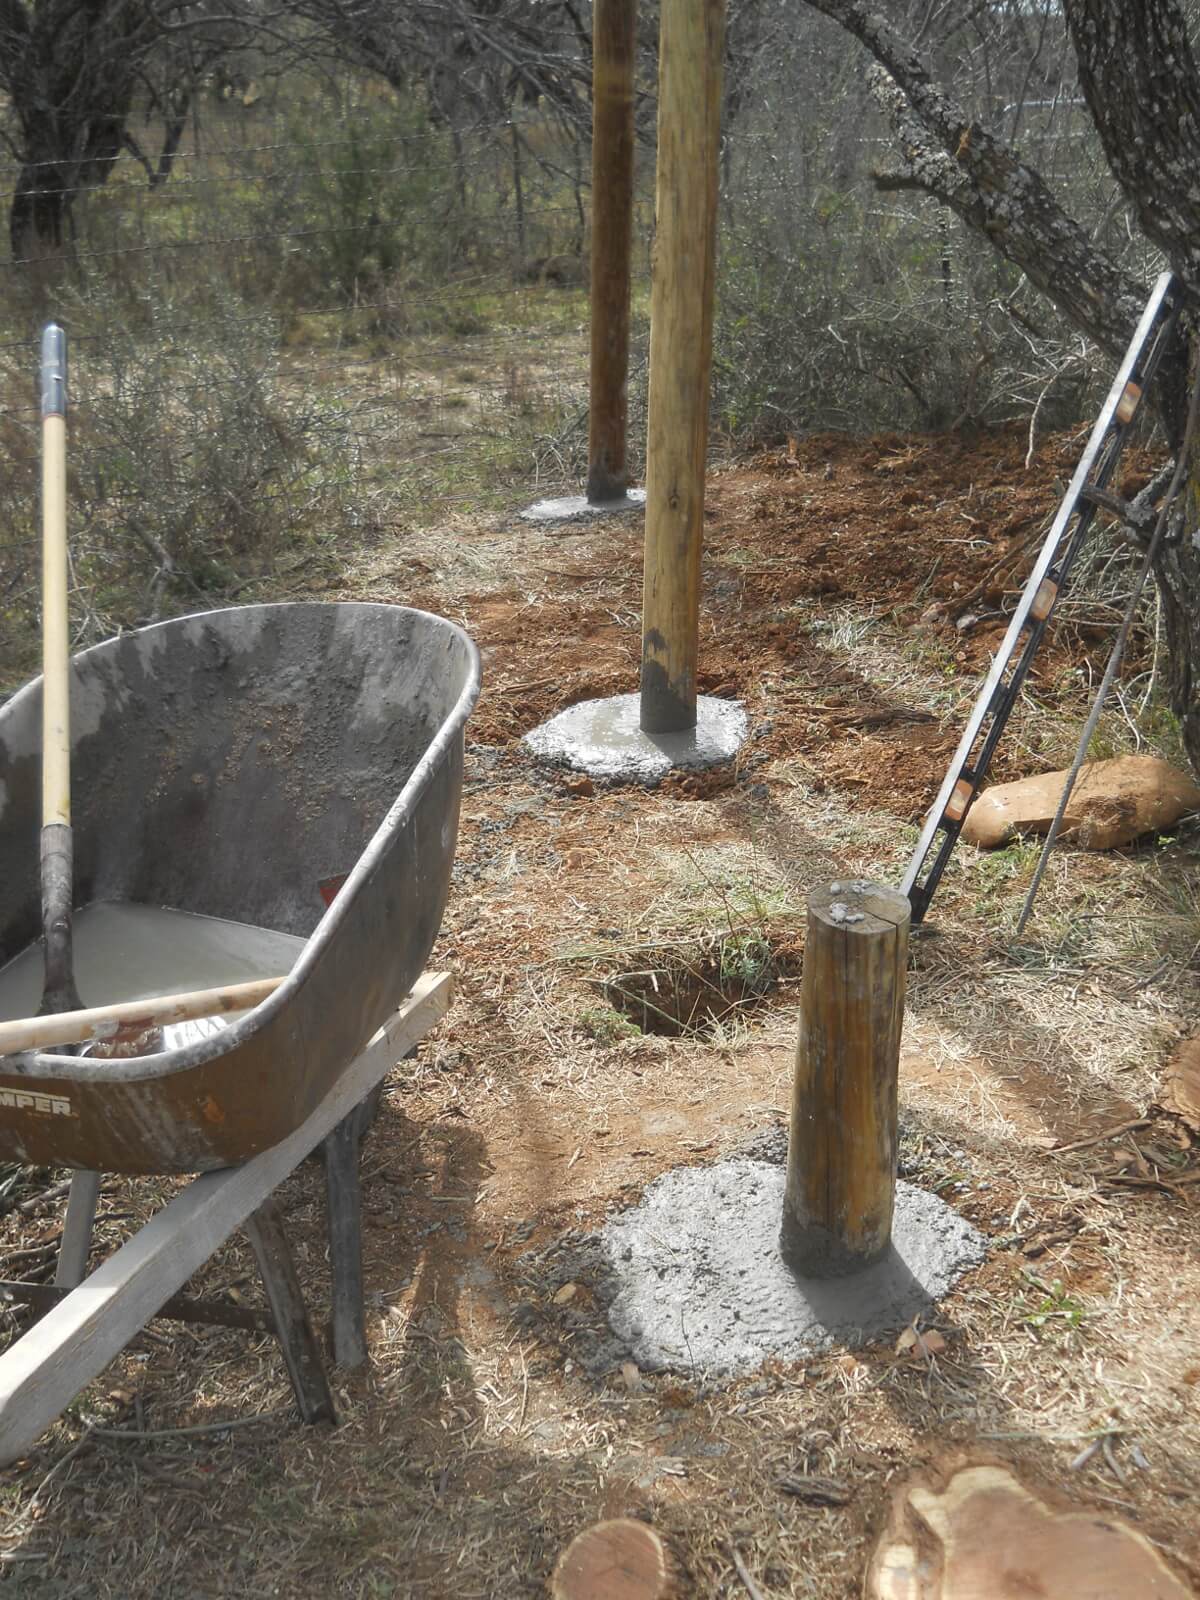
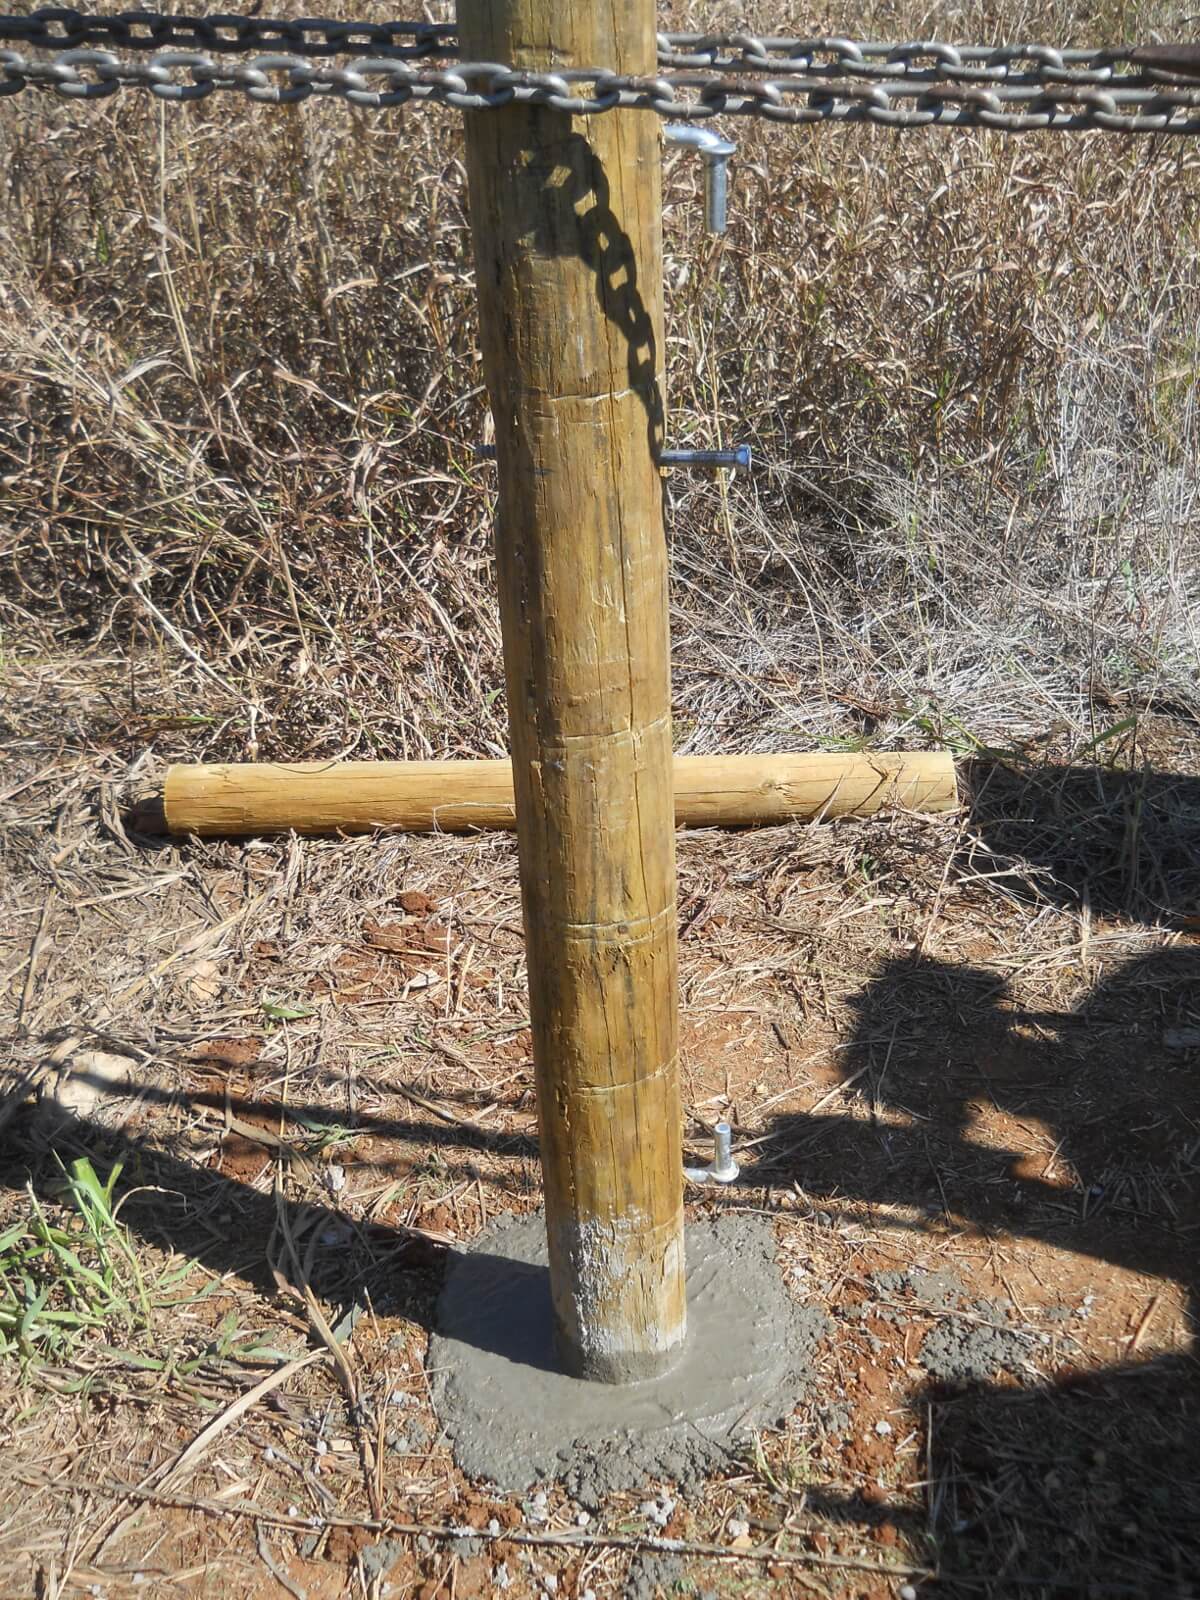
Dug Out Fence Post Hole

…re-concrete it in…

Fence Post Re-Concreted

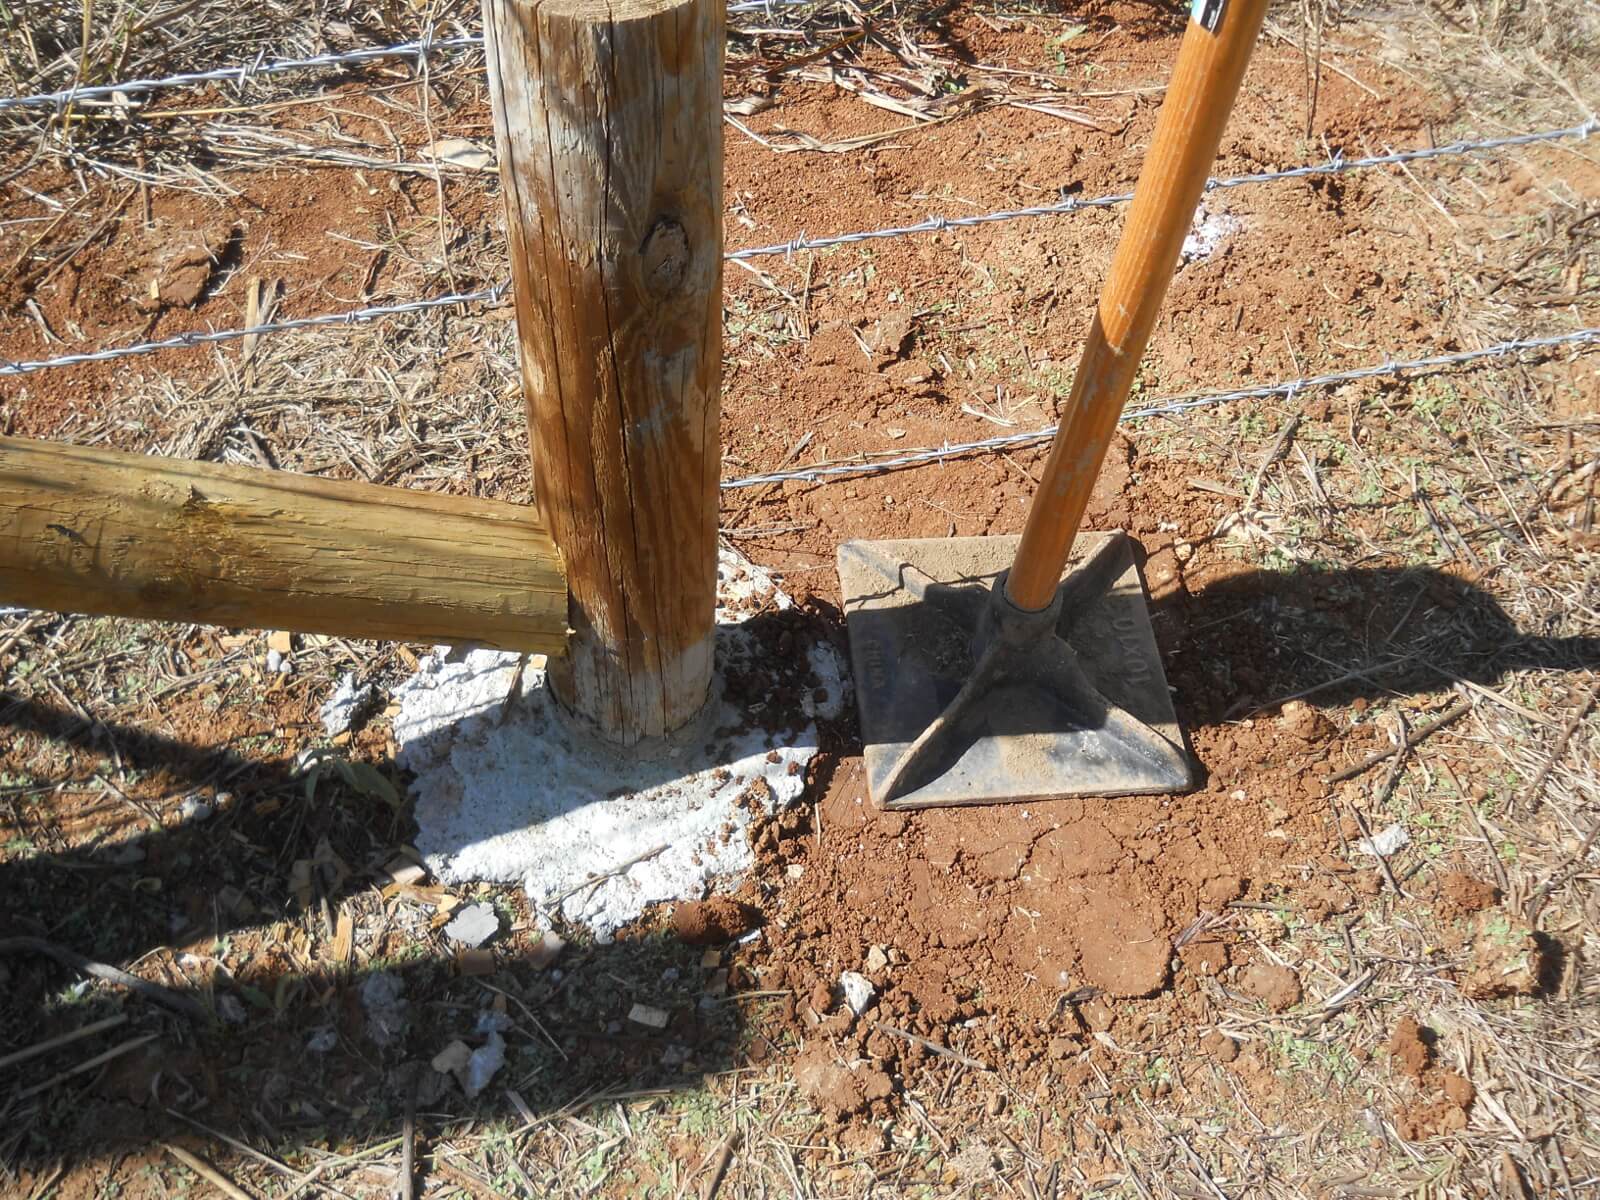
…tamp the dirt in front of the posts…

Tamping Dirt in Front of Concreted Fence Post

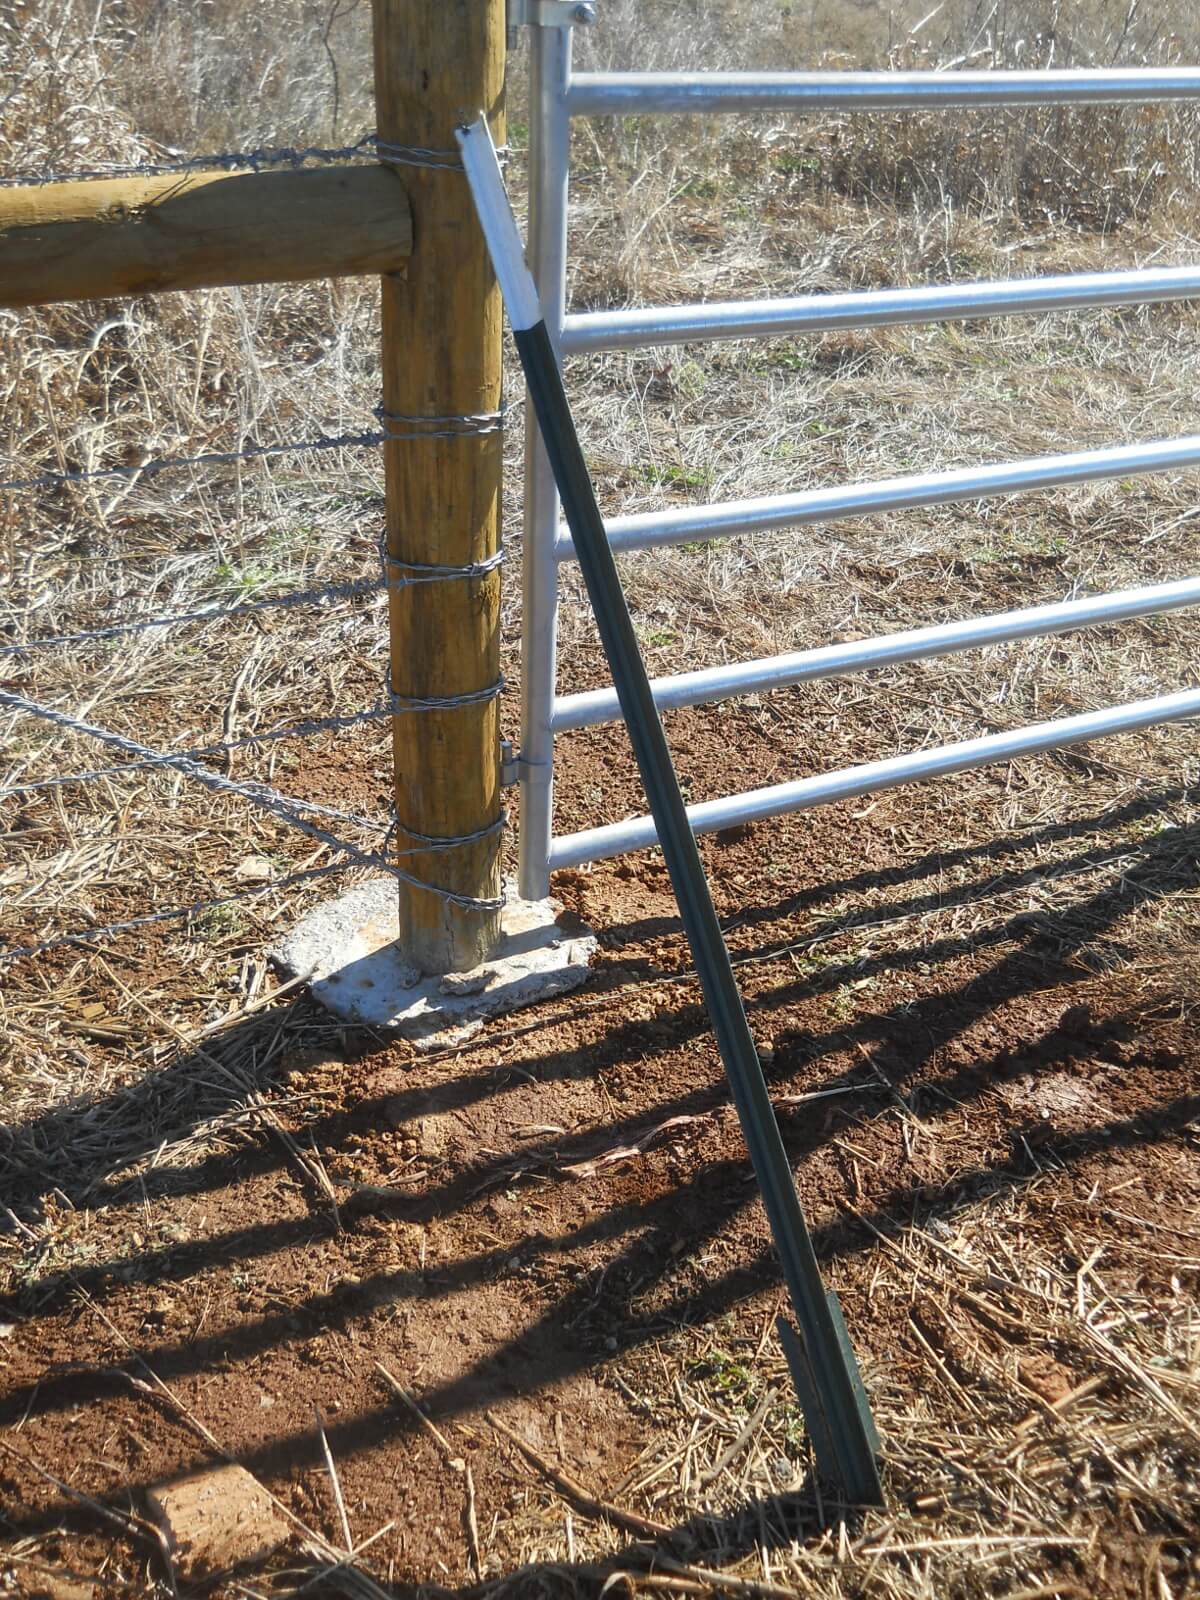
…add diagonal bracing wire to help keep it from leaning (which I should have done in the first place; I really thought the dead man post and diagonal kicker post would hold enough, but I guess not)…

Fence Post Diagonal Wire Bracing

…and then re-tie off the end. I also went back, undid all of the t-post clips on the t-posts that were leaning, straightened the t-posts, and then re-attached.

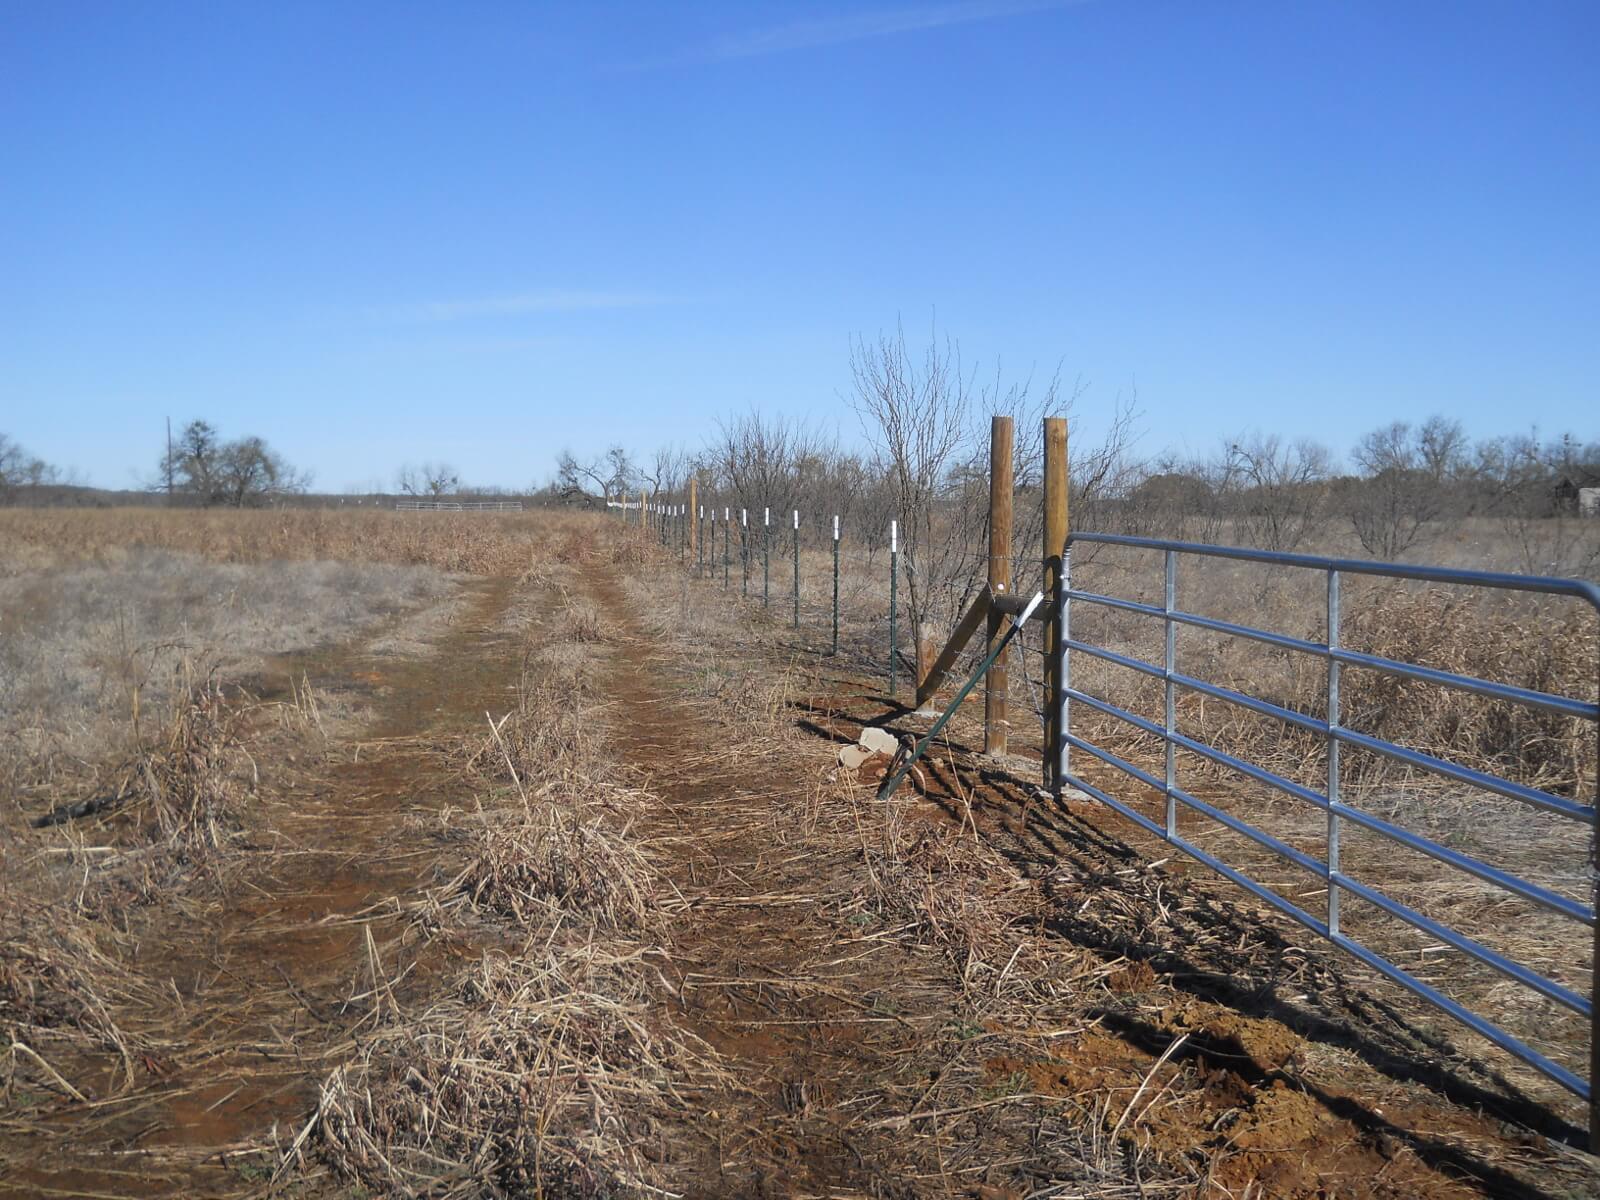
Yeah, that was fun. It seems to be doing better, although not perfect, in that, the back post started leaning in some perpendicularly, so I re-tied off again the ends but more in the middle of the post, and added a t-post brace to help keep it more upright:

T-post Brace Against Fence Post

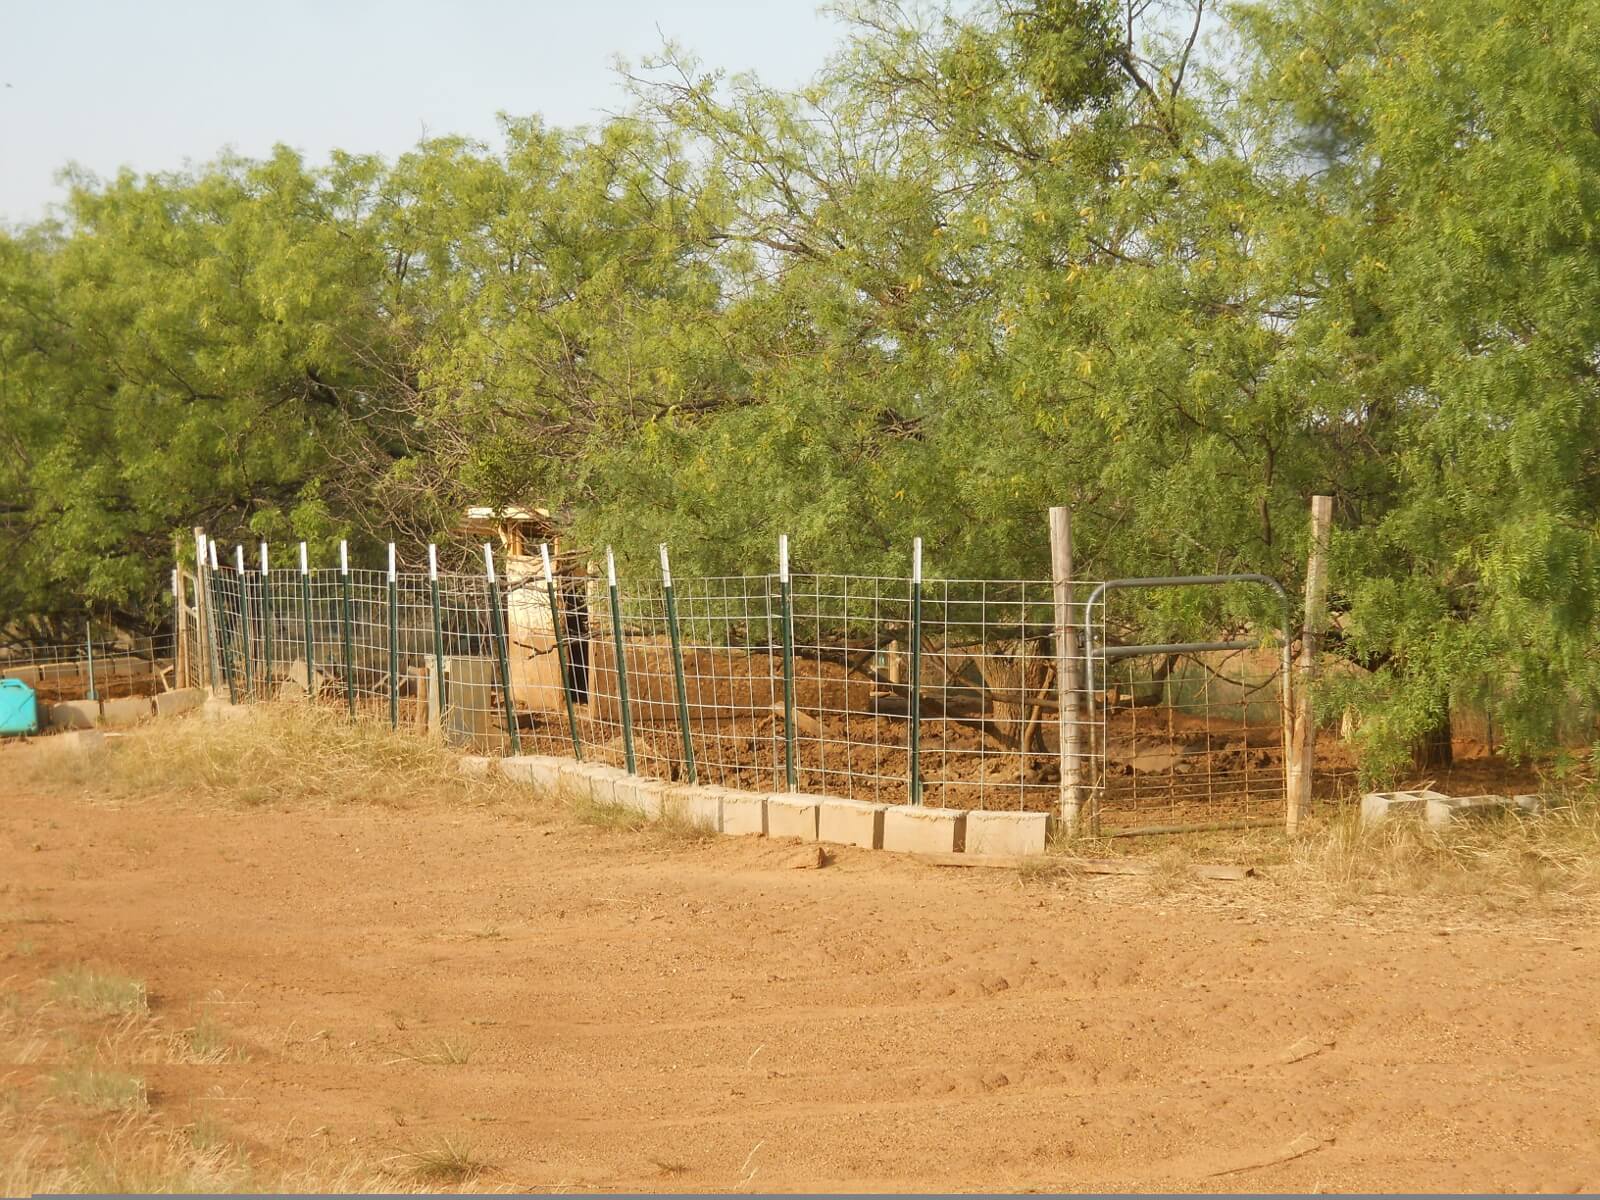
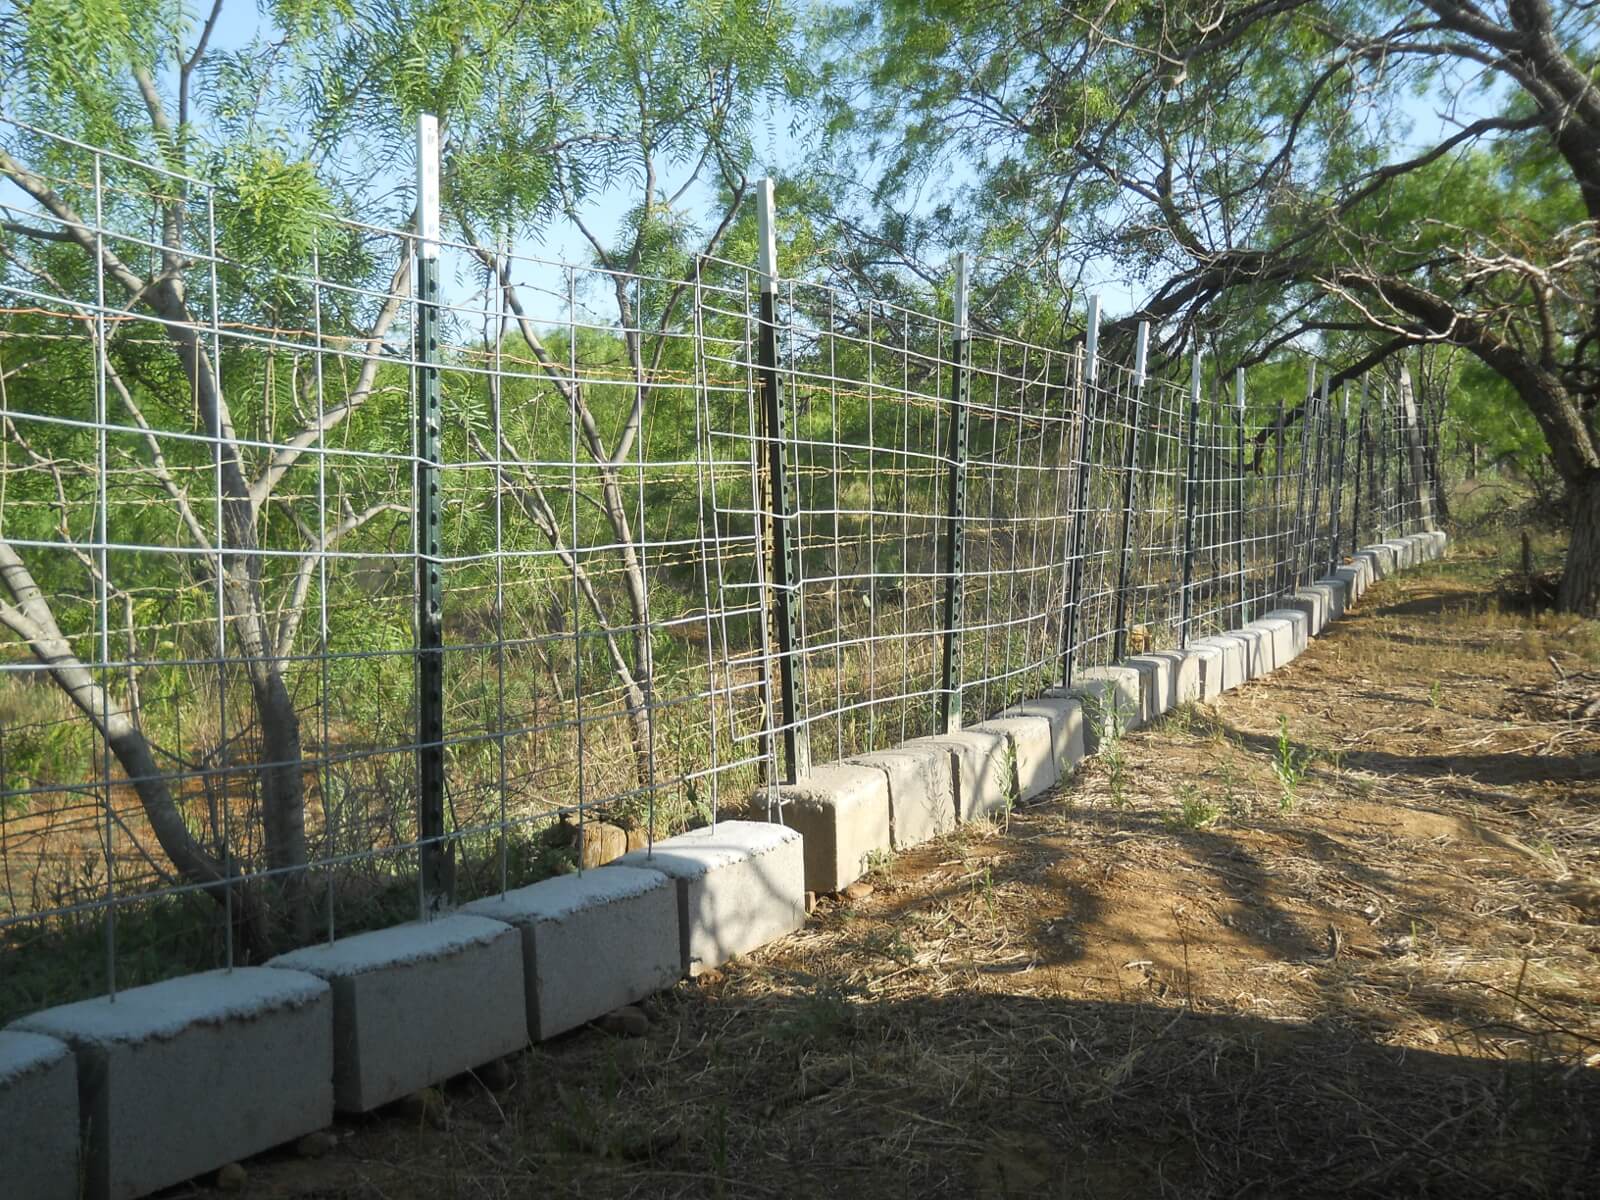
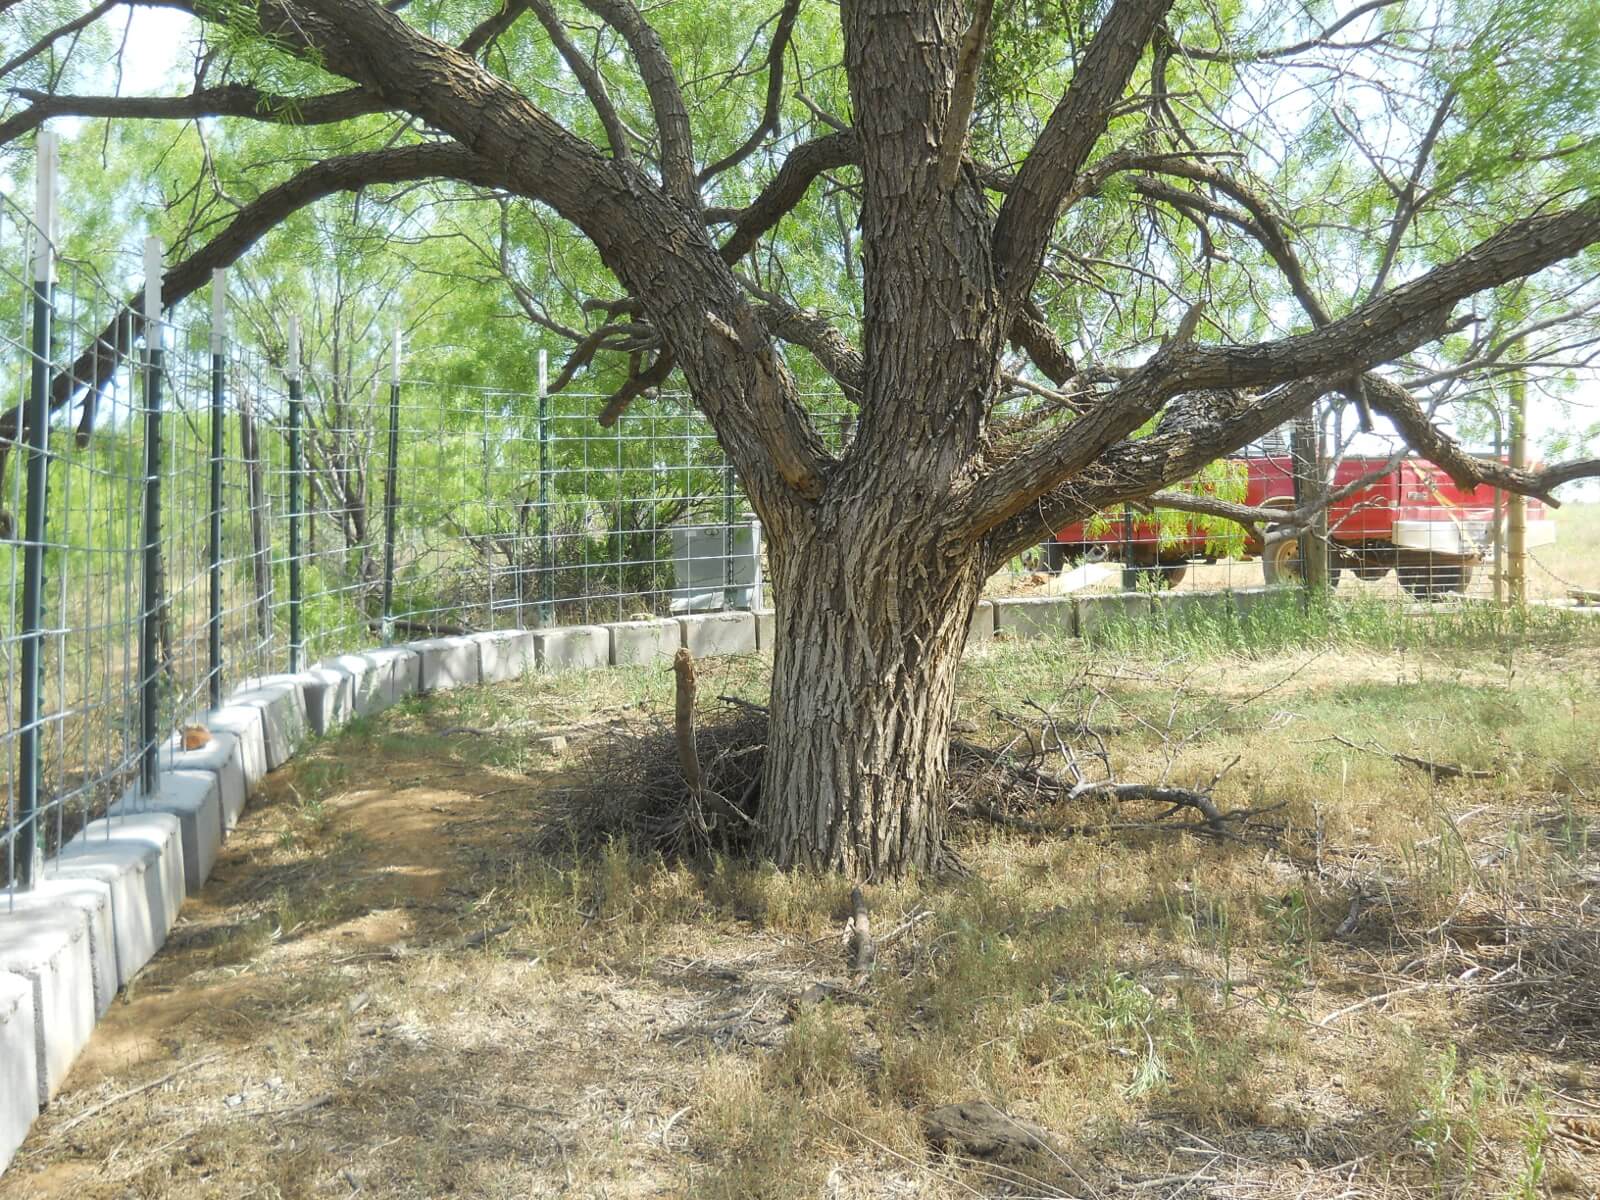
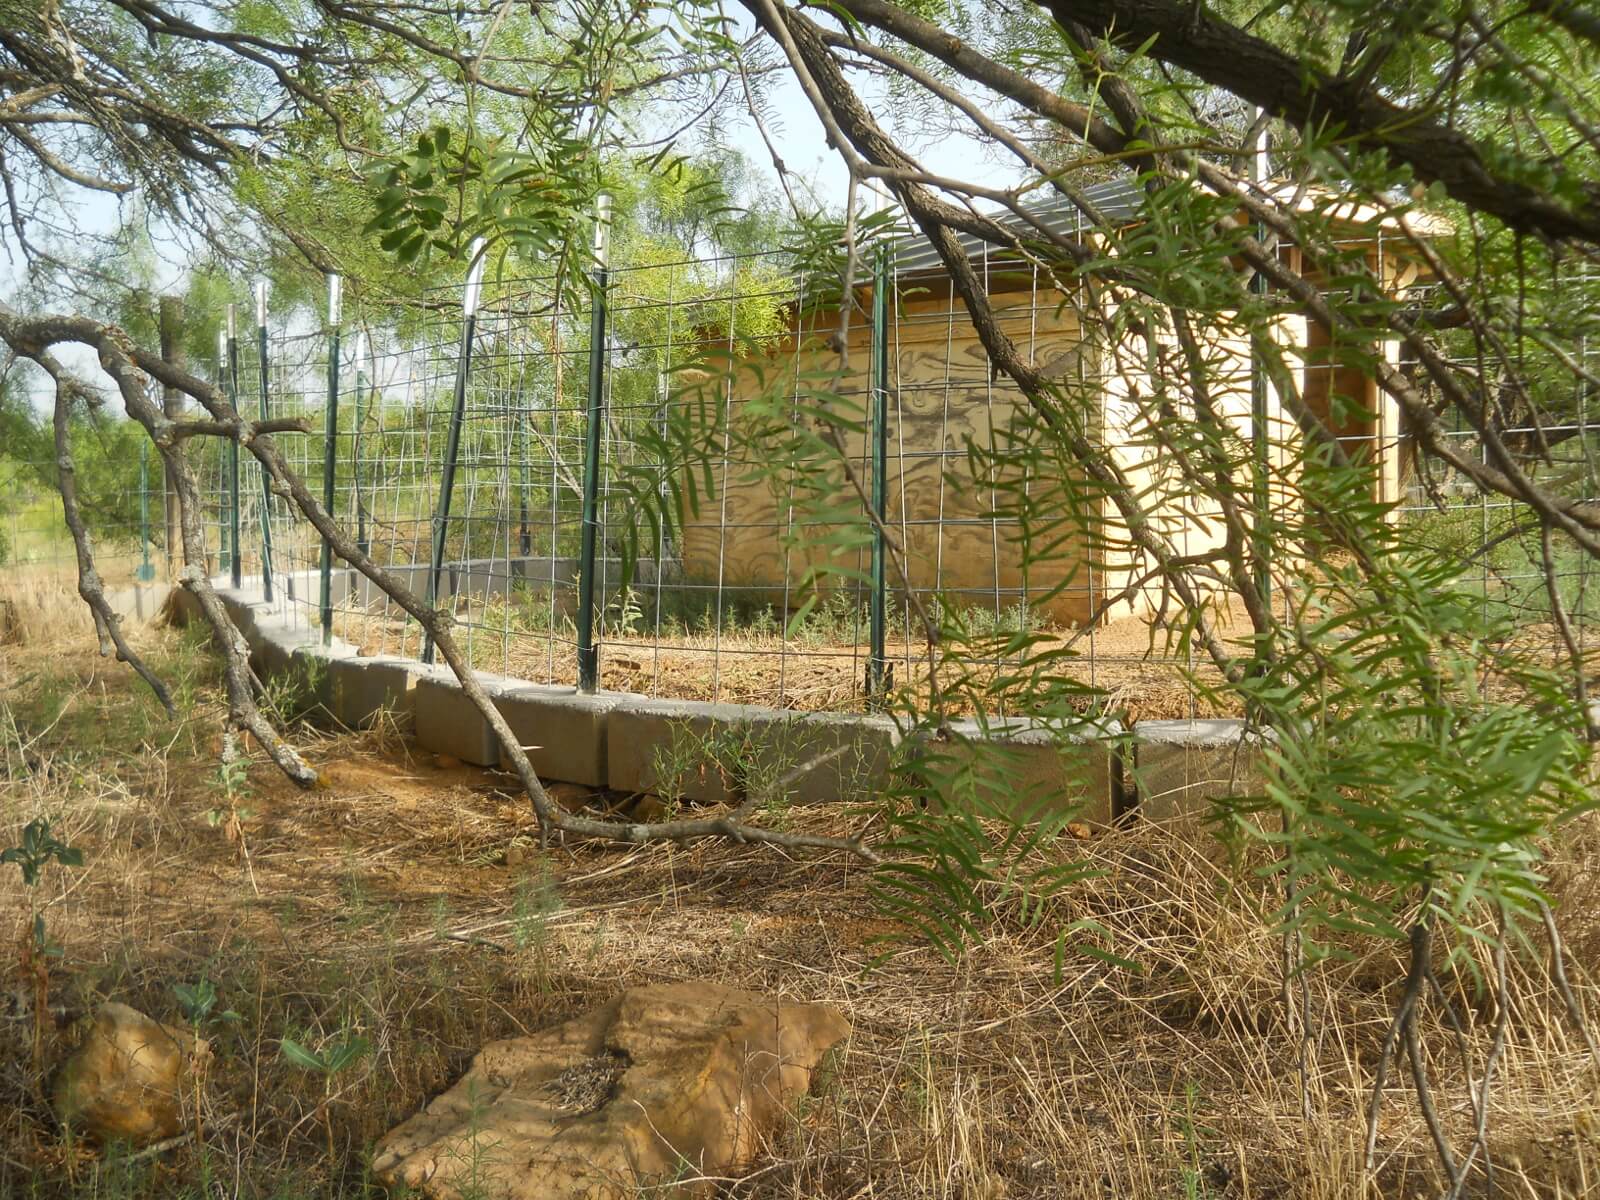
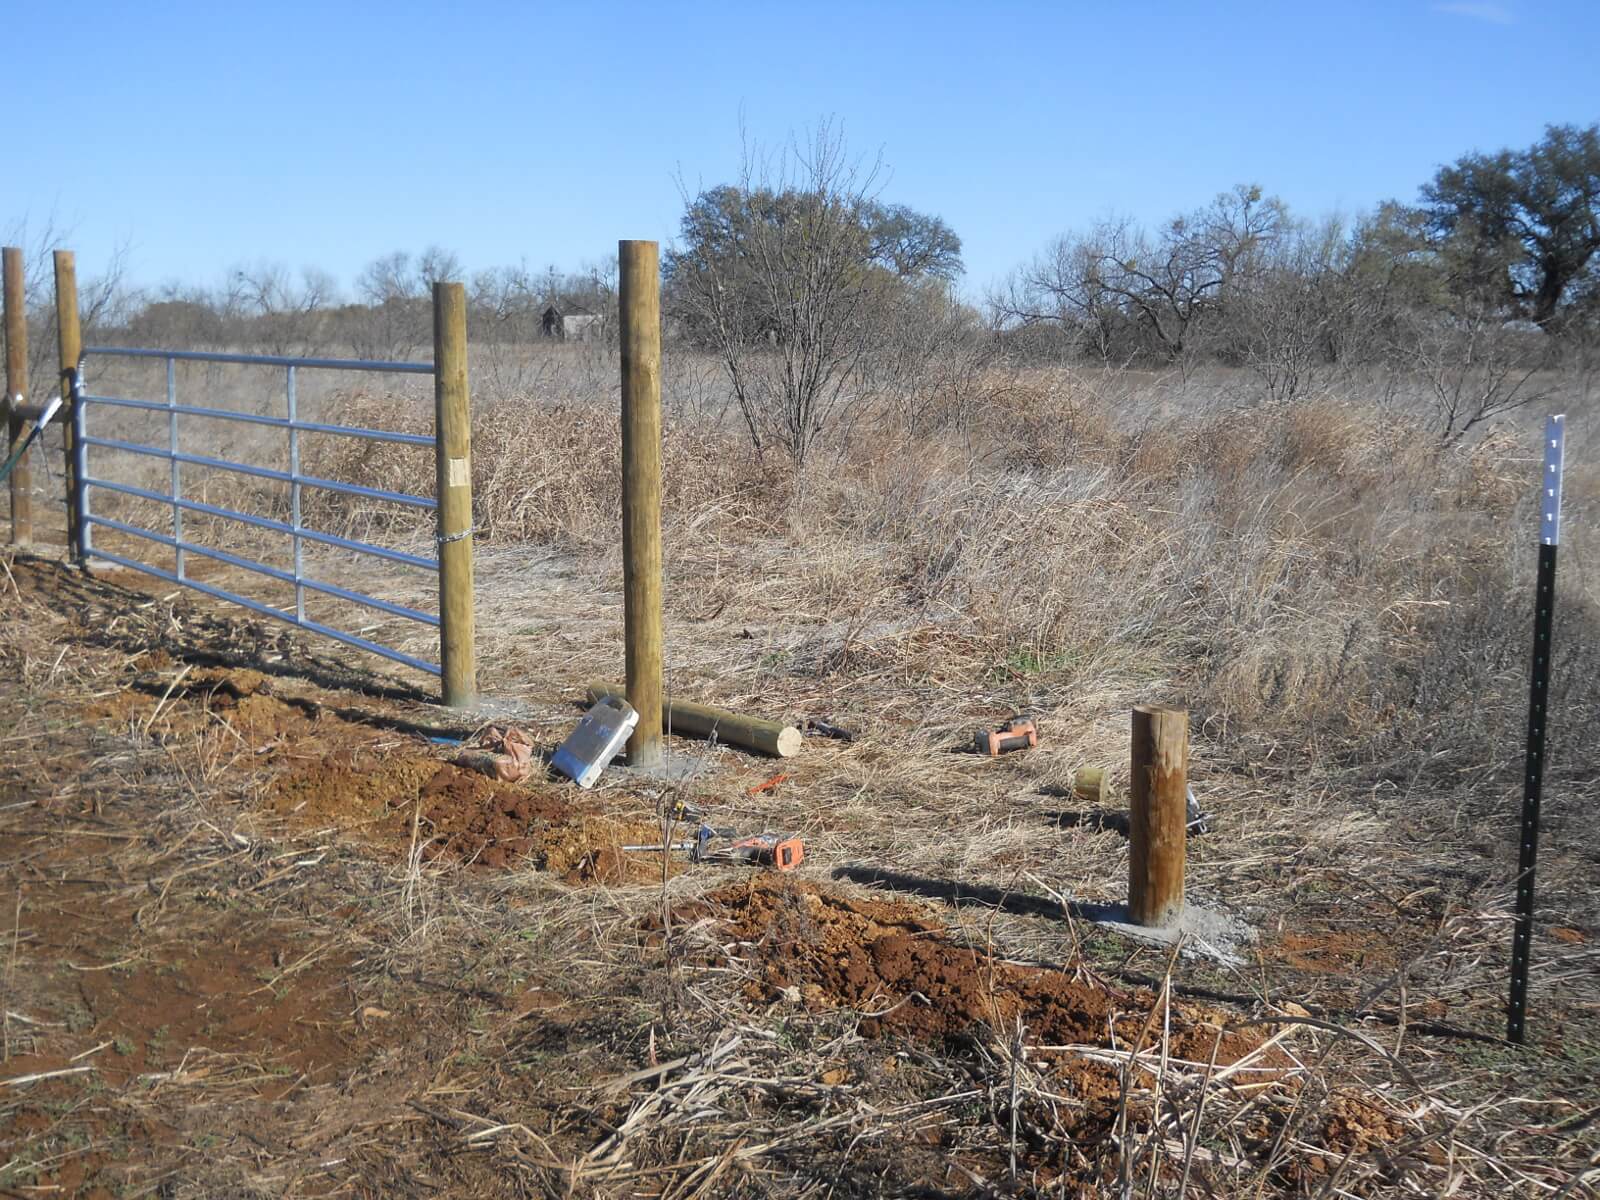
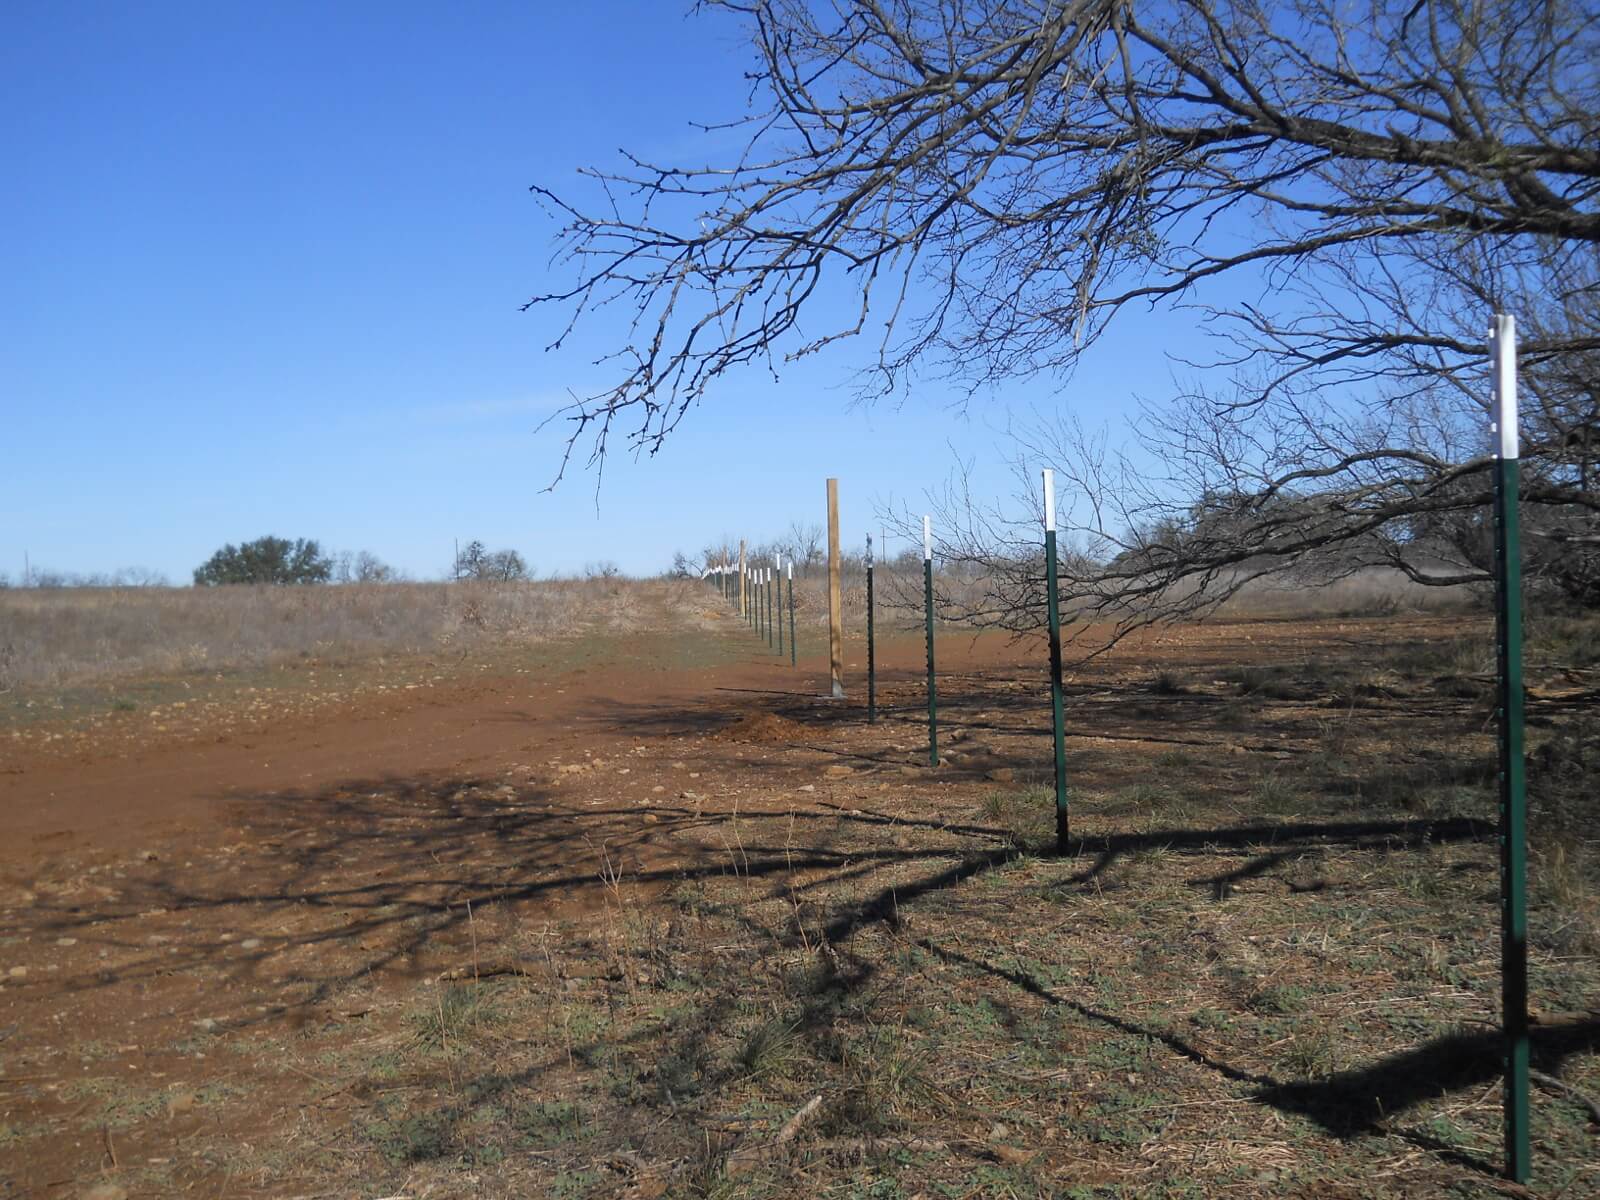
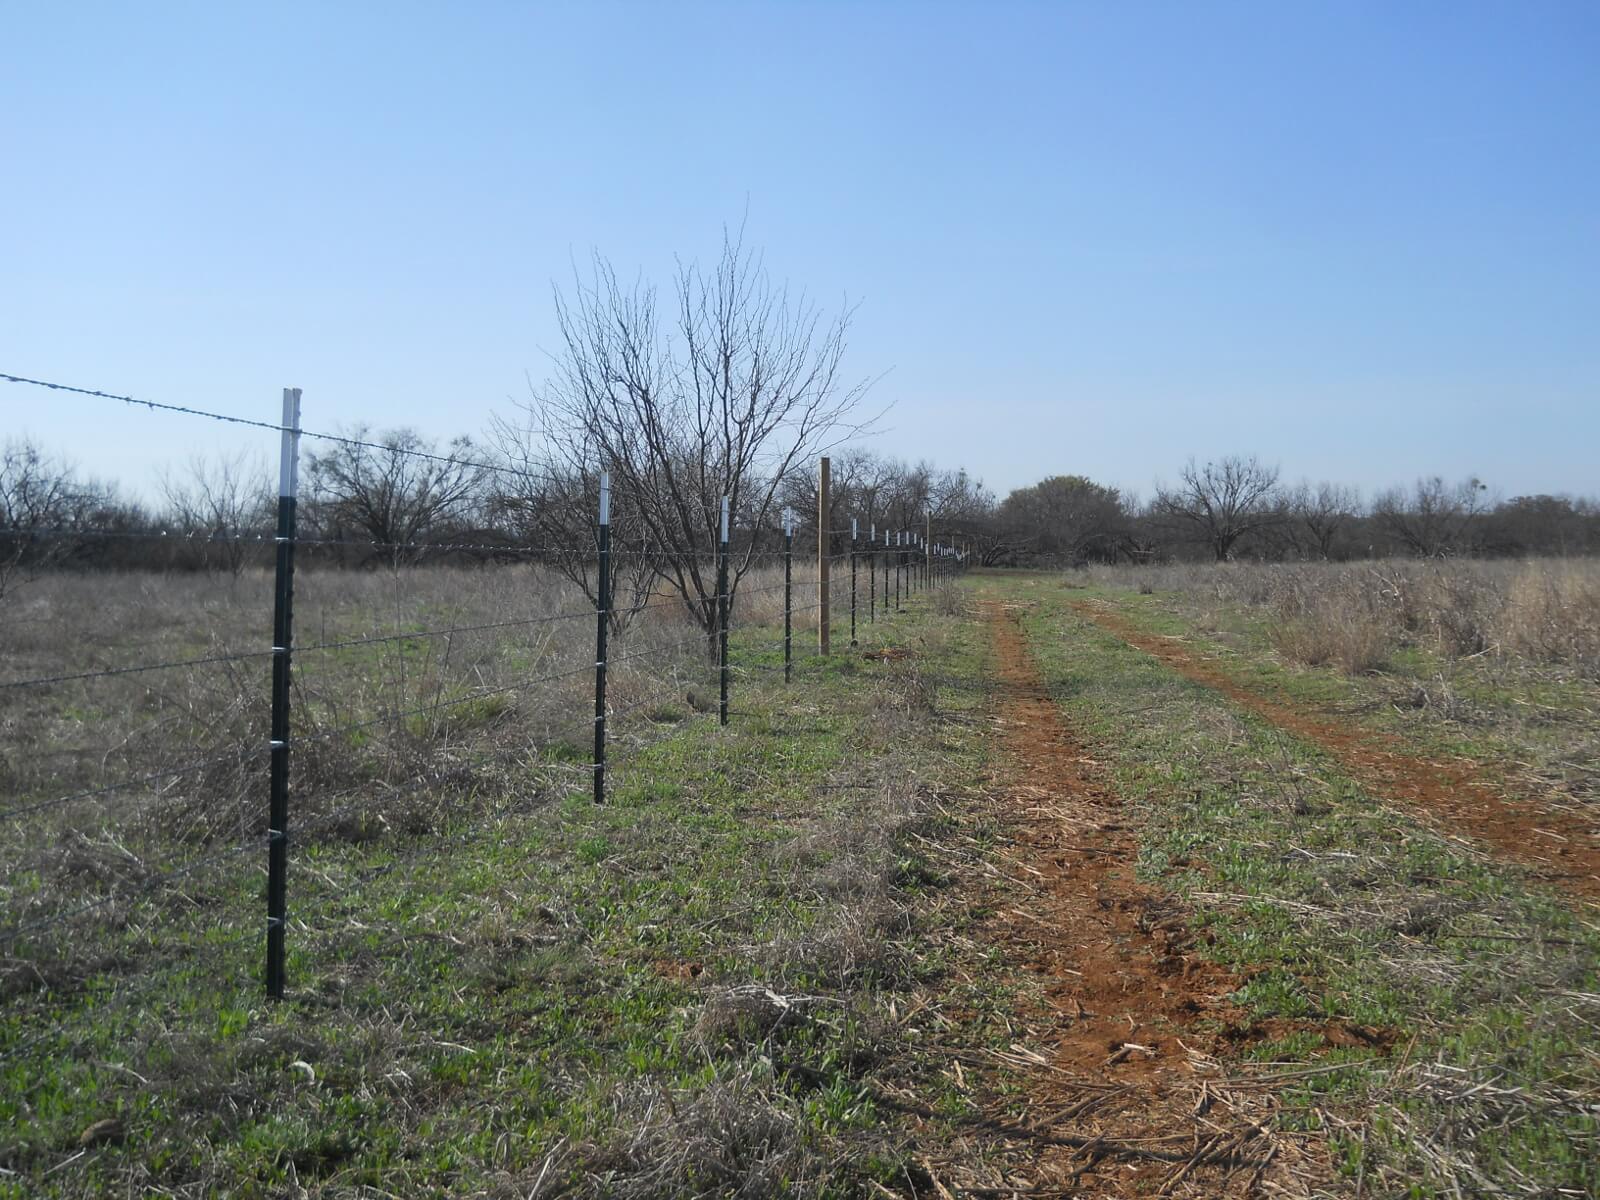
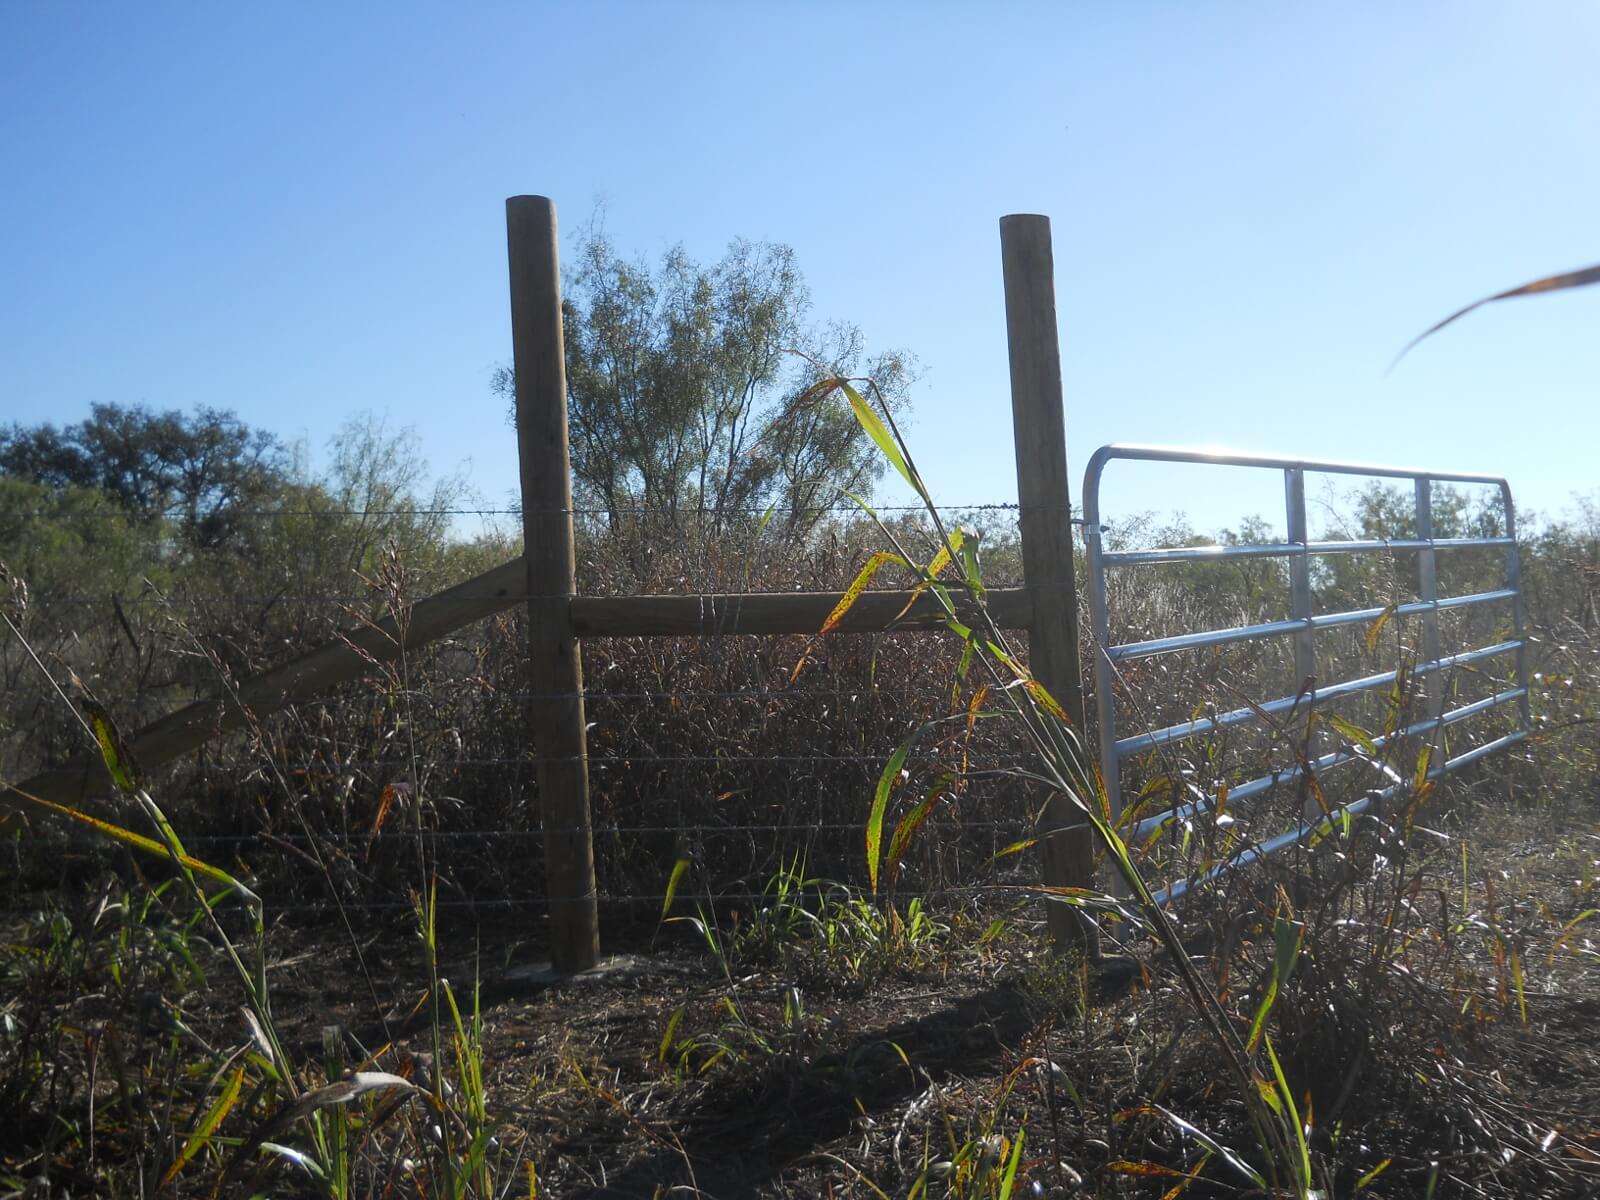
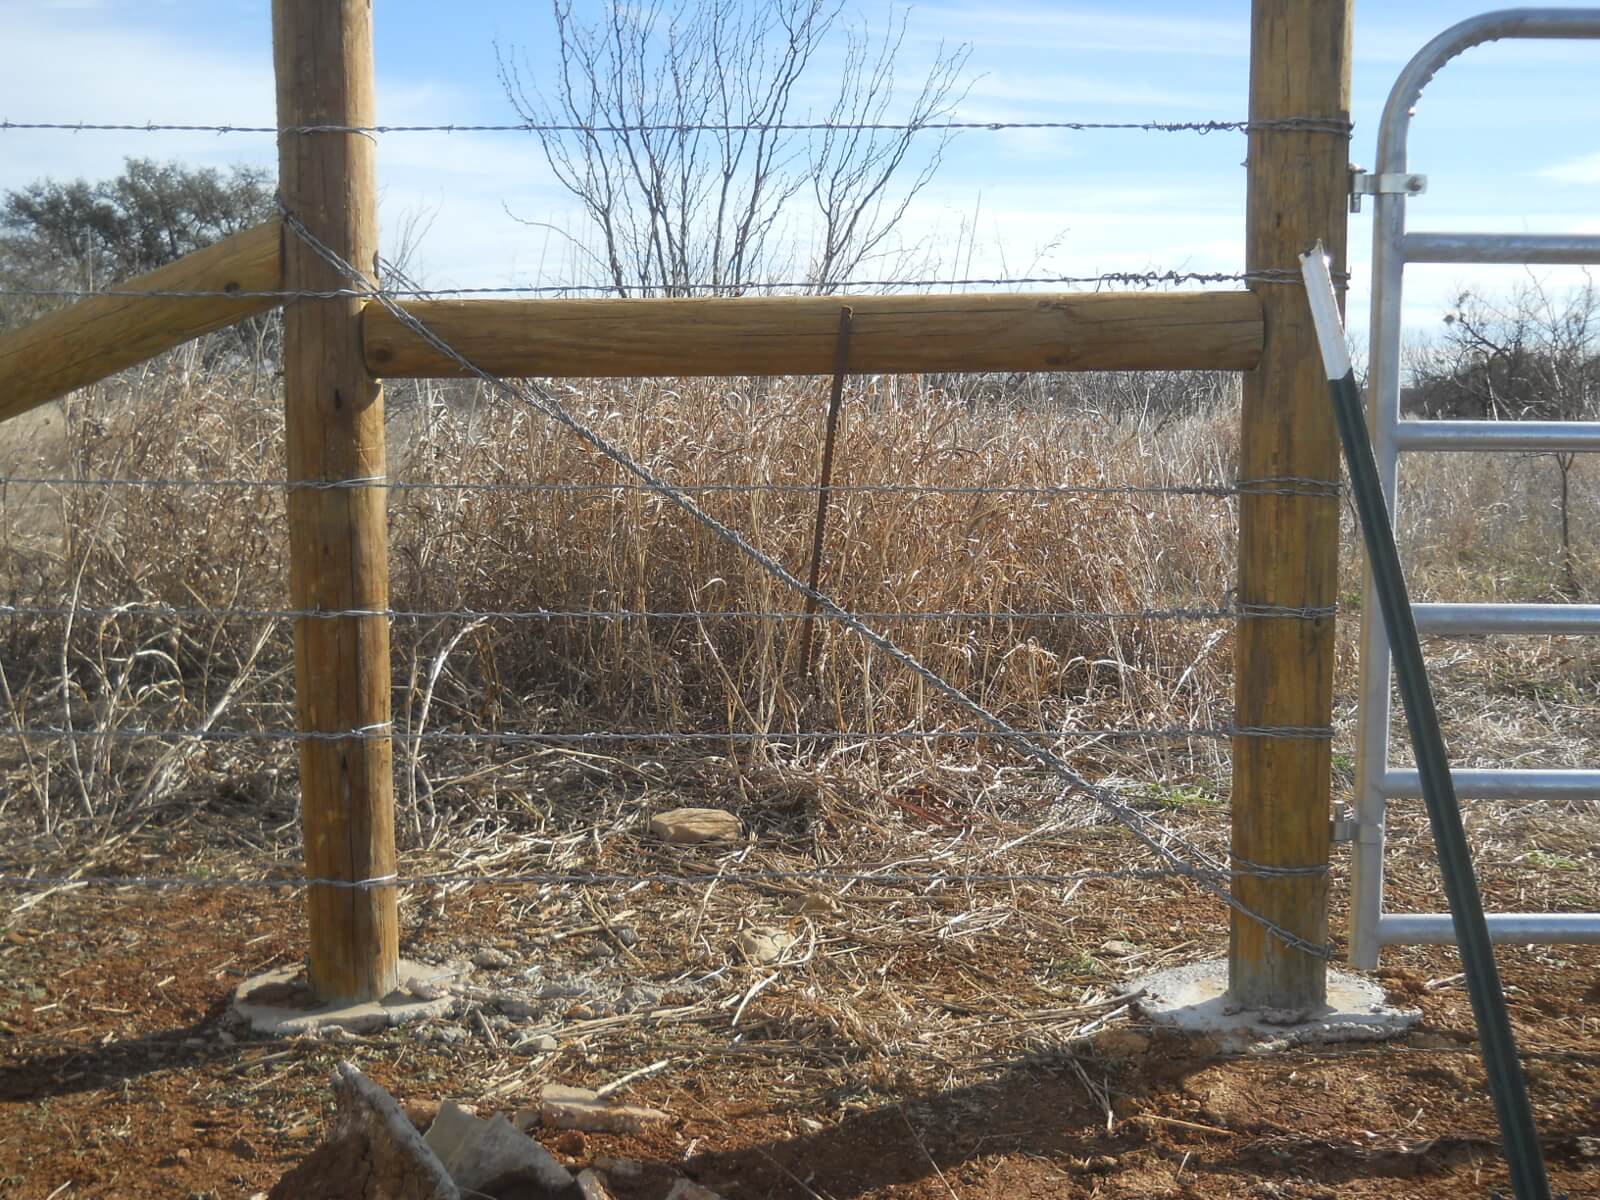
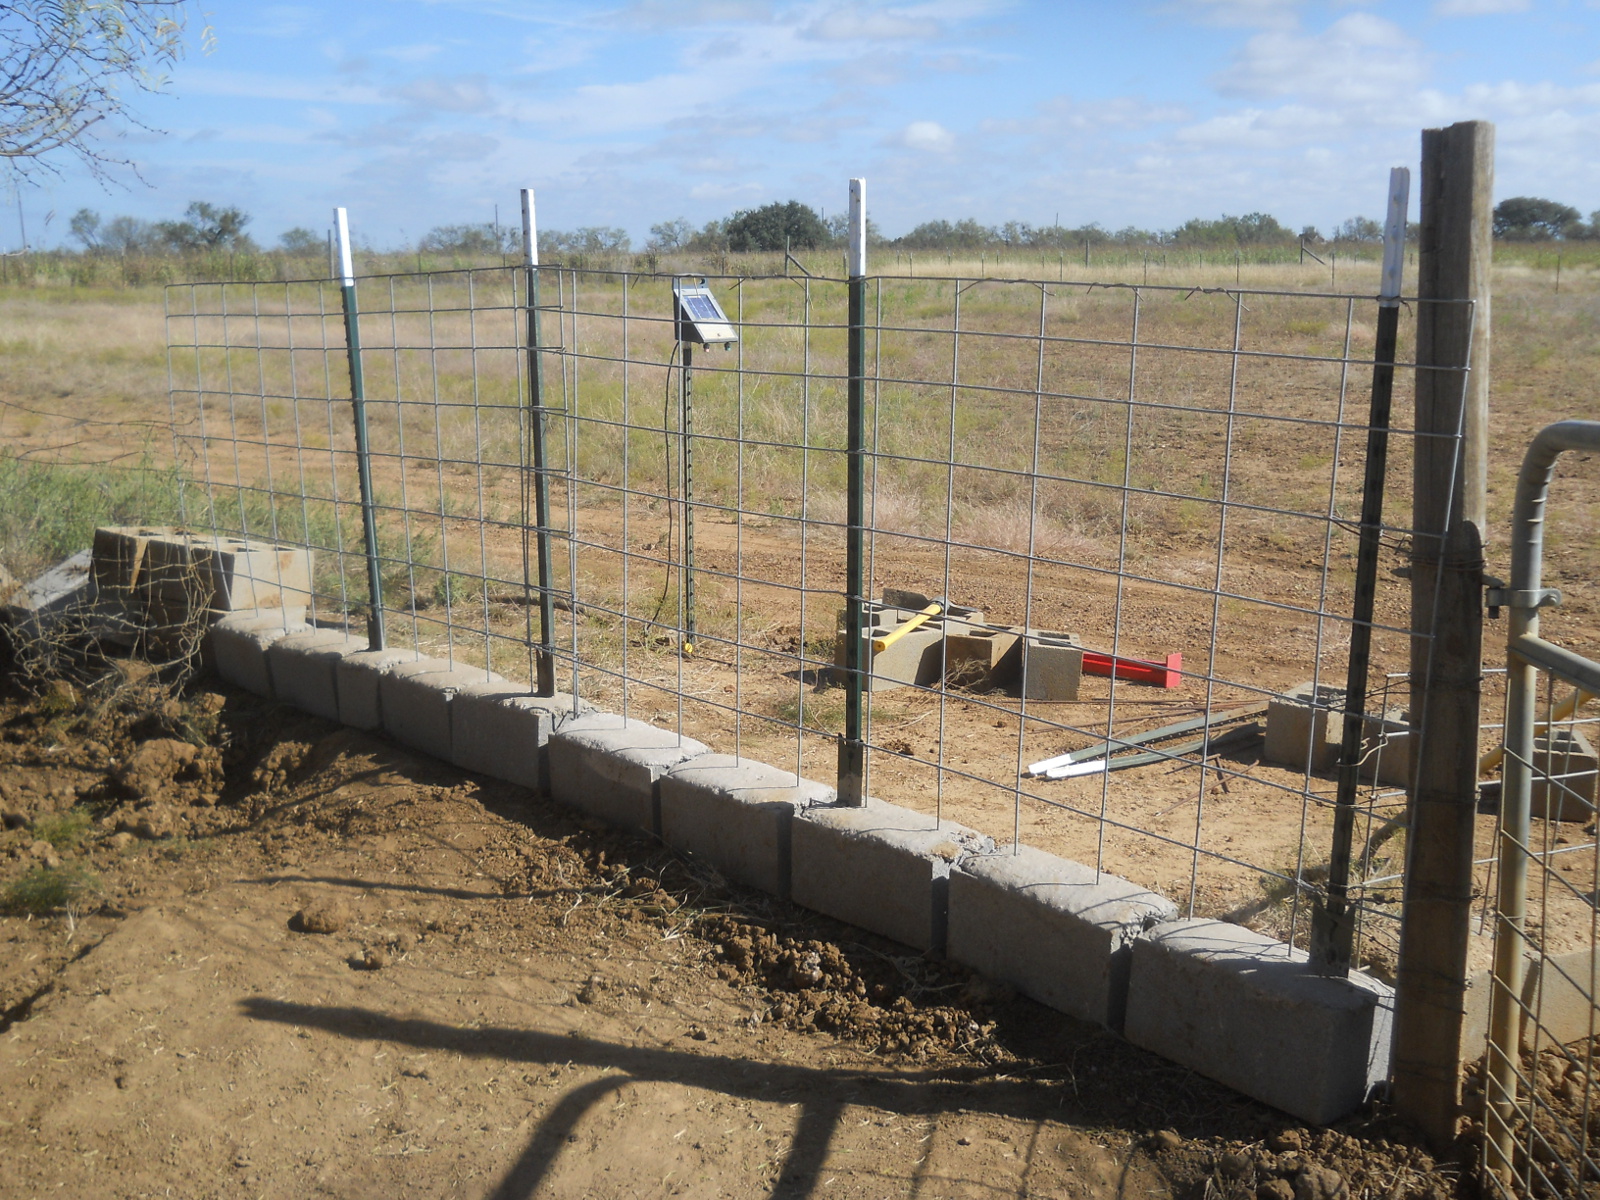
But finally, here is the fence line:

North Field Top Half of Fence Line

With weather interruptions and these issues, it has taken at least a couple of months to get that part done. But I thank the Lord things weren’t worse, and for the provisions and health and strength to even work on this fence.

On to the 2nd half!

— David

Hogs, Hogs on the Range – Update III & Bye to Ardy

The Lord has graciously allowed us to continue putting up new pig fencing sections, around our pig pen area, and in extending the expansion area!

But first, after introducing Ardy to Penelope back in October 2016, it was time to move him along to the processor, as I figured if she hasn’t become pregnant by now, she probably just isn’t going to be.

And so, here’s a final video of that day, including extreme close up! He was a big boy! 🙂


We thank the Lord for the provisions of Ardy!

Going back to the fencing…

In our last pig expansion area update, we had put in place cinder block and cattle panel fence sections, which have really worked out great. And then, in our last pig update, we had started on re-doing the fencing of the pig pen area.

Well, here is a video update of the pig pen area and a new extended area on the expansion. I also demo how it is to move around the fence sections with just one person:


Eventually, we need to enclose the entire pen area, and Lord willing, I’ll be able to continue on that over time.

As always, we are grateful to God for continued ideas and improvements on the homestead, and the strength and resources to be able to further things!

— David

New Pig Pen Fencing & Pig Update

When I originally built our pig pen, I thought to bury the bottom of the net-wire fencing several inches to try to help with the pigs digging themselves out of the pen, but what I didn’t realize at the time was that metal wire eventually rusts and breaks apart when buried. 🙂 And so, after probably 8 years or so, and lots of pig digging and cinder blocks around the pen trying to put patchwork on the problem, it was time to put in some new fencing:

With the success of the cinder block, cattle panel fencing sections I put together for the pig expansion area, I thought the same thing might work for the pen area, although instead of half the cattle panel in height, I’d use the full height.

You can see more detail of how I put them together in that blog post, but here is one of the new, full-height sections:

And ready for delivery to the pig pen:

And here they are in place, replacing that area shown in the first picture above:

And after putting a third section in place, I thought I’d show a little video of it all, and since we haven’t done a pig update in some time, I thought we’d include an update on our two pigs Ardy and Penelope!


We are grateful to God for granting the idea and resources of the fencing, we pray they work well 🙂 , and we are thankful for the continued health, safety of and provision for our piggies!

— David

Compressed Paper Bricks

One day when bringing up the YouTube main page, there was a video thumbnail displayed with the title something about unlimited fuel for fires, and showed a bucket. Intrigued, I clicked on it, and it ended up being about a fellow who came up with an inexpensive way to press paper into burnable bricks using Home Depot buckets!

Here’s his video:


Nice! Simple and inexpensive…right up my alley! With all of the feed bags we have, I thought I’d give this a go!

Here’s the drilled out bucket:

Drilled Out Bucket

Then drawing the pressing block on a left-over piece of 2×12:

Drawing Block Circle

And the circle drawn:

Drawn Block Circle

Then being cut:

Cutting the Block

And finally cut out:

Circle Block Cut Out

After putting the drilled out bucket in another bucket, I added water and paper. We’ve been tearing up the feed bags, along with snail-mail waste, and old doctrinally-incorrect books we’ve had laying around 🙂 I’ve been letting it sit all day and over night:

Paper in Water in Bucket

I didn’t think I could make the saw blade device he made, but found a left-over broken goat lead tether we had laying around:

Paper Mulcher Cork Screw

And using that, it actually works pretty well to mulch up the paper:

Mulched Paper

Here the drilled-out bucket is stacked on the other bucket ready for pressing:

Buckets Stacked Ready for Pressing

And here the pressing block is set:

Circle Block in Bucket

Then a third bucket is set on that, and here, in first attempts, a cinder block to try to get it started:

Cinder Block Press

And then me laying on the cinder block:

Laying on Cinder Block to Press the Paper

And here’s the result when I tried to sit on that. Oops 🙂 :

Spilled Buckets & Water

But, coming up with a better way, I put a board across the pressing bucket, and am able to sit on it now no problem:

Sitting on Board to Press the Paper

And then, I tried putting a couple of feed bags on top, which frees me up for most of the pressing process — I just come back later and sit on it a bit to finish it off:

Feed Bags Pressing the Paper

And here’s the result!

Compressed Paper Brick

They fit nicely on the bucket lids, so here are several drying in the sun:

Drying Paper Bricks

And several finished ones:

Dried Paper Bricks

The only thing left is to try them once we get to where we’re using the wood burner this winter. It’ll be fun and interesting to see how they work!

Hopefully they will, and we’re thankful to the Lord for granting this idea to maybe be able to use some of the extra resources we have for good use!

— David

« Older posts