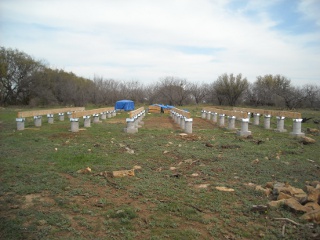
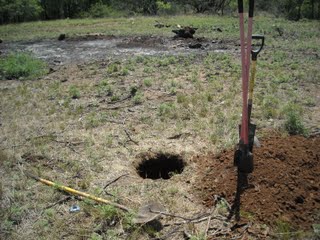
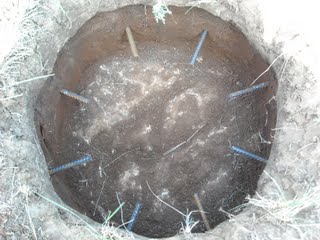
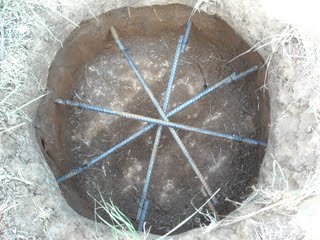
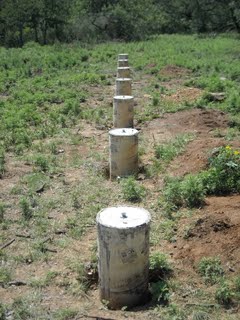
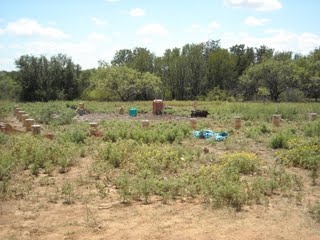
Once the concrete piers for the house were completed, and the homemade termite shields in place, it was time to put on the beams. I decided to use built-up beams (which is basically constructing together beams out of thinner wood) instead of buying one-piece beams, mostly because of the almost certain tremendous cost of beams for the sizes needed.
In looking at typical wood spanning charts, and with help from friends, I decided to go with two yellow pine (for strength) 2x10s, with 1/2 inch plywood in between, which sandwiched together would fit nicely into the brackets on the piers. Apparently, 1/2 inch plywood standing on end has about the same strength as 2-by wood used similarly. In fact, they make floor joists that way (or perhaps with OSB) called TJI joists.
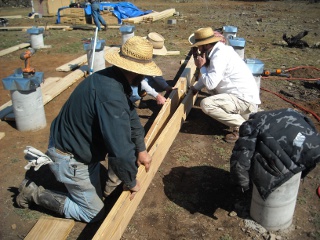
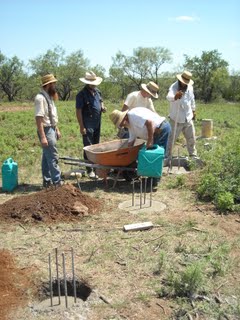
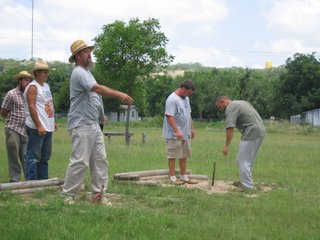
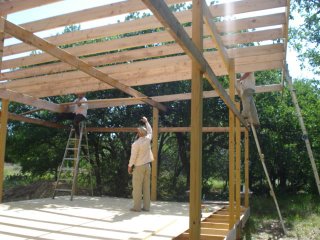
And so, on one of our monthly community work days, the men graciously helped me in working on them.
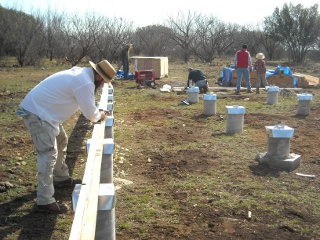
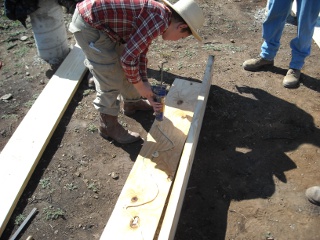
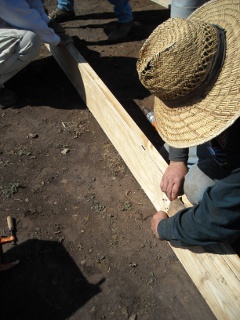
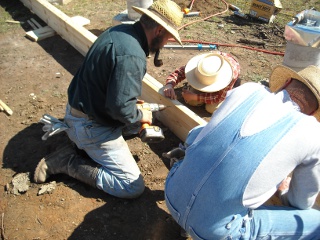
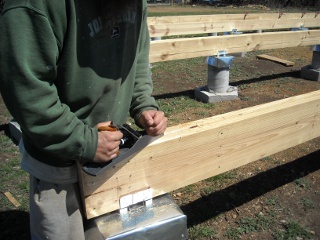
Here is everyone hard at work, including planing the one I had already done:
For strength across the spans, except for the end pieces, each 2×10 was to span two piers and was to be staggered from the other (ie. one 2×10 would span from piers one and three, and the 2×10 placed next to it would span from piers two to four, etc.); and all breaks would be positioned on the brackets on the piers. Also, the plywood pieces would span from pier to pier; but the breaks were to be staggered off the 2×10 breaks by 1 1/2 inches. The ends of each beam would extend past the concrete part of the piers at the end of each row by around two inches so the concrete would not be setting outside the perimeter of the floor (I had to plan for that at the time the concrete piers were poured).
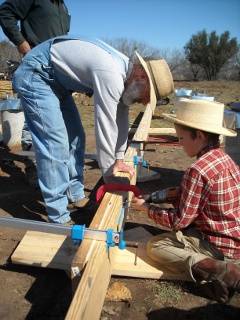
And so, with the wood cut, here is one of the men’s son, applying Liquid Nails to the plywood to help keep the built-up beam together:
The glued plywood is set in place, flush with the top:
And some screws are put partially in to hold it in place:
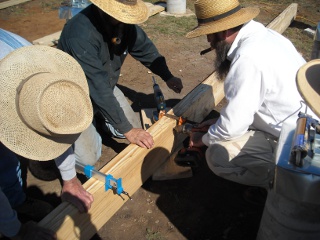
After gluing the second 2×10, it is placed in position as well:
With the tops all flush, clamps are put in place to squeeze all of the wood together and hold it in place while some holding screws are set:
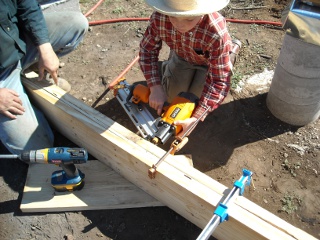
And then the youngster finishes it off with the nail gun:
Some time later, after the rest of the beams were assembled, I did some further planing on them, to even them out on the bottom where they would sit on the piers, and on the tops overall:
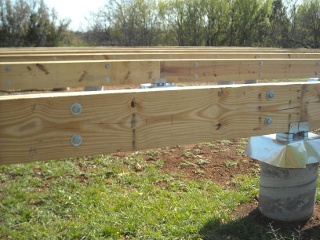
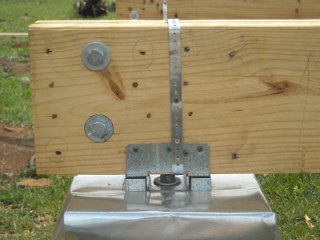
Sadly, my strategy of placing a screw or nail two inches vertically apart every two feet horizontally, staggering each side offset by one foot, didn’t keep the beams together that well, even with the glue. And so I decided to add 5/8″ galvanized bolts every three feet to make sure things wouldn’t get worse:
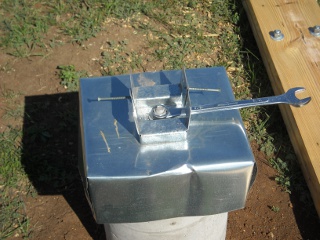
I mentioned in the homemade termite shield blog post above that I had originally tightened the brackets down onto the termite shields and piers, but that the brackets began to bend in the middle, which caused the holes that lined up where the vertical sides of the brackets overlapped to not be lined up anymore; and when I loosened them before, I had thought that I would be able to tighten the nuts down on the concrete pier bolts after the beams were in place. However, once the beams were set on the brackets, there ended up being no way to turn the nut with the wrench. And so, I had to figure out a way to solve my original problem of the brackets bending while tightening the nut. I thought I might try inserting a screw tip into the two lined-up holes on each side of the overlapped part of the bracket to hold them apart while I tightened down the nut, and this worked well:
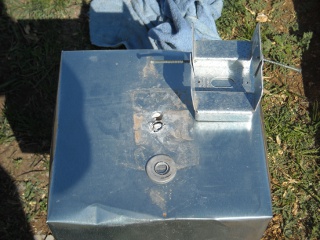
Sadly here too, I ended up tightening down one of the nuts too hard; and the bolt sheered off at the base of the concrete pier. Nice. So, I drilled a 5/8″ hole next to the bolt in the pier down far enough to hold a 4 1/2″ concrete anchor bolt. Thankfully, this repair worked pretty well:
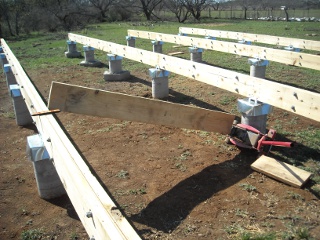
When it came time to attach the beams to the brackets, I had to bend the beams to an upright position as the beam, over the 40 foot length of it, was often torqued. I used a floor jack against a concrete pier and 2-by wood to do the work:
To keep the beams more securely fastened, it was suggested that I tie them to the concrete pier brackets with metal strapping:
(Just a side note: I worried about them being cantilevered off the center of the pier, so on some of them quite some time later, I went back and added brackets under that part. You can see that in this blog post.)
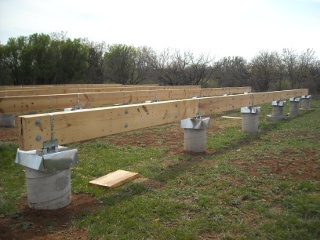
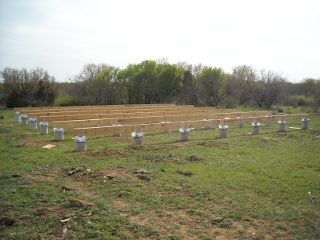
And here are the beams finished and in place! (I had originally thought I would need the entire end piers under the floor; but in looking back, given there is planned to be a porch, I probably would have moved the end piers all the way to the end of the beams.)
(Please see an update where I added some brackets to fortify the beam overhang, just as a precaution.)
Here are a couple of wider angles:
We once again thank the Lord for His gracious provision of the fellowship that He’s given us, and for the resources, strength, and guidance to continue with the building of the house.
— David
