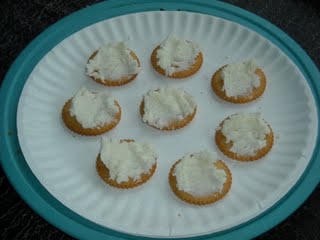
I just finished eating a few crackers topped with my first (successful) attempt at Farmer’s Cheese, a soft “cream” type cheese.
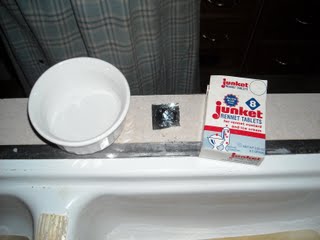
A neighbor said she had made some Farmer’s cheese with the inexpensive Junket rennet tablets found in the local grocery store, so I thought I would try that first. An online cheese making blog said not to use Junket rennet because it is not the same as cheese rennet. But it was here and within my budget, so it was cheese rennet to me! 🙂
My “first” first attempt was a bust, using the original recipe from the Junket instructions. Not to say it doesn’t work, but that my attempt didn’t work. The recipe calls for buttermilk, which I didn’t have; so I looked online and found you can substitute with milk and lemon juice. So I did that, along with adding 1/4 tablet of rennet dissolved in a little water. In hindsight, I don’t think the combination of those was enough to coagulate the milk. I heated the milk to 65 degrees F according to the recipe, added the “buttermilk” and rennet, and left the covered pot out overnight per the instructions. It was supposed to solidify overnight; but it just never did, even after I left it another 12+ hours. So that went to the chickens.
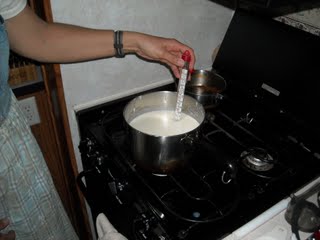
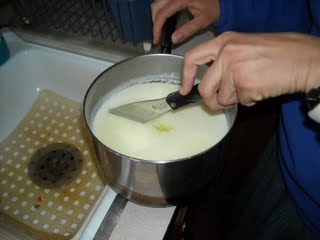
My next attempt was a conglomeration of a couple of recipes. This time I heated two quarts of our raw goat milk to just below boiling, and added two generous tablespoons of white vinegar (one per quart) and 1/2 tablet of the Junket rennet dissolved in a little water. Since this was previously frozen milk, it was a bit watery; so I decided to err on the side of caution and add too much vinegar and rennet rather than too little. The last thing I wanted was to ruin another batch:
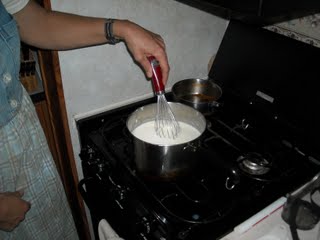
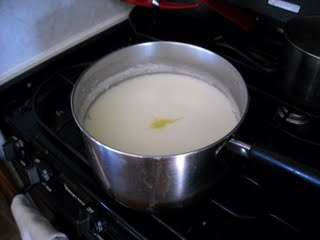
I whisked it all together, covered the pot, and hoped for the best. Well, this time it started to coagulate much more quickly, which gave me hope. By the next day, it was not as solid as I imagine a really good cheese probably would be; but it was close enough!
According to the recipe, the cheese is ready when you can poke your finger in and lift the top, gelled layer cleanly from the lower, liquid layer:
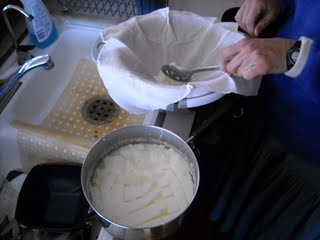
Then, you are supposed to cut it into 1/2 to 1 inch cubes in order to assist with the “draining of the whey” (sounds like a ceremony). The instructions call for the first cut starting down the middle, holding the knife at a 90 degree angle, and then each subsequent cut tilting the knife a little until you get to 45 degrees by the time you reach the side of the pot. You turn the pot 1/4 turn, and repeat the process, which eventually makes a grid of curd cubes. I forgot to tilt the knife as I cut — oh, well. But, it came out okay anyway:
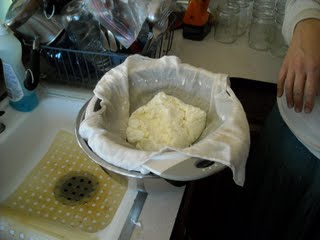
Then, I spooned out the cubes of curds into a handkerchief-lined strainer with a bowl underneath to catch the whey drippings. They say to use cheesecloth, but it just seemed too loose of a mesh, and the handkerchief worked very well for this type of cheese:
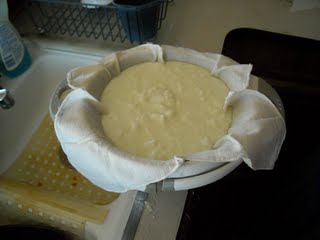
Here it is all spooned into the strainer. You can’t tell here, but it’s draining like crazy underneath:
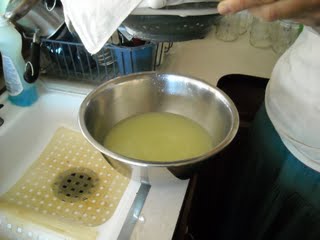
Quite a bit of whey drained quickly, but it takes 2-3 hours to fully drain:
Here are the curds with the majority of the whey drained. Pretty cool, huh?!
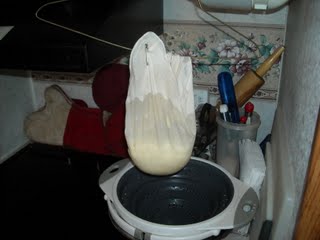
After the main draining, I hung up the handkerchief to draw out the rest of the whey with the help of a bit longer exposure to gravity:
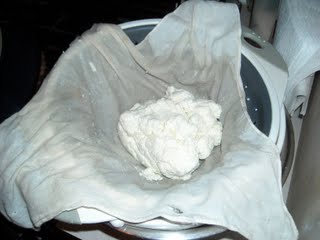
Well, this looked like it might resemble Farmer’s, or some kind of cheese, and not too much like a train wreck:
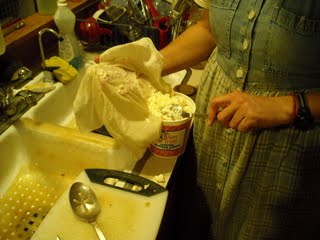
So I seasoned it with a little salt, garlic and onion powder, spooned it into a container and put it in the refrigerator overnight. Using two quarts of milk is supposed to make approximately 3/4 lbs. of cheese, and this looked about right:
I’m very pleased with the mild, seasoned taste. It has been too easy to eat a lot of crackers topped with the cheese at one sitting! But I’d rather have to combat will power than have to hold my nose closed and gag it down 🙂
All of our does have dried up in preparation to deliver more kids in the Spring, if the Lord wills; so this was my last opportunity to attempt making goat cheese until then; and I’m very thankful it turned out. I’m excited (and not as scared) at the future possibilities! What a great way to preserve milk; and we are, as always, very thankful for God’s direct provisions. Believe me, I know I probably could have done this much better and more “properly;” but, hey, it worked for me; and it’s food! I hope to continue to improve with more practice and maybe somebody out there can learn from my mistakes. Bon appetit!
Susan
