Our journal of what we pray is our sojourn of life along the narrow way, even the old paths, submitting to the Bible as a light unto both.

Category: barn (Page 1 of 2)

The Barn – Update VIII – The Loft – Update VI – First Shelves

The last work we did on the barn loft was putting up the stairs.

We spent a lot of time last year cleaning up around here, and part of that was clearing out the barn. And part of that was wanting to move stuff we were going to keep up into the loft, but there wasn’t much room left, so the plan was to go vertical and add shelves!

And here’s how building the first set unfolded…

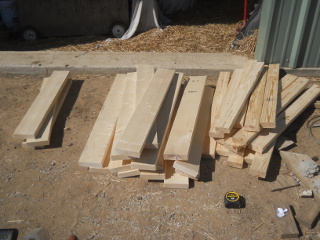
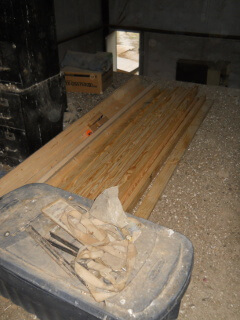
Here’s part of the wood stack:

Wood Stack for Barn Loft Shelves

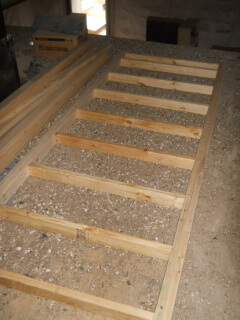
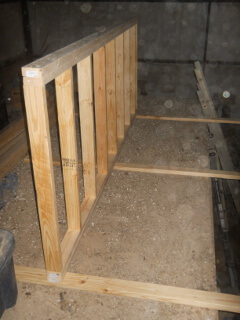
And the first frame. I doubled the long boards because I was planning to span 5 feet between support posts. And I put the cross pieces 16 on center:

Barn Loft Shelf Frame

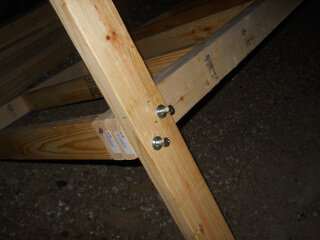
I set each leg with screws and then bolted them with 3/8 inch lag screws:

Barn Loft Shelf Leg Bolted

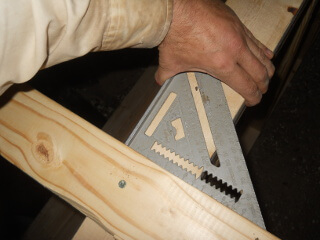
I used the speed square to try to square up the leg:

Squaring Leg to Shelf

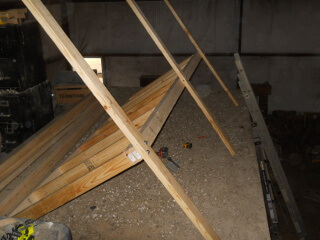
Here are all 3 legs on one side:

Legs Done One Side of Shelf

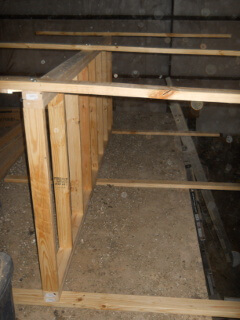
And then I flipped it over:

Shelf Flipped to Other Side

And did the other 3 legs:

Shelf's Other Side Legs Attached

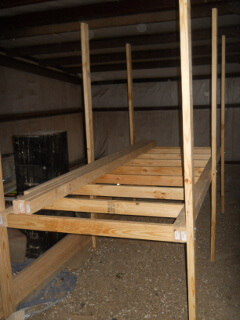
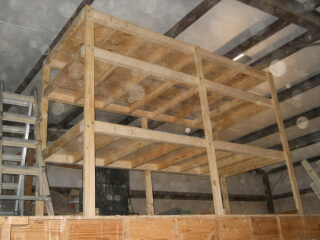
And then turned the whole thing upright:

First Shelf With Legs Upright
Another First Shelf With Legs Upright

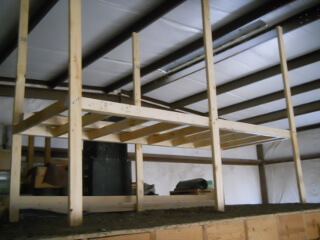
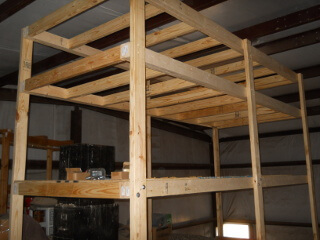
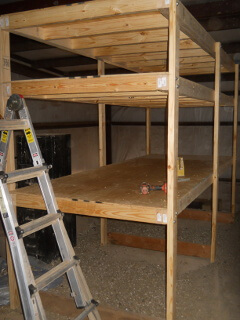
Then, after building the other 2 shelves, and with the help of the guys here, we attached the other shelves:

All 3 Shelves Attached
Another All 3 Shelves Attached

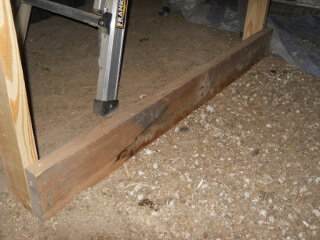
I also added leg braces at the bottom:

Leg Brace

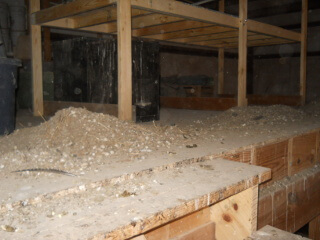
Several of the turkeys roost in the loft at night, and here are the natural results of their eating! 😀 Straight to the compost pile!

Turkey Droppings Piles

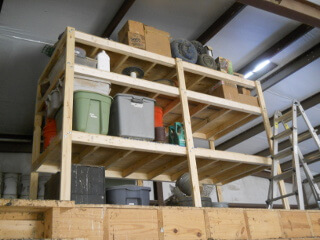
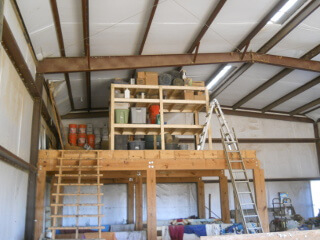
And here are the shelves done:

Final of Barn Loft Shelves

And then loaded with “stuff”! 🙂

Barn Loft Shelves Loaded with Items

Another of Barn Loft Shelves Loaded with Items

We are thankful to the Lord for granting the resources to further organize here and store His blessings of provisions!

— David

The Barn – Update VIII – Second Animal Stall

After mostly finishing the barn loft platform, and then doing so after putting in some steps, we were finally able to move more ground-floor stuff we’ve had in the barn up to the loft so we could get the second barn stall in place. This was the plan all along, since we have two sets of goats during breeding time, which is during the winter when we would most likely need for them to have extra shelter.

What was nice was I was able to essentially copy exactly the first barn stall, and when I bought the materials for that one, I had just doubled the materials in preparation for the second, and so I already had all of the supplies needed.

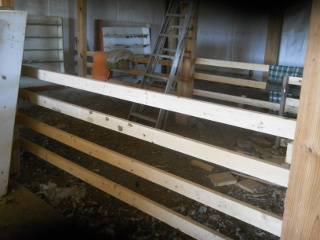
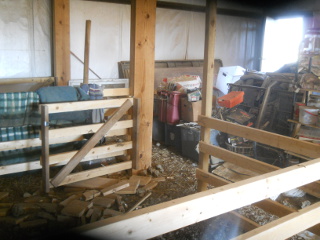
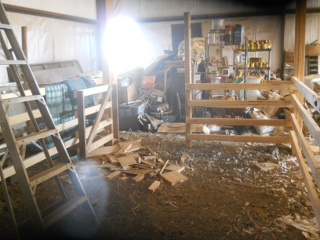
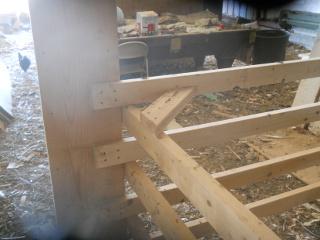
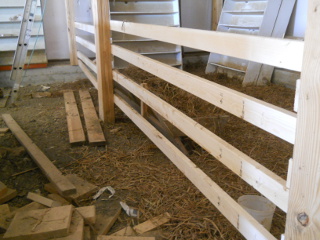
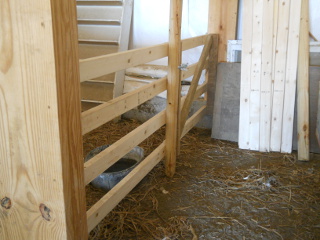
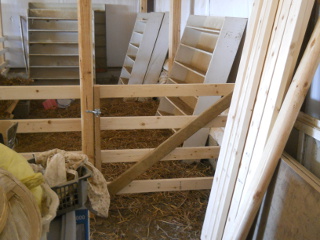
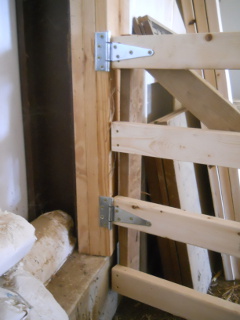
You can see more details of the process in that first barn stall blog post, but here a few pictures from this one. The long boards had been standing on the ground so long, some of them getting moist, that termites had eaten out at least one of the ends, but it was still usable after cutting off the bad part:

Second Barn Stall Side
Second Barn Stall Side from Outside
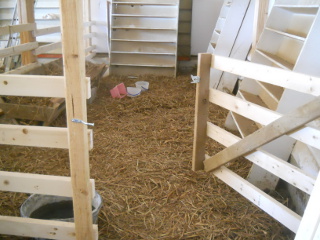
Second Barn Stall with Gate
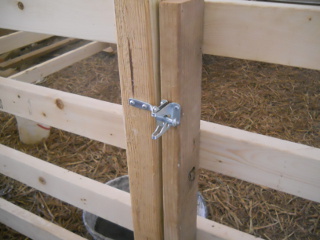
Second Barn Stall Gate Closeup
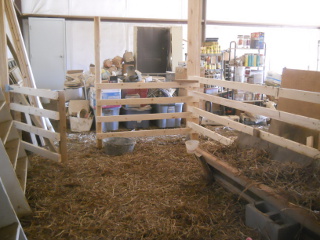
Second Barn Stall from Inside
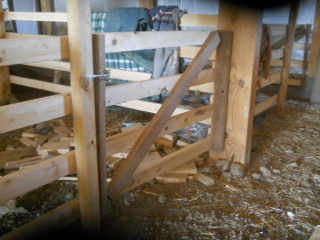
Second Barn Stall Side Cross Brace

As I mentioned, the purpose of these stalls is to bring in our goats during cold or extreme weather. I added large eye hooks along the side boards to be able to hook each of them up to hopefully keep the chaos to a minimum, and here is a video during one of our fairly drastic (for us) cold snaps we recently had, with them all hooked up in place. Thankfully, it appears to have worked out very nicely, and we are thankful to the Lord!


We are very grateful to God for granting we be able to finish this part of the homestead and barn, and to have a better place of refuge for our goats. Their exposure up in the fields has been a concern for us over the years, and it’s a relief to be able to bring them into the barn now.

— David

The Barn – Update VII – The Loft – Update V

After getting most of the barn loft platform done, and in preparation for hopefully adding another barn stall before winter, we really needed to get some steps in place, as going up an extension ladder was just not going to work, with trying to haul up tubs and boxes.

And so, here’s a quick look at the process:

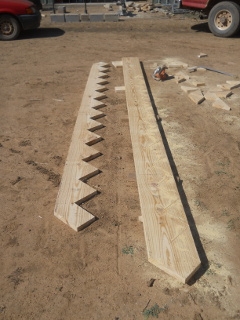
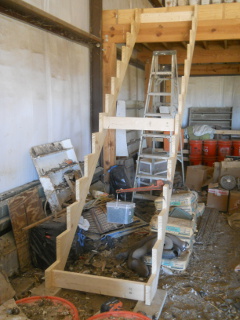
After using a stair stringer calculator and figuring out the rise and run, I drew the steps to cut using a framing square (you use the outside edge to mark the rise/run cut) and then cut them out:

Barn Loft Stairs Stringers

I decided to go with juxtaposed 2×6 and 2×4 boards for steps instead of 2×10…not sure if it saved money in the end, but I thought it might:

Barn Loft Stairs Step Boards

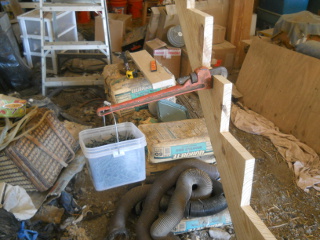
I had to torque over the one stringer to straighten it, so I hung the bucket of screws on a pipe wrench:

Torquing Steps Stringer with Pipe Wrench

And here are the stringers in place, tied to cross pieces and resting on the loft beam and tied to the floor joists structure:

Barn Loft Stairs Stringer in Place

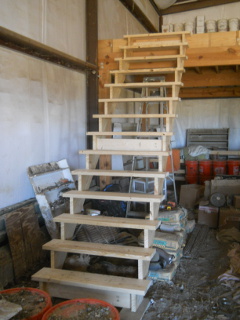
And then the steps done:

Barn Loft Stairs Steps in Place

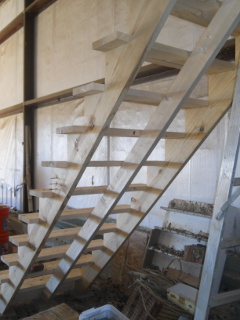
I found it to be a little soft-feeling when walking up and down, so I added a vertical 2×6 brace down the center of the steps, which made it feel more sturdy. I had to remove the middle cross brace:

Barn Loft Stairs Steps Center Bracing

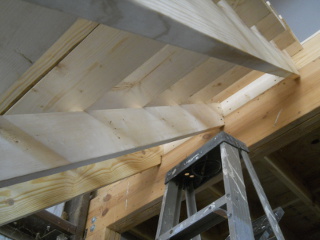
Top Part of Barn Loft Stairs Steps Center Bracing

And finally the last couple of ply wood pieces, save the last corner:

Barn Loft Plywood Flooring to Stairs

More Barn Loft Plywood Flooring

Yea! It’s nice to have it to this point, as it has been over 3 1/2 years since we posted the first blog post on the loft. It’s nice to be able to have it functional! 🙂

We are always thankful to the Lord for granting provision and progress on the homestead!

— David

The Barn – Update VI – The Loft – Update IV

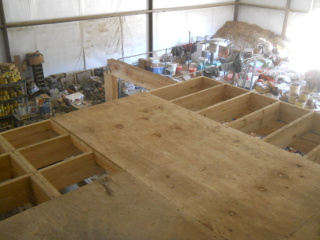
After the last update in February, the Lord graciously granted we be able to pick up some more materials to finish the floor joists, and get most of the plywood down!

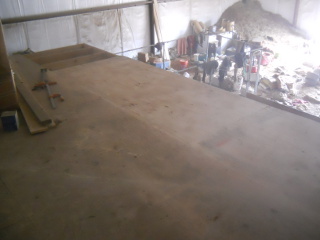
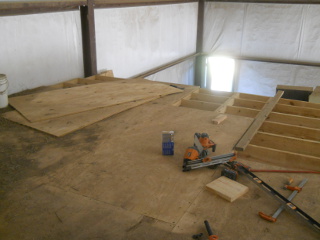
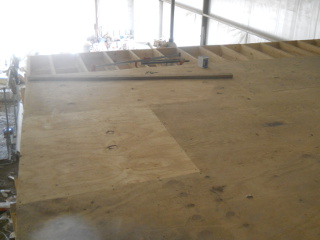
Here is some more of the plywood in place:

Barn Loft

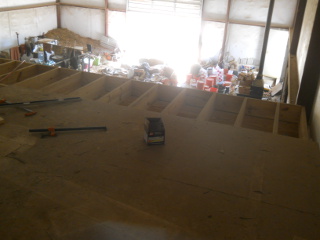
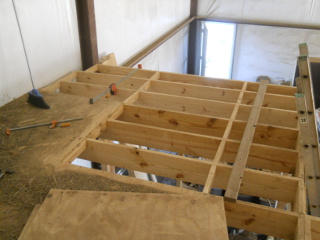
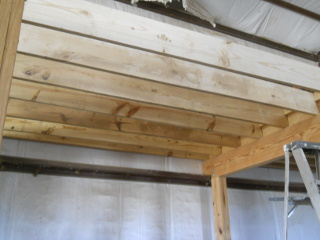
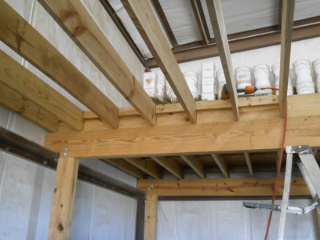
And then the final floor joists in place:

Barn Loft Final Floor Joists

Barn Loft Northwest Corner Floor Joists

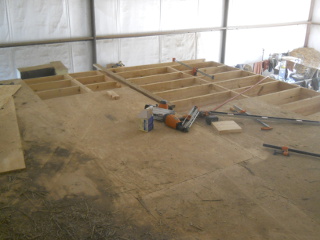
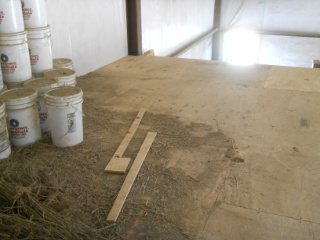
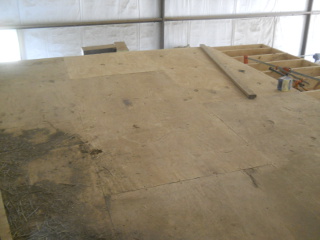
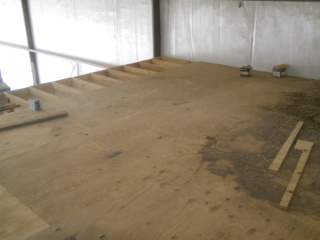
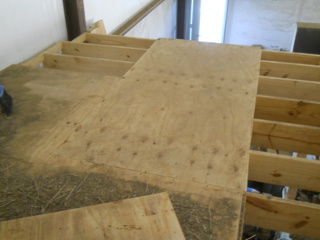
Finally, the plywood to finish the north side and center to north east side:

Barn Loft Northwest Corner with Plywood

Barn Loft Northease Side with Plywood

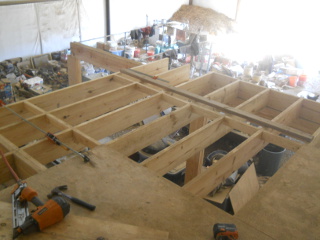
Barn Loft Southeast Corner

Barn Loft East Side with Plywood

All that’s left is the few plywood pieces on the east side! We are very thankful to the Lord for His provisions for the homestead!

— David

The Barn – Update V – The Loft – Update III

We were able to gather some more materials and make a little more progress on the barn loft!

I decided to extend the back section to the end so we could continue laying down plywood from that end. After adding the three new joists and cross pieces, and clamping the joists together, I attached an 8 foot 2×4 to help hold them in place, and then clamped the other side:

More Barn Loft Floor Joists on Back Section

And laid down a new plywood sheet in that area:

Another Piece of Flooring on Back Section

Then the same thing in the front section, adding three new joists:

More Barn Loft Floor Joists on Front Section

And a new sheet there:

Another Piece of Flooring on Front Section

Getting closer! 🙂

We are grateful to the Lord for granting the supplies, and the physical ability to work!

— David

The Barn – Update IV – The Loft – Update II

It’s been some time since I’ve done some work on the barn loft, and I had new materials waiting in the wings for 8-10 months, but finally, I recently started adding a new section!

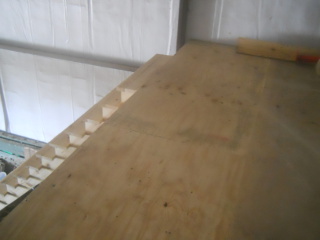
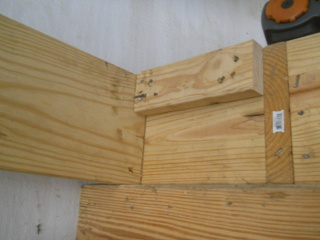
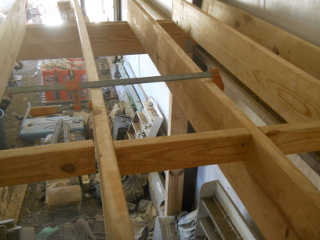
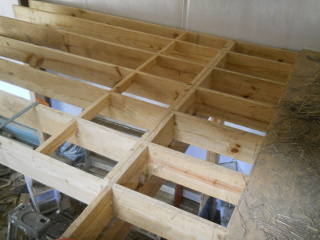
Since the end of the previous section had full 2×10 inch (the size of the joists) cross blocks in place, the plan was to use 2×4 inch boards to cross block new sections next to the full-sized cross blocks:

Barn Loft Next Joist and Cross Block

And here are the next seven joists in place:

Barn Loft Next Floor Joists in Place

Another View of Barn Loft Next Floor Joists in Place

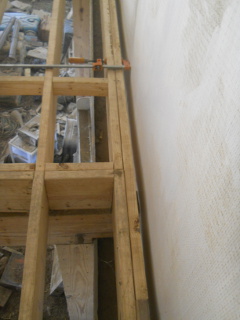
I thought it best to work my way out from the previously-built section without blocking and attaching the far end of the new joists so that I could square the joists with the plywood flooring as I went. Also, I used a bar clamp to pull together and straighten the torqued joists:

Adding Barn Loft Floor Joist Cross Pieces Using a Clamp

And here’s the first line of cross blocks:

First New Barn Loft Cross Pieces in Place

I also added an extra 2×4 board behind the first joist to just give a little more support under plywood that would extend past the joist next to the barn wall:

Extra Barn Loft Back Joist Suporrt

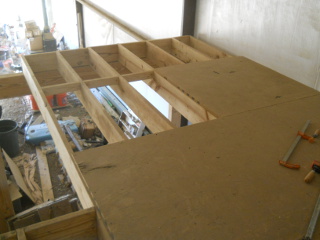
And here is the section completed with the materials I had, including the second line of 2×4 cross blocks and the far 2×10 cross blocks in place. I decided not to attach that far end to the beam yet to continue to try to make sure the floor stays square as I Lord willing add more plywood over time. This is where our new guest Trina spends the nights 🙂 :

Next Barn Loft 8 Foot Section in Place with Plywood Flooring

As always, we are thankful to God for granting provisions to continue on the homestead!

— David

The Barn – Update III – First Animal Stall

One of the purposes of having a barn was to have animal stalls in it, for keeping animals or for when they would need to be out of the weather. We really wanted to be able to have this shelter for the goats available this winter, and with some of the loft in place, and us having a pretty cold few days of weather, and us having some sick and/or shivering goats, I quickly formulated what I hoped would be a fairly inexpensive plan, got some materials, and started in on putting up our first animal stall!

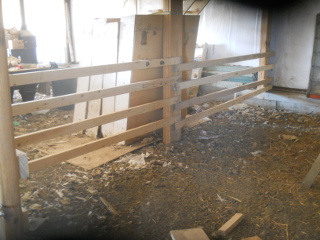
I was originally going to use three rows of 2x6s, but in judging the costs, it was less expensive to use four rows of 2x4s, so that’s what I went with. I simply just screwed them into the loft posts. Here is the long-side wall:

Barn Animal Stall East Wall

And the short wall and gate. I just buried a landscape timber for the wall end:

Barn Animal Stall North Wall & Gate

Here it is with the gate closed:

Barn Animal Stall Gate Closed

And its hinges:

Barn Animal Stall Gate Hinges

And its latch:

Barn Animal Stall Gate Latch

And then open:

Barn Animal Stall Gate Open

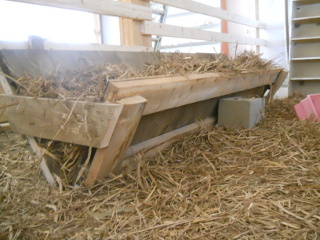
I wanted to make sure their eating-hay was off the ground, so I took some left-over 2x6s from the braces we used to keep the porch posts from twisting, and some left-over plywood, made a couple of frames, with the back one a little higher, tied them together on the ends, et voila! Hay trough! I initially just set it up against the stall wall, but I wondered; and sure enough, soon after putting goats in the stall, they tipped it forward; so as a temporary solution, I stuck a cinder block underneath the front frame:

Barn Animal Stall Hay Trough

Here’s a view from inside the stall, with all of the hay on the floor too:

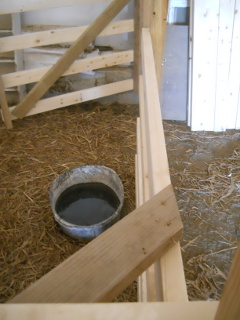
Barn Animal Stall from Inside

With the gated-wall being not too steady, I added a corner brace that you can see in the lower part of the picture:

Barn Animal Stall Wall Corner Bracing

And that was it! I put it all together basically in a little longer than a morning.

And we immediately had some customers!

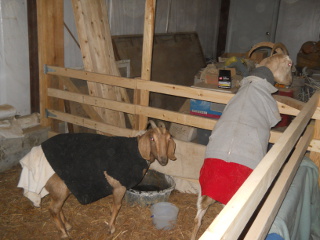
Winnie, the white one, had been having non-eating spells every so often, and was particularly sensitive to the cold; and so, we brought her in, along with Annie to keep her company, and because Annie sometimes is last in a shed because she’s low goat in the “pecking” order. And of course, they had on their sweaters. If you look closely, in this and the final picture, you can see that we draped blankets over the lower rails to help prevent drafts from blowing on them while laying on the hay:

Cold Goats in Barn Animal Stall

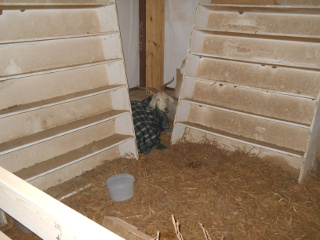
Lucy had also been not eating much and shivering, so at one point we brought her in as well. She needed at least one blanket too, maybe more. So did Winnie at times:

Sick Goat in Barn Animal Stall Corner

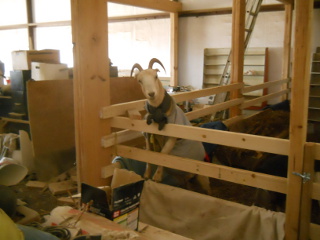
And finally…Winnie being Winnie, and styling with the scarf, I must say! 🙂

Goat Climbed Up Barn Animal Stall Wall Looking Over

In the end, it seemed to really help them all through the cold and wet times. All the goats made it through their non-eating/sick times, thanks to the Lord; and they’re all still with the rest of the herd.

As always, we’re grateful to God for granting the provisions to provide this hideaway for the animals, the idea for its design, and that it seemed to all work pretty well!

— David
« Older posts