After having the wood for them down in the root cellar for several months now, I was finally at a point to be able to begin to build shelves. When the main root cellar structure was being completed, it was suggested we leave the concrete forms, made out of wood, in place so that shelving and the like could more easily be attached. Needless to say, it was a good idea, because trying to put shelving up on concrete walls would have been quite difficult; and in consideration that there doesn’t seem to be an excess of moisture in our root cellar, installing wood shelves seemed a fine option.
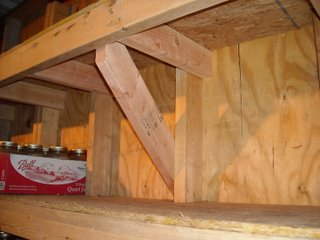
This is how I proceeded. I measured the heights of pint and quart jars and plastic storage buckets and decided to make the distance between shelves 18 inches (from bottom of the upper shelf to top of the lower shelf), to allow jars or cans to be stacked; and I decided to make the shelves 16 inches from the wall to allow for a 4 quart jar or 1 plastic bucket depth on each, and also so that I could cut a 4×8 board into 3 even sections for the tops of the shelves. From there in the actual construction, I attached shelf “arms” to one side to the wall studs (when logistically feasible, making sure each arm was level from the previous one), mounted the front 2×4, and then included four or five 45-degree angle 2x4s on the other sides of the studs for added strength.
After that, I worked on the shelf tops, which I had chosen to be made from OSB. This part ended up more like a puzzle (which for me was sort of fun! 🙂 ), in that, I had to sketch out the cuts of each board so they would fit around the wall studs; I would also have to cut the ends off in angles so that they would fit properly one against the other, being that things were not square. In drawing the stud cut lines, I used a 4′ level placed against each stud’s side to get the proper angle off of the stud. The front and back shelves were a bit more complicated because I couldn’t fit the board piece into final position: I had to draw in the cut lines based upon a left to right offset, so that, after the original lines were drawn, they would have to be “moved” over by that much offset. And then finally once the tops of the shelves were in place, I decided to shave off any OSB overhang of the sides of the shelves, so that, if I ever decided to add a front barrier piece of wood to keep things from sliding off, it would lay flush.
Here’s a picture of the general idea:
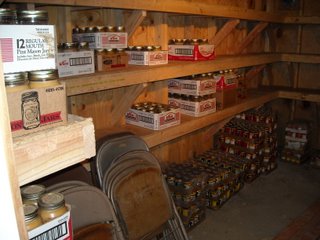
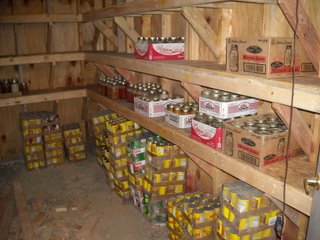
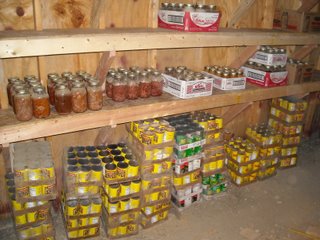
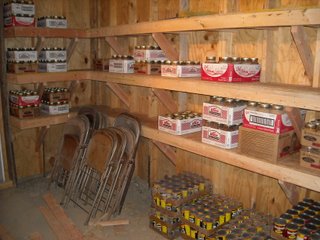
And so, here are the shelves. I was able to move much of our canned provisions into the root cellar too:
Interestingly, given the amount of time it has taken to get to this point, this actually completes the originally planned work on the root cellar. Yea!
Once again, we are grateful to the Lord for His provisions of food and for being able to hopefully store that food long-term.
— David
Hi David and Susan. It is great to see the progress you are making. I guess to it makes for more room out in the main building. Hope you both are doing well. Miss you!
Debylin
Wow, great job! I am really impressed. I showed your root cellar to my husband, also. He got some good ideas and inspiration.
Your root cellar looks fabulous! Is it part of your basement or a separate hole dug in the ground?
Hi Green Mommy,
It's separate, next to our barn, and is also our storm shelter. We are building a summer kitchen on top of it to keep the sun off of the concrete slab roof of the root cellar.
Thanks for saying hello.
— David