Little by little, I’ve been slowly working away at the summer kitchen in between everything else going on. The next step was the insulation, and here is a little pictorial of the process…
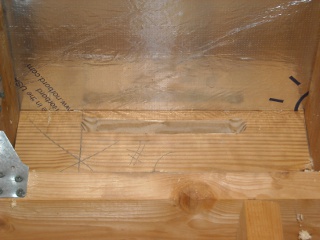
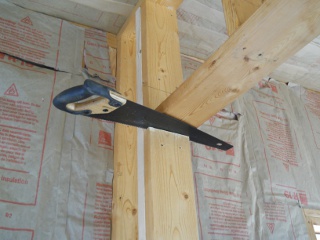
First, I wanted to cut in roof vents into the cross pieces that were in between the rafters on top of the walls. I drilled 1″ holes and then used a reciprocating saw to cut from the top of one hole to the other, and then the same from bottom to bottom. Here is what it looked like from the inside:
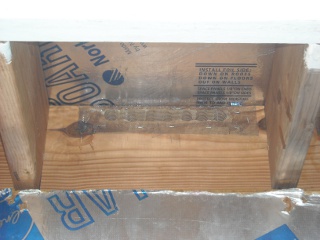
And then on the outside I stapled and glued aluminum screening to keep the bugs out:
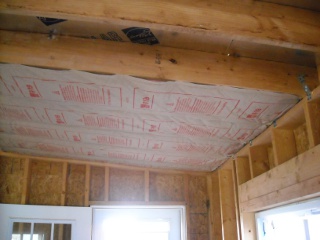
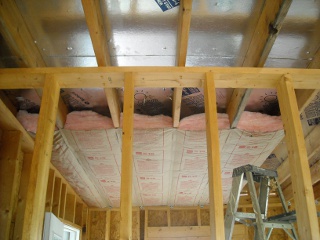
Then, I began insulating, starting with the roof:
With the 2×8 rafters, I used R19, which is for 2×6 wood; this allowed for an air gap above the insulation to allow for the air to flow in the lower roof vent out the upper one. This gap is also recommended for proper effect of the solar board:
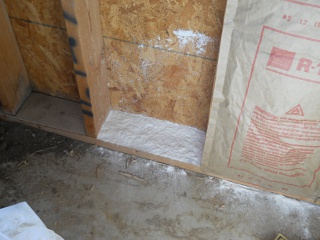
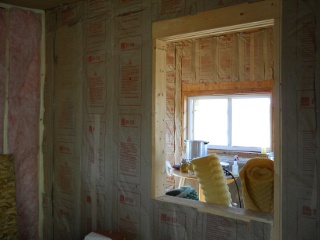
Before installing the wall insulation, I put diatomaceous earth on the bottom of the frame to perhaps help with termites:
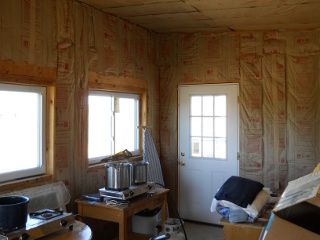
And here is the main area completed:
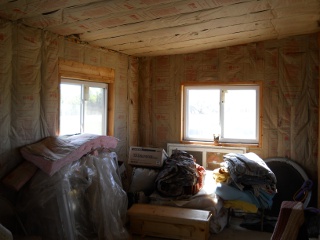
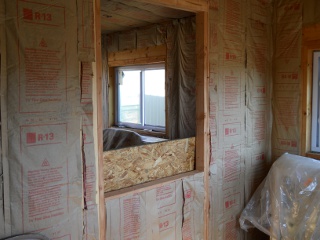
And the pantry:
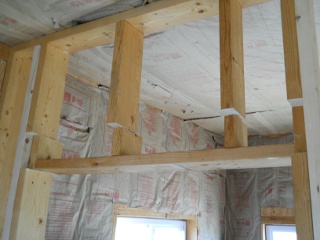
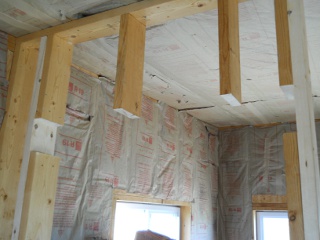
Due to my lack of construction knowledge when building the wall frames, I hadn’t done a header over the doorway between the main area and pantry; and it was beginning to sag. And so, I decided to insert one.
I began by cutting the door frame cripple studs:
Here it is with all of the cuts made:
And then with the cutout removed:
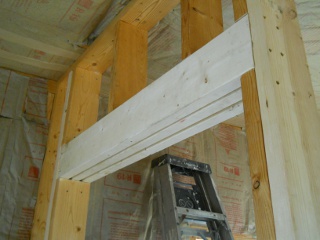
Here, the header is in place. I simply used three 2x6s:
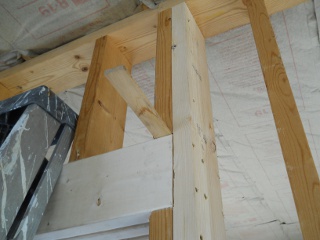
And then shimmed them to fit up against the cripple studs above them:
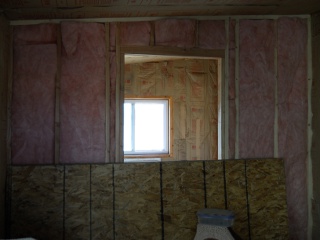
After the header was in place, I was able to insulate the main cross wall. Here it is completed, viewing from the piano room:
And here it is from the main room:
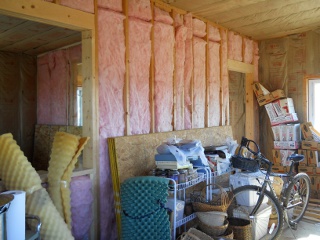
As I noted above, part of the plan for the summer kitchen building was to have about 1/4 of it partitioned off to be a piano room; and so, I added a cross wall from the south wall to the main cross wall using 2×4 wood. And here is a picture of it after it being insulated:
And here is the wall as viewed from the pantry:
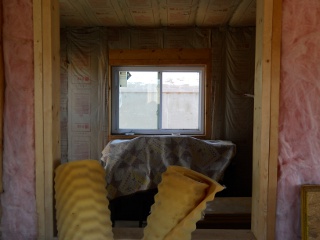
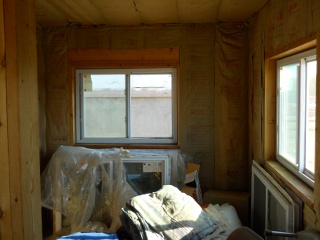
Finally, here are a couple of other views, one of the piano room from the main room:
And the other of the pantry from the main room:
The Lord has been gracious and merciful in allowing resources to be able to continue this project, some from the sale of His providential provisions of animal offspring. We thank Him, and we pray for continued help, wisdom and guidance in further homestead development, according to His will.
— David
David,
Great job! What is the total size of the building?
Judy
I really like your house design! Are you following your own floor plan design?
Thanks,
Zachary
Hi Judy,
Thank you. We're thankful to the Lord for the resources. It's about 20'x20'; it sits on top of our root cellar — makes a good insulator for it! (which was the plan 🙂 )
Hi Zachary,
Are you referring to this summer kitchen or the house we're building? Either way I guess, it's our own design for the floor plan. With the house, hopefully that will become more evident when we get to the inner walls, Lord willing.
Thank you both for saying hi.
— David
Looks great 🙂 I love the fact that you have a 'piano room'.
Hi Kevin,
Thanks much, and we're grateful to the Lord for His provisions.
— David