The next big step in the house “adventure” was to try to start putting up the roof. The design was to have the roof free-span (without support posts) the entire width of the house, and use a gabled roof. I had originally wanted a hip roof, mostly because I liked its old-fashioned (at least to me) look; but with its complexities, and in further consideration of heating and cooling, decided to go with the gable design.
As I mentioned, I wanted to face the gables in a way that would best serve the temperature considerations inside the house during the Winter (for heating) and Summer (for cooling) months. I did some extensive research, and from my findings, decided to face the gabled ends (the vertical sides) to the east and west, and face the roof slopes north and south; and here’s why — it has to do with the position of walls or roof lines in relation to the direct light of the sun:
- during the Winter, the sun is lower in the southern sky, and facing the slope toward it allows for more direct-angle sunshine to hit the roof, which is what you want when it’s cold, so it will help thermally heat the house
- and during the Summer, there are two considerations:
- when the sun rises in the east and sets in the west, having the roof slope facing those directions will have direct sunlight on the roof for nearly all of the day, whereas having the gabled ends facing east-west only has direct sunlight on the walls at the beginning and end of the day
- and during the majority of the day, when the sun is more directly overhead, sloping the roof north and south will have the sunlight hitting the roof at an angle rather than more directly, thus deflecting the light and subsequent heat
Actually, the decision on which way to face the gabled ends and slopes of the roof needed to be figured out when the foundation piers were being built, so the beams would run in the direction of the sloped sides of the roof, supporting the walls that would be holding the weight of the roof.
Finally, in order be able to free-span the width of the house, I decided on using trusses, because that’s what they do. 🙂
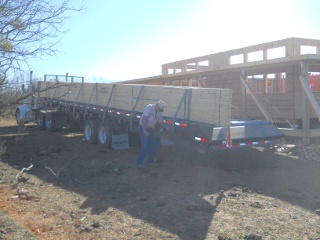
For expediency sake, and to make sure they were designed, hopefully, properly, from an engineering stand-point, we ordered the trusses from a local truss company; and here they are being delivered:
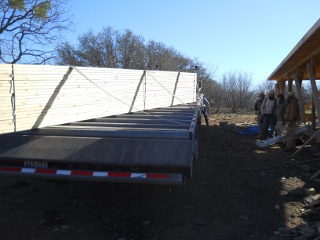
Here you can see the brethren work-crew eagerly waiting for the trusses to be dropped off:
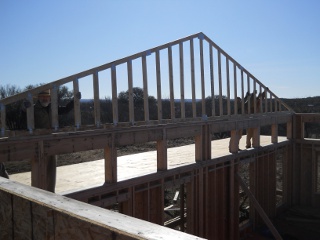
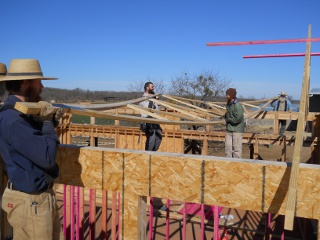
Once the trusses were off-loaded, we started with one of the end trusses:
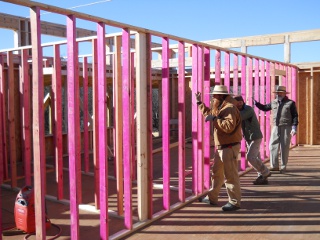
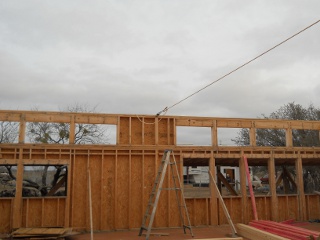
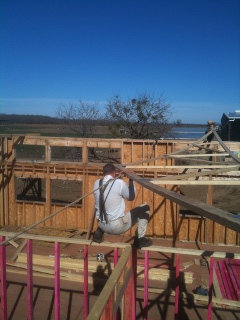
Before being able to move the trusses into position by sliding them across the top of the walls, we figured it would probably be easier if we had one of the internal cross walls up in place so we could walk on it and help move over the truss from the internal middle of the house, not just from the ends; and so, we raised one of the internal walls that had been built but not raised:
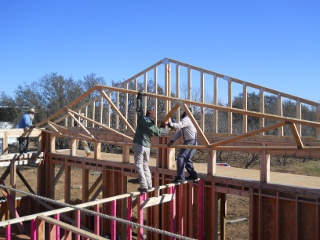
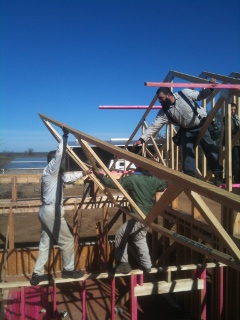
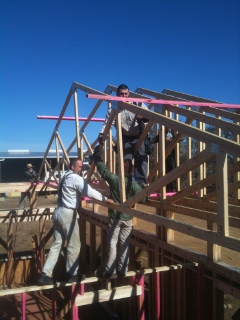
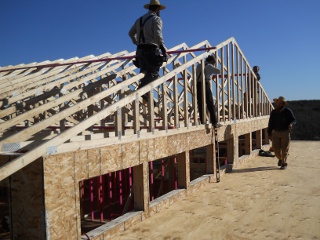
Here’s a truss being moved down the length of the house into position (the two fellows in the middle are walking along that interior wall):
And then hoisted up:
And then the process of securing them to each other using 2x4s would begin:
We needed to pull in the walls to get them to be the proper distance from each other; and for that, we used a come-along and a rope:
Not only did the folks who walked along the internal wall have to balance on it, but they also had to negotiate that rope:
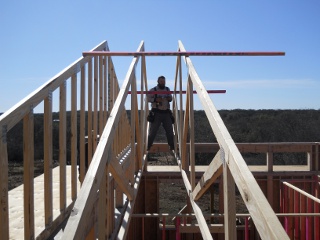
Here’s another truss being hoisted up:
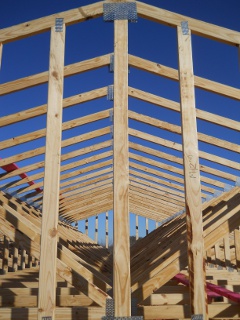
And then in final position:
Even young Robert was out there helping hold and secure the trusses (we were quadruple careful to make sure he was always holding on to something solid and not playing around):
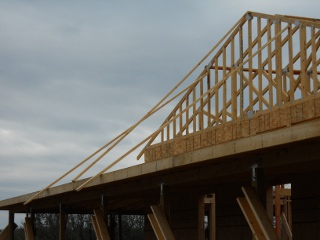
And here’s the final end truss in place:
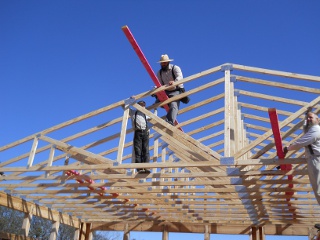
Lastly, to further help prevent the trusses from tipping over because of winds, the ends were secured to the porch roof fascia (please see the last picture on the next house blog post about the house main roof for further bracing that was added):
And here’s a video of some of the truss work throughout the day:
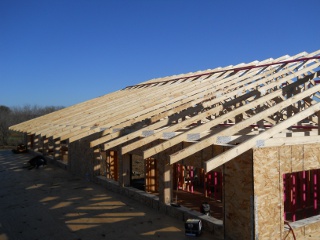
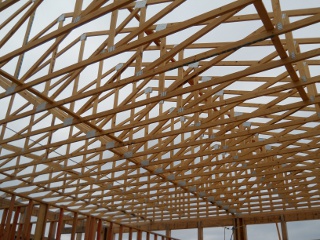
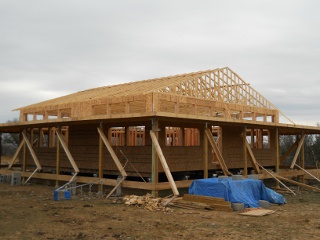
After a day’s work, here are all of the trusses in place:
We are thankful to the Lord for His mercies in the safety of the crew, and grateful to Him and the brethren for their help with this part of the house; and we thank Him for the provisions to continue the house building process.
— David
David,
I'm watching with interest the house being built. I remember from one of your posts that you were not able to drill a well. I was wondering if you bring water into the house in buckets from your cistern for your household use, such as washing dishes/laundry/bathing.
Manette
Hi Manette,
Actually, we do have a well: http://blog.siffordsojournal.com/2008/05/storing-water-iii.html, but it hasn't produced in some time.
Right now in our camper, we load the camper's water tank from the cistern and use the on-board plumbing. Laundry by hand is done outside in plastic and galvanized animal watering buckets: http://blog.siffordsojournal.com/2009/11/time-to-come-clean.html.
In the house, we plan to try to have some small elevated tanks (20 gallons maybe?) indoors on the walls next to the sinks in the kitchen and bathroom. We'd load those by hand and gravity would do the rest. I am considering perhaps a larger outside elevated tank that would hold rain caught off of the main roof, but haven't decided about that yet.
We'll see how it all pans out. 🙂
— David
Of course, let gravity do the work (so to speak). My colonized mind doesn't think too clearly sometimes… 🙂
Manette